


DIY Spring Exterior & Landscaping Update – Phase One Progress
Each spring I do a big landscaping update to the mulched bed sections of our front yard. I always have to wait until Mother’s Day for the maple helicopters to stop falling (we get a ton) before I can get started raking them up.
This year I started the big project on Mother’s Day and ended up spending seven hours on the first day. Sometimes I like doing manual labor, ha!
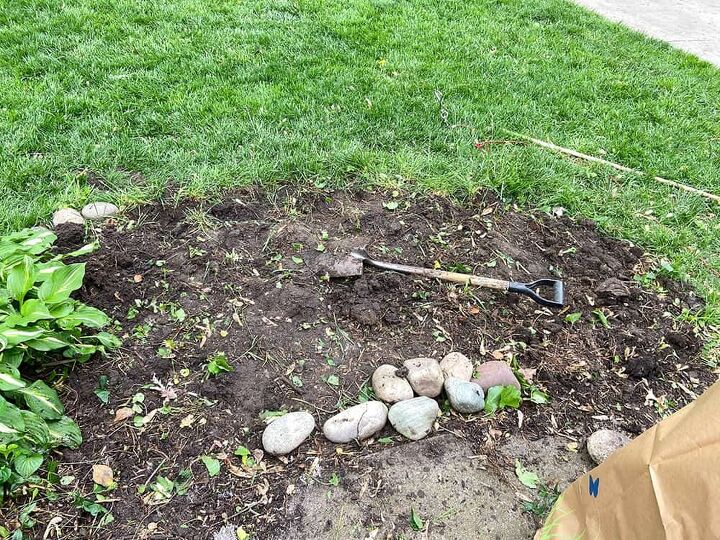
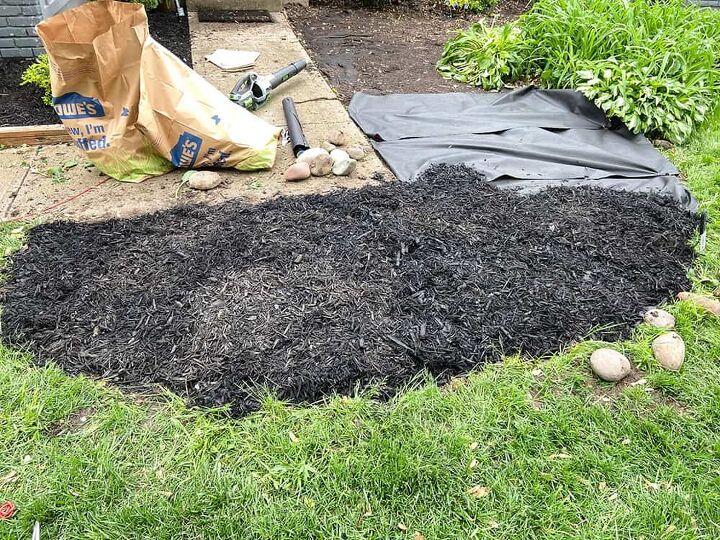
This is the before we were working with. One year old washed out mulch, overgrown lily patches, all the helicopters, and some random weeds.
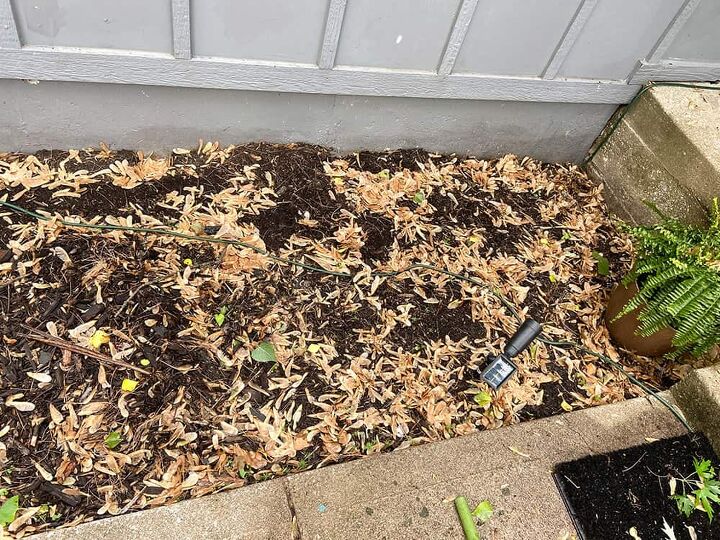
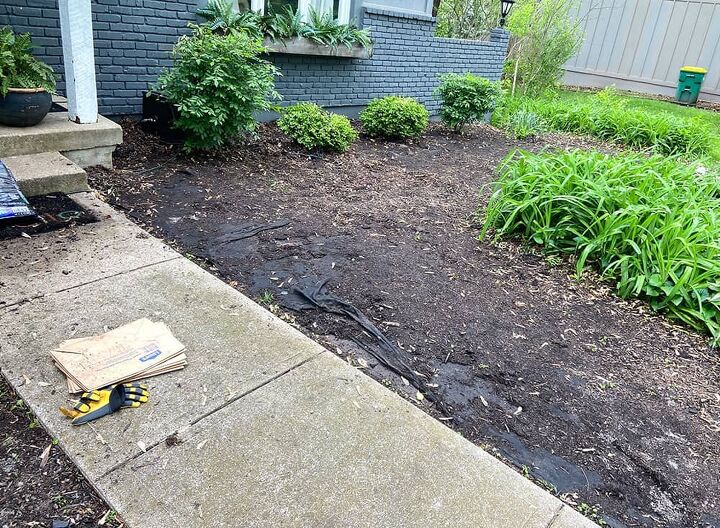
In an hour, I used a rake to clean up most of the helicopters and set out to weed, remove, and reshuffle existing plants.
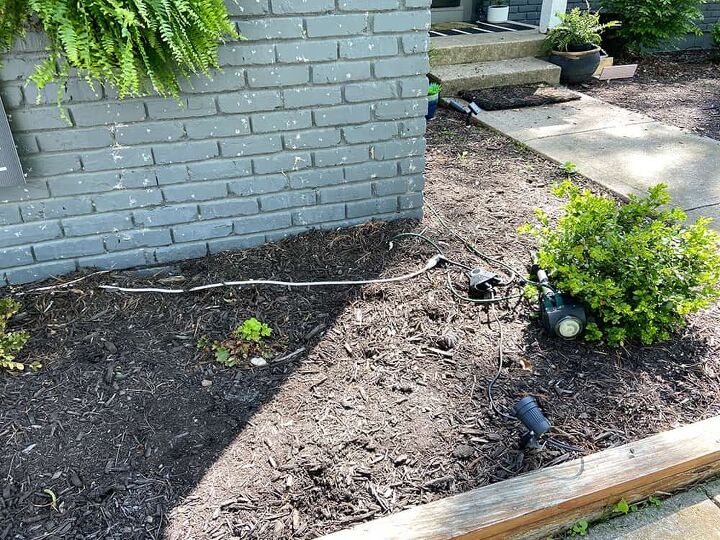
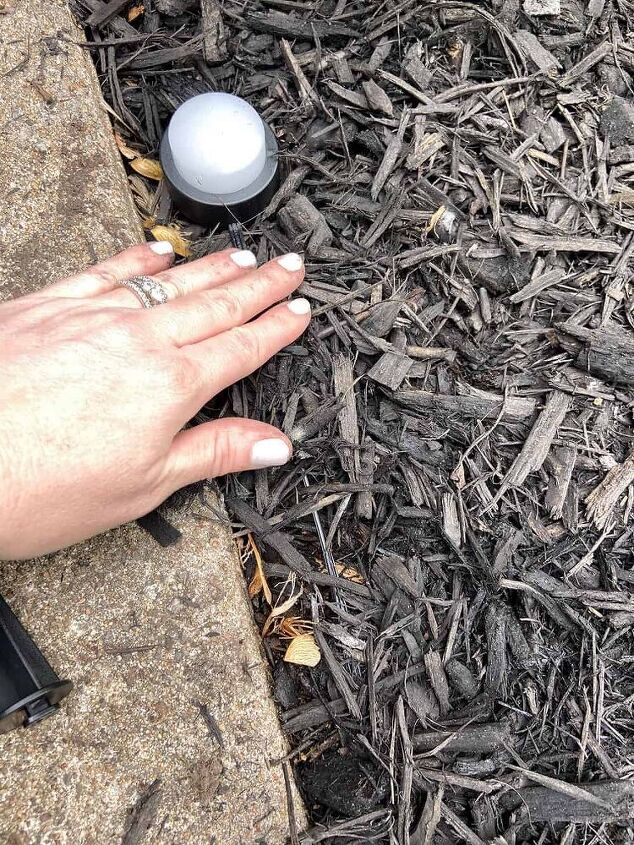
The cords to my DIY uplighting were still a mess and desperately needed to be reburied and covered with mulch. I had a lot of work ahead of me.
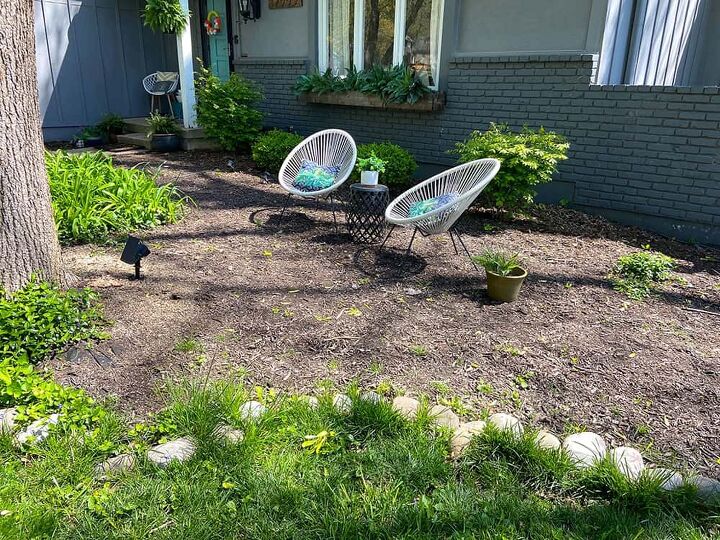
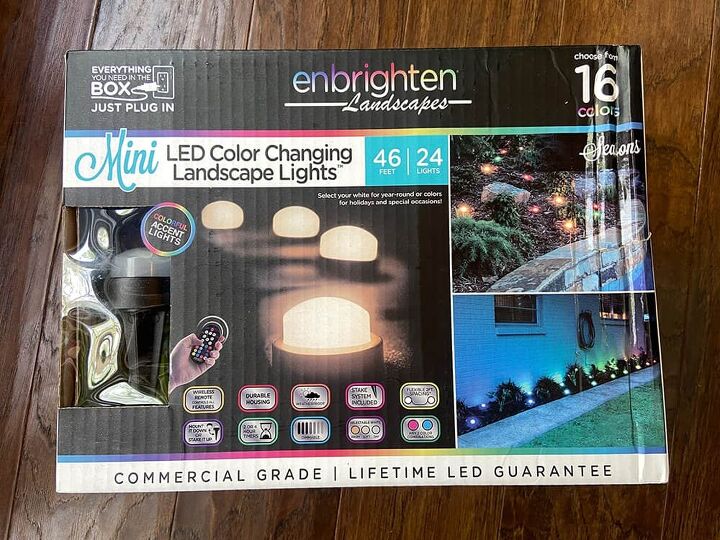
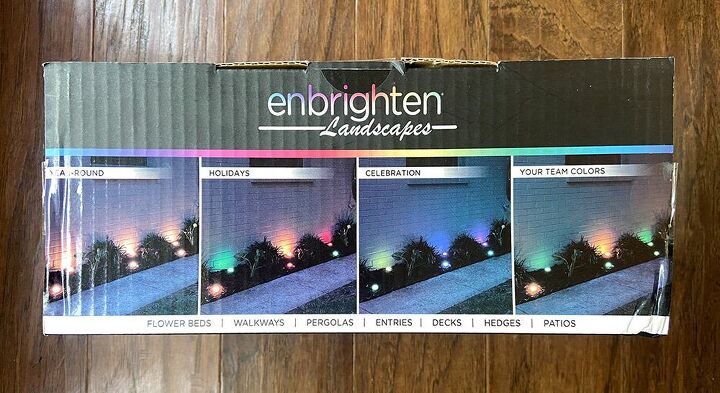
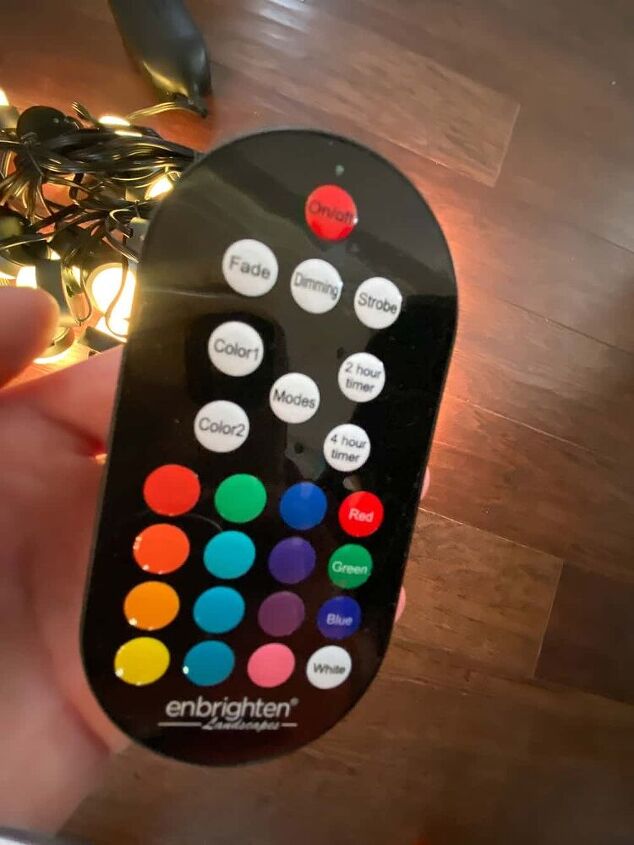
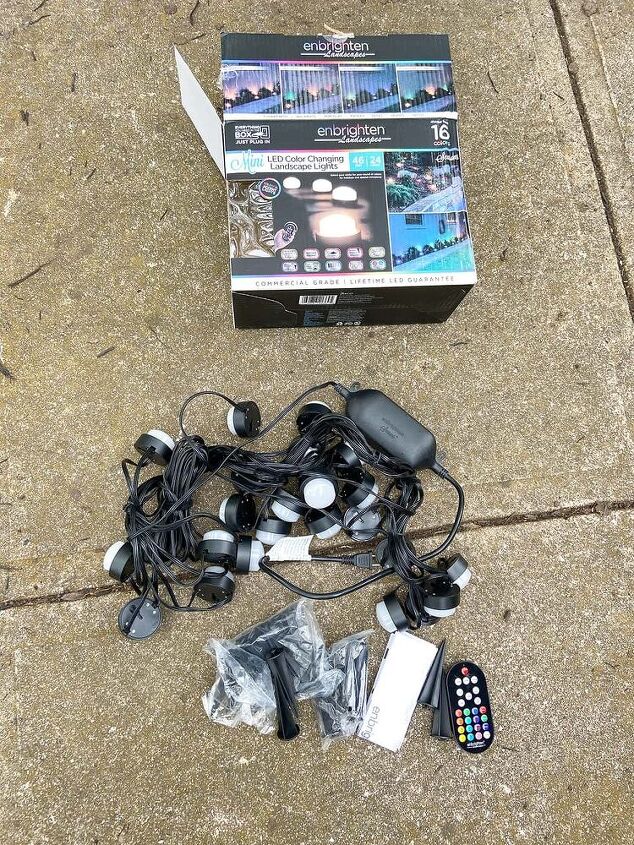
One thing that pushed me to get the landscaping project completed was this set of exterior color changing lights. They were a gift from Enbrighten Brand.
I tried them out indoors the day prior, and got so excited to see how well they worked. More information on these lights in a bit…keep scrolling. 🙂


Back to my DIY landscaping update project…
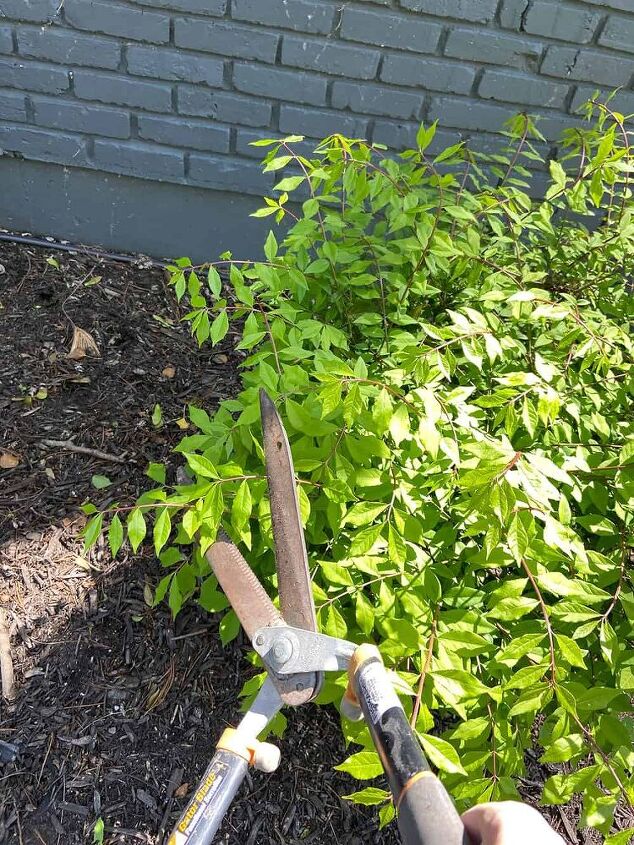
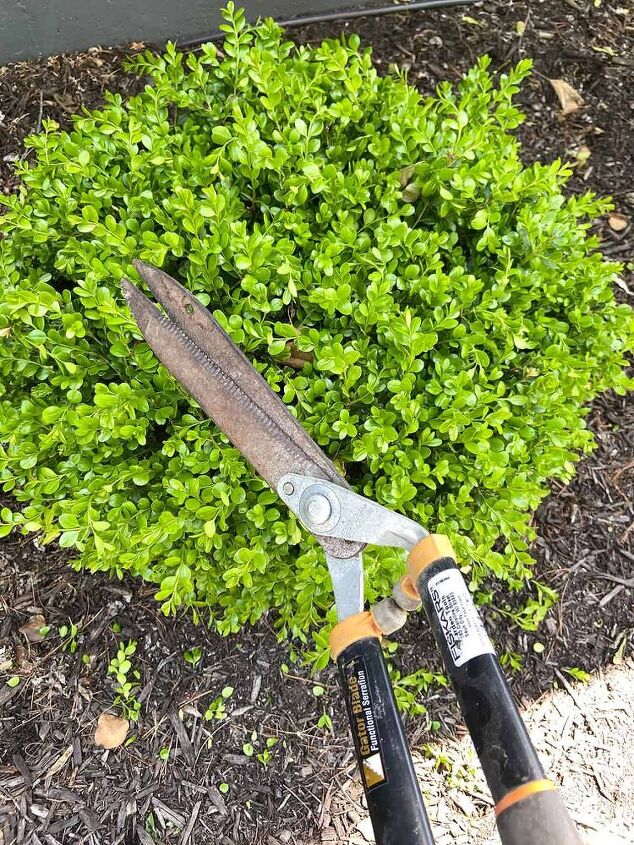
I trimmed up our existing bushes and pulled weeds.
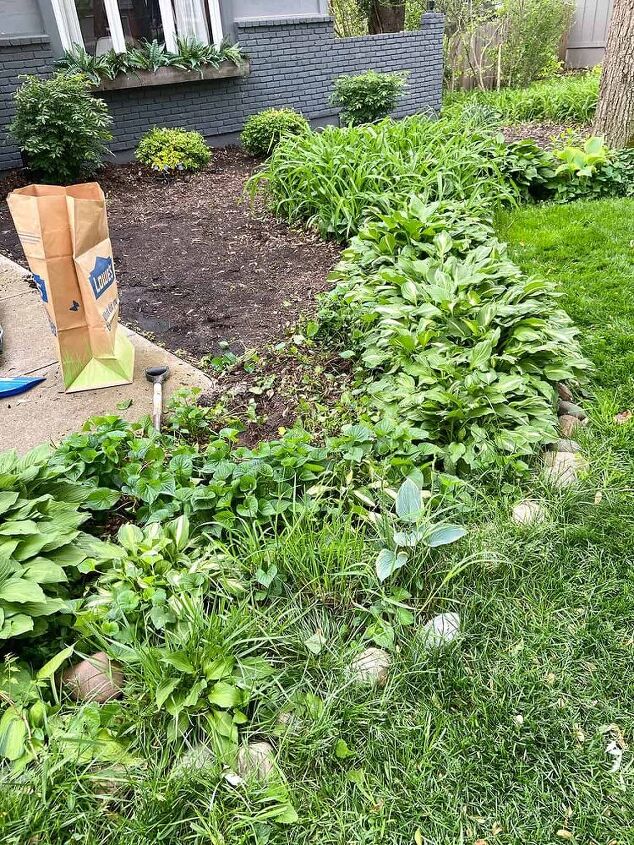
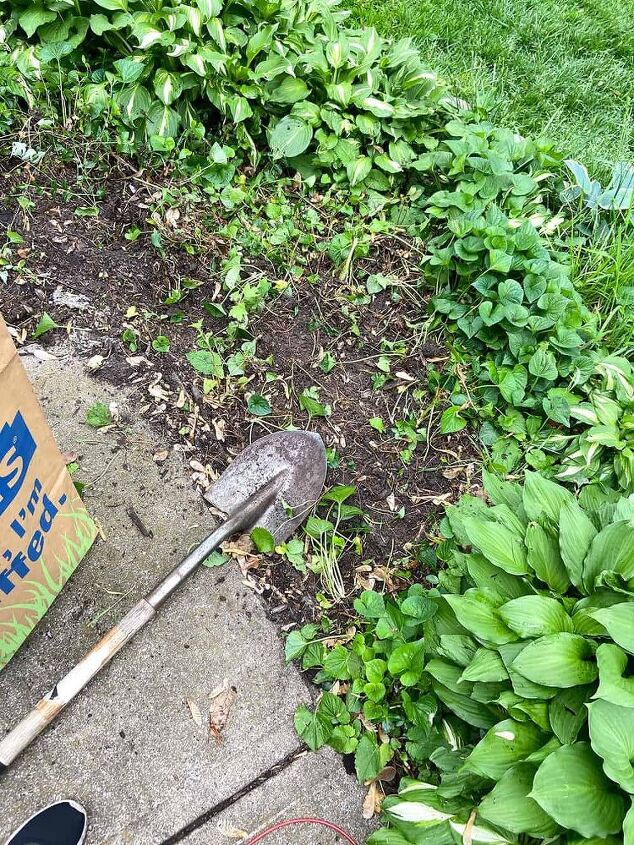
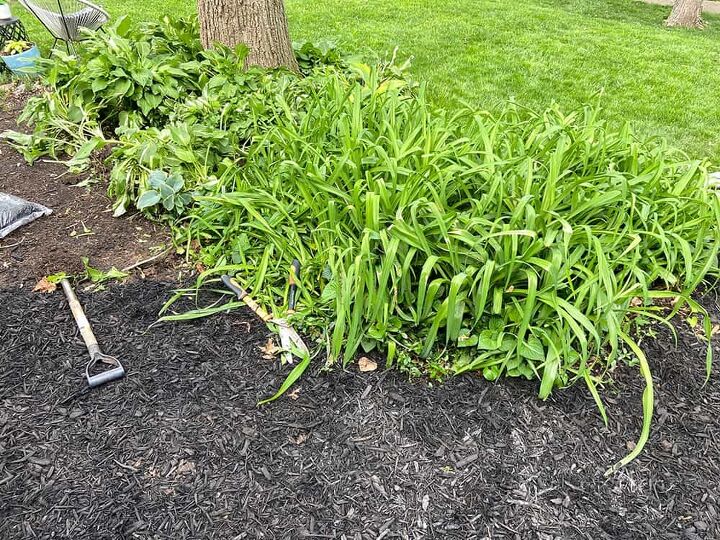
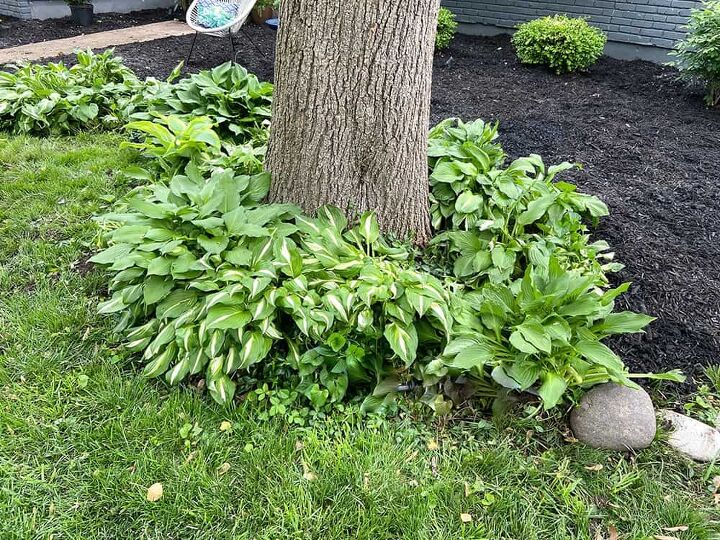
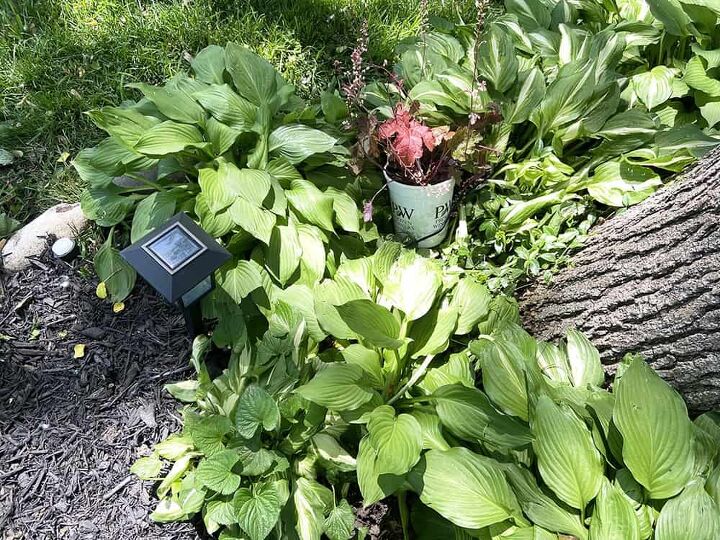
After bagging the helicopters, I busted out the shovel and started to carefully remove about 15 hosta plants. As you can see, lots of weeds started to creep into this area.
I love the hostas, but just not their location. They’re too tall to be at the very front of our landscaping and when they flower, they triple in height.
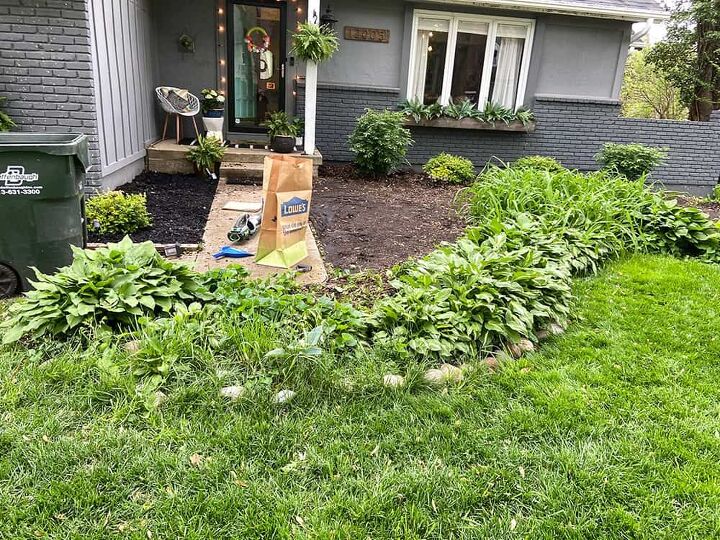
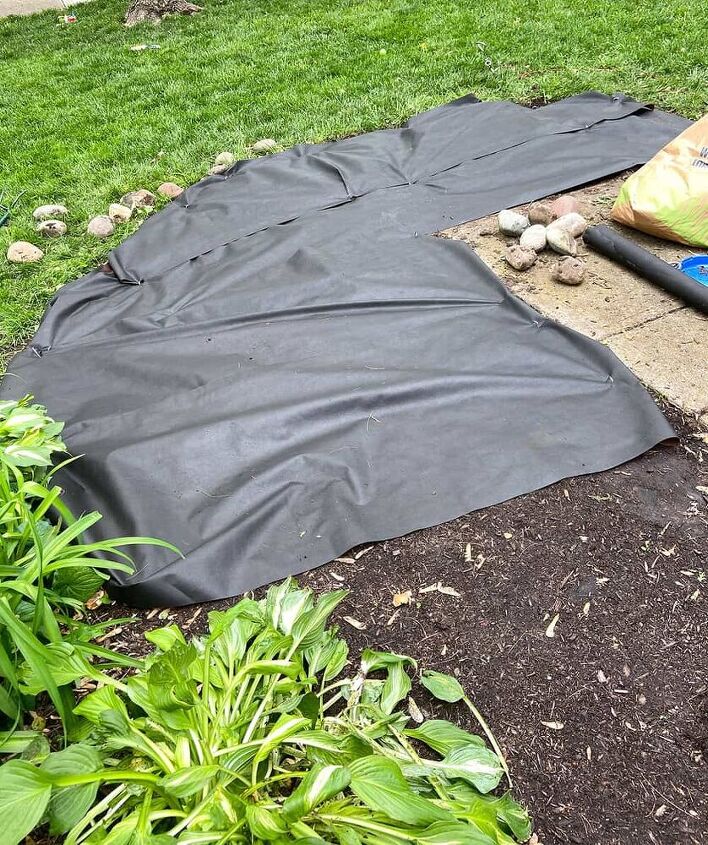
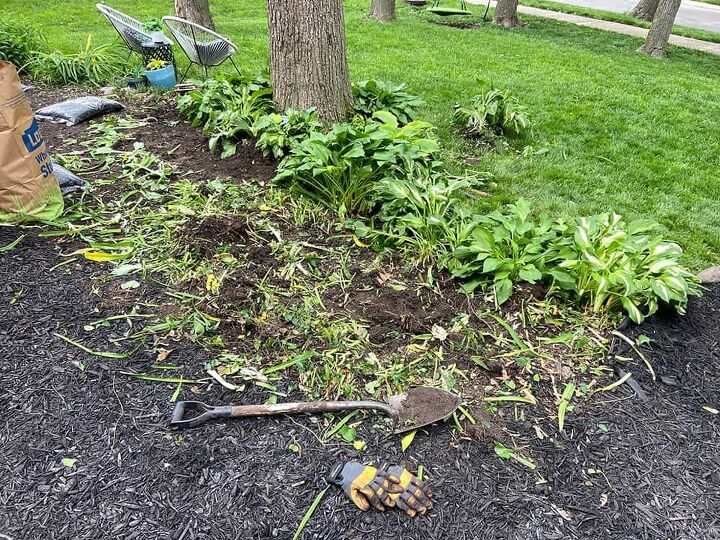
After the hostas were dug up, I sat them aside to use later. I tilled the dirt bed as much as possible to break up the existing roots. Then I covered the whole area with weed mat.
We covered the rest of the bed area in weed mat last year, so I only had to cover the new areas this year, thankfully.
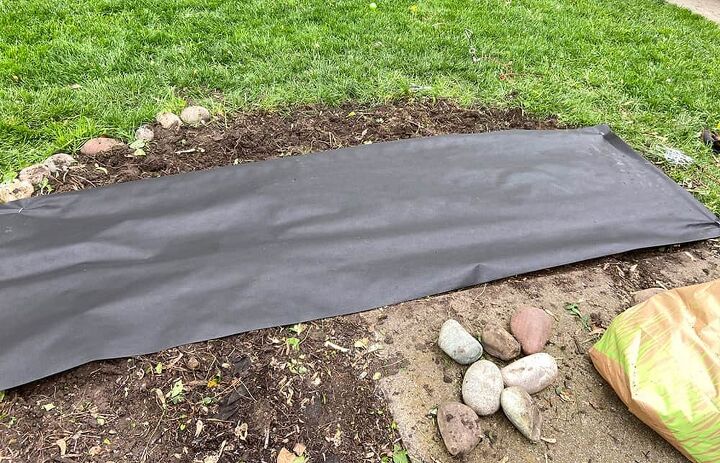
Normally you’d want to do your planting before the weed mat, but I was a few days from adding plants to this section. I mulched knowing I could push it side and cut the mat when the time came for planting. I’m impatient like that, ha!
Speaking of mulch, we opted to buy bagged mulch this year. I hit a great Lowe’s sale and got my 45 bags for about $115 — not too shabby at all.
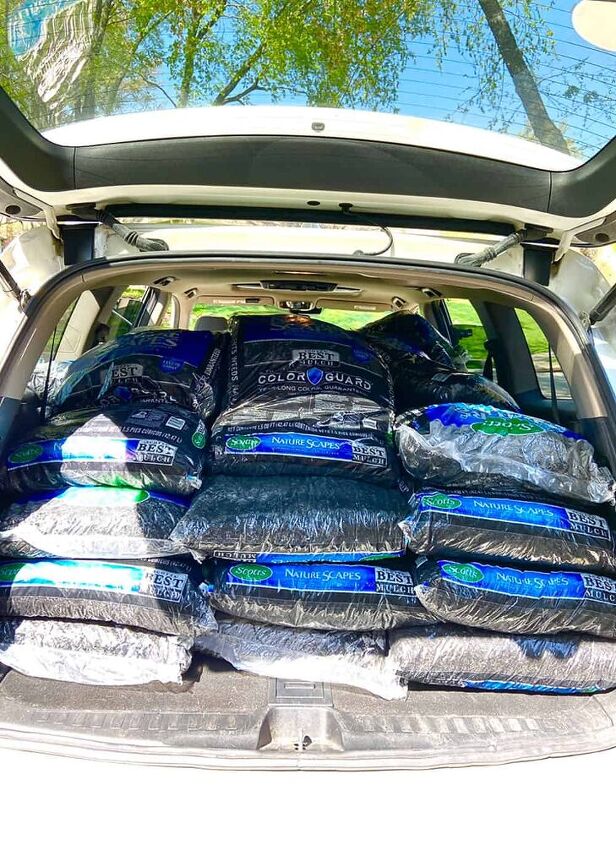
Last year we had the mulch delivered in bulk and spent quite a bit more. We’ve done quite a bit of costly home projects, so tried to save as much as we can.
Recently we had a lot of foundation work done, plus got a new roof and gutters (hail damage).
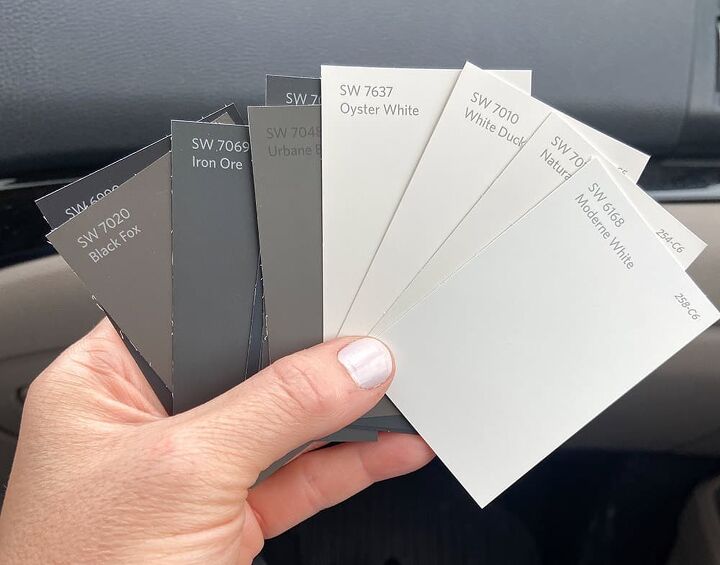
Exterior house painting is next, so our home improvement budget is very stretched at the moment.
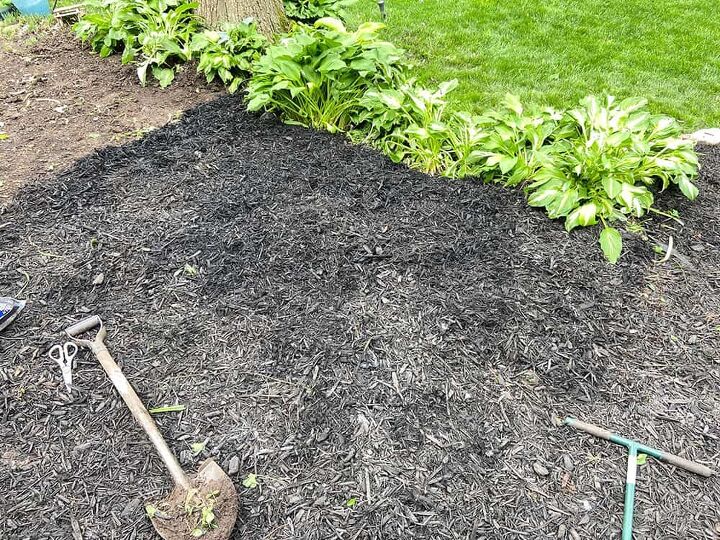
I added the mulch to the new section – it looked so clean afterward.
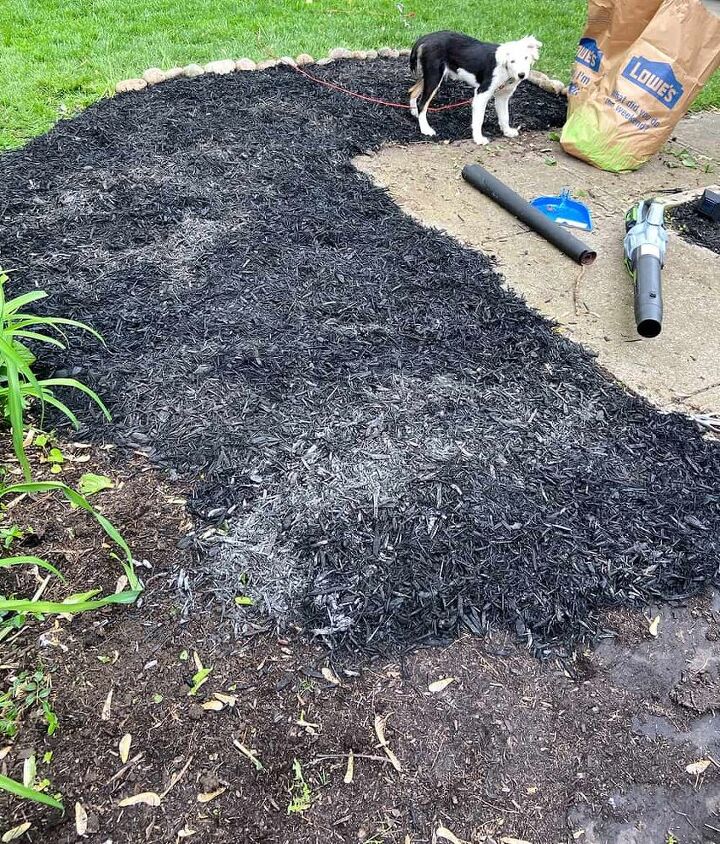
Since I still needed to tear out the overgrown lily patch, I stopped mulching to knock out that task. What a mess!
I pulled up as much as possible, laid down more weed mat, and mulched a bit more. So much more clean!
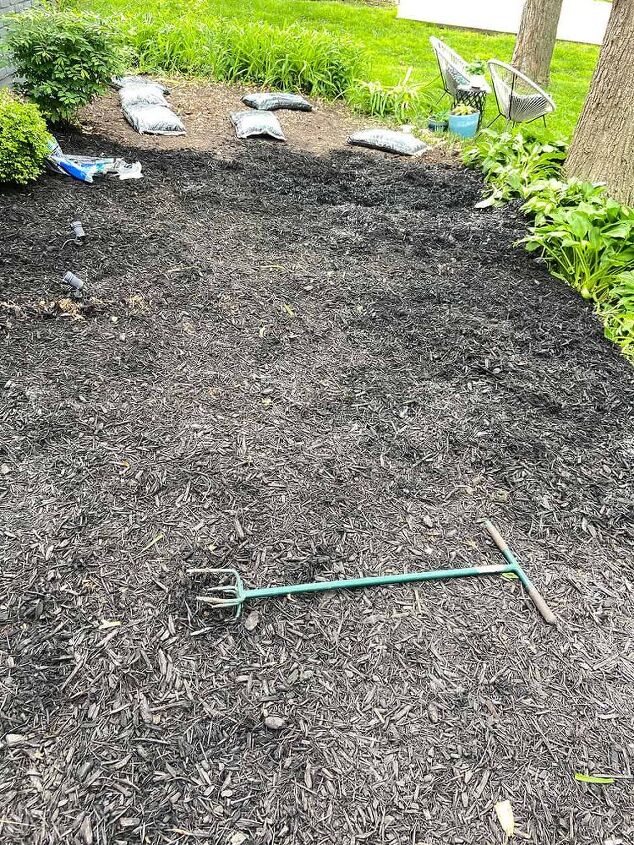
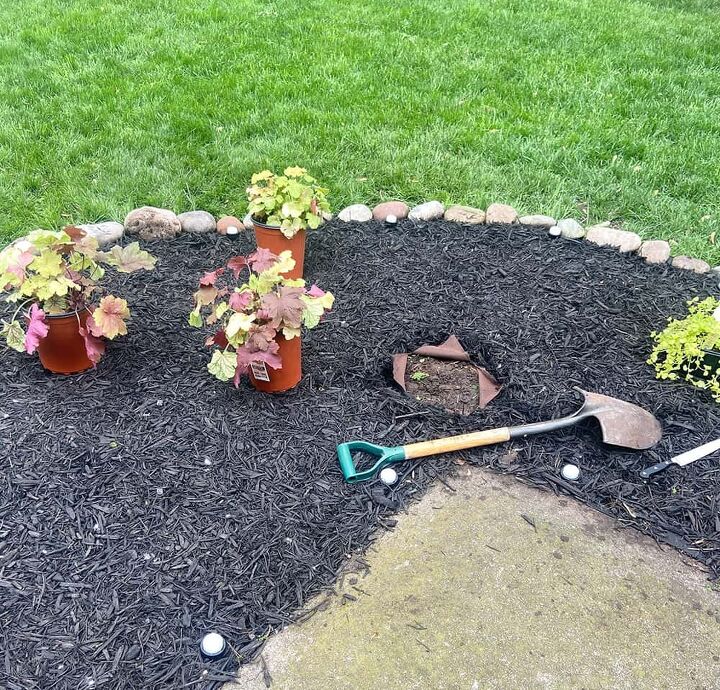
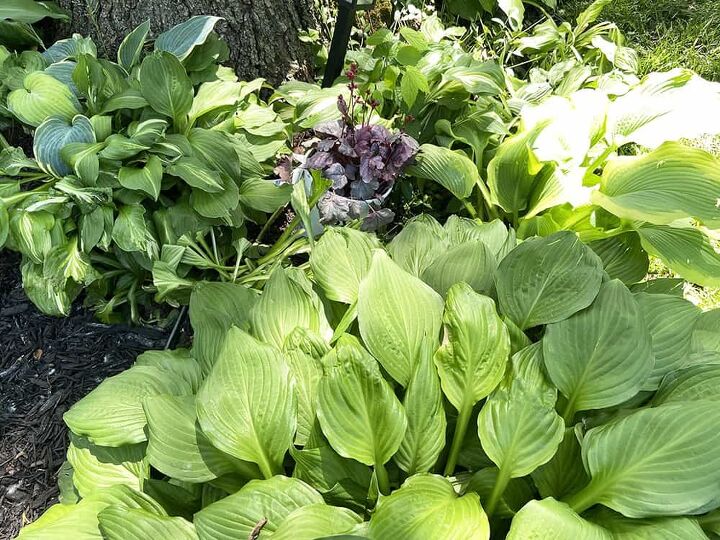
Next it was time to transplant the hostas, and I decided to plant them around our large tree.
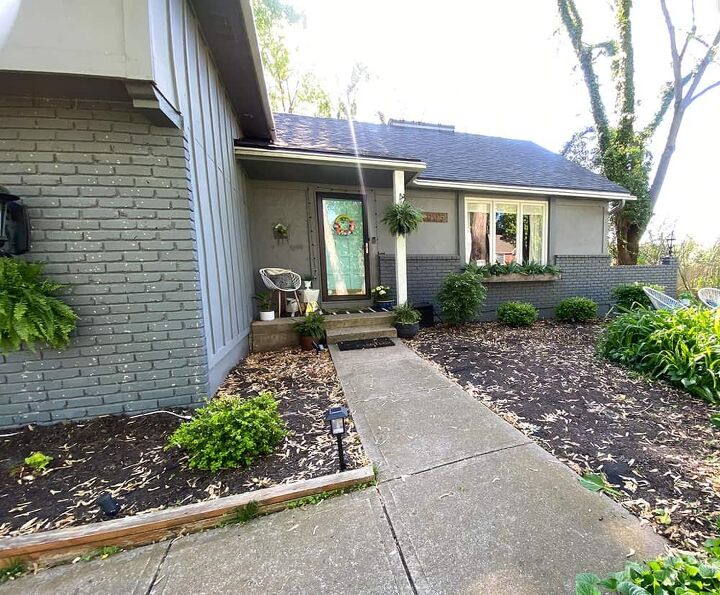
Finally, I spread out the remaining mulch until I covered the whole bed. Yay!
Things were looking so much better!
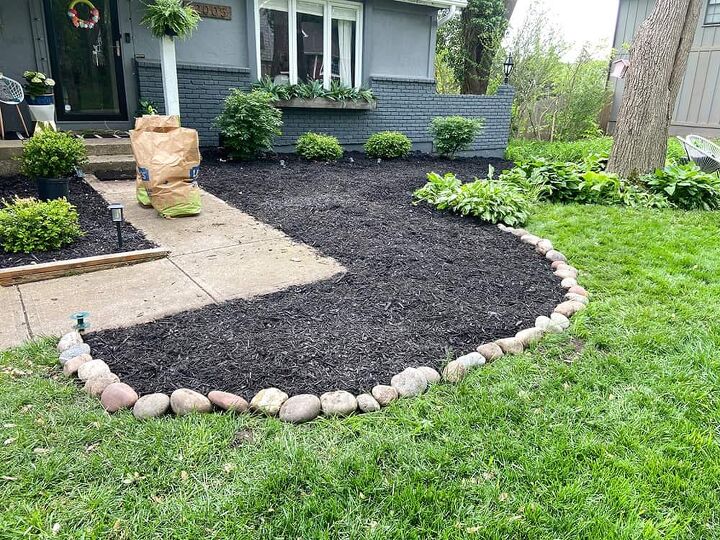
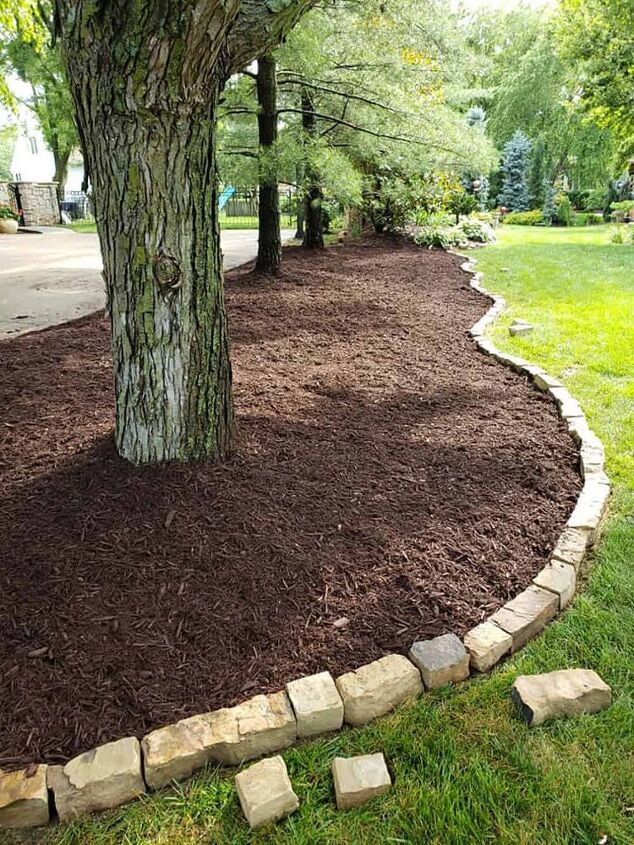
The dinosaur egg style rocks came with the house and work ok for now, but my husband and I decided we will soon replace them with something like stone edging. We’ll reuse the existing rocks elsewhere in the landscaping.
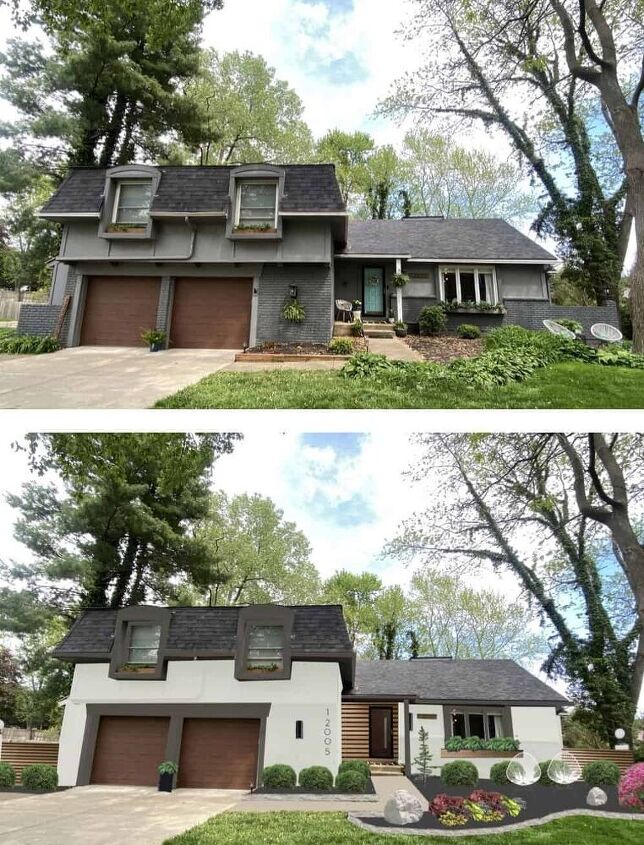
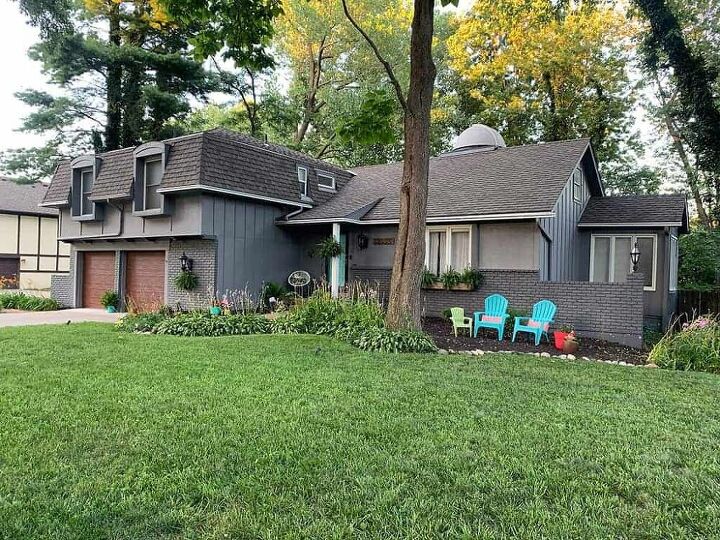
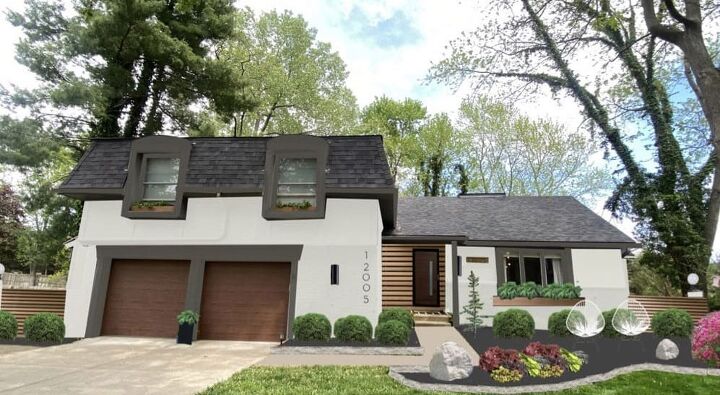
The top photo is the before of our exterior, and the bottom shows our vision for exterior paint colors, DIY wood slatting, and more. I sure hope we can make this mockup a reality soon. 🙂
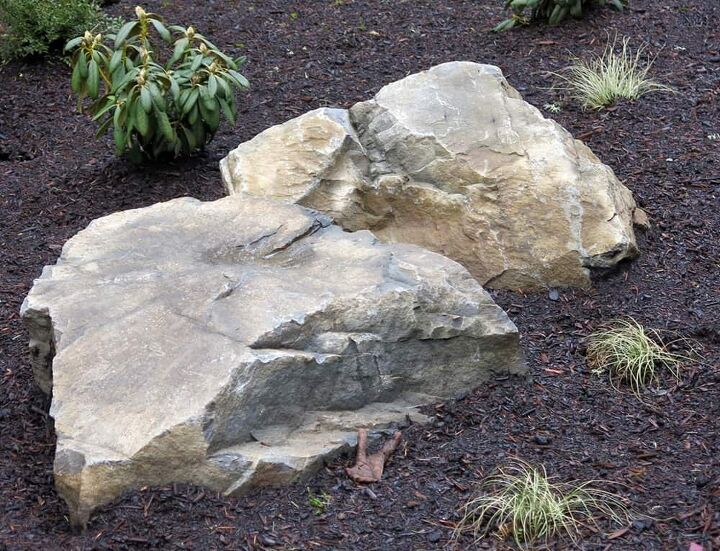
Inspiration boulders
Another thing we recently changed was finally removing the observatory dome from our house when we got the roof replaced. It felt so nice to get that off of our house — we gave it to a friend who has some plans for it on his land.
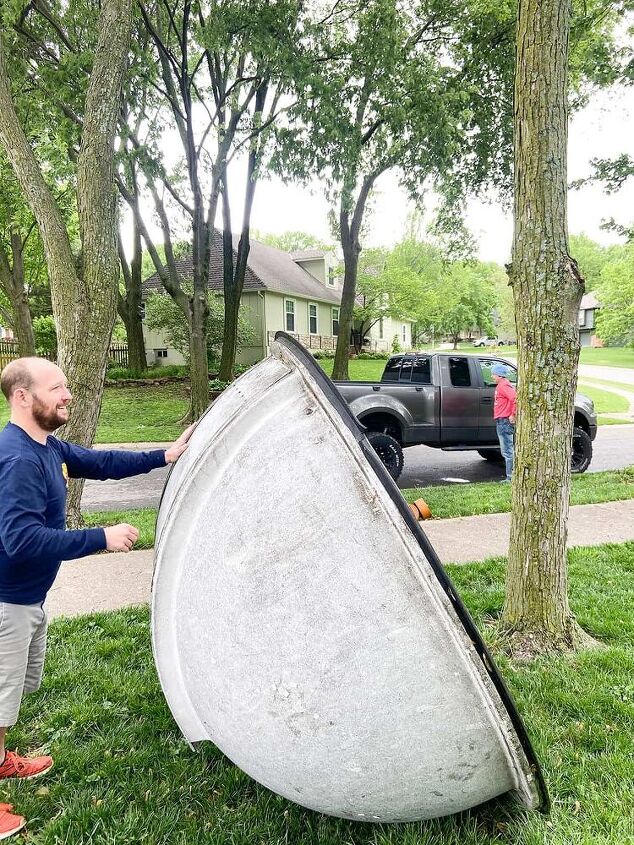
Here is what the observatory looked like on the roof. This photo was from a few years ago. You can check out how it looked from inside our attic. And if you wanna see more check out our house tour one and two while you’re at it.
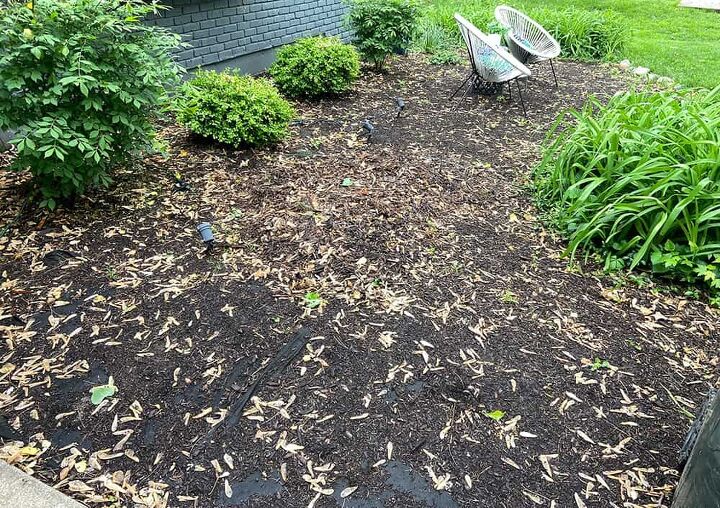
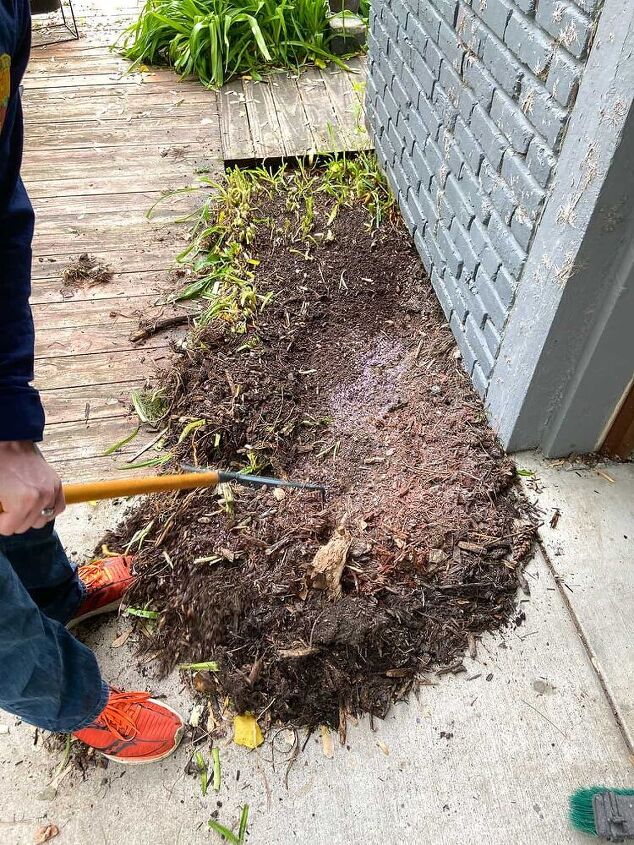
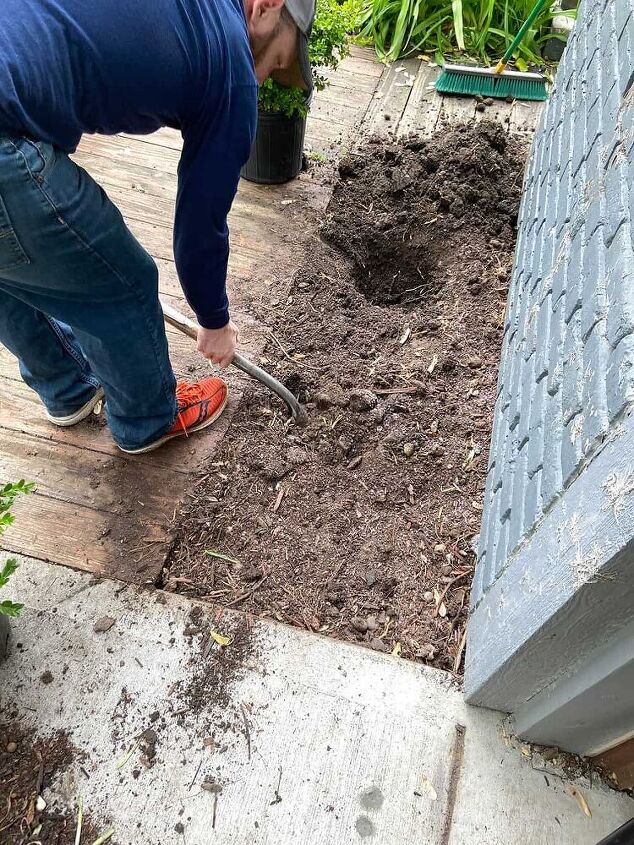
Back to the landscaping update! It was time to tear out another tiny bed on the other side of the house behind our front deck. My husband handled this part.
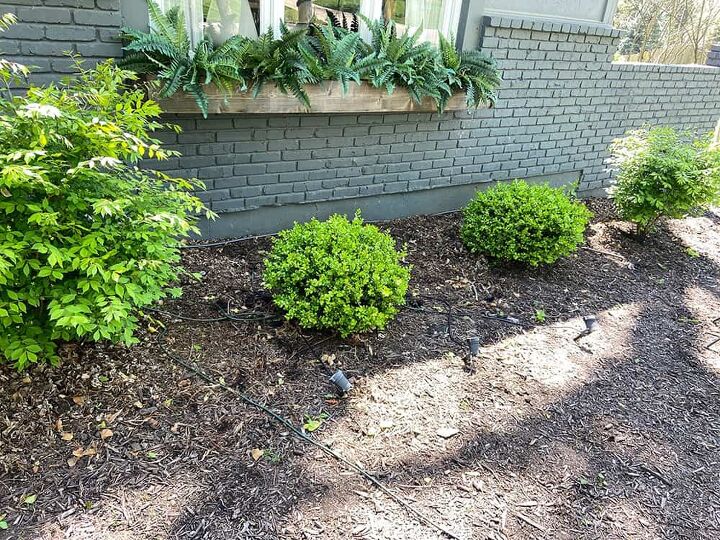
This bed was full of huge lilies, and we wanted to replace them with a couple simple boxwoods.
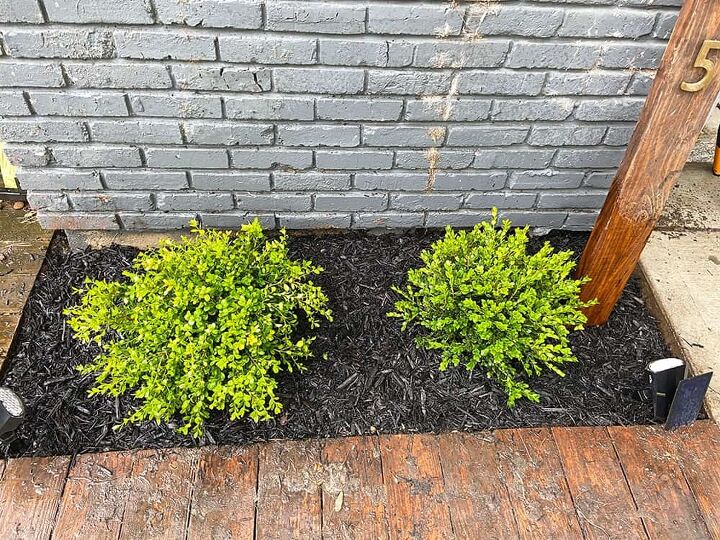
He also added four other boxwoods our other small bed.
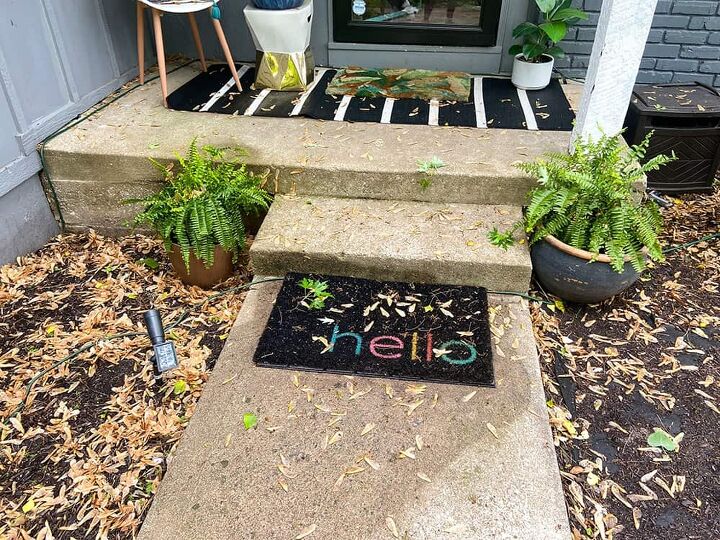
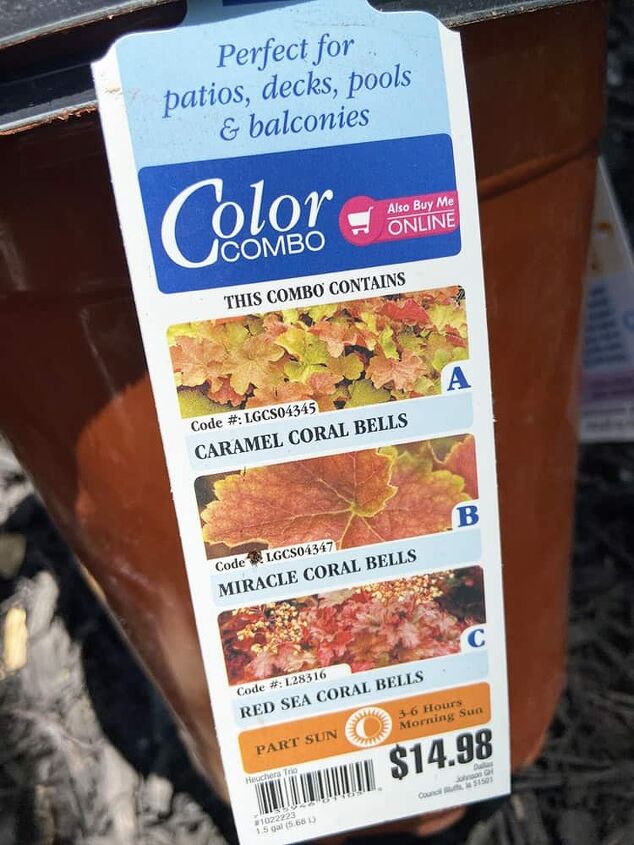
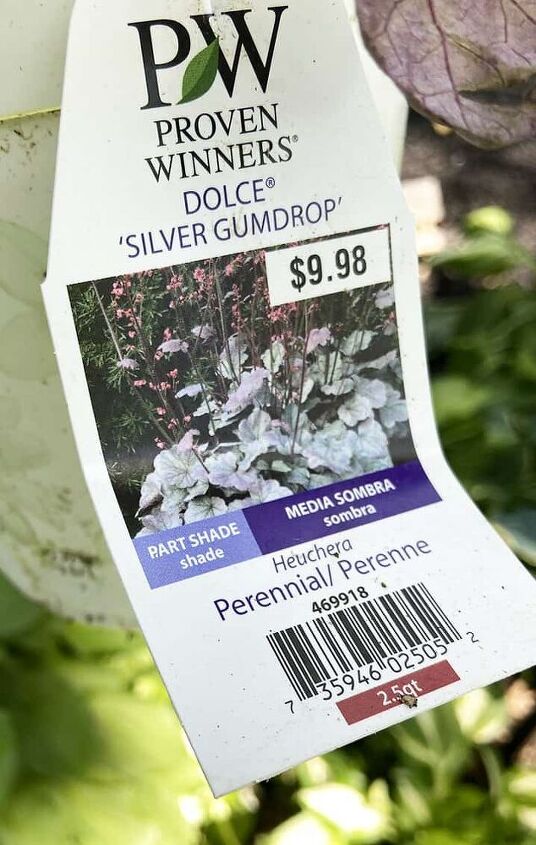
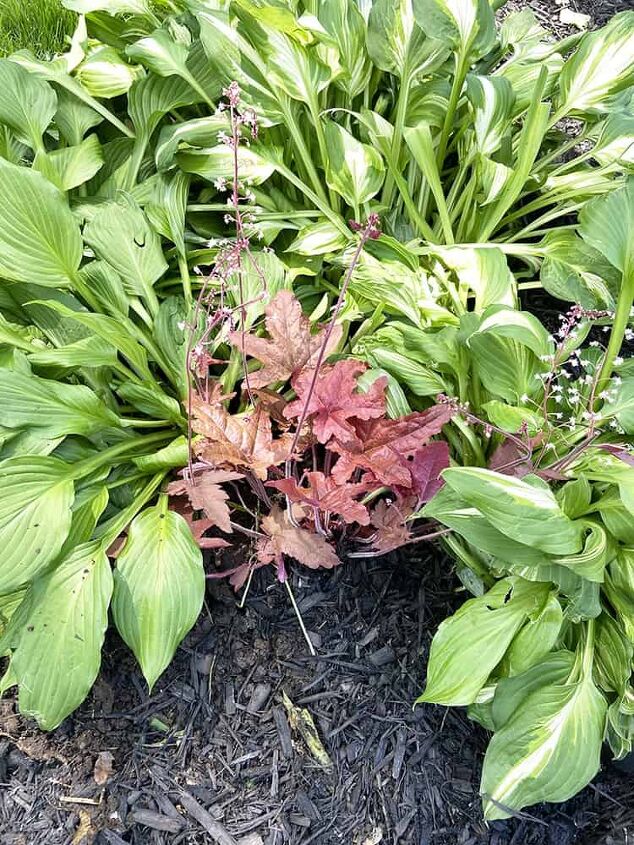
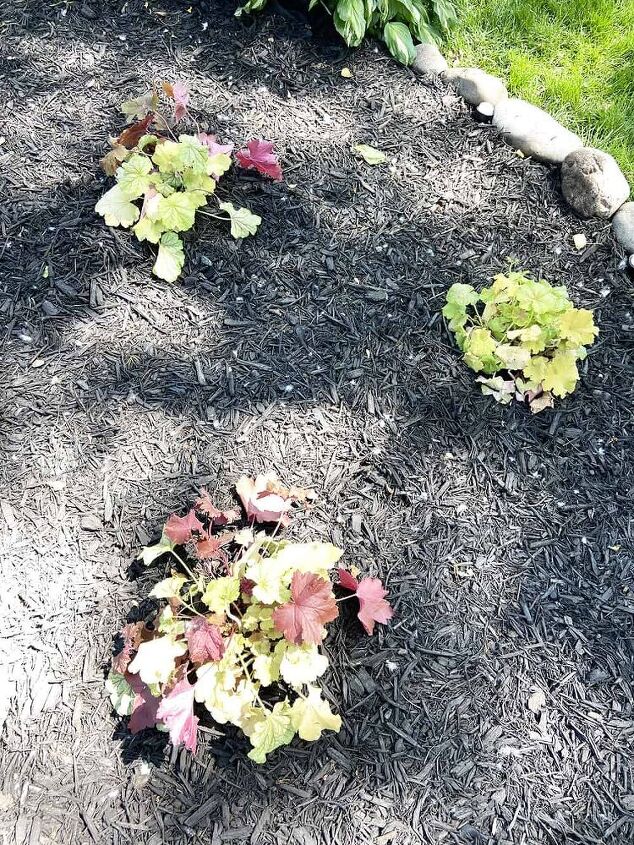
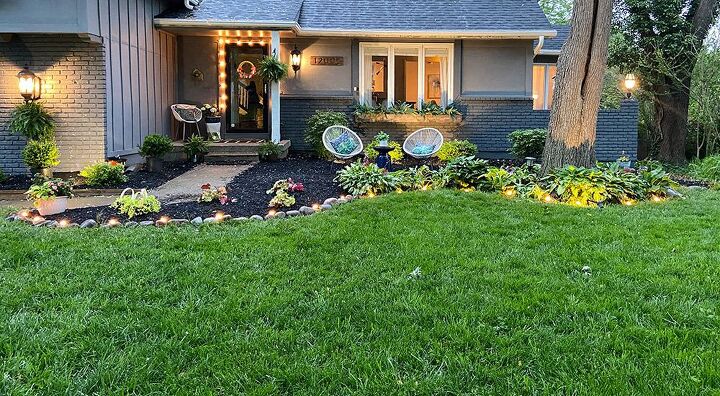
The next day I purchased some colorful perennial plants and planted everything toward the front of our landscaping.
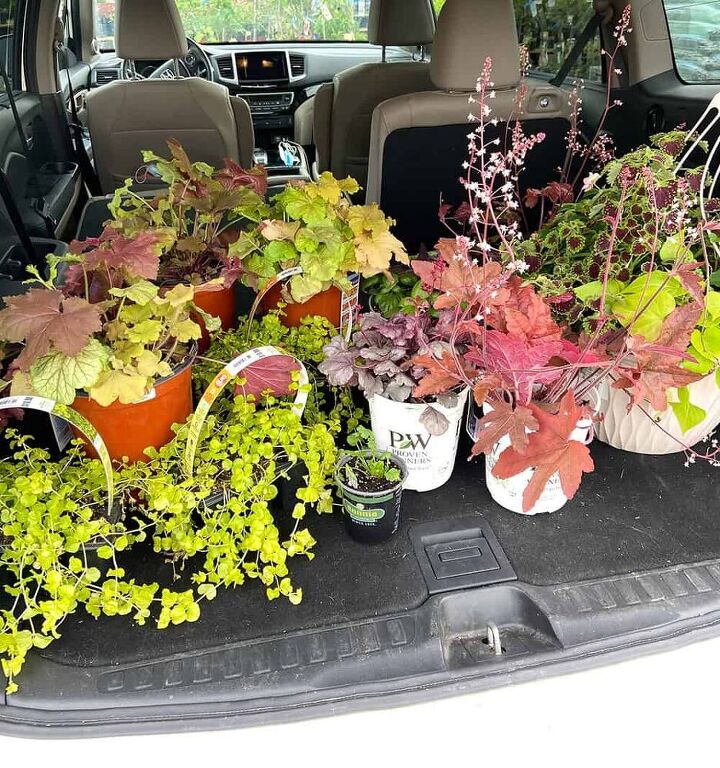
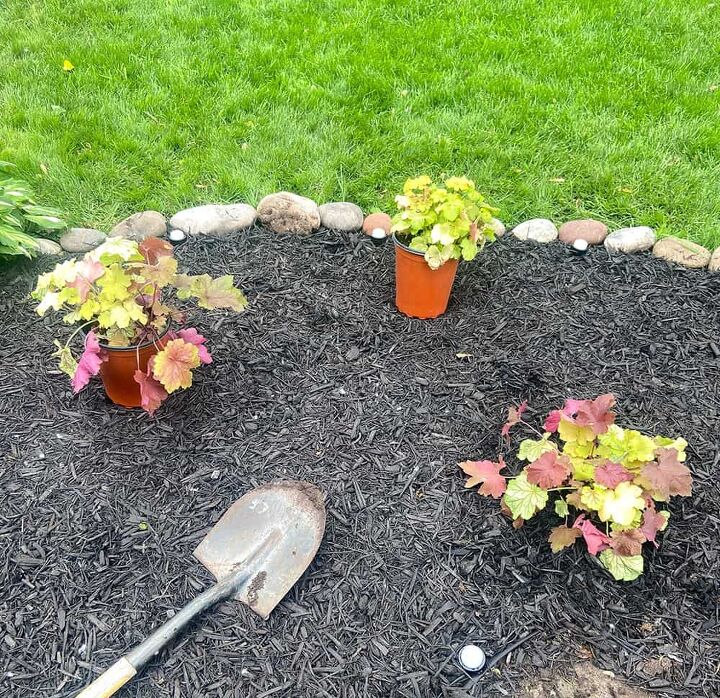
These plants make such a difference and bring some much-needed color to the landscaping!
Edit: I’ll plant the creeping jenny in a pot instead of the bed - thanks for the advice on that. :)
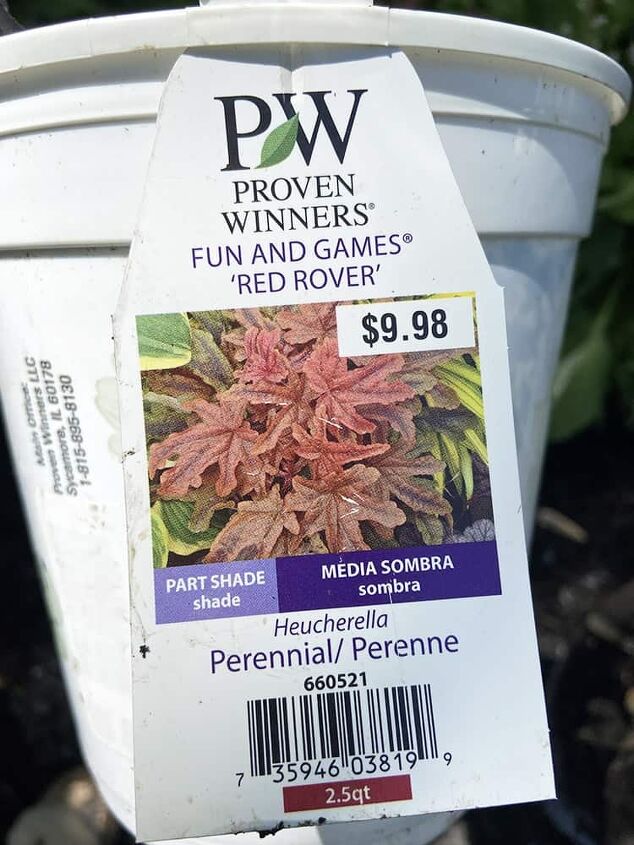
Plant details for anyone interested:
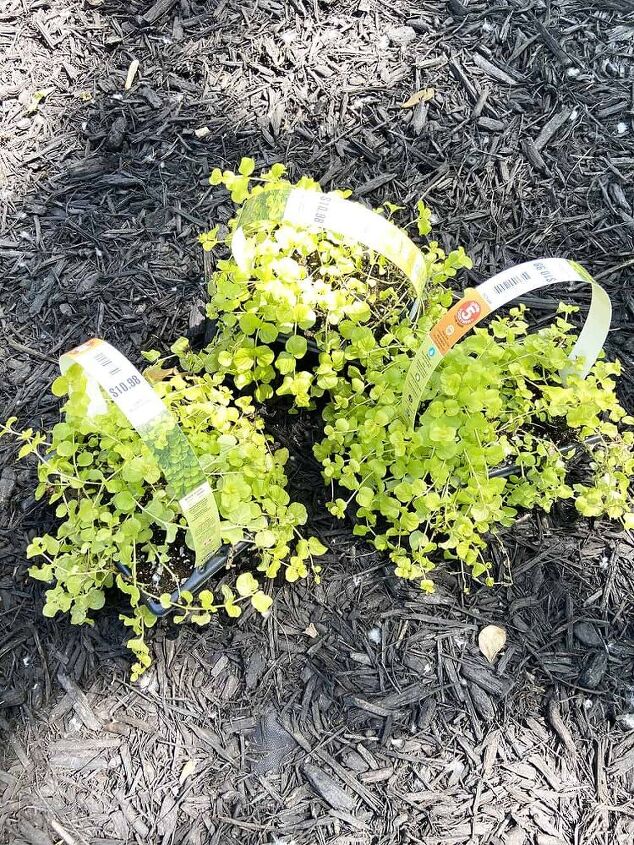
Edit: I will only be planting this creeping jenny in pots - thanks for the tips! :)
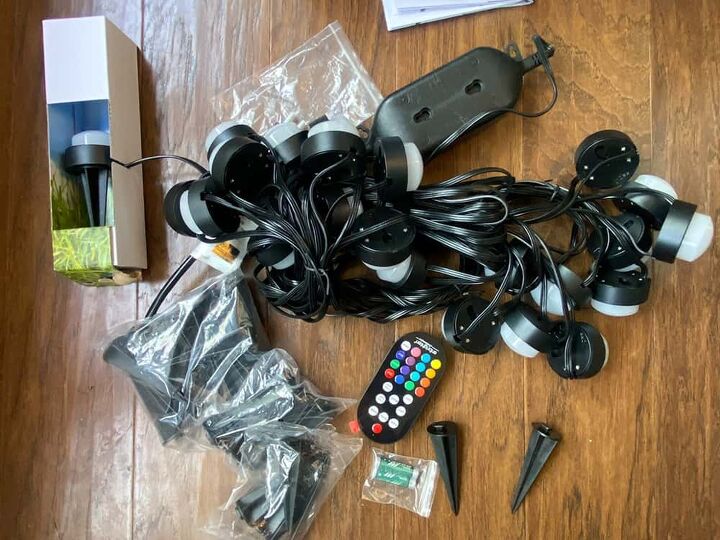
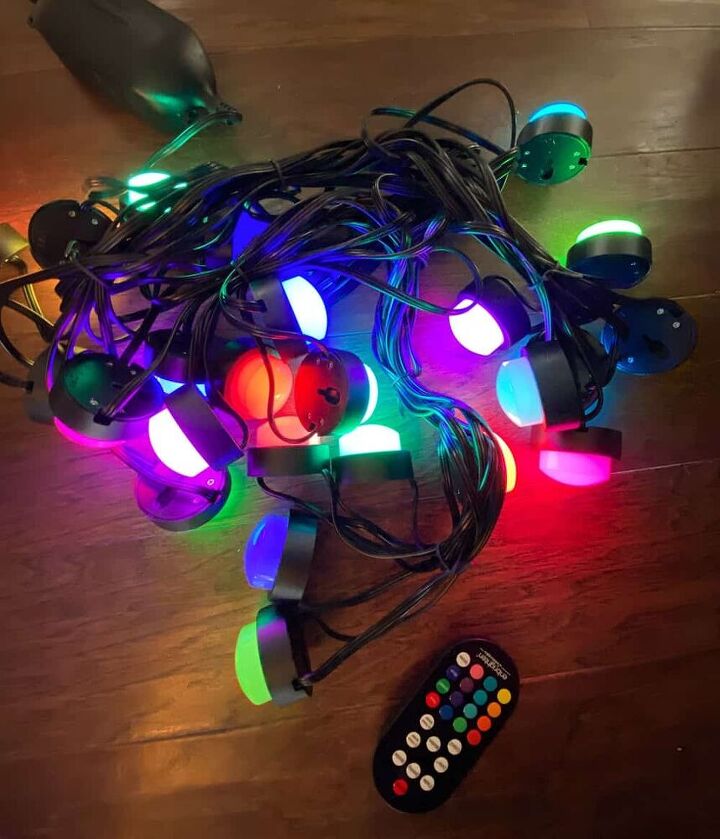
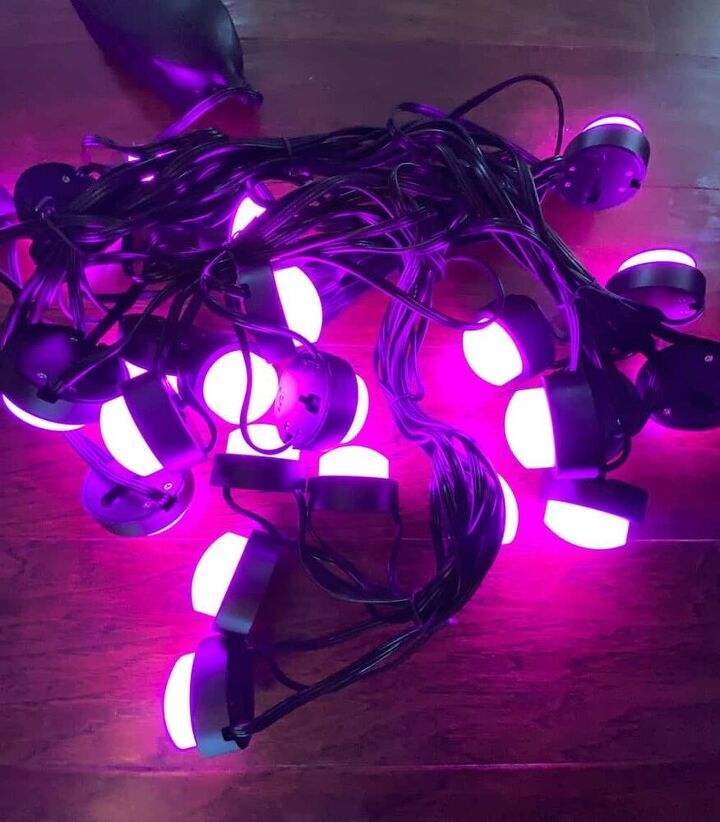
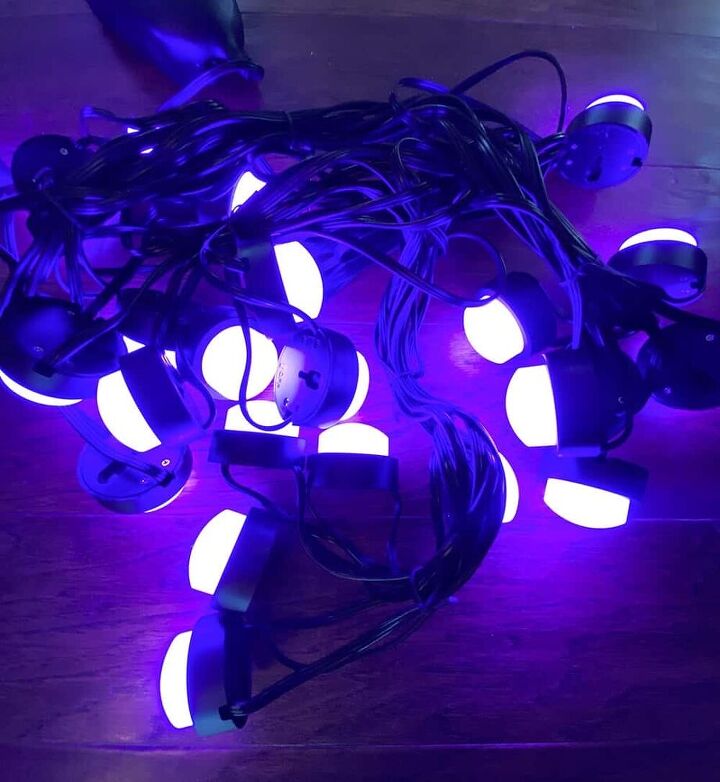
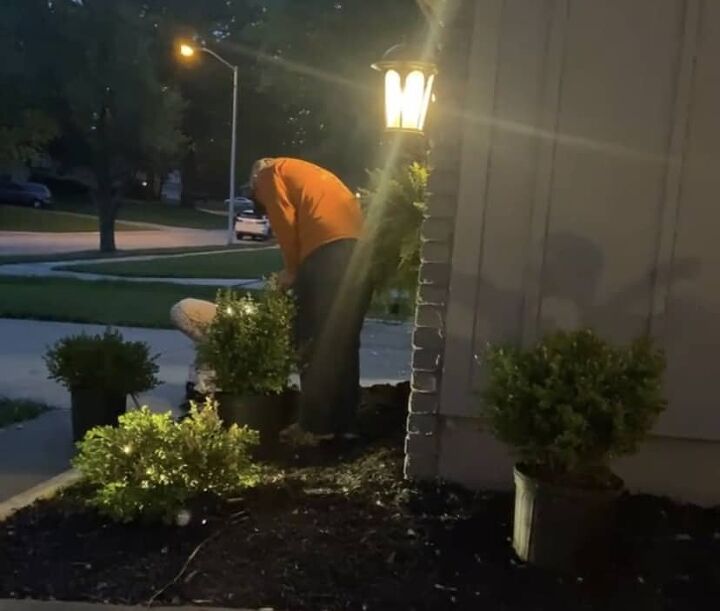
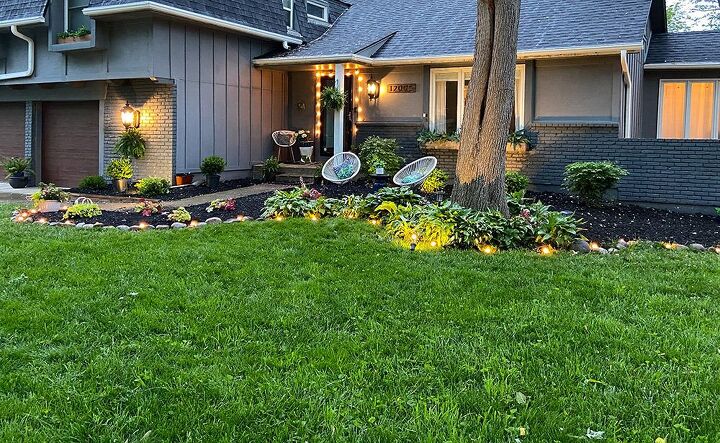
Adding in the 24 color changing lights from Enbrighten Brand
As mentioned earlier, I received some cool electric lights and was so eager to get them placed. I set them up in about 15 minutes and played with different placement ideas.
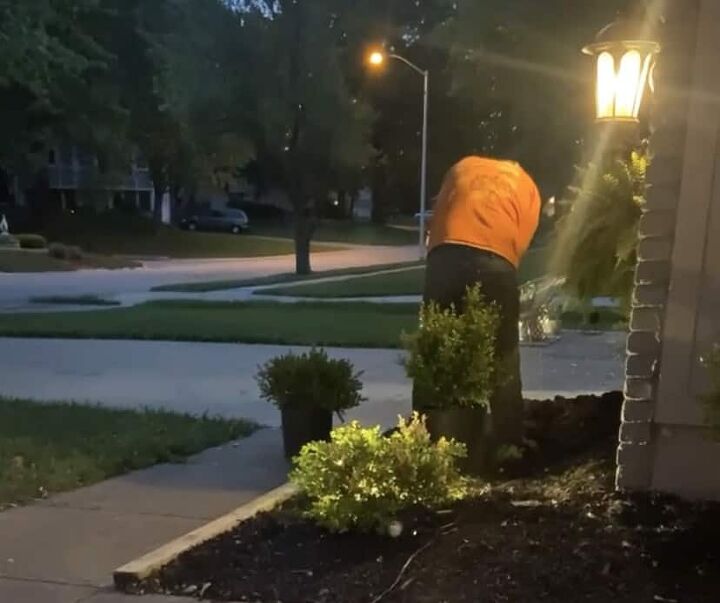
First, I added them along our walkway to the front door through some of the large landscaping bed. But after living with that for a day, I changed my mind and wanted something a little more simple.
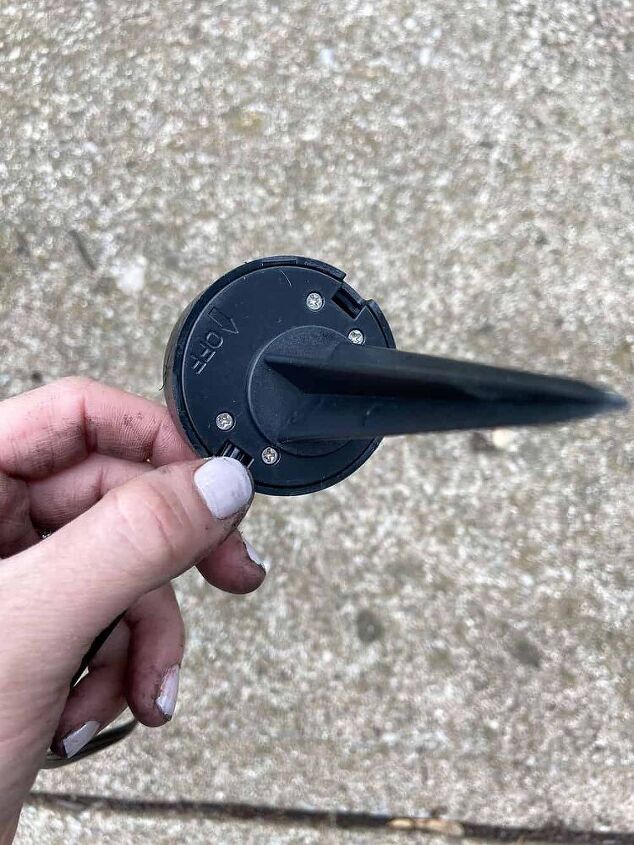
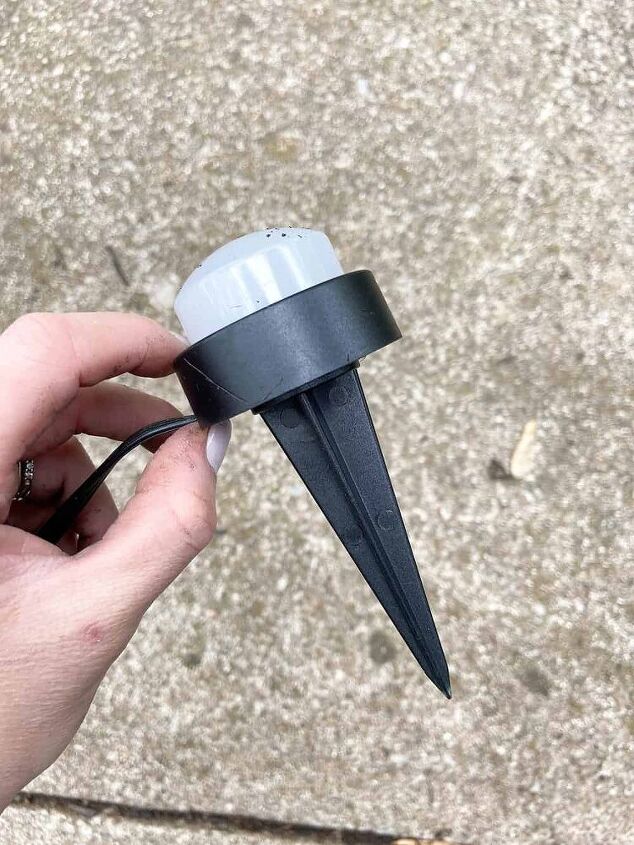
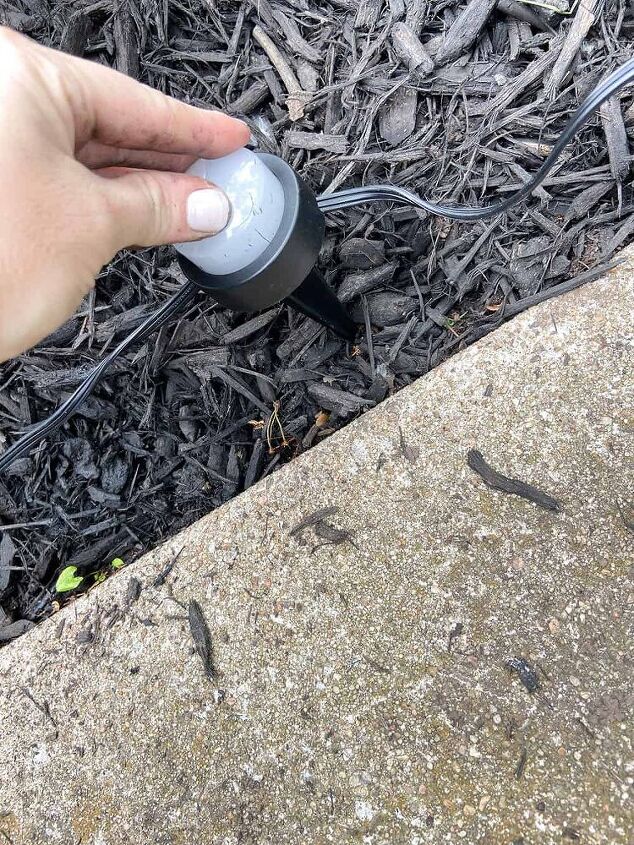
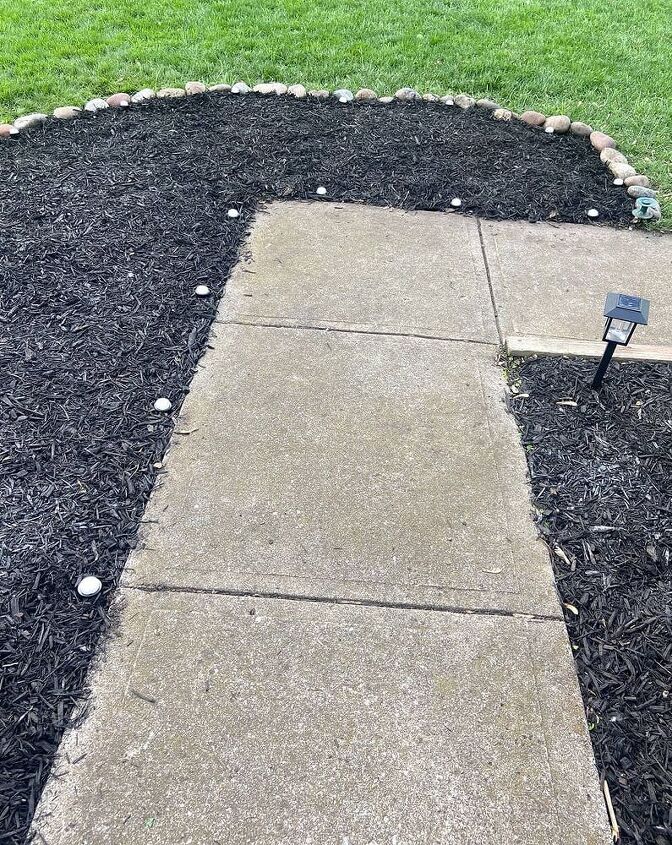
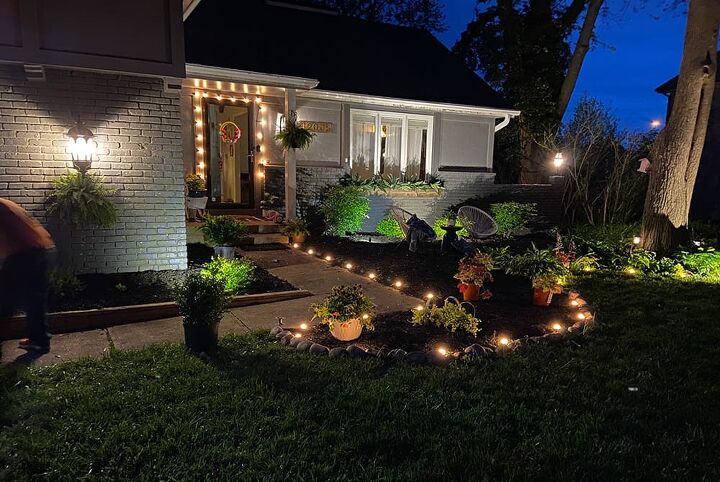
We decided on only adding them along the rocks at the front of our landscaping and not along the walkway. I just love how these lights look, and have received so many compliments on them!
We get excited when it gets dark and our lights kick on — I highly recommend them. I know they will look even better after we complete our exterior painting and DIY wood slatting project.
Our kiddo loves playing with the different color modes, and we can’t wait to change them up for holidays!
And one more reminder of our exterior plans. I live and die by this mockup, ha!
I hope our affordable in-progress DIY landscaping update has inspired you to get outside and freshen up your curb appeal.
We can’t wait to add the new stone edging and boulders, then get our exterior painted. We just chose our painting company today! I’ll be blogging all about that process too.
xoxo
Audrey
Resources for this project:
See all materials


Comments
Join the conversation
-
I was really interested until I saw the shameless plug. Then I scrolled to the bottom.
-
We call the the same, they’re obnoxious lil creatures!


Frequently asked questions
Have a question about this project?
It’s quite an involved project and honestly I didn’t go through all the pictures and wording, I’m mostly interested in how do you raked up the helicopters without raking up most of your previous mulch?
Great job wondering bout the boulders are they real or fake if there fake where do you get them Thank you
What kind of bricks were used for you edging.
We have blown off helicopters in the past off our berm