


Tall Garden Planter on Wheels: How to Build
After building my mom a tall garden planter for vegetables and strawberries my aunt asked if I could build her one too. Seriously though I can’t blame her: this is a really great idea and everyone should have at least one of these! My mom’s garden only needed to be weeded once or twice all summer lol I’m wondering why I thought I needed to put in a big “normal” garden and didn’t just build myself three of these… Anyway, my aunt had a couple of requests: It needed to be a little smaller then my mom’s so it would fit nice in a specific place on her deck and she also wanted it to be on wheels so she could move it under her house eaves in the winter time or during bad weather. So, I got to the drawing board!
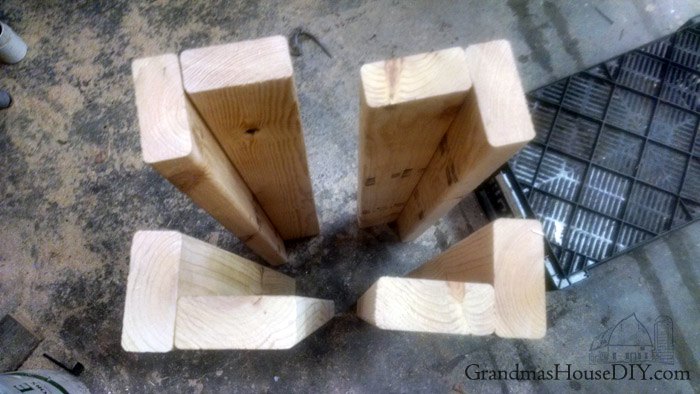
First thing was first, I took my measurements and gathered my materials. She wanted it to be roughly 53 inches long and I had a piece of steel that was 48×48 inches so I wouldn’t have to cut it so that was great right away. Just like with the other tall garden planter I made I tacked a bunch of holes in it for drainage. I built my legs first using 2x4s and 3″ outdoor deck screws. I cut the 2×4 legs at 33″ to accommodate the height of the castors.
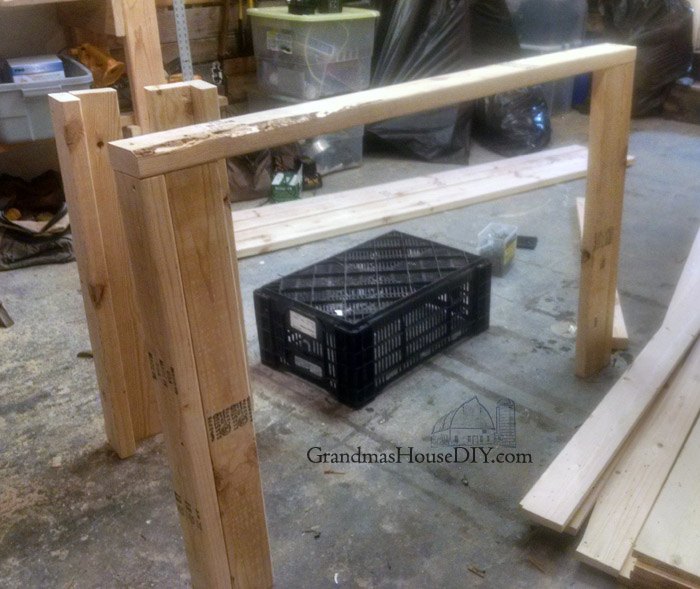
With the four legs screwed together I cut two more 2x4s at the exact length that I wanted which was 48 plus 1/2 so I would have room to slide in “sides” and plus the depth of two 2x4s (the legs on each side) so I cut them at 51 1/2. First I tacked those to the top of two legs each and then flipped them over and added another leg (also cut at 33″ just like the others) to the center for even more support.
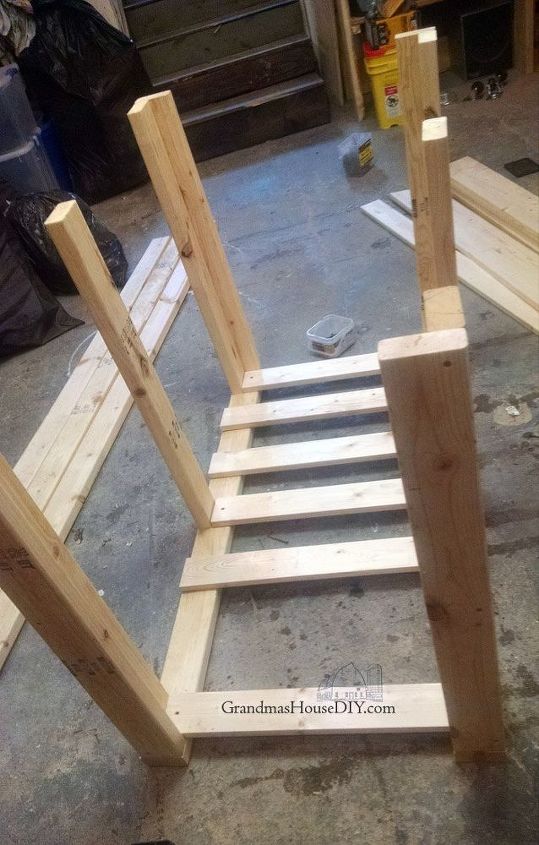
Then I added a bunch of 1x4s cut at 25″ a piece to the bottom of the whole frame. This gave me a kind of “shelf” once the castors lifted it up three inches from the ground but it also gave me a ton of support. Now it was time to add the steel. First I tacked on a piece on either of the sides/ends (to keep the dirt from spilling out) I did this by simply running 2″ screws through it to the frame and adding a 2×4 across the bottom to cover that edge. From there it was time to add the big main piece. This would be easier with a buddy but if I can do it alone so can you!
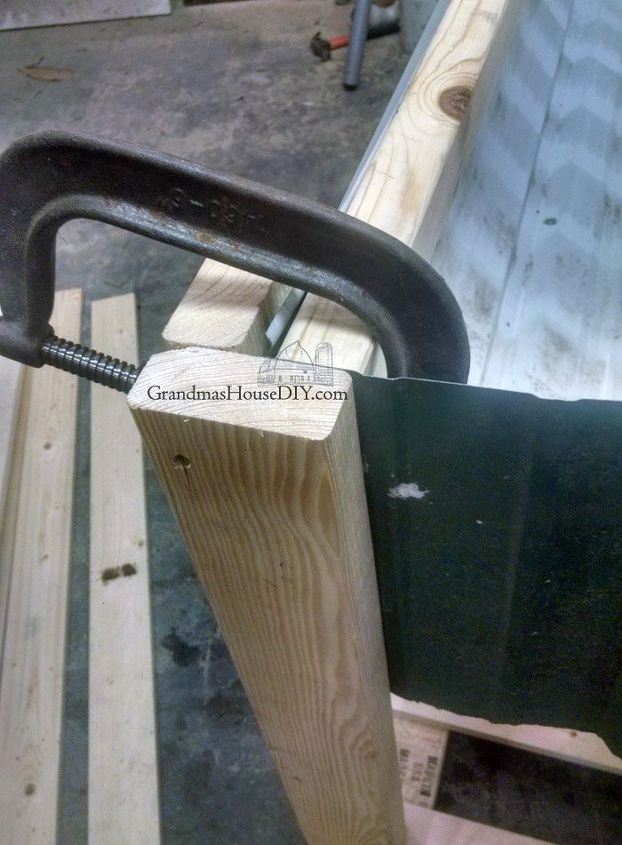
I recommend punching/pre drilling holes into the steel just to make its easier to get screws in it. The initial small screws you use to hang the steel to the frame are actually not what holds this entire thing together, they’re just there to keep it in place for now. Hang the steel from each of the legs and then wrap it up and do the same thing on the other side. Make sure your steel is NOT above the top edge of the legs or you’ll have to pound it down there.
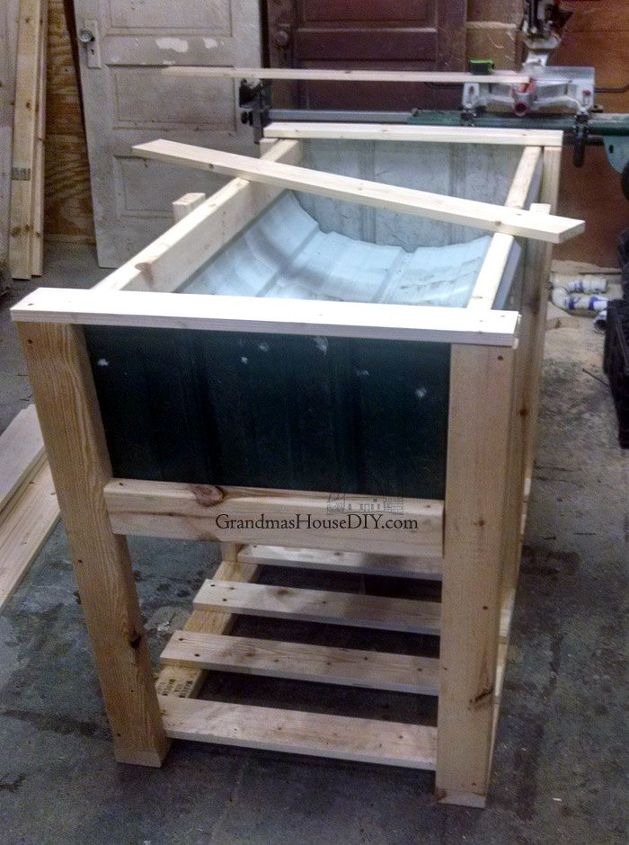
Cut two 2x4s at 48 inches (the inside length of the entire garden and the length of the steel) and press that in along the top edge of the steel. You want the top edge of the steel sandwiched between that 2×4 and your legs. I used clamps to help me out here to flatten the steel some and keep everything in place but they’re not necessary. Once you get one screw through that 2×4 and into the leg behind it everything will tighten down on that steel hard core. Put in 3″ deck screws from both sides: through the legs, through the steel and into the 2×4 you just added and through the 2×4 you just added, through the steel and into the legs. This guarantees you’re giving your steel an incredible amount of support. (All that dirt you’re going to be putting in there weighs a lot and what you just did is all that will be supporting it because that steel is essentially hanging.)
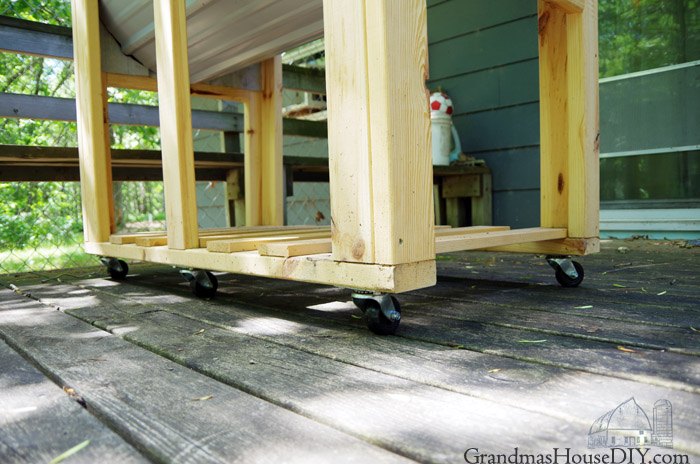
Now all that’s left is to cut 1x4s to finish off the top and cover up your “sandwich” of steel and 2x4s. I didn’t add this to my mom’s tall garden planter but I sure wish I had, I think it really made the whole thing look a lot more finished. After that I flipped it over, added castors and hauled it to my aunt’s house!
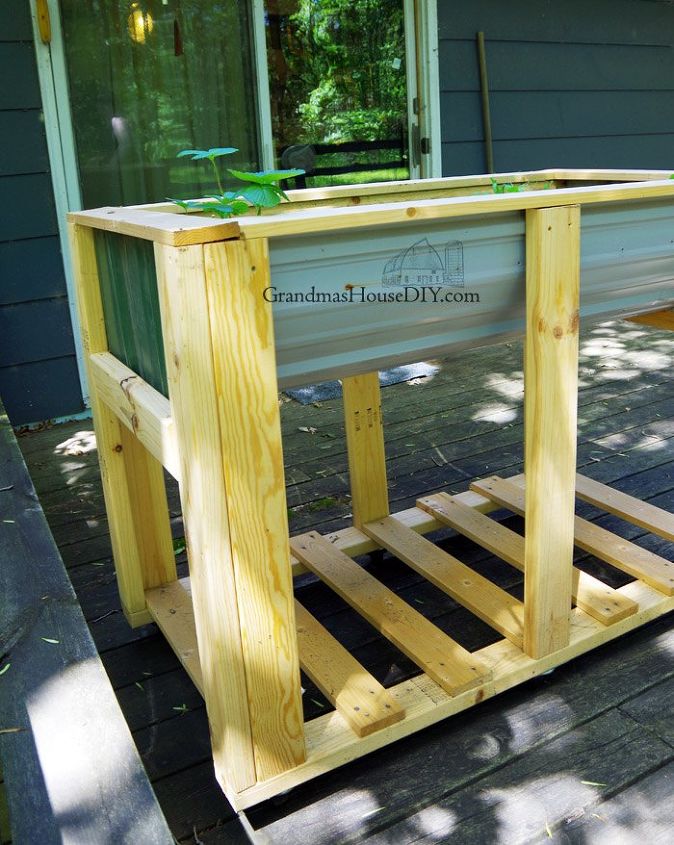
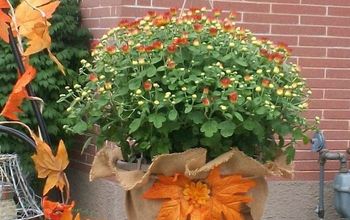
We filled it with top soil and a bunch of those seedlings I grew for us this spring. ( See my post about how I grew them here.)
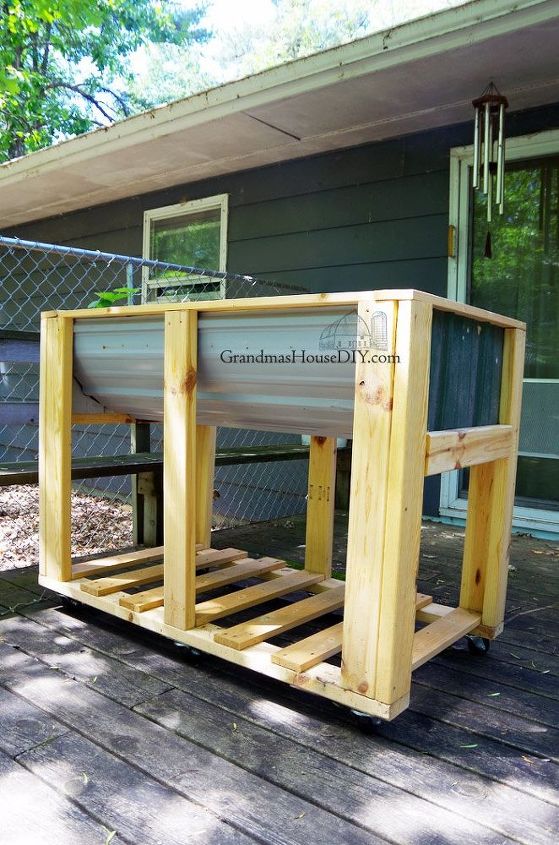
She also planted carrots and green onions and a couple of strawberry plants. So far so good! I hope it does great for her all summer long!

Comments
Join the conversation
-
Great for plants. It can also be a a great beverage holder for parties. Just line it with a plastic garbage bag, add ice, and put in your beverages. Great job!


Frequently asked questions
Have a question about this project?