


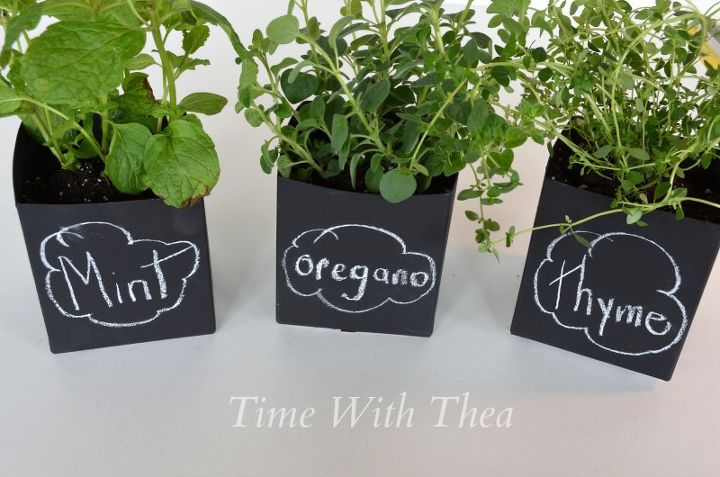
Milk Cartons + Chalkboard Paint = Fabulous Herb Pots!
$10.00
Easy
The Problem:
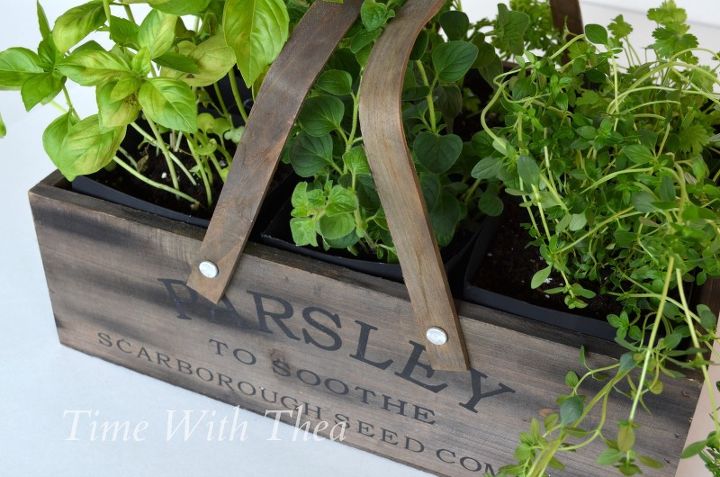
Last year I received a lovely wooden basket with a collection of herbs in different pots as a gift. The herbs grew really well but It was a bit of challenge and inconvenience keeping them watered. Every watering session I pulled each herb pot out of the basket, watered them, let the water drain out of the holes and put them back into the basket. I didn’t want the drained water to damage the bottom of the wooden basket so that’s why I took the extra time to use this watering system.
Another problem is that the herbs seemed to need to be watered twice daily because they didn’t seem to hold the moisture that they needed to thrive. I live in a pretty dry climate so outdoor plants can dry out quickly.

The Solution:
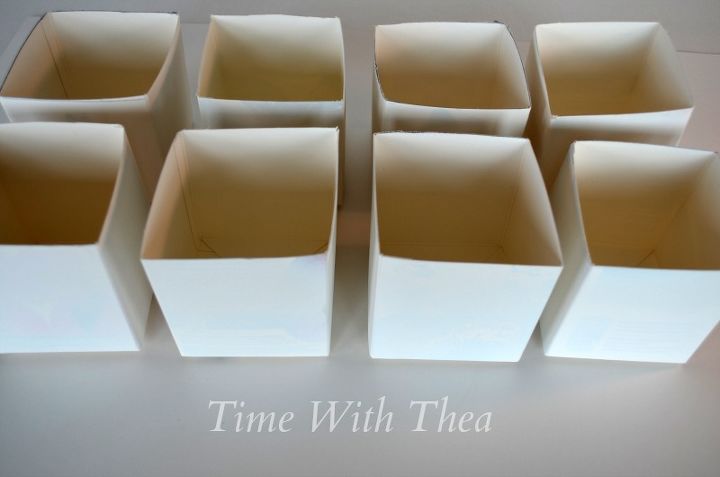
I knew I needed to transplant them so I hunted for just the right plant pots that would fit into the wooden basket and weren’t too expensive. I couldn’t find any that would work.
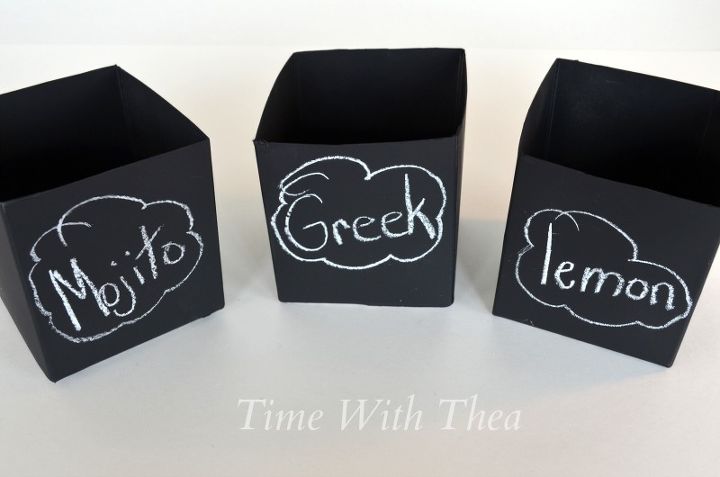
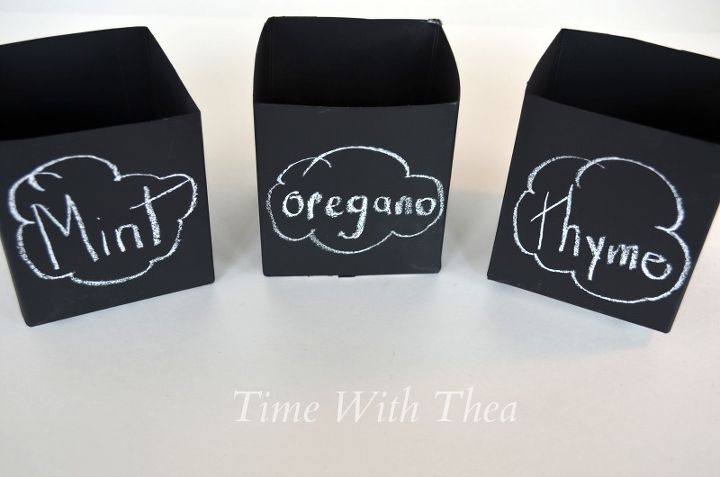
Then painted them with chalkboard paint.

... and on the back!
These herb pots are much easier to water, stay moistened and they look fabulous in my wooden basket!

Want more details about this and other DIY projects? Check out my blog post!
Comments
Join the conversation
4 of 14 comments
-
Was in Ikea looking for ideas....now on the lookout for something to upcycle, either wire or a wooden/metal tray.. thanks again
-
Love this idea - my only suggestion would be to put pebbles/stones in the bottom first so the water doesn't collect & rot the roots (in my large pots I use Styrofoam peanuts.)


Frequently asked questions
Have a question about this project?
Would you need to cut small holes in the bottom of the cartons for drainage before the pebbles?