


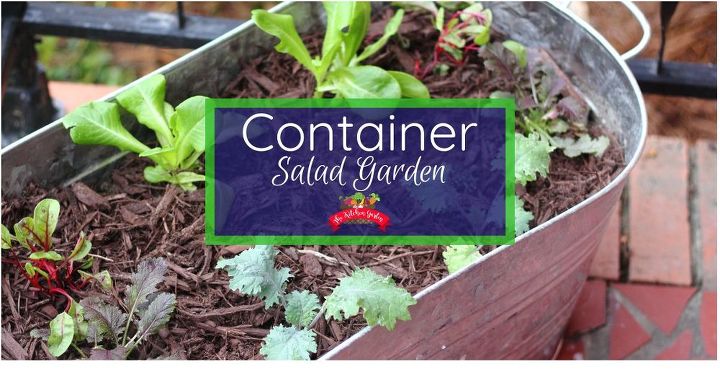
Planting a Container Salad Garden
3 Materials
$25
1 Hour
Easy
The fall and early spring are perfect times for planting salad, and no matter the size of your yard, a container works wonders!
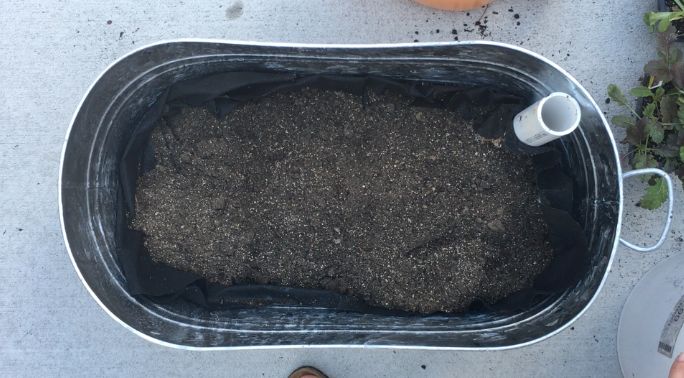
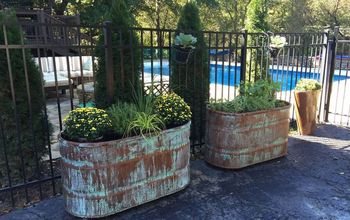
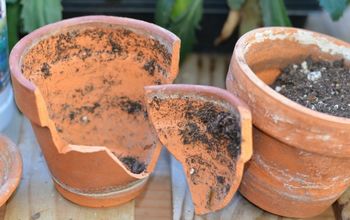
Begin by making sure your container has adequate drainage. If you purchased an actual “flower” pot from the store, you should be good to go. If you’re using something that wasn’t intended for plants, you may need to grab a drill and make some drainage holes in the bottom. (For my steel tub, I actually made it into a self-watering planter, which I’ll post about later in the week.) Once you have your container chosen and ready, begin by filling 2/3 of the way up with potting soil.

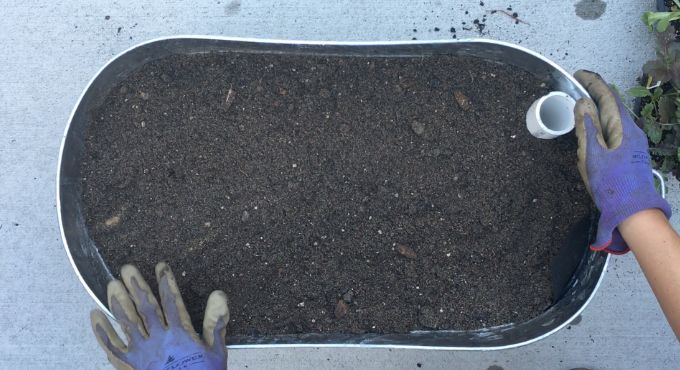
Place fertilizer in the middle of your container. The amount of fertilizer depends on the size of your container (the fertilizer bag will have proportions). I put fertilizer in the middle, and once filled, will plant my greens along the sides, so the roots aren’t sitting on the fertilizer, but it’s still being released to the plants.
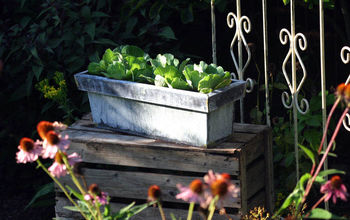
Fill your container the rest of the way up with potting soil, covering up your fertilizer. Then comes the fun part, planting your salad! For seeds, simply follow the packet instructions for depth and spacing. For plants, choose the varieties you like best and place them around the container, being aware of where your fertilizer is. Choose plants based on color, too. A variety of colors and heights will make for a beautiful, and tasty, container salad garden! (Here I am using Red Russian Kale, Buttercrunch, Mizuna Greens, and Swiss Chard.) Space your plants out so they have plenty of room to grow. You can always come back and add more later if there is room.
{
"id": "5085058",
"alt": "",
"title": "",
"video_link": "https://www.youtube.com/embed/UwVnO_PZpNA",
"youtube_video_id": "UwVnO_PZpNA"
}
{
"width": 634,
"height": 357,
"showRelated": true
}

Want more details about this and other DIY projects? Check out my blog post!


Frequently asked questions
Have a question about this project?