


BEST SEED STARTING STATION DIY | Seed Starting

What is the best way to set up a seed starting station? Include an area for each function; Seed sorting / planting station, grow rack, hydroponic station, soil area with table and pots. Make it functional and welcoming so you will want to be there every day.
For more gardening ideas visit my blog at https://cocoonraw.com/
Join me on You Tube and subscribe to learn more about cozy decor and gardening. Check out how to harvest and save tomato seeds for beginners.
I am so excited that seed starting time is here again! One of the best things I ever did in the garage is to set up my seed starting station. You don’t need a fancy area or a lot of square footage to get one set up.
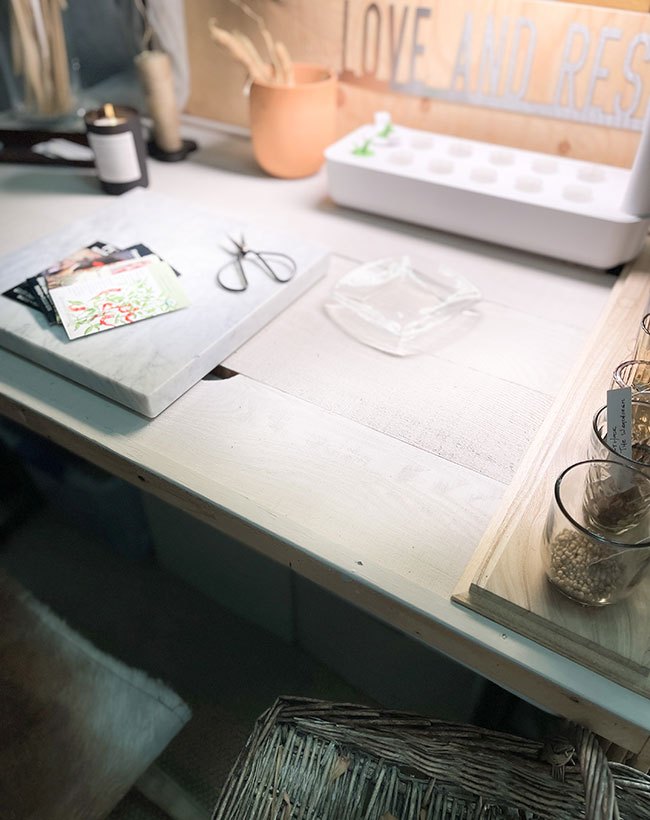
A. What is on my Grow Table:
I love my little corner and keep everything I need throughout the seasons to work on my seeds. These are the things I like to keep handy:
- Table with a stool to work on sorting my seeds, work on planting calendar, log planting dates and sow my seeds.
- Notebook
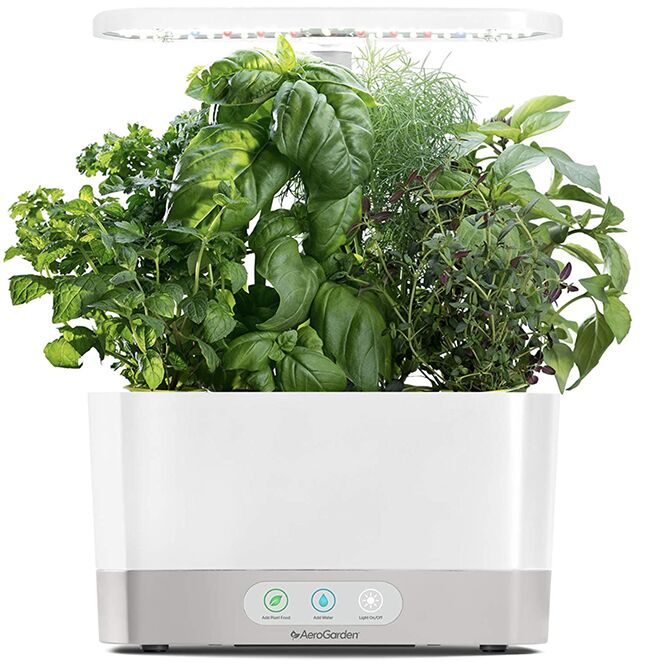
- A small hydroponic station on the table to start my favorite herb that I use most. In this house it will be chives. We are addicted!
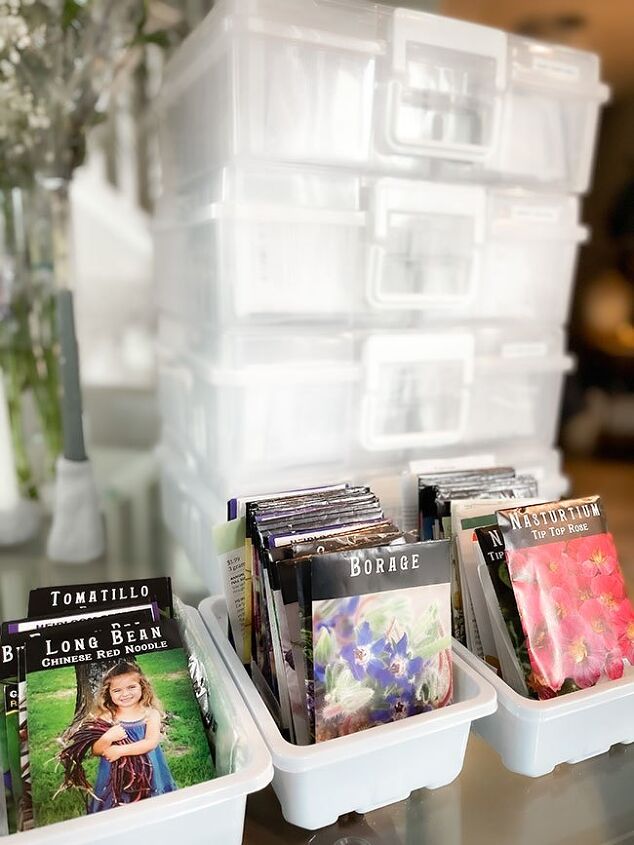
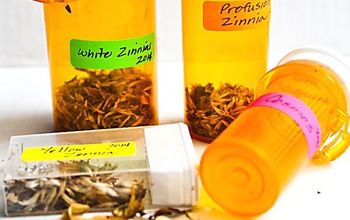
- Small glass containers for sorting my seeds with labels.
- Pens
- Plant Labels
- Storage Containers under the table for critical hydroponic growing items.
- Seed Envelopes
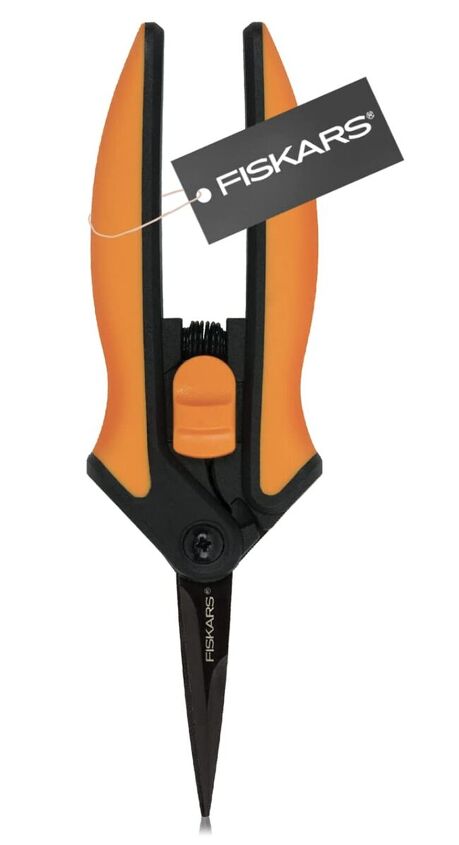
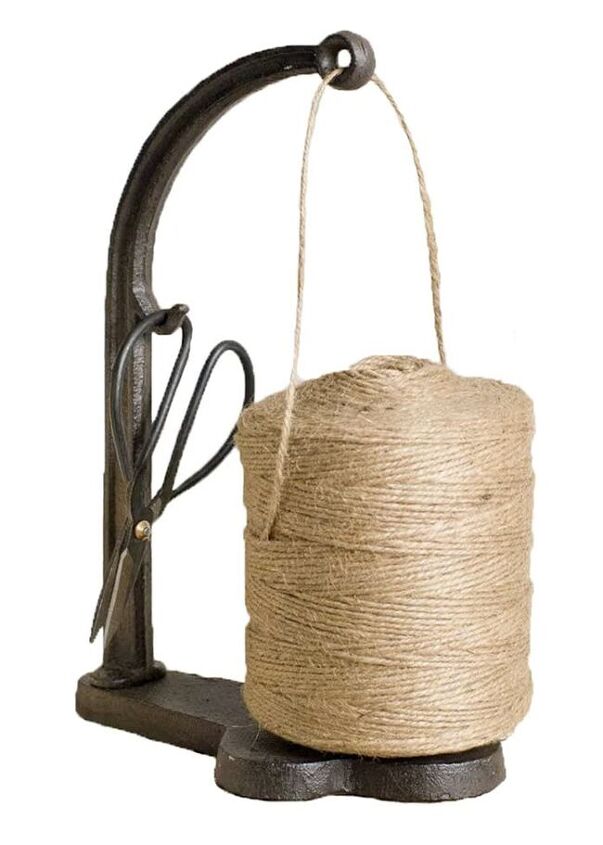
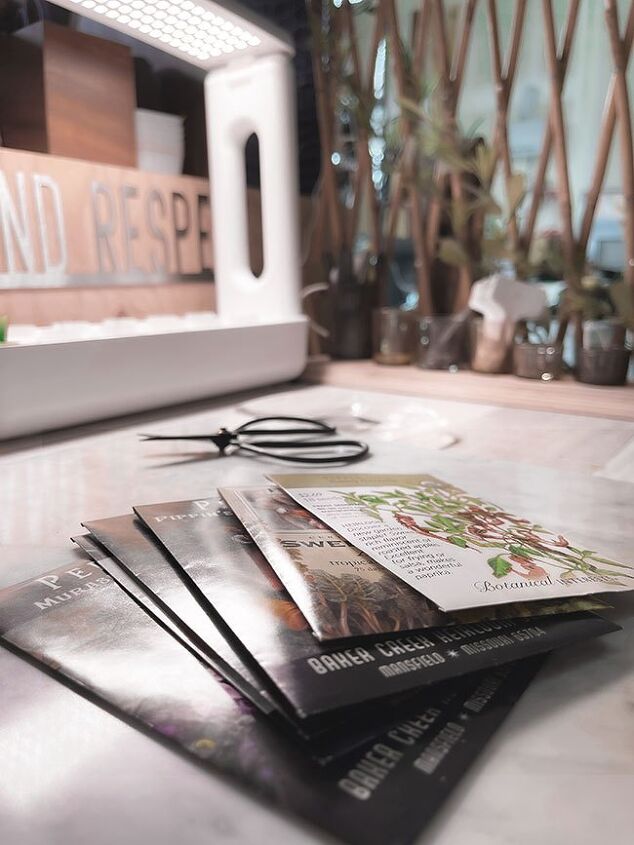
- Scissors
- Twine
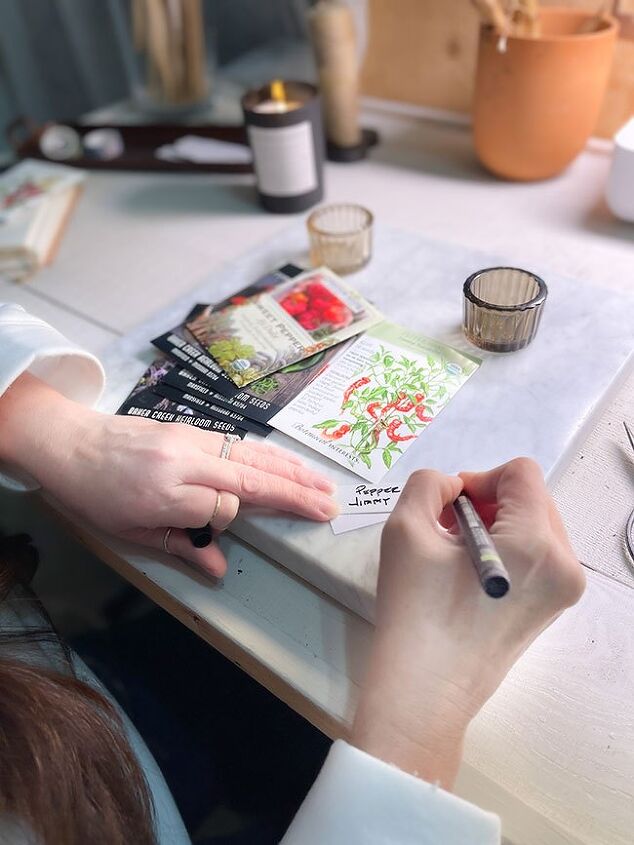
- The marble piece I use since my husband build me this cute table top out of rustic wood. It is hard to find my seeds, so I use the marble to make it easier to see them, sort and grab them.
I keep this table clean since some seeds are so small that they are hard to see and you can loose them so easily.
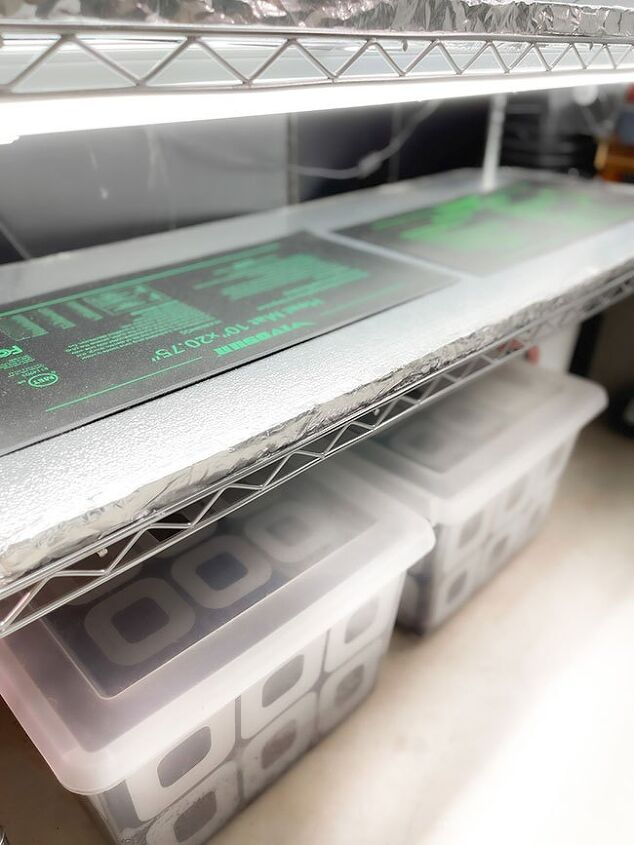
B. Where do I keep my Soil Area?
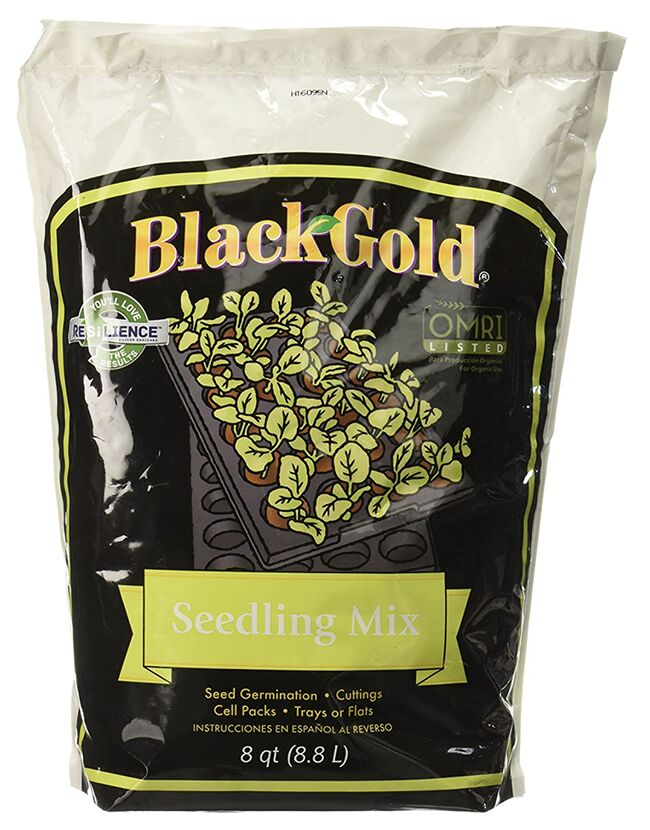
I keep the soil under the grow rack. The types of soils I like to keep on hand are:
- Two types of soil; coco coir and seed starting soil.
- Each soil is kept in plastic containers with a lid. I like a lid that has a small opening for the soil to breath as it is kept moist.
- Many times I create my own seed starting soil by adding perlite and peat moss to plain soil that has no chemicals. A much cheaper solution.
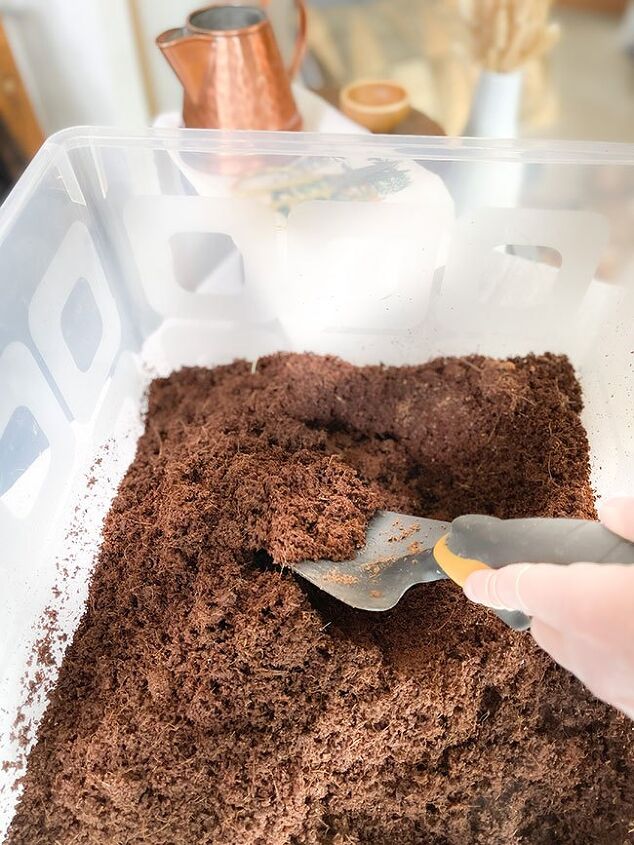
Best Kept Secret to Prepare your Soil!
This process will drastically reduce gnats or other pests that may be dormant in the soil. To prepare the soil, I recommend the following steps:
- After placing the soil in your storage container, pour boiling water into it and stir thoroughly
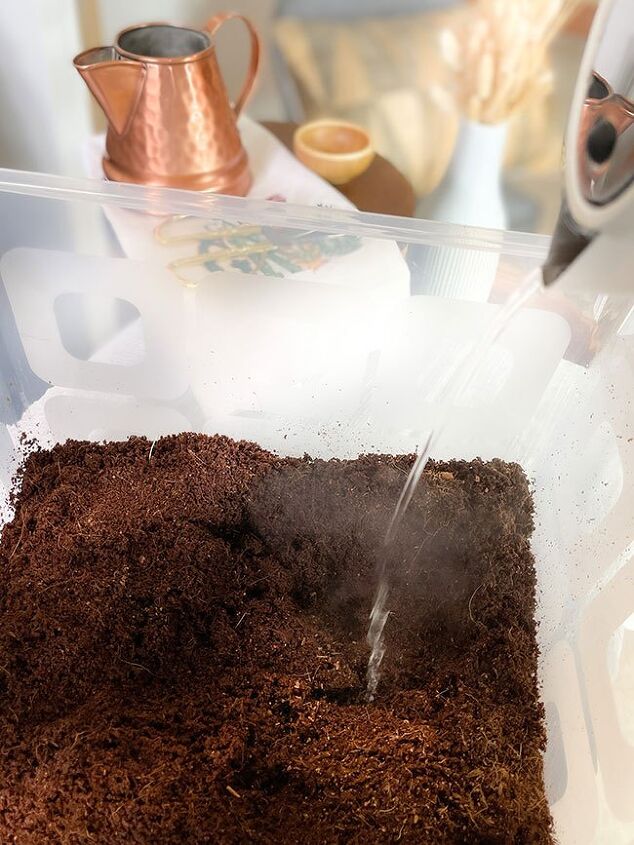
2. Stir thoroughly until all of the soil is moist, not dripping wet, but making sure the hot water has covered all of it.
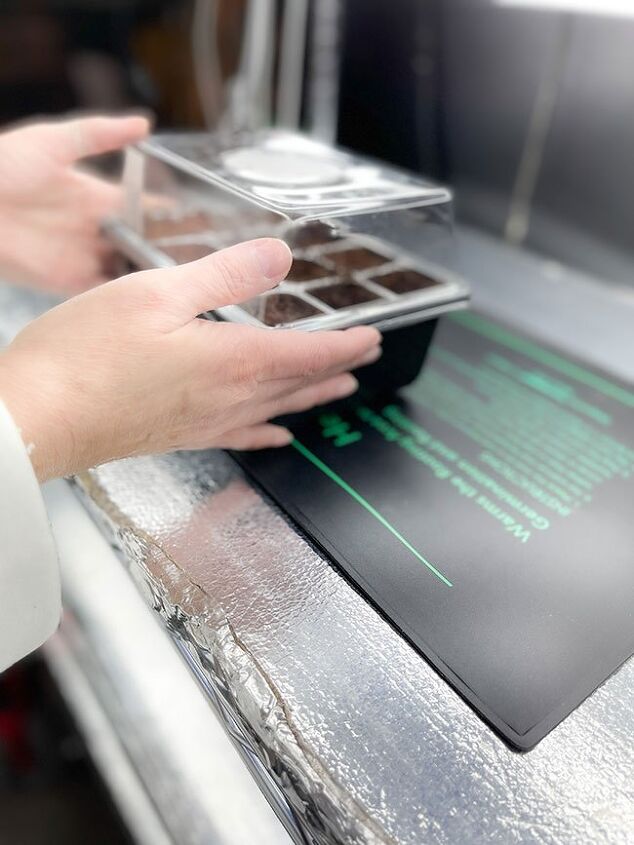
3. Cover the Soil with aluminum foil.
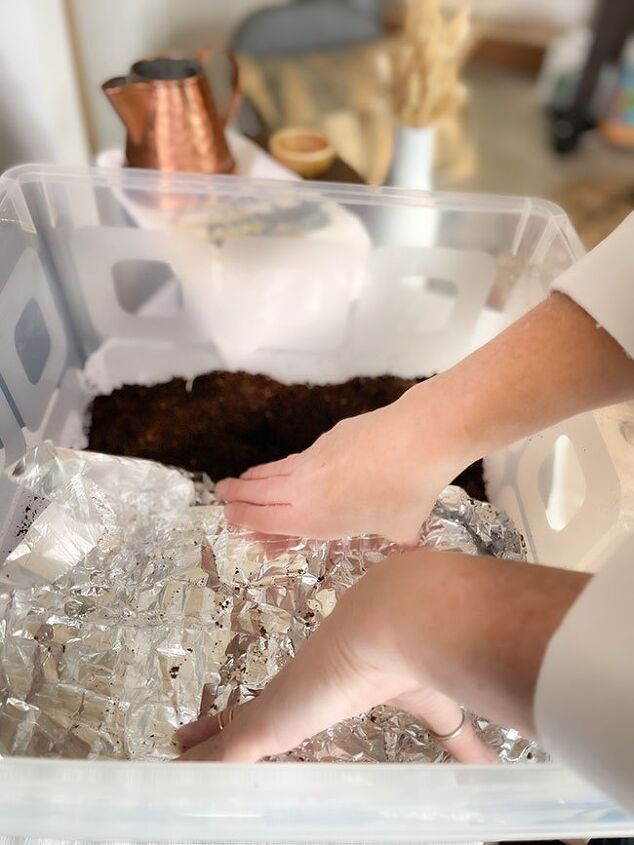
4. Allow to cool completely from a few hours to overnight. Make sure it is completely cool before using.
This process is a game changer, it has made it so much easier to grow my seedlings.
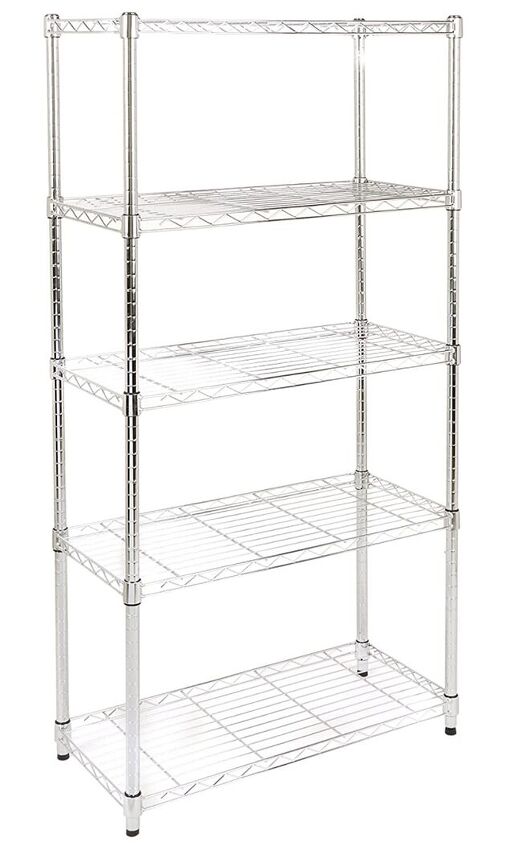
C. Grow Rack
If you are starting to grow seeds indoors, keep your grow rack simple. You can even use a window that gets good sunlight to grow a few seeds and experiment.
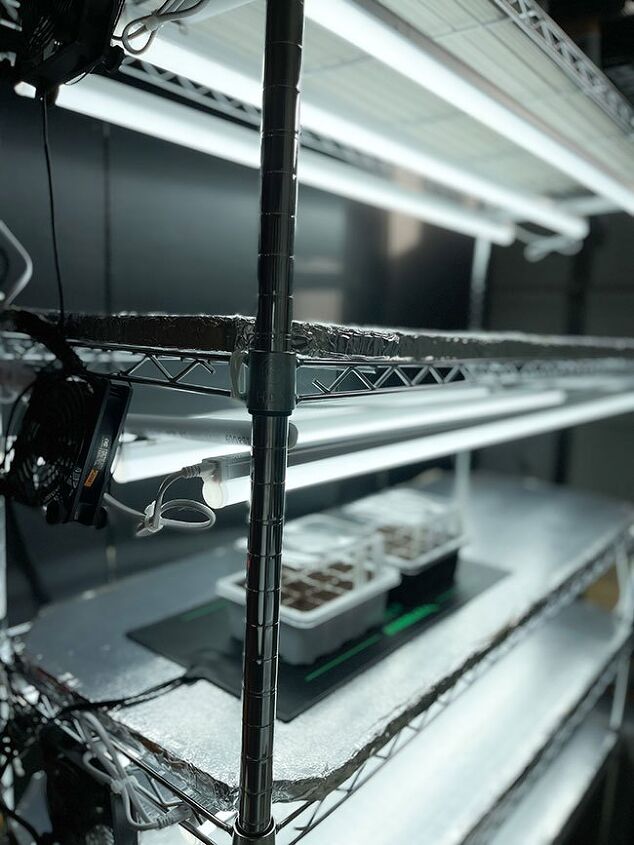
If you want to set up a grow rack these are the items I would make sure to include:
- Any type of adjustable shelving; metal, plastic, wood.
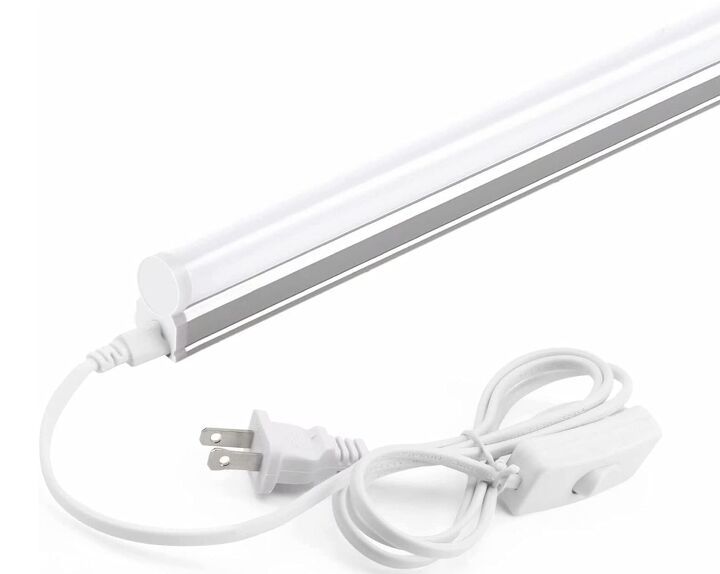
- Add linear LED grow light and tie them with zip tides. I use 3 lights per shelf.
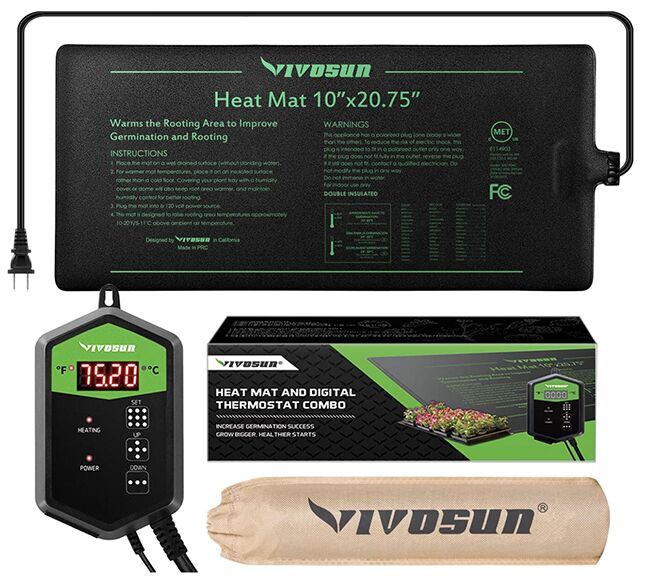
- Heat Matt
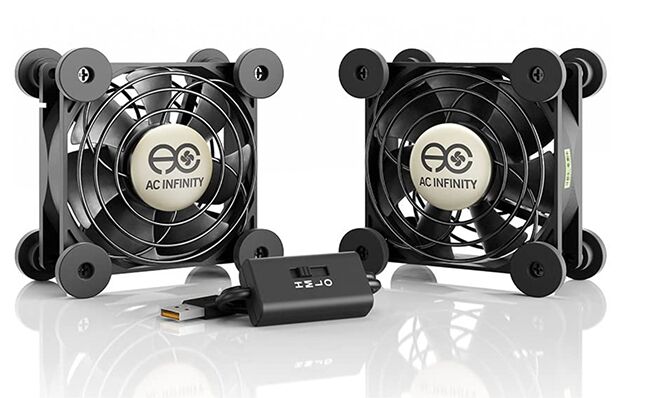
- Fans (one on each end of each shelf to keep the air flowing)
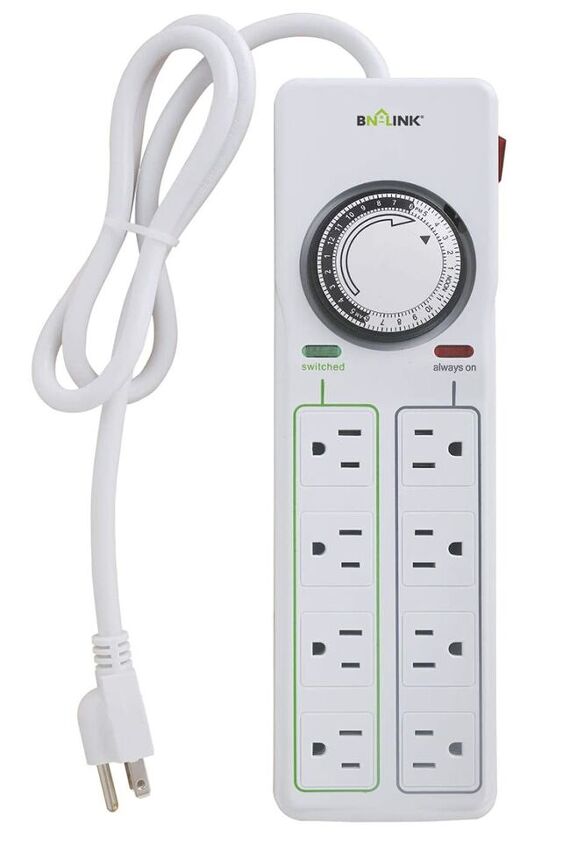
- Surge Protector with Timer
As far as spacing on shelving; the easiest thing to do is, the two shelves on the bottom, place closer together and the top ones allow more space. This method of having a couple of shelves that are closer to the light source solves the having to make the LED lights adjustable. It will provide you with more flexibility depending on the size of your seedling and how close it needs to be to the light source.
The silver mat showing on the shelf is an insulation panel that I cut to size and added a silver tape to the edges. I just added this to have a solid surface to work on. It is not necessary, but this was a really inexpensive way to achieve it.
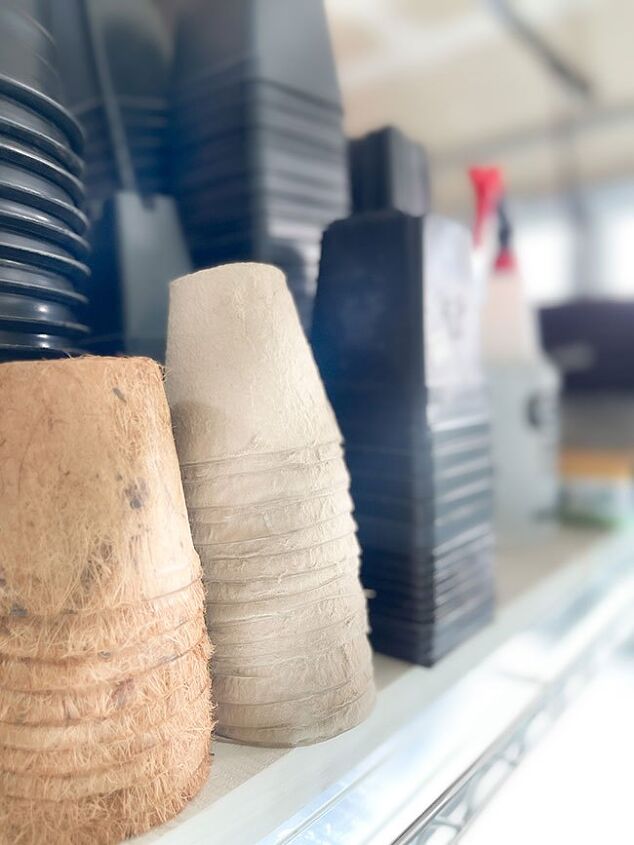
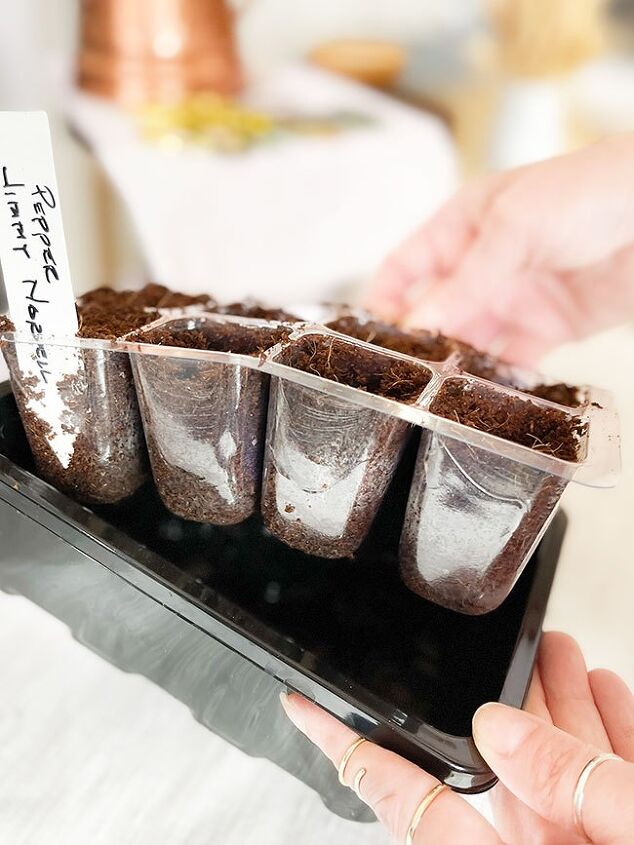
D. Plant Pots and Seed Trays
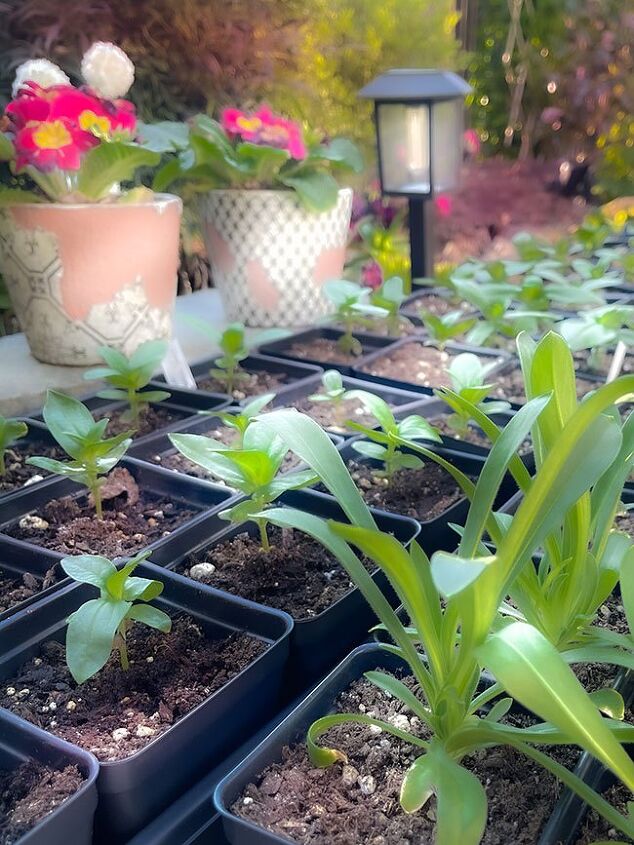
I have a shelf with all of the different size pots, trays and my favorite seed starting containers that have a clear bottom. But for seed starting, I love using the ones where you can see the root system developing, in order to know when it is ready to switch the seedling to a larger container.
Keep in mind, you can start a lot of seeds, but as they grow, they will take a lot more space. Make sure you are going to have enough space to hold all of your larger seedling container until it is time to plant.
Another thing to consider when deciding how many seeds to sow; at some point you will need to train your seedling to accept sunlight. This is a lot of work and the more seeds you have, the more to keep track of. Start small, concentrate your efforts on the few seeds that you really want, and make sure to get the process down prior to getting too many seeds going at the same time.
Furthermore, you don’t have to buy new pots to get your seeds started. Once you are finish, make sure to clean the pots really well to use next season.
E. What can be used to make Planting Pots at Home?
There are so many ways you can use what you may have already:
- Newspaper pots
- Toilet Roll pots
- Egg containers
- Plastic containers
- Plastic cups
- Water plastic jugs
If you can make a hole for drainage, you can use it. Getting creative will you save you money.
Links in this article are affiliate links and if you click on them, we will receive a small commission at no additional cost to you! Clicking and purchasing help to support this blog and all of the home and garden post we bring to you!
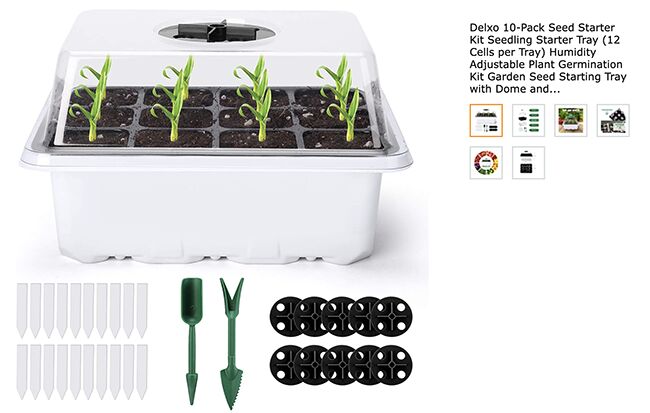
Germination Kit; https://amzn.to/3uWPDmI
For DIY Links; https://cocoonraw.com/shop-my-diys-2/


II. WHEN DO I START SEEDS INDOORS
I have a big problem with seeds, I love them so much! The exploring of different foods from around the world and flowers is fascinating to me.
Every seed is different, doing research will be critical when starting seeds. This is where the notebook is helpful to get organized.
- The first thing is to find out the last day of frost in your zone. You can find this out by typing ‘last day of frost for (city, state) on google’. Keep in mind that this is an estimate, so watch the weather prior to planting outside your seedlings.
- Sort the seeds by looking at the back of the envelopes and locating the suggestions on planting.
- Last day of frost – days suggest for when to start inside = day to start your seeds indoors
III. WHAT SEEDS SHOULD I START INDOORS FIRST
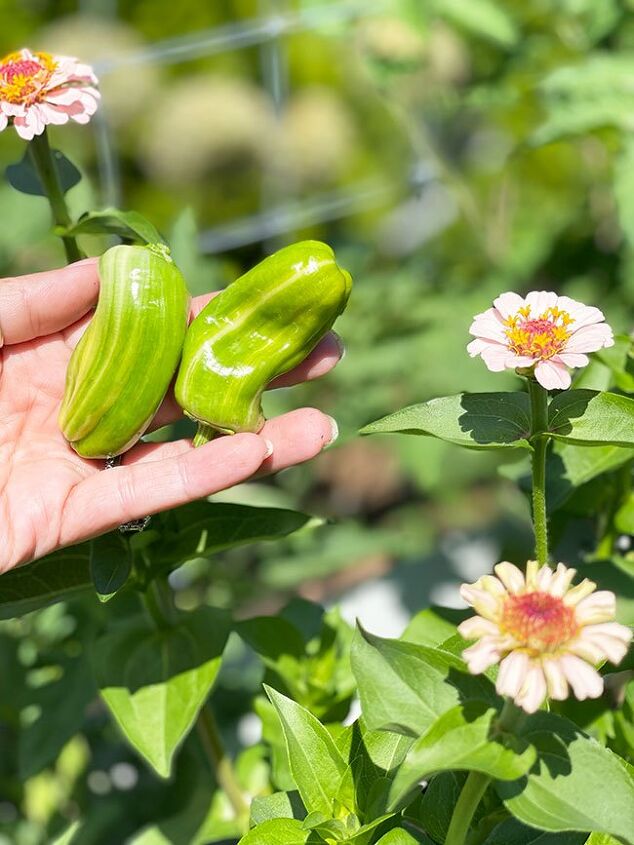
As a general rule I start my peppers, hot or sweet, okra, peas, sweet peas and most flowers seeds early. They take a very long time to start producing fruit and need a lot of heat. I am in the Pacific Northwest, which only has a few short months of good heat. Starting early will give me a head start.
You will need to look at your area and consider when is the best start date. But things like pepper and okra are great to start indoors early regardless of where you are if you can’t sow outdoors early in the season. The earlier, the more fruit you will get in the summer.
IV. STEPS TO SEED STARTING
A. Selecting Seeds:
- Select your seed after looking at date suggested on package and subtracting from last day of frost in your area.
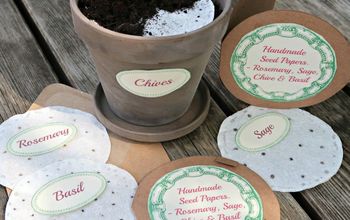
B. Plant Tags
2. Make your plant tag in advance and place with the seeds in the small glass. I have made the mistake of thinking I will remember and then, well, not quite. This simple step will make your gardening experience so much better. Seed starting is about the simple things that make the process easier, therefore, enjoyable.
Being organized really saves a lot of time. I like to organize everything to do with my plants and seeds.
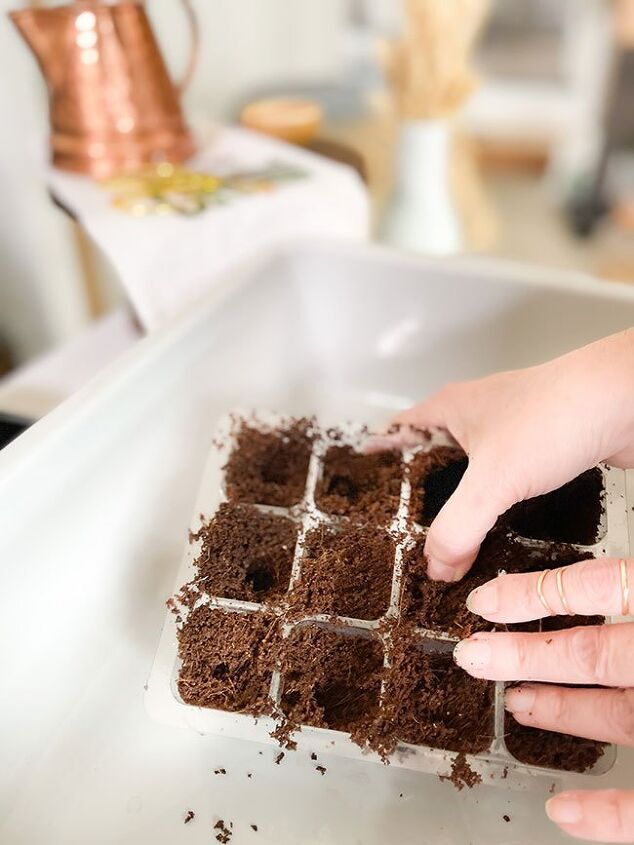
C. Soil
3. Moisten coco coir or seed soil and add to seed starting tray. See Best Kept Secret to Prepare your Soil above for steps. Compact soil placing it inside to fill each cell fully.
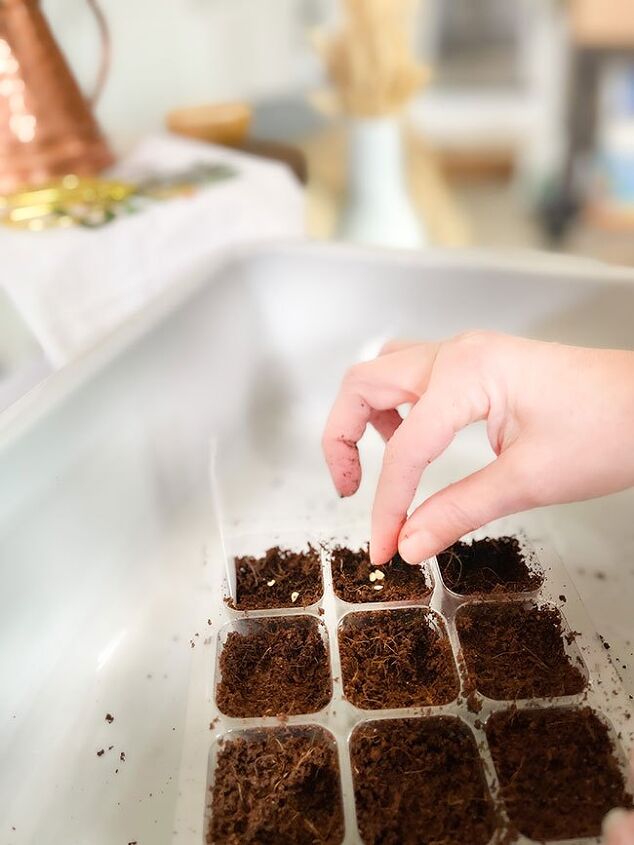
D. Placing Seeds
4. Place seed per seed package instructions. I like to do two seeds per cell in case one doesn’t germinated. Simple cut one of them if they both germinate or transplant each to your pot when is ready for repotting.
Very small seeds like lettuce greens can be placed on the top and cover with very little soil. Larger one follow instructions on the seed package for how deep, usually twice the deep as the height of the seed, but this will vary. Finish by adding your plant tag.
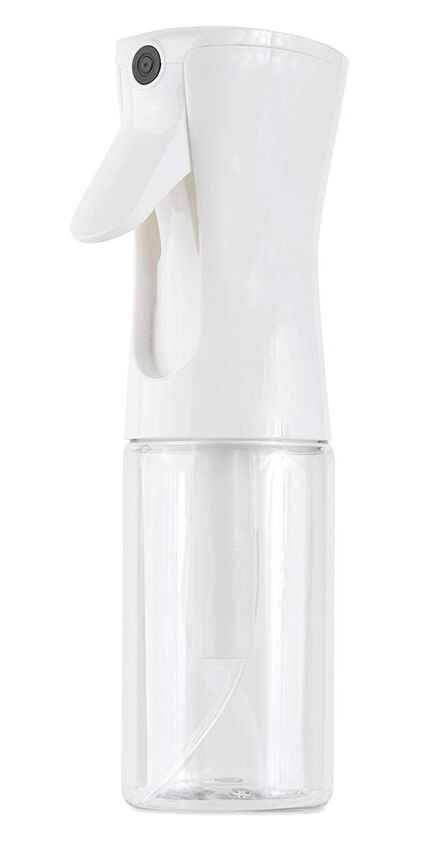
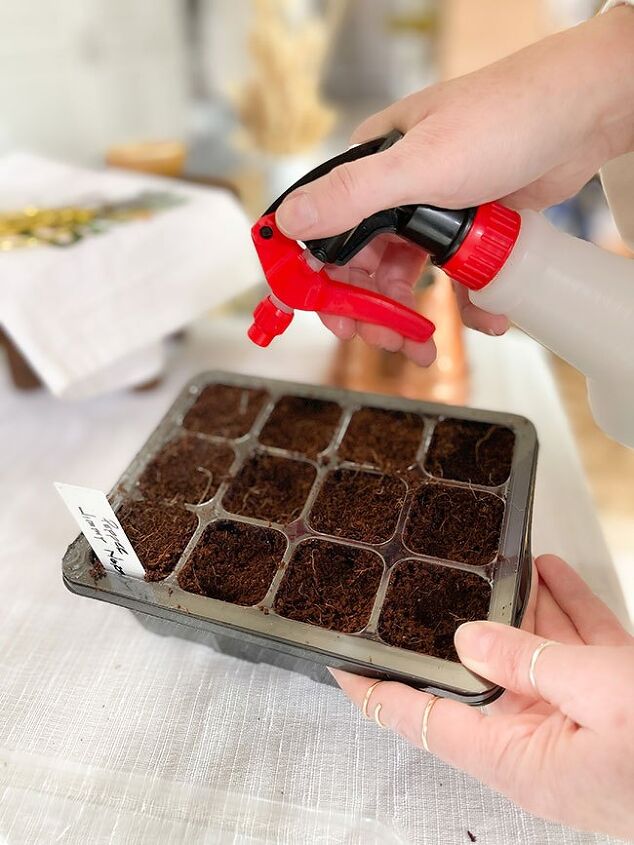
E. Watering Seeds
5. Spray soil with water. Some people like to sprinkle cinnamon or sprinkle perlite to prevent mold. But if you water properly and do the soil prep method I mentioned above you should not have to. I wait until I see any disease start before treating. It has worked very well for me, but you have both options. Remember that gardening is about experimenting and having fun, so you can try it both ways.
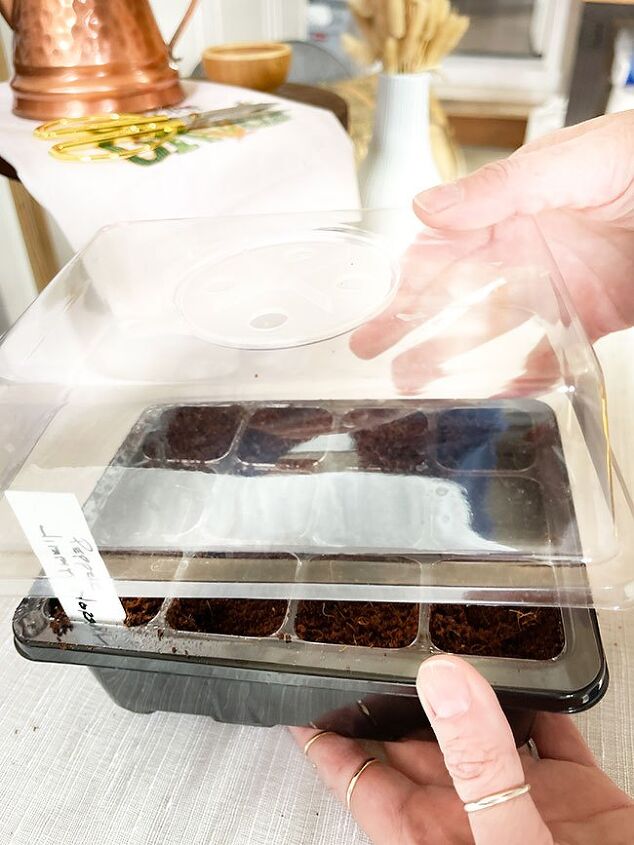
F. Putting Seed Tray Together
6. Insert Clear Tray into the solid tray and add clear dome. Keep the top vent sealed and don’t open it until most seeds have germinated. You may have some seeds that won’t germinate and that is normal. This is why I do an extra cell or two.
G. Placing Seed Tray on Grow Rack
7. Place tray under grow light. Seeds don’t need light to grow, but will need it as soon as they come out and you may not know when that is. I recommend you keep them under the light and play it safe. But be aware that some seeds have to be in the dark. It is important to check before you proceed to place it in your grow rack.
When the seed germinates, It is better to add water on the bottom tray when the seedling is visible. The roots will be trained to go down to get water and this will make for a stronger seedling.
V. NOW YOU WILL ACHIEVE YOUR DREAM GARDEN!
It is such an easy and fun process to watch what you know will be providing food and flowers for your family to enjoy. This food will be like no other, with taste that you could never imagine. You will be saving your own seeds soon.
The process of creating a seed starting station and starting your seeds will change your life, it changed mine. It is just a matter of keeping an eye on the seeds and watch it all grow. This experience is like no other.
Stay Creative my friends.
Your Cocoon Awaits you!

Resources for this project:
See all materials


Comments
Join the conversation
-
Awesome instructions. I tried these at Athena Garden. They are great:
https://athenagarden.org/home-essentials
-
This post was really well explained, and clearly much thought went into the making of it. Excellent idea about the boiling water. Fungus gnats are the bane of existence for seedlings. A very good read. Thank you.


Frequently asked questions
Have a question about this project?
Hi! Wow, this is thorough! I do have a question, though. Wouldn’t the boiling water step also kill the essential and friendly bacteria in the soil?
Thanks,
Jackie