


How to Create a Christmas European Dish Garden With Gingerbread Accent
A Christmas European Dish Garden with faux gingerbread accents is quick and easy to create! Perfect for gift giving!
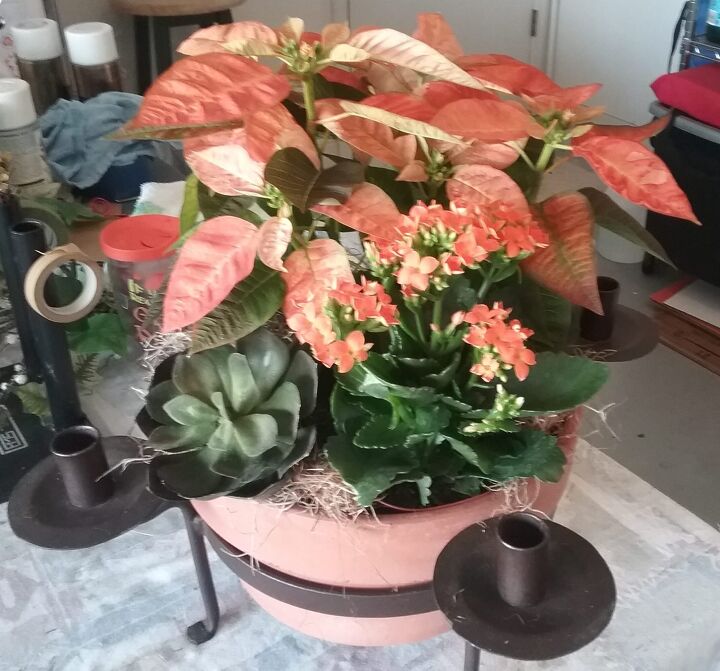
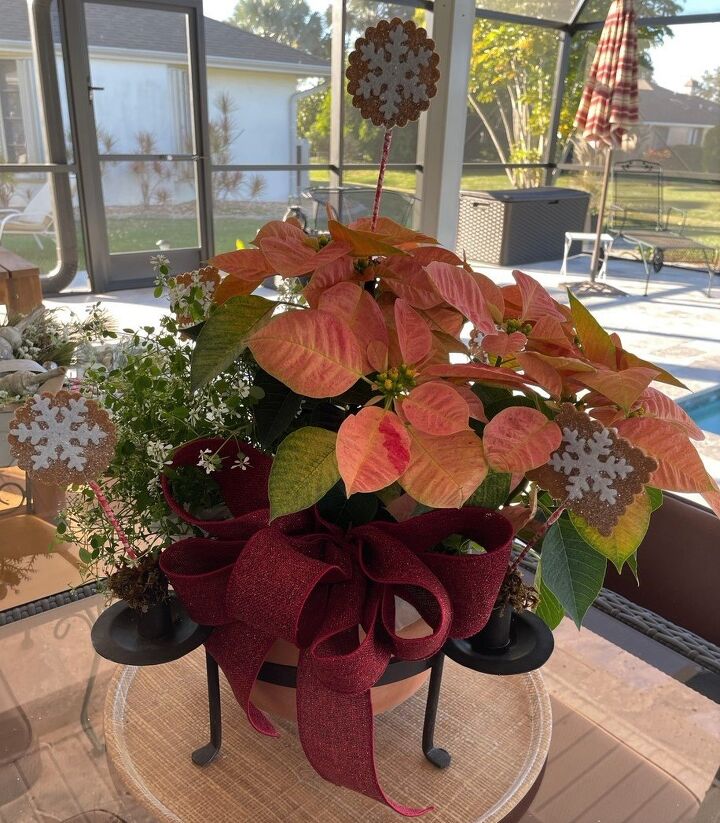
Christmas European Dish Garden
Christmas European Dish Garden with Gingerbread Accents – doesn’t that sound elegant? What makes a dish garden European? The secret behind a European Dish Garden is in the way it is put together and what types of plants are used.
Creating a Christmas or Holiday European Dish Garden is quick because the plants are left in their individual pots and grouped together in a basket, container or pot. Leaving the plants in their individual containers and arranging them in the container (pot, basket or ceramic type) is a great time saver.
Also, by definition, a European Dish Garden combines green and blooming plants together in a single container.
This Christmas European Dish Garden would make a great gift for a loved one or even for yourself! After the Holidays, the dish garden can be dismantled and the individual plants repotted.
Let’s talk about the steps involved in creating the dish garden. Once we finish “planting” it, then we can decorate it.
Choose Your Container
I am making mine to use as a centerpiece for the Holidays. If you want to make one to give as a gift, you would follow these same steps.
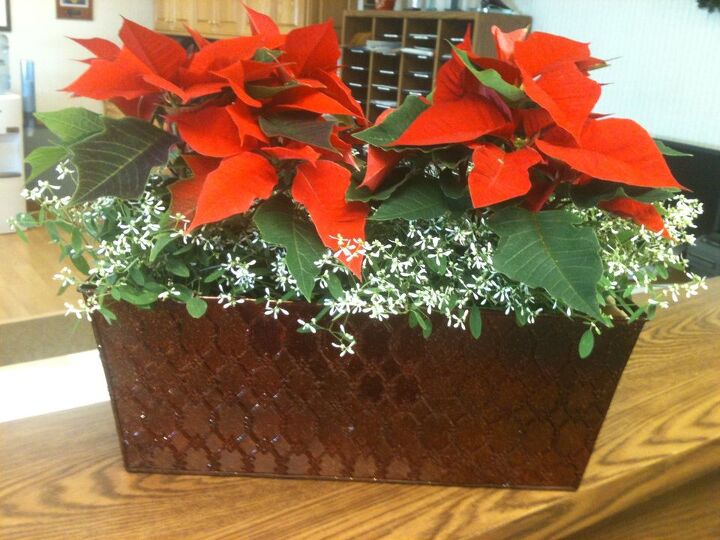
The first step is to choose your container. You can use any type of container you want. A basket would work great if you were going to give it as a gift. Your finished Christmas Dish Garden might look something like this if you decide to use a basket:
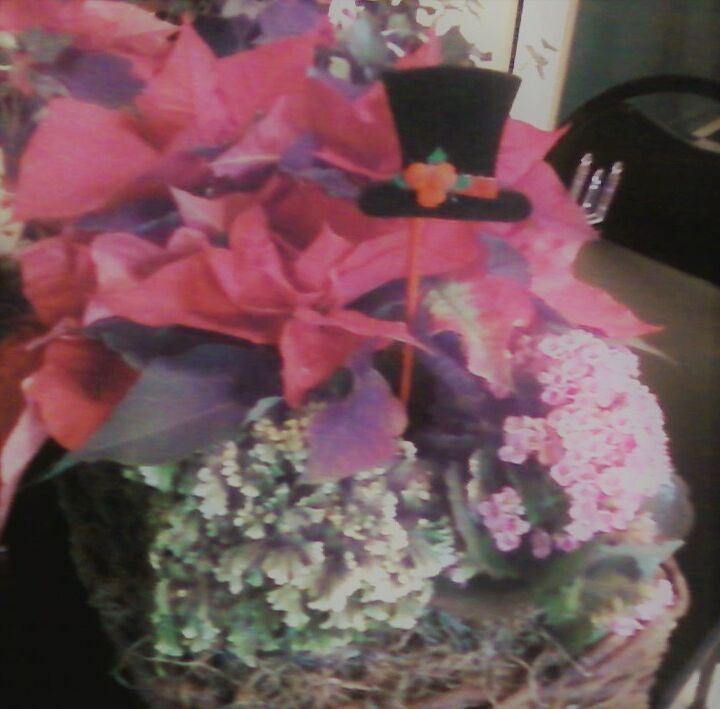
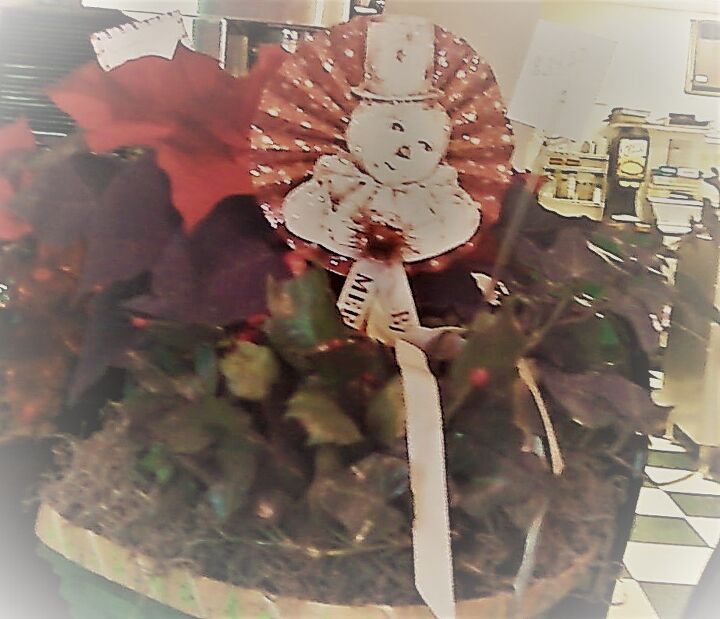
In complete transparency, the pictures above were taken several years ago when I still had my pizzeria and I was doing some floral work for the Holiday season. That is why you can see the pizzeria kitchen and cheese machine in the background. If you are interested in learning more about my entrepreneurial pursuits, more information can be found here: Sprout, Grow, Bloom – My Entrepreneurial Journey
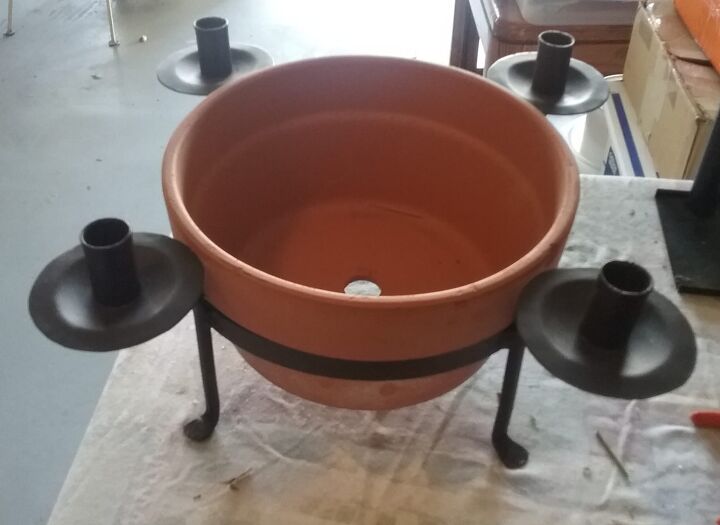
I have had this terra cotta pot that sits in this rustic candle holder for a number of years.
Before we moved to Florida, I hadn’t used it very often. I actually made a European Dish Garden last November for Thanksgiving and I discovered how easy it was to work with.
Fall Poinsettia in a European Dish Garden
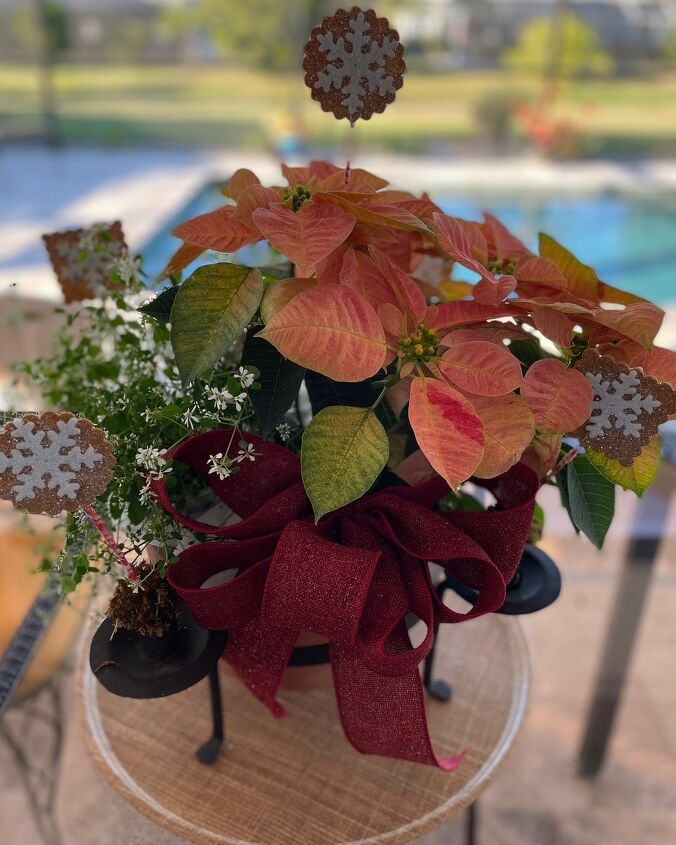
Because I was going to use the finished European Dish Garden as a centerpiece and add gingerbread accents, I decided to use this container again. I also liked how the brown/bronze color of the stand complemented the color of the poinsettia that I was going to use. The pot could be used without the stand if you preferred.
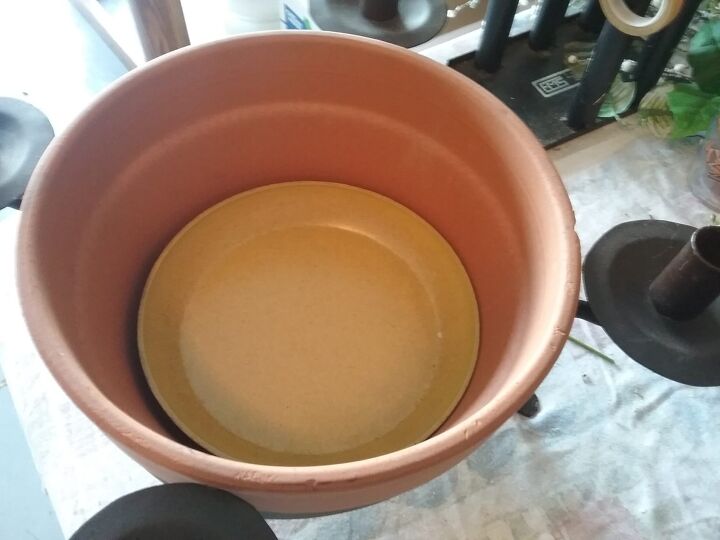
Something to take into consideration when choosing your container is where your finished European Dish Garden will be displayed. If the container is not water tight, you will want to add a liner or something that will catch the water so it doesn’t leak on to the furniture. I used a small saucer to cover the hole in the terra cotta pot.
I also use a speed cover on each of the pots to help keep the water from leaking out of the planter. Speed covers are wax lined paper covering, kind of like an oversized baking cup. It will make more sense when you see the pictures below!
To make it easier to design the dish garden, I removed the terra cotta insert from the rustic iron stand while I “planted” it.
Choose Your Plants
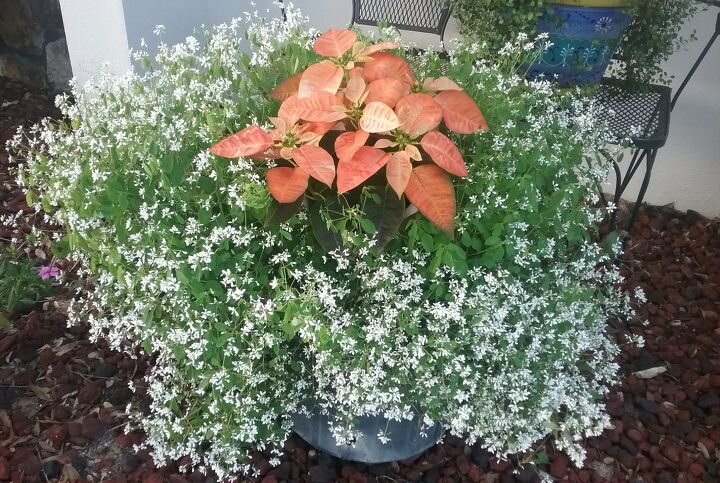
I like to use the “thriller, spiller and filler” method of planting, whether I am making a traditional patio pot for the outdoors or a European Dish Garden for interior use. In simple terms, the thriller is the focal point, the spiller adds motion and the filler fills in the “holes”.
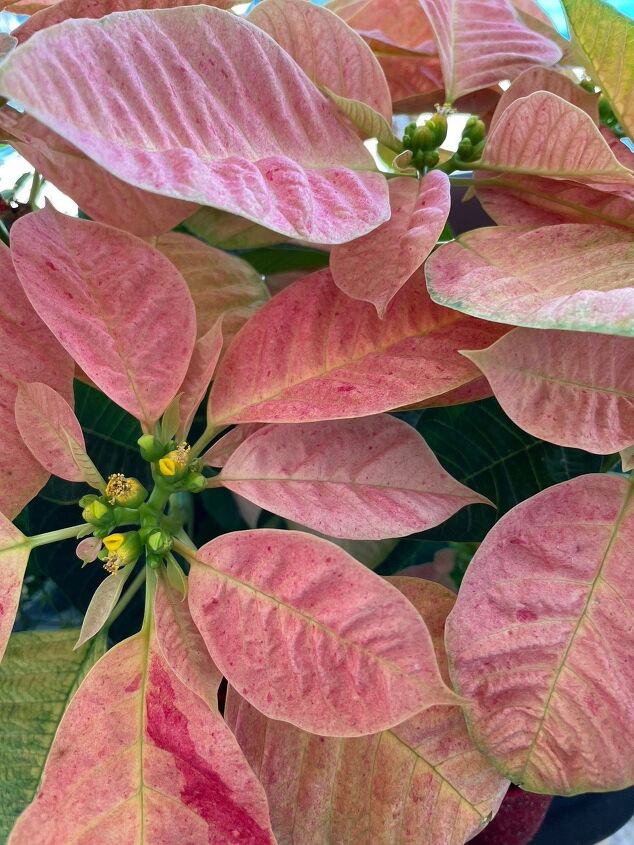
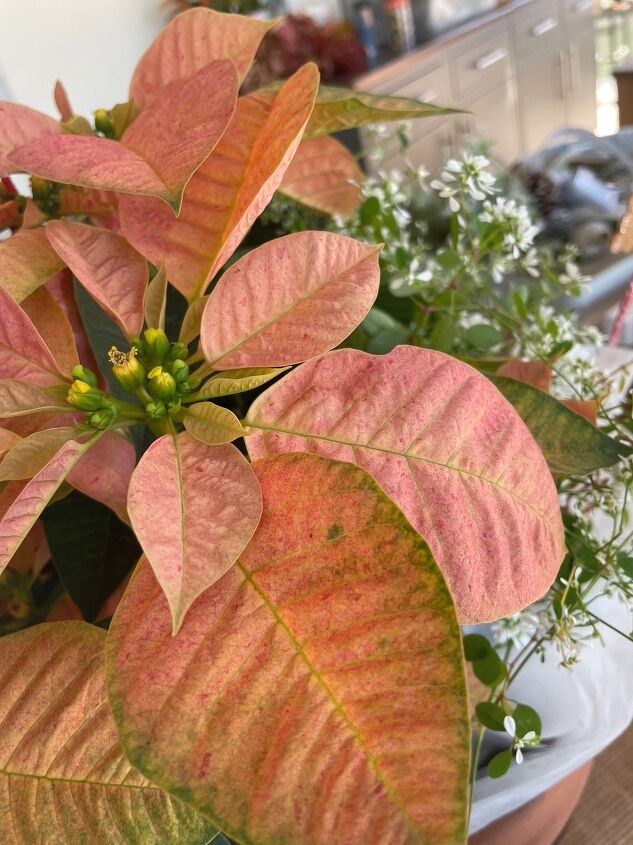
At Christmas, there is nothing more “thrilling” than a beautiful poinsettia! Poinsettias come in a variety of colors. I often like to use something other than the traditional red poinsettia. While I was out doing some last-minute Thanksgiving shopping last week, I found two poinsettias that were pinky peach in color. I just fell in love with their peach color! Peach is actually my favorite color! The tag said they were called Copper Poinsettias. I decided to rename them “Gingerbread” poinsettias to fit with my theme! They were both tagged as Copper but you can see that one is actually more pink.
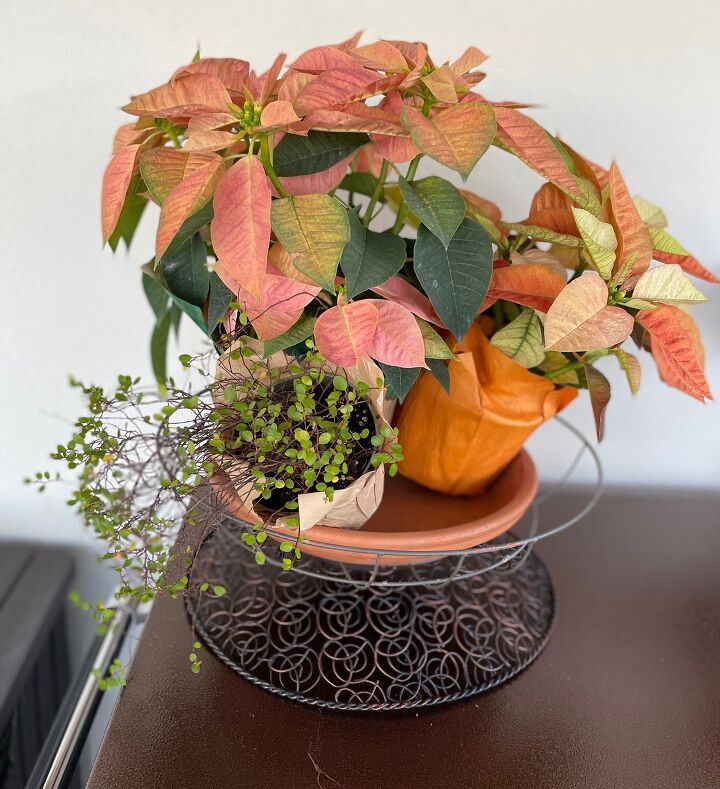
Both poinsettias are planted in a 6 1/2 inch growers pot but one is a lot bigger than the other. I decided to use the larger of the two for my European Dish Garden. I will show you what I did with the other one a little later.
Close up of the Pinker of the two “Gingerbread ” Poinsettias
What Other Plants Will We Use?
To add even more interest to the centerpiece, I wanted to use the Diamond Snow euphorbia by Proven Winners. Diamond Snow has tiny, dainty white flowers on very thin stems. I just love it! It is almost my signature plant!
The Diamond Snow will serve as both the filler and the spiller for our European Dish Garden.
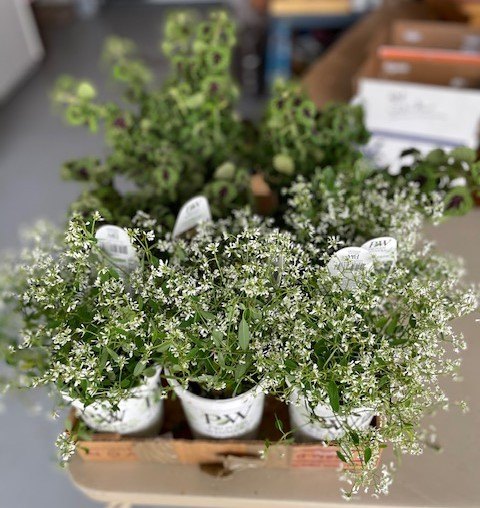
Proven Winners actually has three euphorbias in their Diamond Collection: Frost, Snow and Mountain. I have used both the Frost and the Snow. I find either one of them works wonderfully as the perfect accent to a poinsettia plant. I was first introduced to the Diamond Frost in 2008 when I had my flower shop, Petals & Porch Post.
Diamond Frost is more airy than the slightly more compact Diamond Snow. I am sometimes guilty of using the names Frost and Snow interchangeably. You can read more about Diamond Frost here:
When Diamond Frost and Poinsettias are combined, Proven Winners calls them “Diamond Points”. I offered them for sale in my flower shop and also used them when I decorated the local Catholic church at Christmas as well as the local bank.
Because the plants are going to be kept in their individual pots and watered individually, you don’t need to pay attention to differences in water requirements like you would if you were planting plants together in soil. When watering the dish garden, make sure you water into each individual pot. I use a watering can with a slender spout (sometimes called a goose neck spout) to reach in to the planter. As I earlier mentioned, I placed each plant into either a speed cover to help keep the water from running through the plants and possibly damaging the furniture.
“Planting the Garden”
I chose to place the poinsettia in the pot first since it was the largest of the plants. I did add a speed cover to it after I had taken the photo!

Then I nestled the two pots of Diamond Snow around the larger pot.
After I had the three plants in place, I added the white tufts of material in to help cover the individual pots. Sometime I use Spanish Moss or sheet moss to cover the pots. I decided that the white material, which is actually the covering that was around some other plants that I had purchased, looked better.
An Easy Way to Add a Holiday Touch with Gingerbread Accents

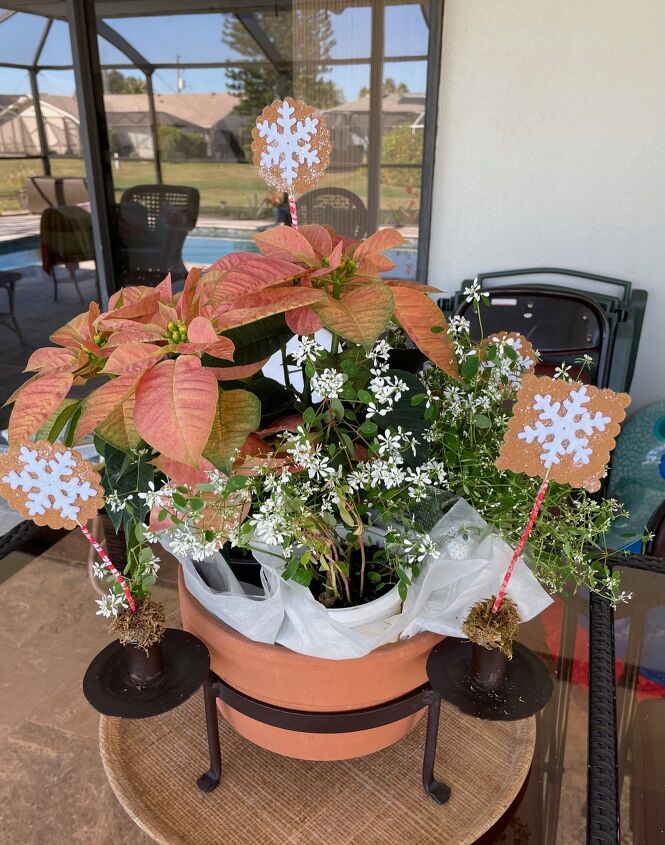
I decided that I would like to add a little more whimsey and motion to the Christmas European Dish Garden. This adorable gingerbread snowflake pic was just perfect! I used my wire cutters to cut the gingerbread cookie snowflakes off of the main stem.
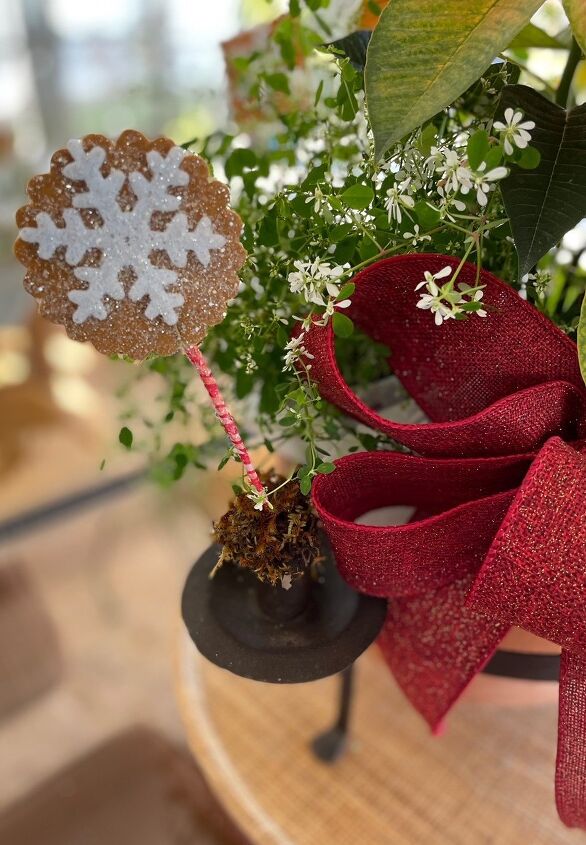
In order to get the snowflakes to stand up in the candle holder cups, I filled the cups with little chunks of dry foam covered with sheet moss. Then I simply inserted the snowflake into the moss covered foam.
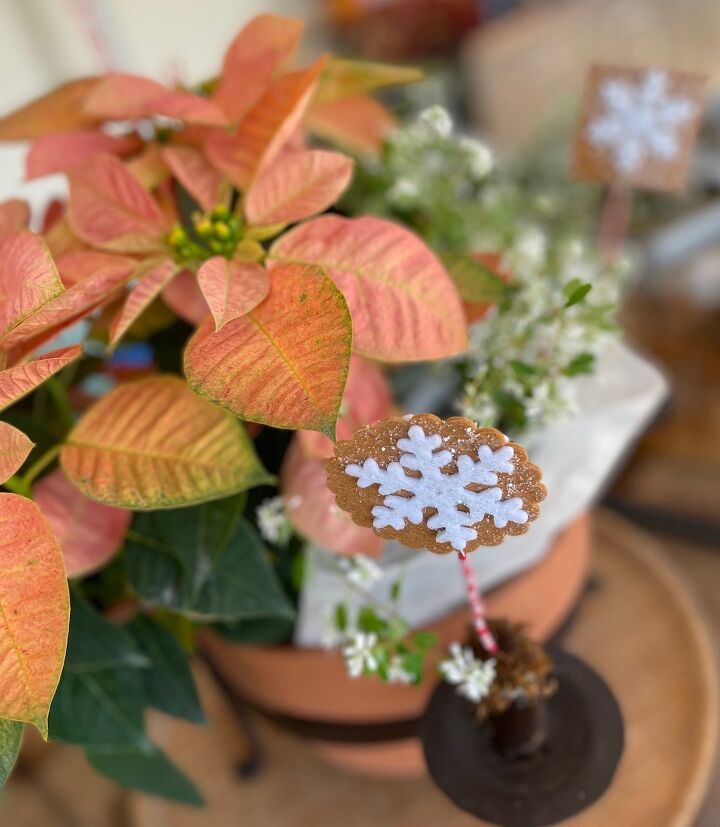
A final snowflake was inserted into the middle of the poinsettia to add a little more whimsy as well as height. The finishing touch is a beautiful burlap bow .
How to Care for Your Poinsettia
Depending on where you live, you may need to wrap your Christmas European Dish Garden if you are going to be taking it outside in order to transport it to a different location. Generally speaking, if the temperature is above freezing (32 degrees F), it should be safe unwrapped outdoors for a brief period of time. If it is extremely windy or the temperature is below freezing you are going to want to wrap a plastic bag or some paper around it to protect it from the elements.
The first time I saw a poinsettia sitting outside in January in Florida, I about had a heart attack! I did a double take and was just about to run and get it a blanket when I realized I wasn’t in Illinois anymore and it was 70 degrees outside! The florist in me was so used to wrapping them, I couldn’t quite grasp the concept that they actually grow outside in Southwest Florida. Now that I have been in Florida a while, I have gotten used to seeing them outside!
Here is what I did with the smaller of the two Gingerbread poinsettias. Introducing Gingerbread “Frost”ing in the garden!
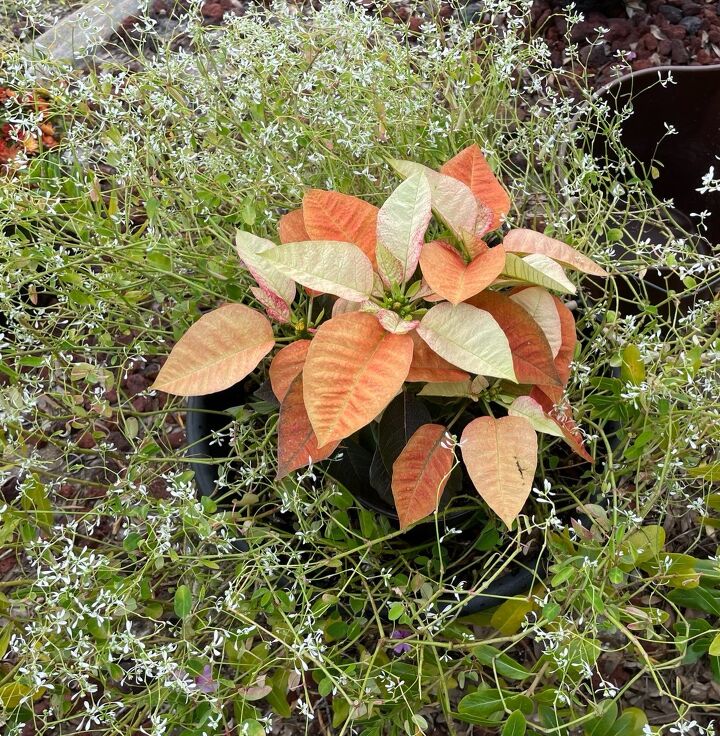
Last Christmas, I also put one in the garden. It stayed looking really good through Easter!
One Last Look


Frequently asked questions
Have a question about this project?