


How To Divide Hosta
My perennials have finally started to get growing; we’ve had an unseasonably cold Spring here in New England and everything seems to be coming back to life so slowly. It’s finally warm enough for me to get out and work in the garden…yes, I’ll be the first one to admit that I’m a wimp and hate working outside when it’s cold!! One of my first items on my garden to do list this year is to divide some of my Hosta. Let me show you how to divide Hosta!
Hosta is an amazingly resilient plant…which means it’s pretty hard to kill.
Why is it a good idea to divide plants after a few years? Well, first it allows for healthy root development. When a plant starts getting too big the roots can become tangled and unhealthy. My favorite reason though is that you get more plants for free!
Here are the simple steps:
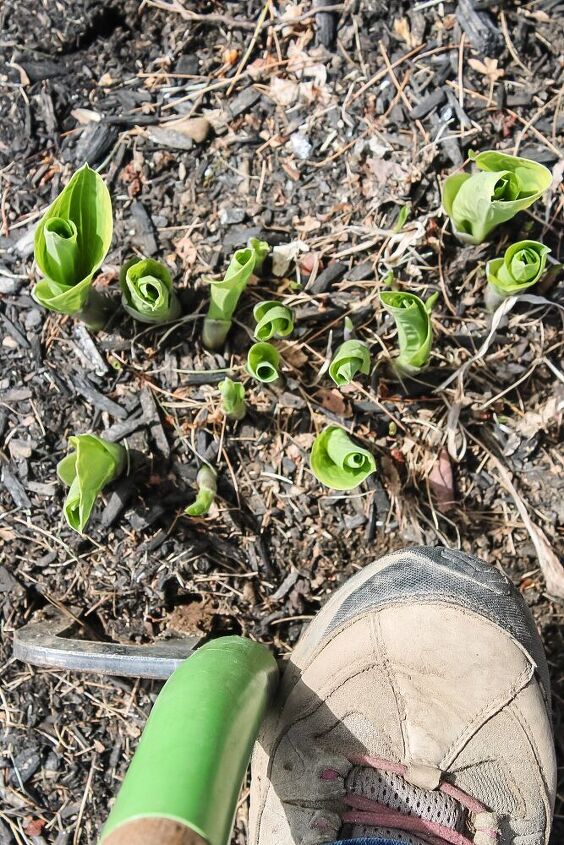
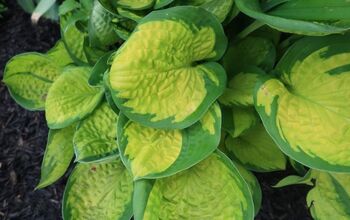
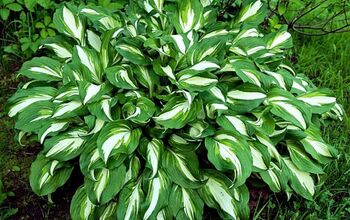
I planted this garden a few years ago so my Hosta looks like it’s ready to be divided.
Grab your pitchfork (a garden shovel will work too) Stick it in the ground a few inches away from where you see the new growth of the Hosta. You will be able to feel around with your pitchfork for the edge of the root ball. Once I find an edge I work my pitchfork around the entire plant, loosening the ball as I go.
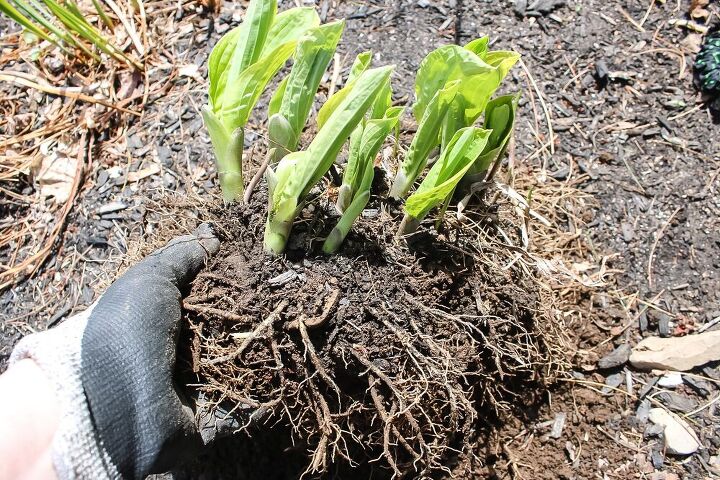
You want to get your pitchfork underneath the root ball and in a seesaw motion try to loosen it enough to lift it out; for a heavy root ball sometimes it's easier to lift it out by hand.
For a little clump of Hosta you can see what a massive root system it has already developed.
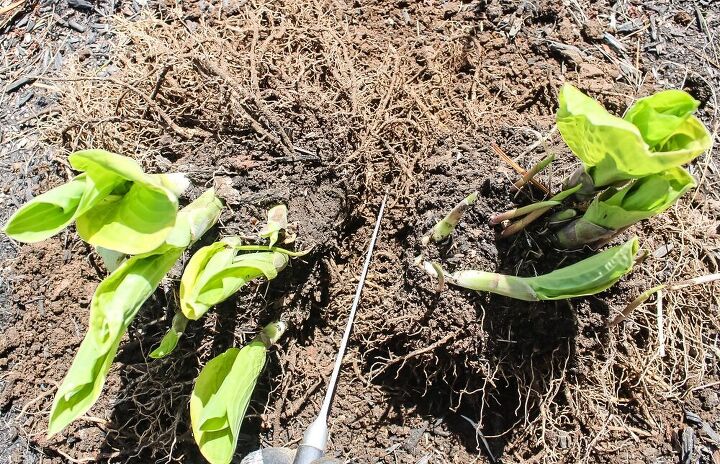
I used a sharp chef knife to cut the clump into sections but there are plenty of choices of garden knives available. Remember, Hosta is a very hardy plant so it will be fine. I cut this clump into 2 sections.
If you have a very big clump of Hosta you can cut it up into even more sections. Just make sure each newly divided section has roots attached to the plant.
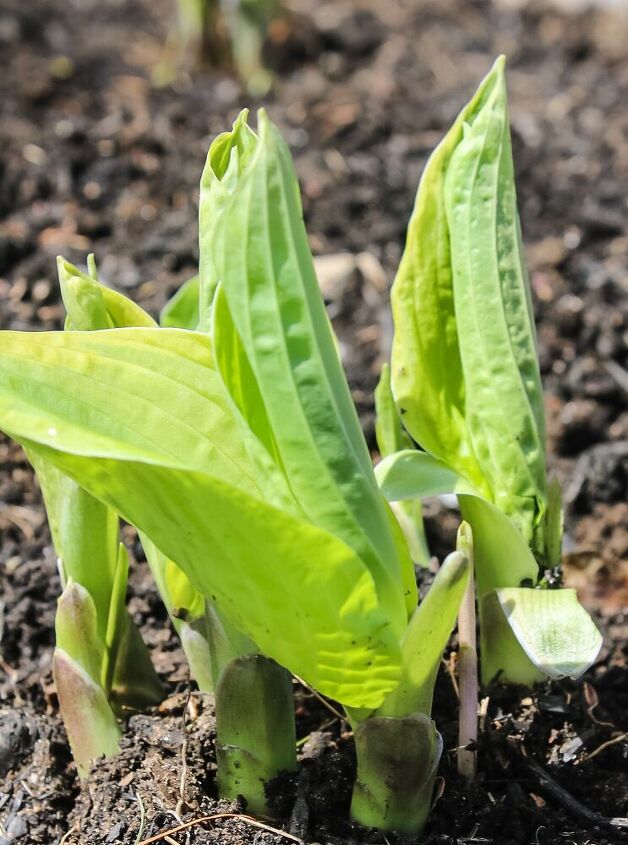
Now, you want to get your plants back into your garden. Dig a hole wider and deeper than the clump you are going to plant. Pop your Hosta in the hole and back fill it with the soil. I step around the plant to compact the soil down a bit. Make sure to give your plants a generous drink of water and that’s it!
See, wasn’t that easy?
You can see how I divided some of my daylilies here.


Comments
Join the conversation
-
How do I divide my yucca plants and when?
-
Would love to but live in an apartment building in Newyork


Frequently asked questions
Have a question about this project?
How to plant saga palm bulbs.