


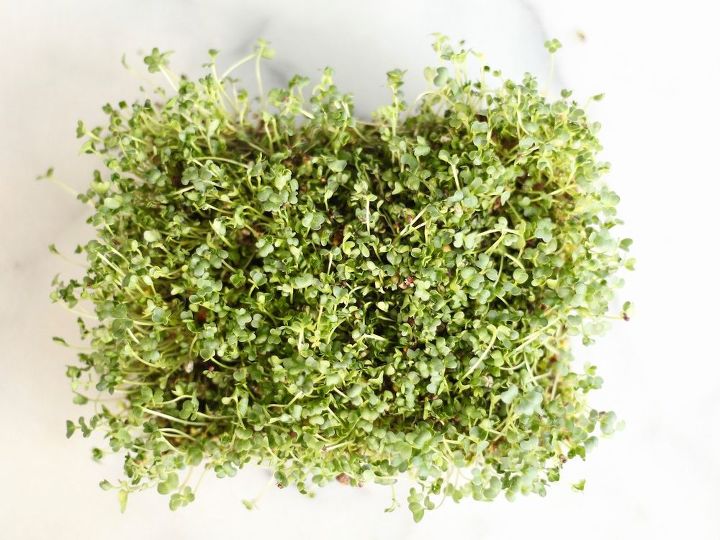
How to Grow Microgreens at Home
8 Materials
Microgreens are the perfect way to learn to garden! You can grow them indoors, right in your kitchen. Once you learn to grow microgreens, you’ll have a better understanding about how seeds germinate and grow into plants. Growing microgreens is a great way to start gardening!
Full tutorial and free printable instructions available at http://www.homefortheharvest.com/how-to-grow-microgreens/
Step 1: Prepare for Planting the Microgreens
-Sanitize all your supplies and your work area
-Treat your seeds to combat pathogens/fungus (use the University of California method, in which seeds are immersed in a mixture of warm water and drugstore hydrogen peroxide for 5 minutes)
-Following treatment, soak the seeds in the tray for 6-8 hours in filtered water
Step 2: Plant the Microgreens
-Pour seeds into the mesh strainer, rinse, and set aside to drain
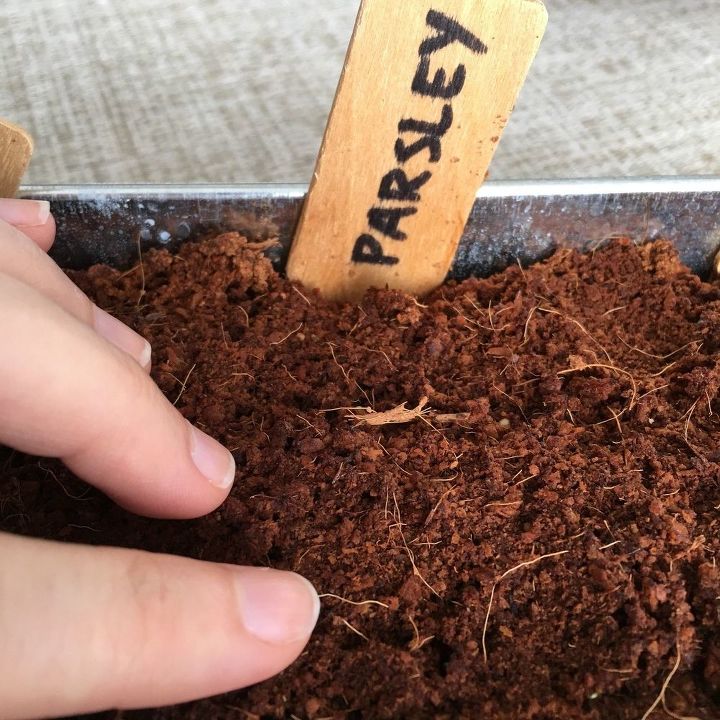
-Fill the tray with sterile soil mix until soil is about 3 cm (1 inch) deep
-Gently compress the soil mix in the tray as you fill it to create a flat planting surface
-Water soil with filtered water so that the soil is moist but not dripping wet
-Evenly distribute the rinsed seeds onto the moist soil surface
-Lightly compress the seeds into the soil
-Cover the tray with the tray lid
Step 3: Caring for the Microgreens
-Once or twice per day, lift the lid and check on your seeds
-If the soil has become dry at all, mist the seeds with filtered water to keep them moist
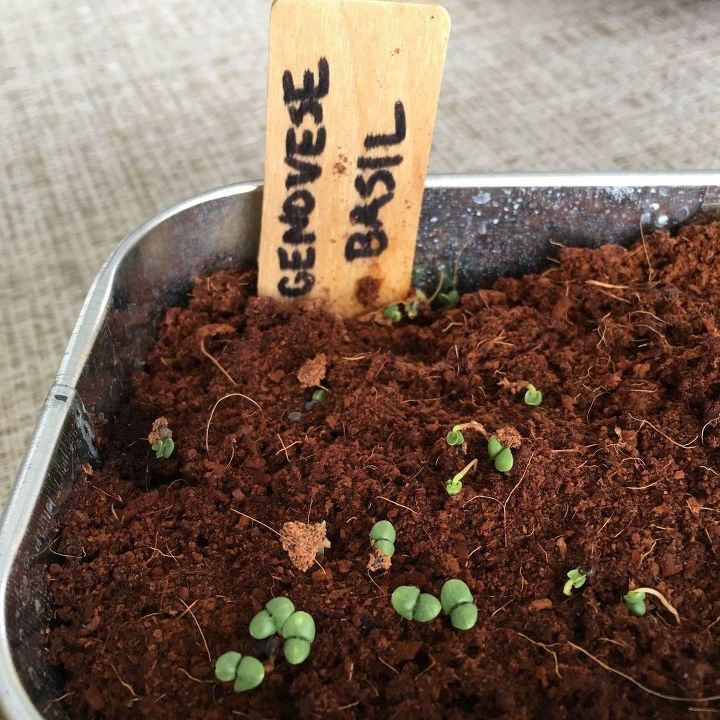
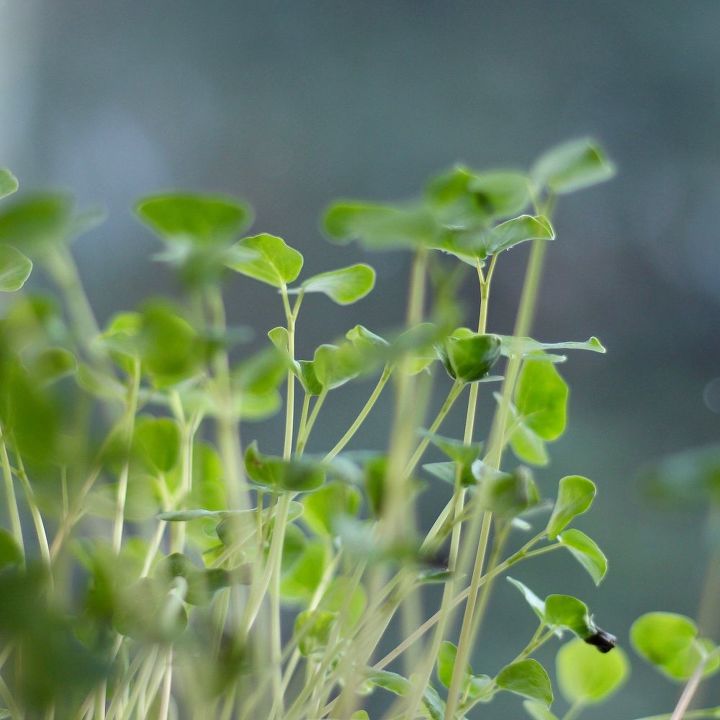
-When the seeds have germinated and you can see a little sprout, remove the lid/covering and place the tray in a sunny warm indoor area, on the patio, or under a plant light
-As the greens grow, ensure the soil is moist but not overly wet
-Check the seeds daily for growth and soil moisture
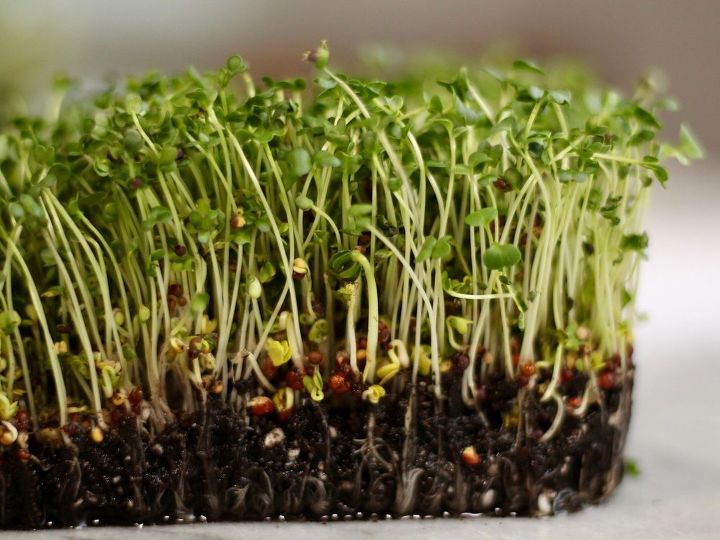
Step 4: Harvest the Microgreens
-Harvest just as the second set of leaves appear (7 to 14 days after germination)
-Experiment with different ages of microgreens to find the stage that you like best
-To harvest, carefully cut the microgreens with a sharp knife right above the soil line
-Only use scissors to harvest if the microgreens will be used within a few days
Step 5: Following Harvest
-The used soil can be composted
-Wash the greens by fully submerging in cold water
-Spread the greens onto a clean towel to dry
-To store, wrap them in paper towels and place in an airtight container or bag in the fridge
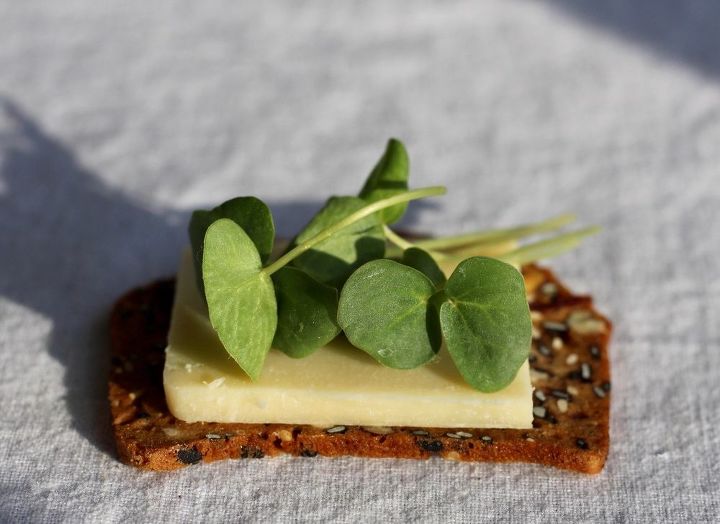
Step 6: Enjoy!
-Use in smoothies, sandwiches, or as garnish

Want more details about this and other DIY projects? Check out my blog post!
Comments
Join the conversation
4 comments
-
Great tips for beginners like moi, thanks. :)
-
This is great! Super informative :)


Frequently asked questions
Have a question about this project?