


Plastic Cup Mini Greenhouse
Watch seeds grow right at home in these quick and easy mini greenhouses. Perfect for kids wanted to watch seeds, but also perfect for gardeners who want to start their own seeds indoors!
Not only is this a great activity to see how seeds grow, but it can also be an easy way to start seeds indoors without a full tray and seed starting set up. This plastic cup mini greenhouse would be perfect for any gardener just wanting to start a few seeds indoors. Here’s what you’ll need to create these little planters.
And before the supply list, if you want to make a larger greenhouse or coldframe to sit on top of a raised garden bed, check out my DIY Coldframe tutorial made from old windows.
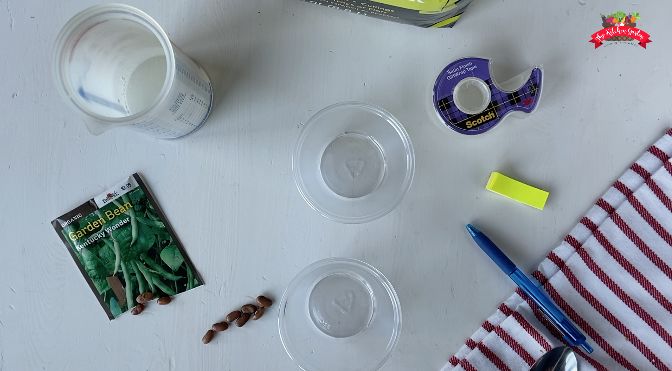
Supplies:
8 oz plastic cups (wide mouth)
seed starting soil
seeds
water
tape
paper for label
On a small piece of paper, write a label for whatever type of seeds you’re growing. Use a piece of tape to adhere label to one of the cups.
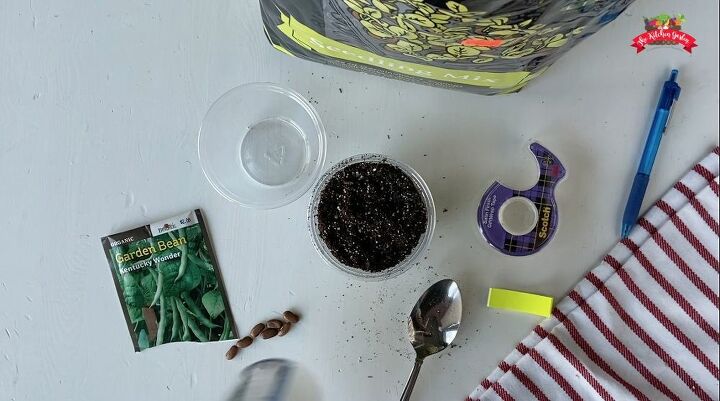
Fill the labeled cup 3/4 way up with seed starting mix. Make a half inch hole in the middle of the soil.
Place seeds inside the hole and cover with more soil, just below the edge of the cup.
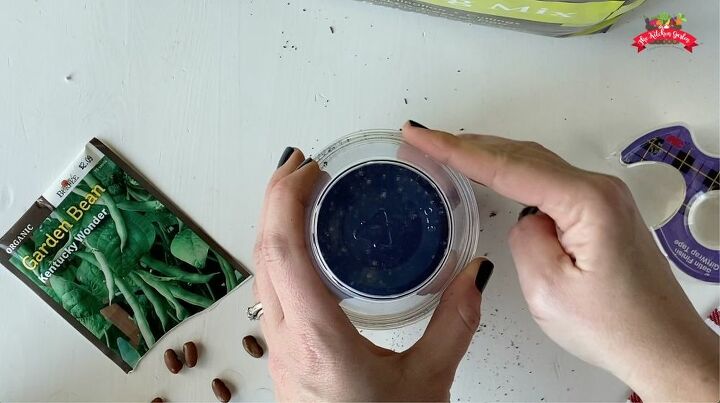
Water soil thoroughly, but not so much that water pools at the bottom of the cup.
Place second cup on top of the first and use a small piece of tape to connect the top cup to the bottom one (like a hinge).
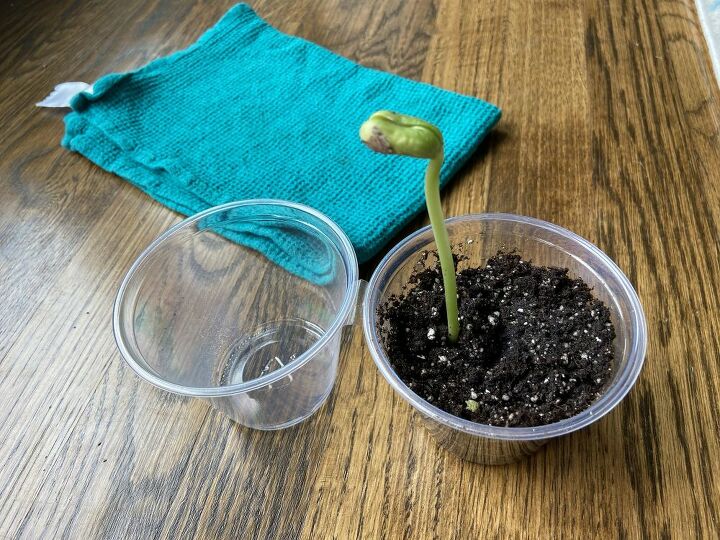
Place cup in a sunny spot and wait. Within a week you should see your seed sprouting and growing. Because of the moist growing conditions in the greenhouse, you shouldn’t need to water unless the soil feels dry to the touch.
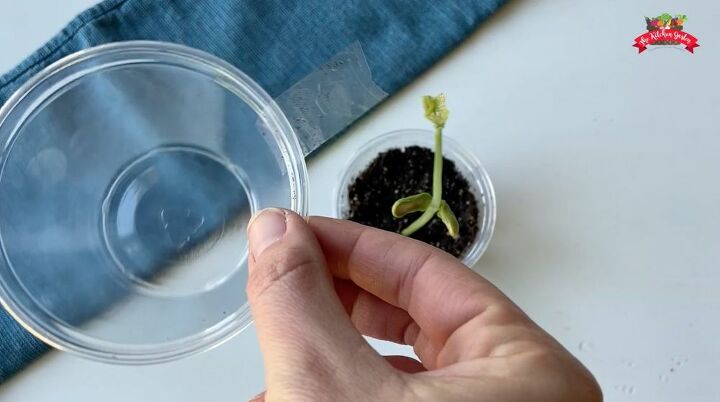
Once the plant has grown to the touch the top of the second cup, remove it and use it for another greenhouse.
That’s it! Let your plant keep growing in the cup or harden off your plant and move it outside to the garden.


Comments
Join the conversation
-
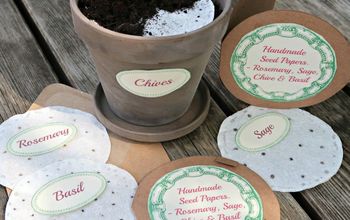
we wanted to send home a ‘ Plant ‘ with some handmade craft by our students, this would be perfect placed in a hand decorated pot for Mother’s Day. Thank you
-
We saved our ice cream cups and snap lids from Burger King then added potting soil and 2 pepper seeds. So far we have 18 plants with 4 more to grow.


Frequently asked questions
Have a question about this project?
I’m thinking of making a small hole in the cup and placing a bunch of them on a foil tray that comes with a clear plastic cover, making it a greenhouse. This should work right?