


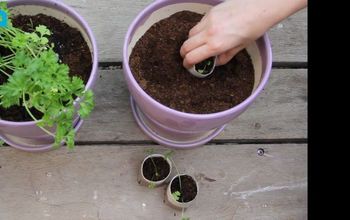
Recycling Containers for Starting Seeds

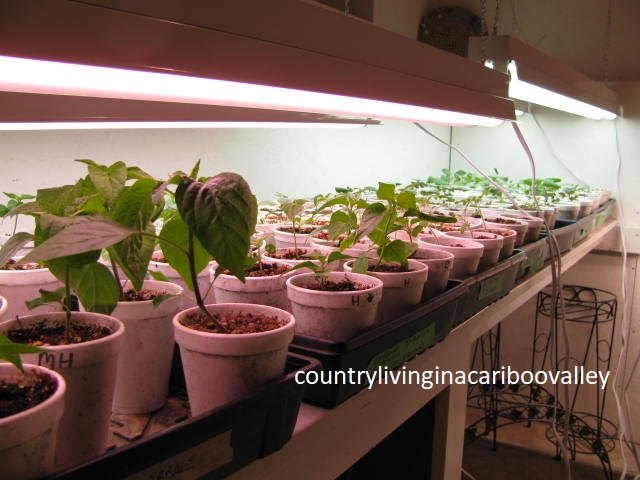
I start a lot of seedlings each year. Our growing season isn't quite long enough to just direct seed right into our gardens. And our flowers and vegetables benefit from being started in the house.
But, I don't like how expensive seedling containers can be. So, we use all kinds of used containers instead. We save used containers all year long!
Used styrofoam coffee cups are still (unfortunately) around. If you can get your hands on some, reused them as seed containers.
Just poke one or two holes in the bottom, fill with soil and add the seed. The tapered edges of these cups make transplanting super easy.
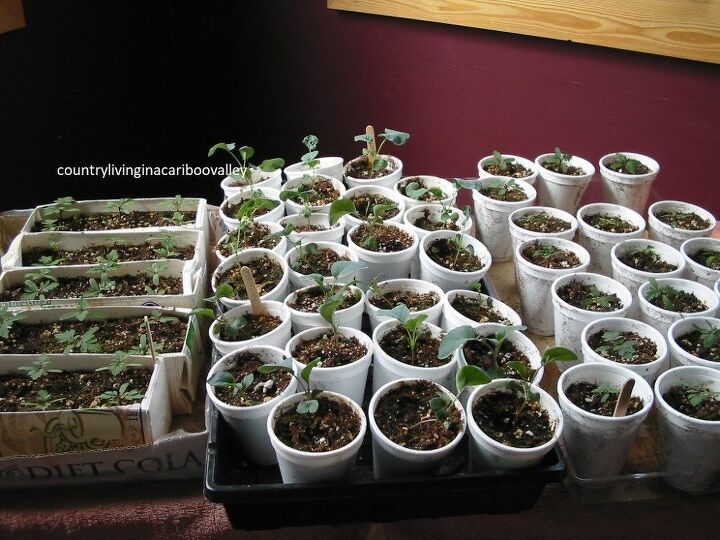
Used dairy containers are great for seedlings. Just cut one side off and tape up the rest where needed.
Poke several holes in the bottom. You can easily fit 6 seedlings in a cream container, more in a larger milk container.
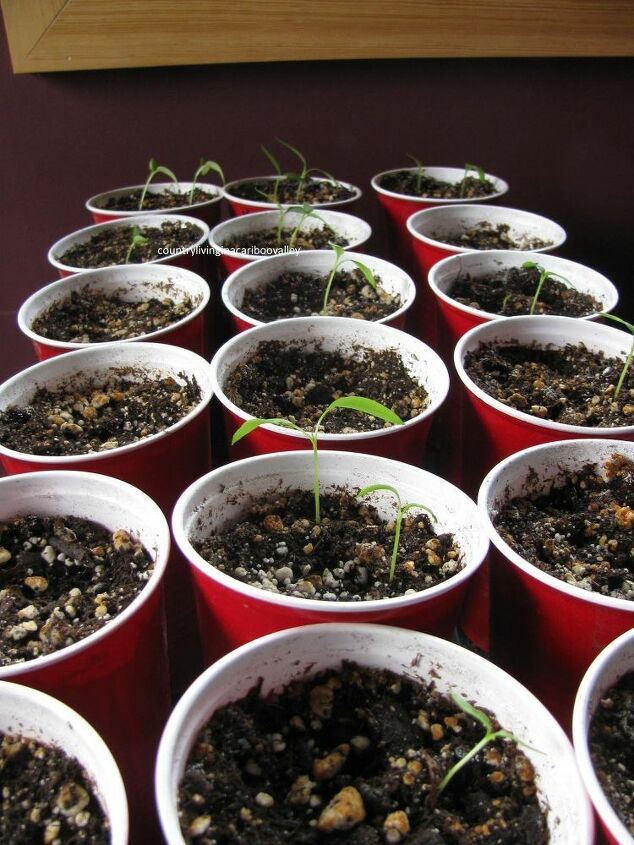
Solo Cups - a little harder to get the holes poked in the bottom, I use a sharp pointed screwdriver.
Their larger size make them good for seedlings you want to grow into large plants. Like Peppers or Tomatoes.
Both the Peppers and Tomatoes will end up growing in our home made Greenhouse (we made it for under $200) where it's much warmer for them.
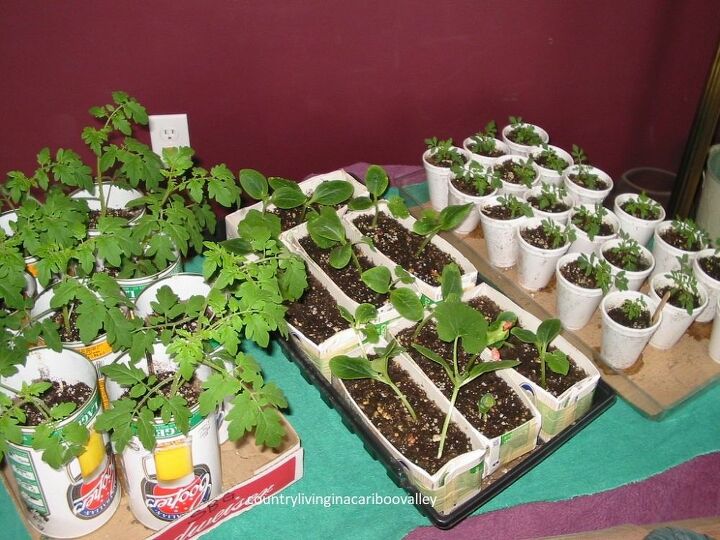
Large tin containers - Another really good container for tomato seedlings. These used malt containers hold a lot of soil.
Using these for tomatoes means the plant can stay in this pot for several weeks, and hopefully even get root bound. The bigger the root system, the larger the plant will be once it's in the ground.
Here's why I always transplant tomatoes several times before setting them into our greenhouse.
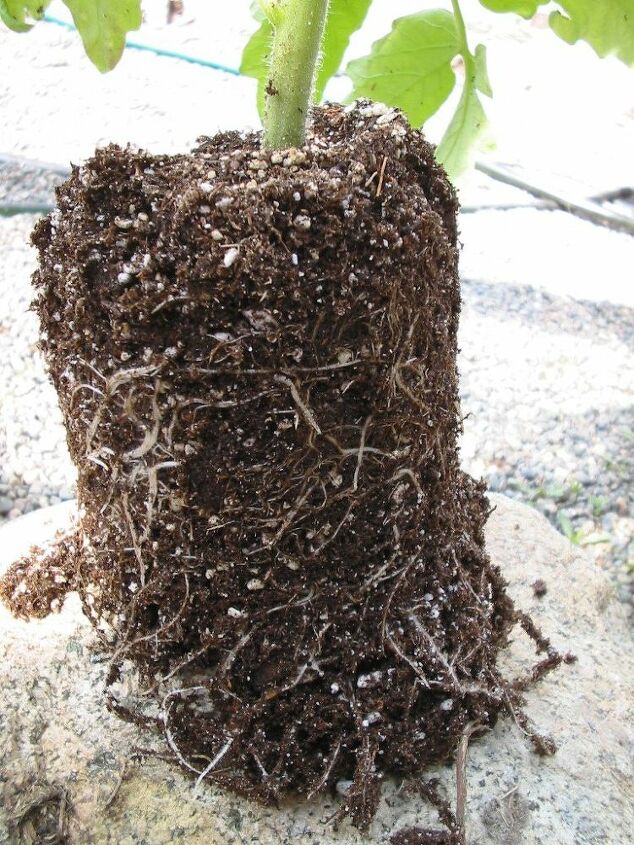
Here's a tomato seedling after it became root bound in its seedling cup. It's ready now to be transplanted into the ground.
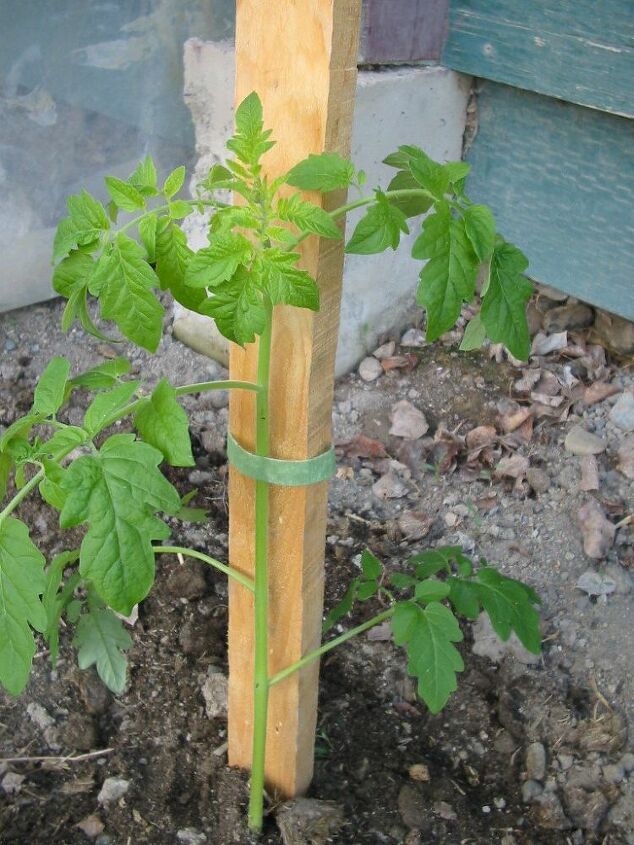
And the same plant after it has been transplanted into the ground outside.
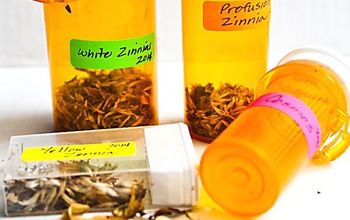
So if you are going to start a lot of flower seeds or vegetable seeds, think about saving whatever reusable containers you can find.
You may be surprised how many you can save up, even over just a few months.
The only cost for this is the seeds and the soil!


Frequently asked questions
Have a question about this project?