


How To Grow Potatoes At Home
The potato (Solanum tuberosum) is perhaps one of the world's most significant food plants and commercial crops, with its tuberous roots containing a massive amount of minerals and digestible carbs. Few vegetables are more flexible than these annual root vegetables, which have fended off famine and poverty in many parts of the world for ages.
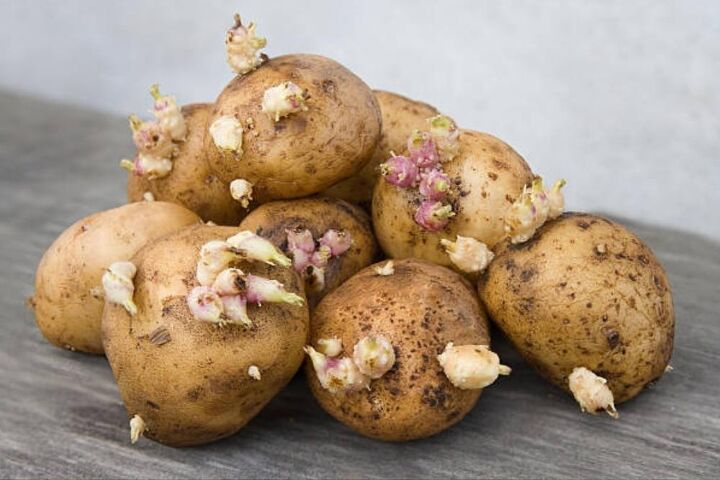
1. Use certified, disease-resistant seed potatoes. The eyes or buds should protrude.
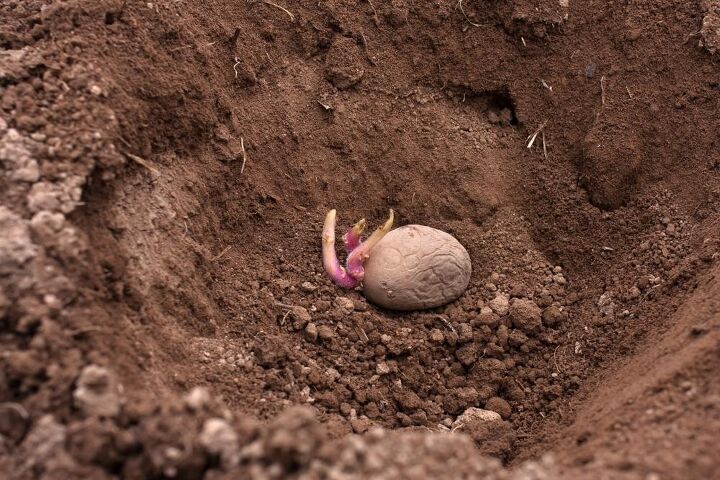
2. With a hoe or round-point shovel, dig a trench about 6 inches wide and 8 inches deep, tapering the bottom to about 3 inches wide. Spread or mix in aged manure, compost, and/or leaves.
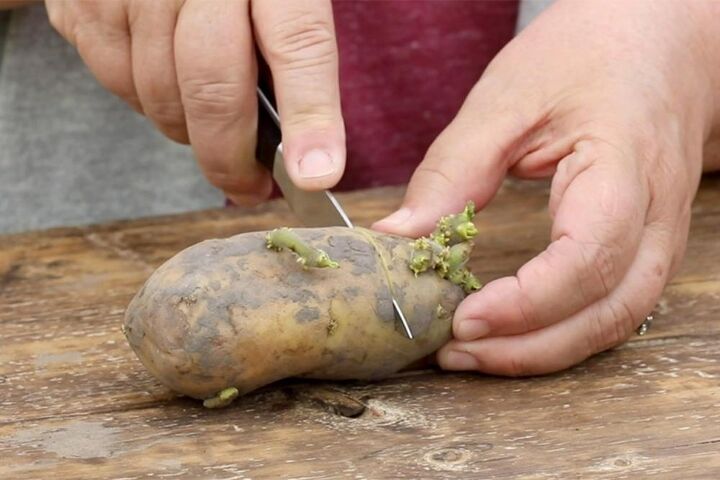
3. Cut potato pieces 1 to 2 days ahead of planting. This will give them the chance to “heal” and form a protective layer over the cut surface, improving both moisture retention and rot resistance. Use a clean, sharp paring knife to cut large seed potatoes into pieces that are roughly the size of a golf ball, making sure that there are at least 2 eyes on each piece.
4. In each trench, place a seed potato piece cut side down every 12 to 14 inches and cover with 3 to 4 inches of soil. Grow potatoes in rows spaced about 3 feet apart.
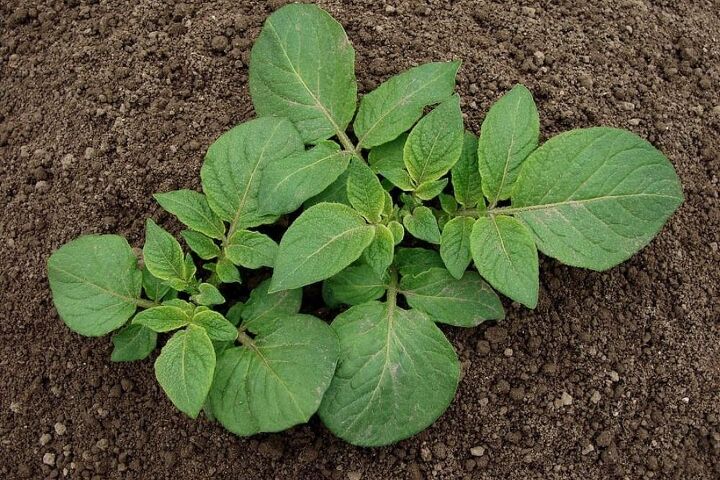
5. Twelve to 16 days after planting when sprouts appear, use a hoe to gently fill in the trench with another 3 to 4 inches of soil, leaving a few inches of the plants exposed. Repeat for several weeks, leaving the soil mounded up 4 to 5 inches above ground level. After the potato plants have emerged, add organic mulch between the rows to conserve moisture, help with weed control, and cool the soil.
6. Maintain even moisture, especially from the time after the flowers bloom. Potatoes need 1 to 2 inches of water a week. Too much water right after planting and not enough as the potatoes begin to form can cause them to become misshapen. Stop watering when the foliage begins to turn yellow and die off.
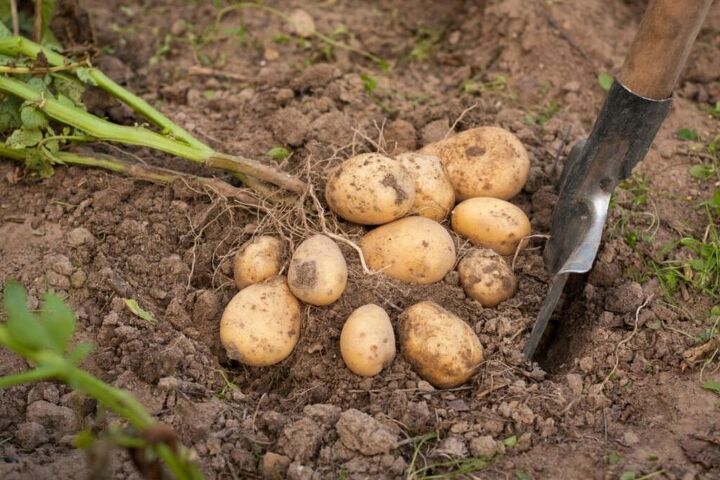
7. Potatoes will be ready for harvest 2 to 3 weeks after the plants stop flowering. Harvest larger, more mature potatoes 2 to 3 weeks after the foliage has died. Toughen up potatoes for storage before harvest by not watering them much after mid-August. Cut the brown foliage off and leave the potatoes for 10 to 14 more days before you harvest. This allows the potatoes to develop a thicker skin. Don’t wait too long, though, or the potatoes may rot.
8. Dig up a test hill to see how mature the potatoes are. The skins of mature potatoes are thick and firmly attached to the flesh. If the skins are thin and rub off easily, your potatoes are still too new and should be left in the ground for a few more days.
9. Dig up a test hill to see how mature the potatoes are. The skins of mature potatoes are thick and firmly attached to the flesh. If the skins are thin and rub off easily, your potatoes are still too new and should be left in the ground for a few more days.


Frequently asked questions
Have a question about this project?