


Desk Nook Makeover
My daughter told me she wanted a desk in her room so I decided to transform the little nook on the other side of her closet. I love giving spaces a complete makeover while trying to stay on a tight budget and re-purpose as much as possible!
This little nook was the perfect place for this makeover!
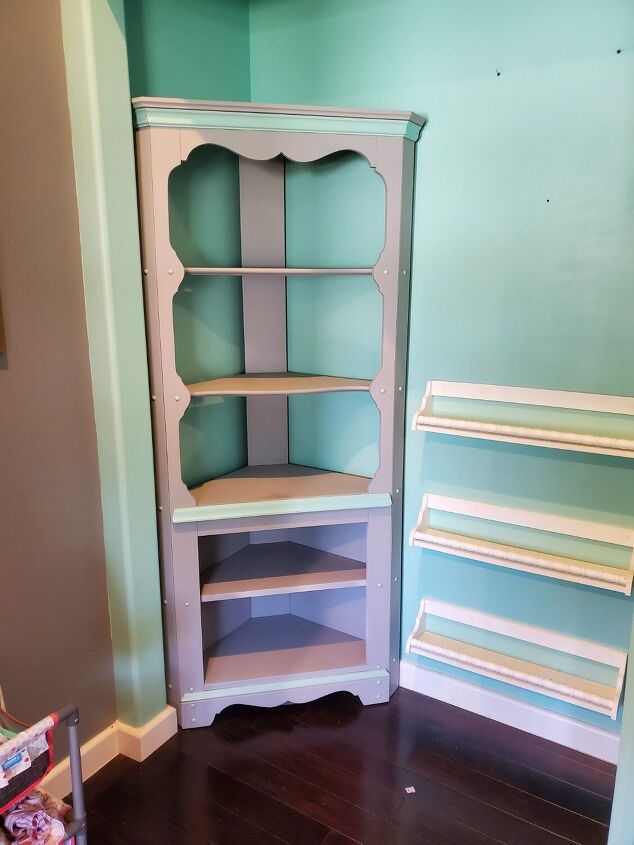
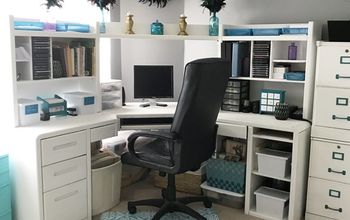
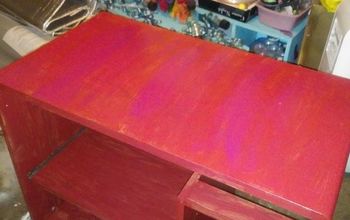
This is what it looked like before. It was a cute space that I created for her before she was even born but it just wasn't as functional as it could be.
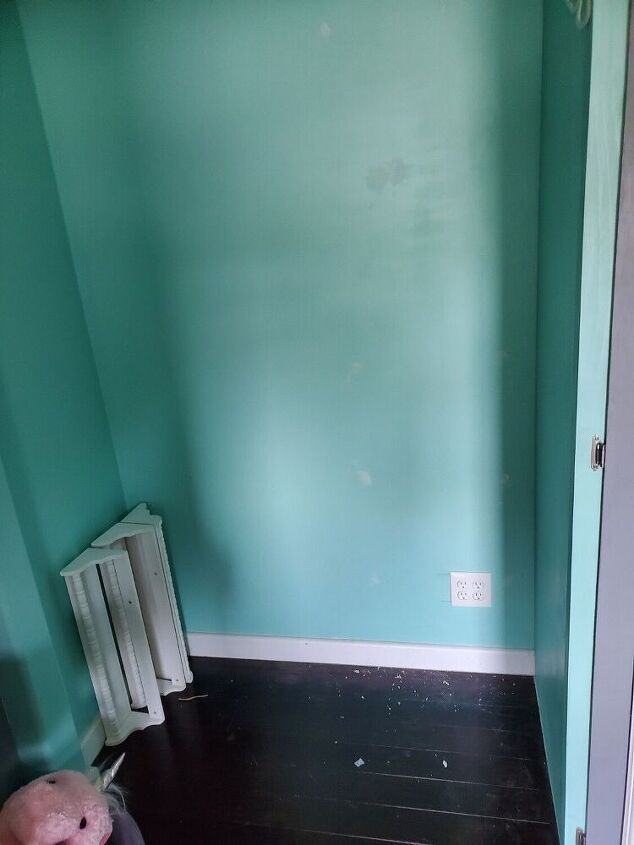
I started by removing the bookshelves and corner shelf. This space was half of what used to be a long closet. When I turned this room into a nursery I framed in only half of the closet and left this space open. It didn't have any electrical outlets but luckily my father in law is an electrician and was able to add an outlet for us!
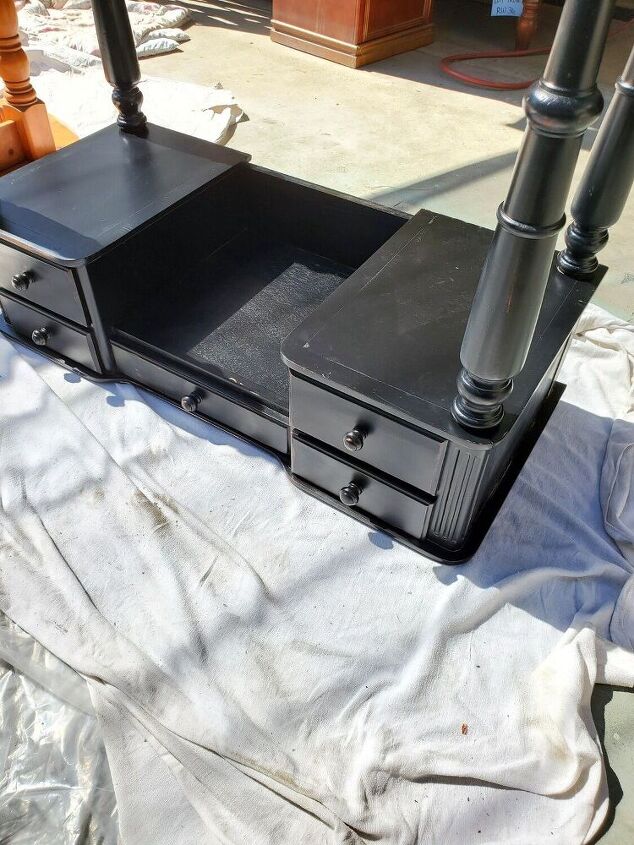
I was gifted a vanity from a friend. I removed the mirror and pained it white. I honestly didn't spend a ton of time on the prep or the paint because my daughter is only 6 and I know the desk will be "well used" and will most likely get pretty banged up. I also don't want her to worry about messing up a pretty finish, which is how I paint all my other furniture lol.
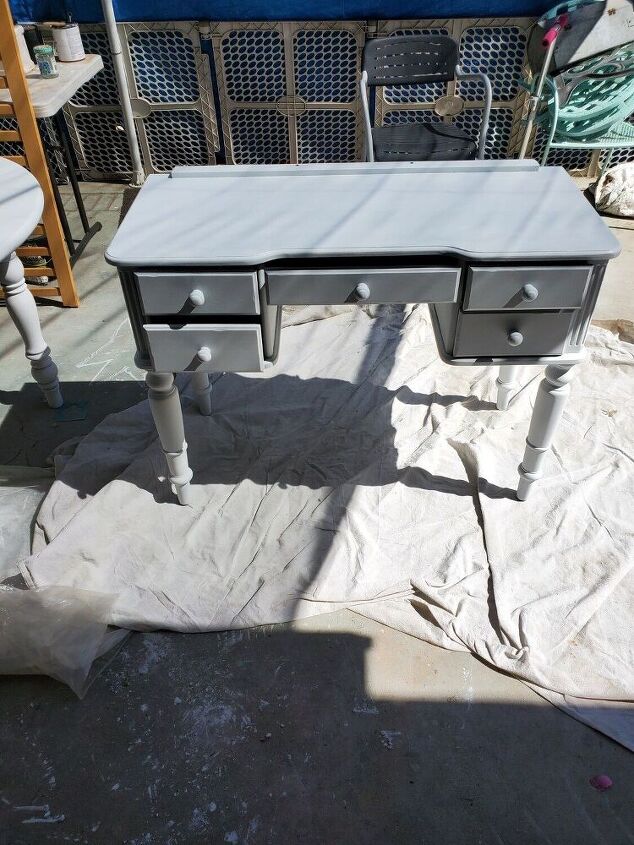
I gave it two coats of white with my sprayer and then one coat of water based polyurethane.
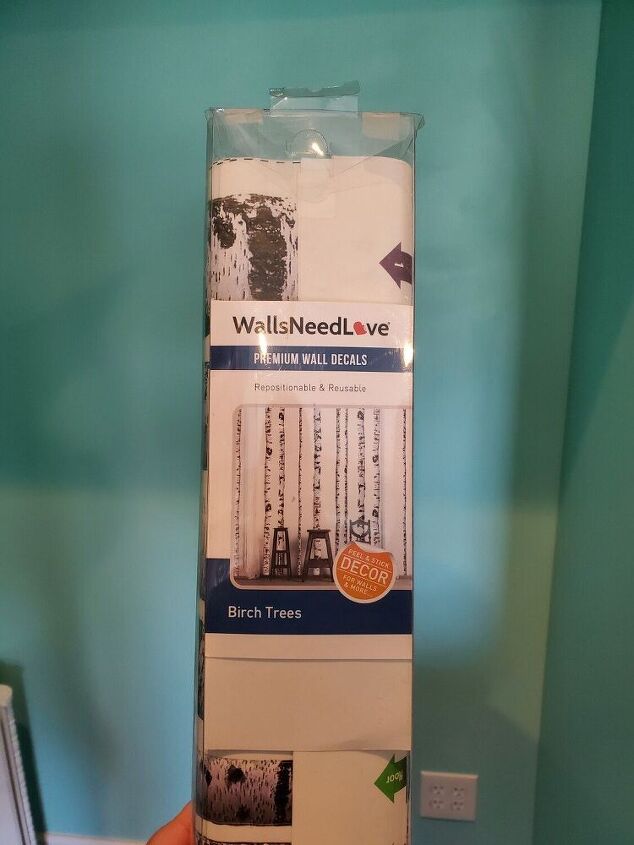
Next up - wall treatment! I was lucky enough to have these brand new wall decals given to me from my local buy nothing group. I knew they would be perfect for this space and they also gave me a great idea for another design feature!
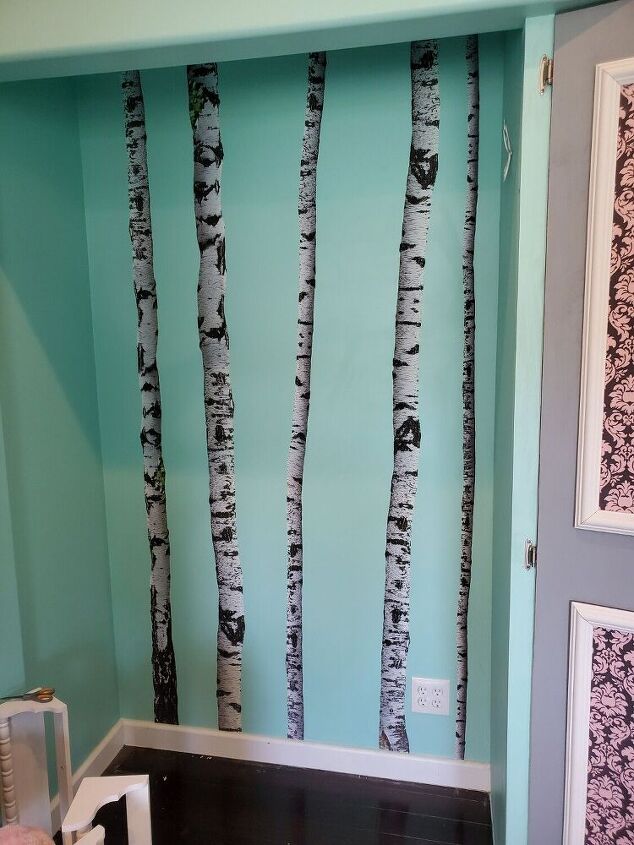
They were super easy to put up! I just made sure the wall was clean and started from the bottom with each piece. I trimmed off the excess at the top with a box cutter. Easy peasy! They are also easily removable and won't damage your walls. Highly recommend!
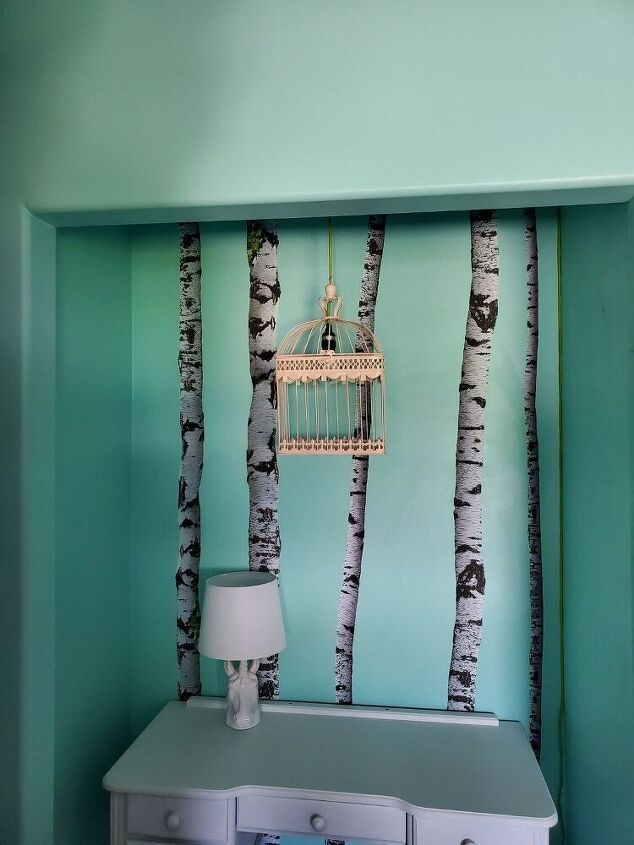
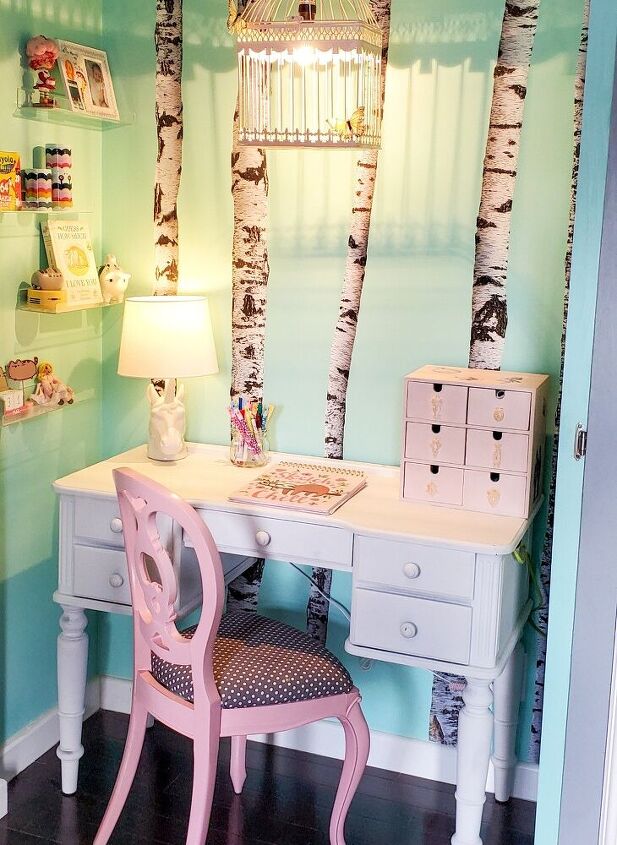
Next I created a custom bird cage lamp to hang over her desk! I have a full step by step of the lamp project in my profile if you're interested in the details. I added a smaller desk lamp as well. I love having multiple sources of lighting in a space.
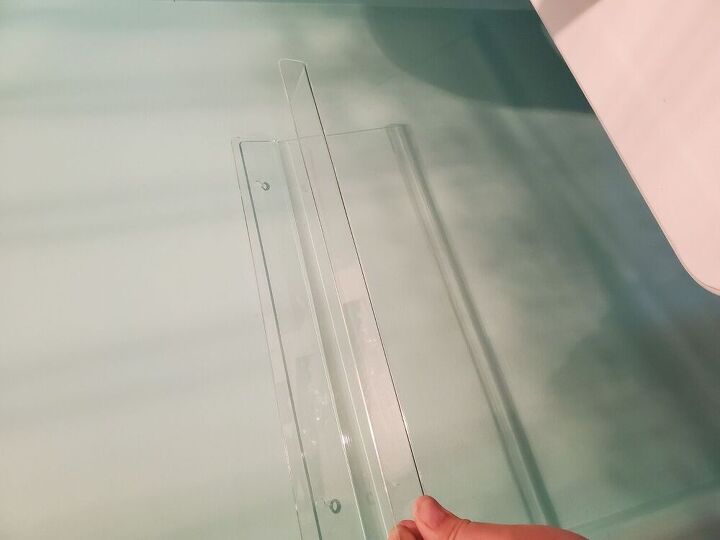
I knew I wanted some shelving but I didn't want it to take away from or block the wall decals so I decided on some cute acrylic shelves from Amazon.
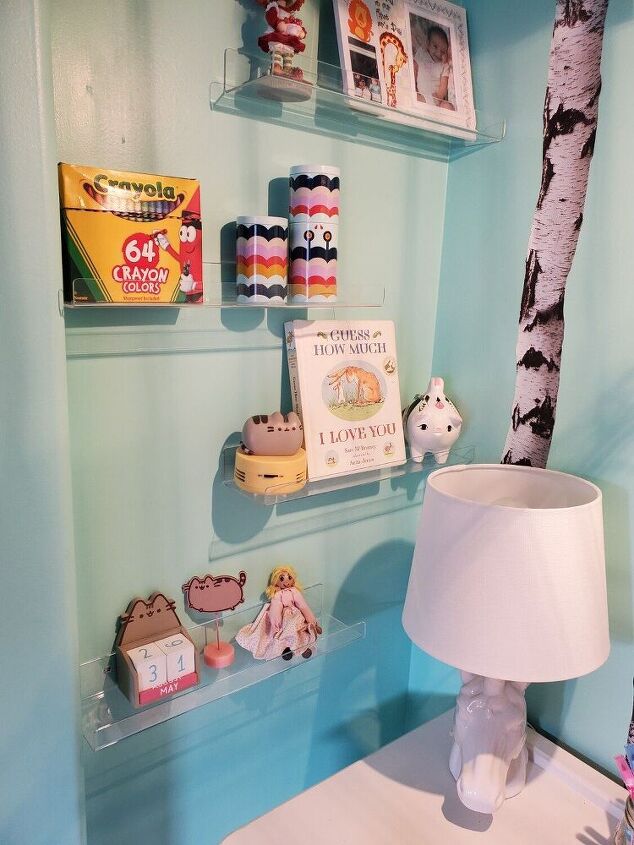
These were the perfect addition to the space!
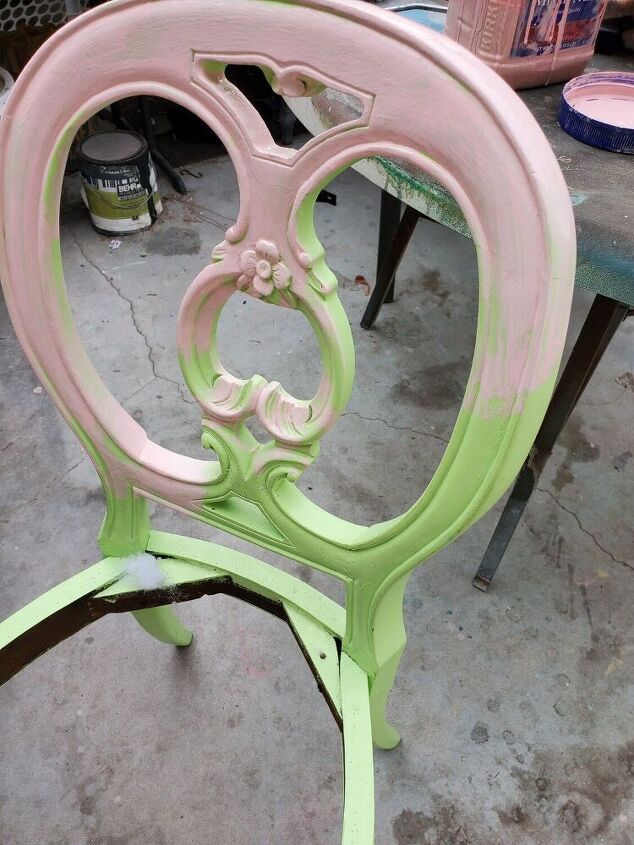
For the final touch, I decided to redo a chair that I had redone several years back. I painted it a pretty pink per my daughter's request. 😊
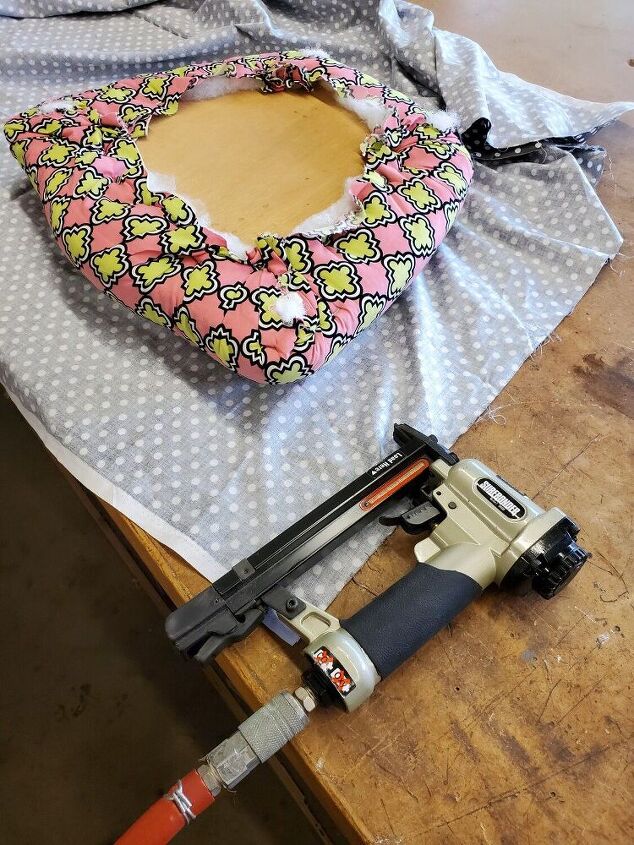
I already had a ton of fabric so together we picked out one that would go well with the rest of the space. Normally, when recovering a chair, I would always strip it down completely and replace foam and batting if necessary. Since I just redid this one myself a while back I knew everything was still fine. I didn't even bother removing the other fabric because I use a lot of staples and the new one was thick enough that the old abric didn't show through at all. Again, not what I normally do but in this case it was fine.
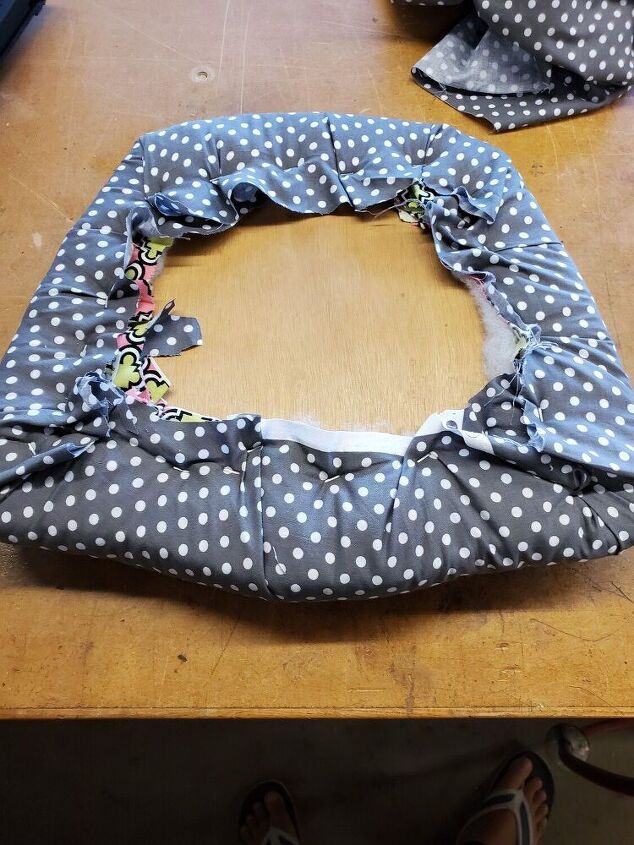
Sometimes getting the fabric nice and smooth or deciding where to put a crease or pleat can be tricky. I always switch back and forth from end to end and side to side while stapling and make sure to pull the fabric tight as I staple. Using a pneumatic stapler makes the job so much easier!
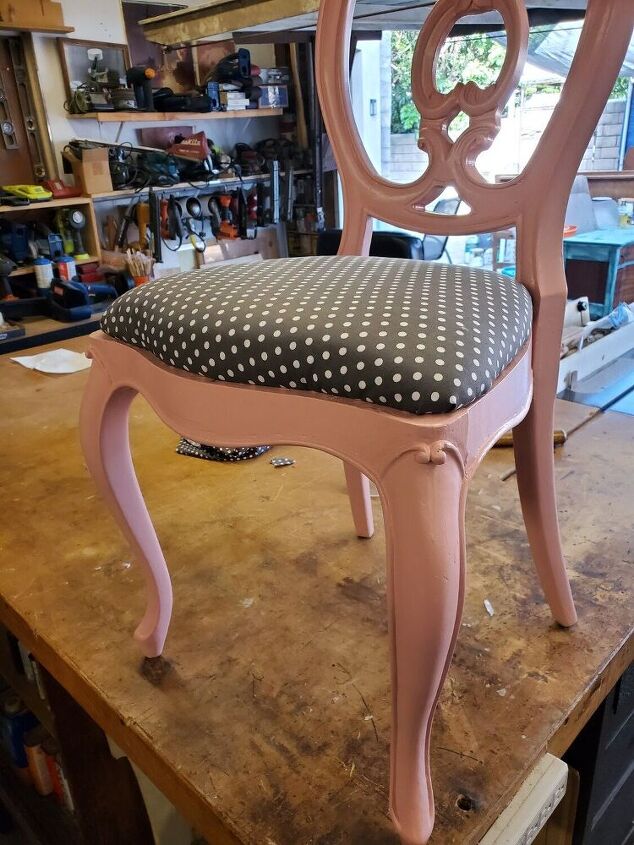
Once I was done stapling the fabric, I screwed the seat back on to the chair. A new fabric and a little paint can really transform an old chair!

Now the space is complete! I hope you enjoyed following along! Check out my Instagram for more fun projects!
Resources for this project:
See all materials


Comments
Join the conversation
-
Yes, the hanging bird cage is so delightful. I know that at Christmas time, I often see pretty colored feathered birds sold as clip-on tree ornaments. Adding a couple to the inside of the cage would inject a little 3D 'life' to the area.
-
Absolutely darling little space!! Nicely done.


Frequently asked questions
Have a question about this project?
I love the floor in that room! Would you give details - color, type, brand?
Are the wall decals individual trees that you can space any way you want?