


Home Office Lighting Upgrade
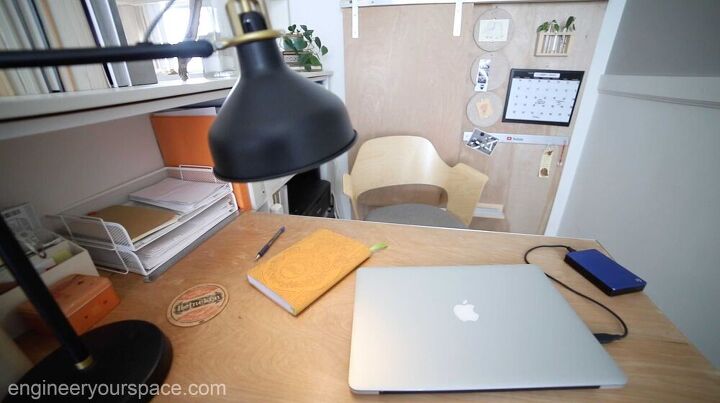
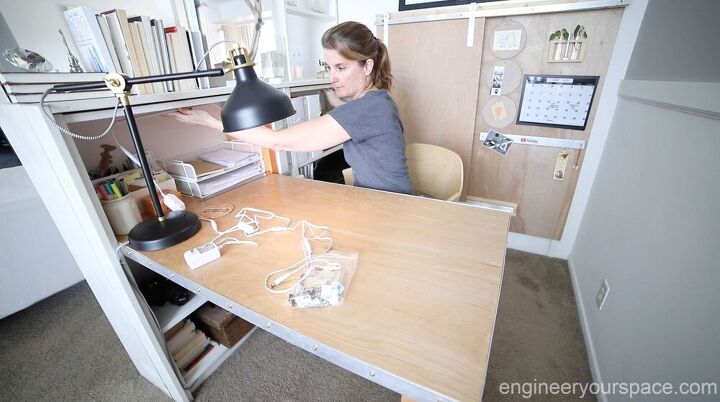
I recently gave my home office a pretty big makeover, which included changing the layout so that my desk would face the window. By attaching a two legged desk to the bookcases, it gave me a decent amount of desk space while at the same time leaving enough room to walk around the desk. I'm loving this new desk setup but the one downside is that the desk area inside the bookcase doesn't get as much light as the rest of the desk. Then it dawned on me that under cabinet lights would be the perfect solution.
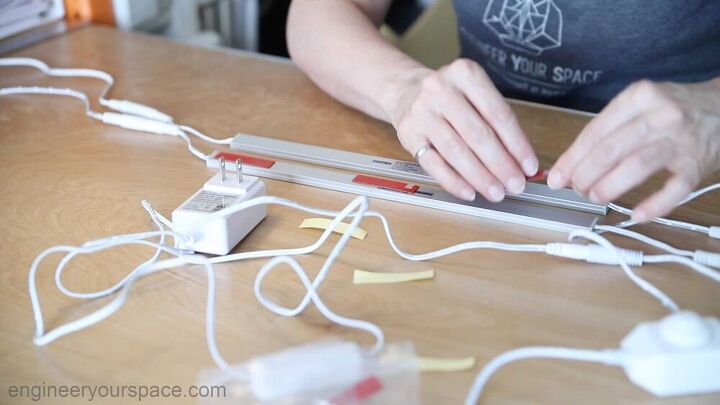
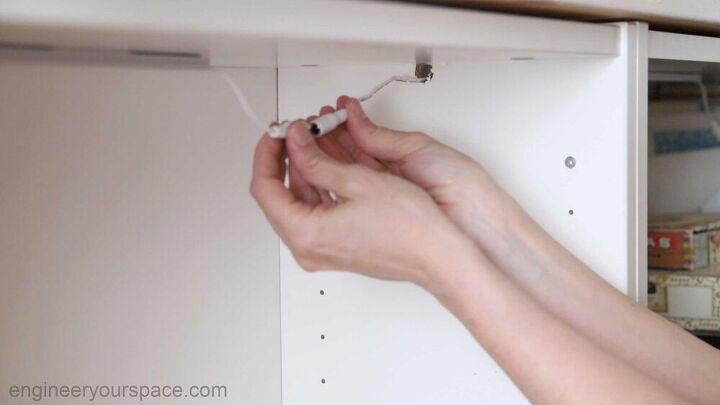
The first thing I did was to see what configuration of wires I would need to be able to have the lights in both bookcases and have the switches and power supply by the outlet. The under cabinet light kit that I chose comes with many cable extenders that made this customization really easy.
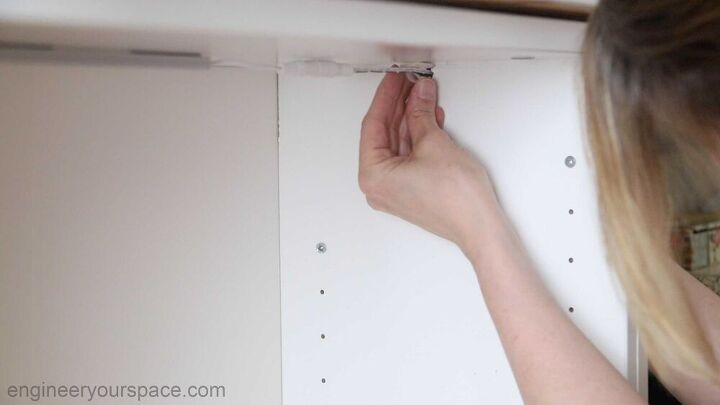
After I was sure that the wire situation was going to work, I put on the double sided tape to install the lights. The hardest part of this entire process is removing the backing. Even when you have nails that can be a bit tricky.
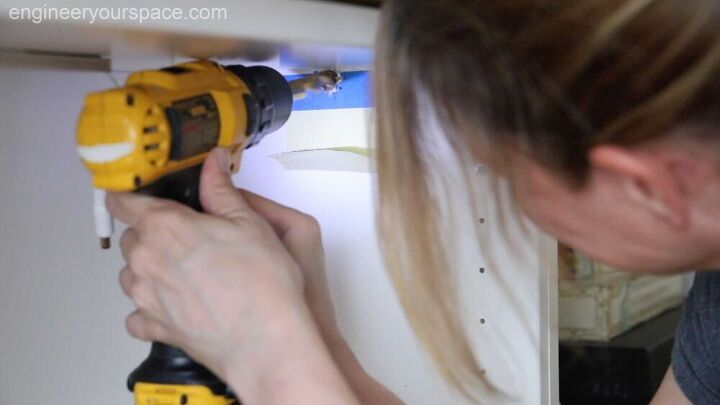
I obviously didn't want the cords between the bookcases to show at the front, so I needed to make a hole through both sides of the bookcases. The finish on these bookcases tends to fray when you drill into it, so putting some tape helps keep that to a minimum. The thickest part of the wire is just over a quarter of an inch thick so I chose a half inch drill bit to make the hole. I like to start off by making a smaller hole first and then working my way up to the bigger size. I find it's easier and more precise to do it this way. Adding a folded post-it note to catch the dust is one of my favorite tips to help keep cleanup to a minimum, plus, it's really satisfying to see all that dust on the post-it!
I love that these under-cabinet lights come with all the hardware you need to install them and to secure the wires. With all the wires neatly secured, they blend in nicely with the bookcase and they're hardly noticeable.
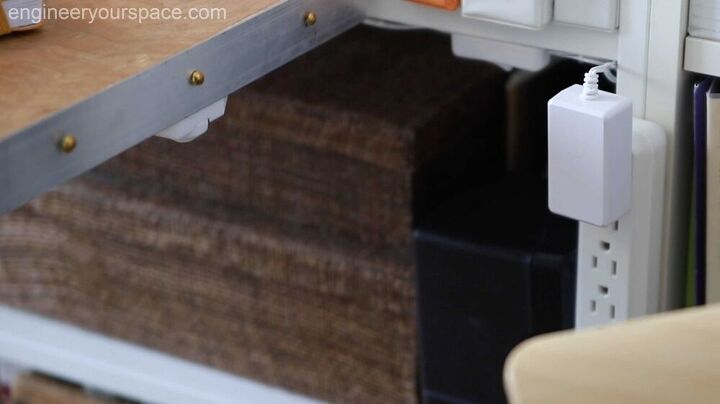
I set up the wires so that they could run under the desk all the way to the power strip and so I could have both the dimmer switch and the on/off switch easily accessible. That way I can easily control the lights when I'm sitting at my desk.
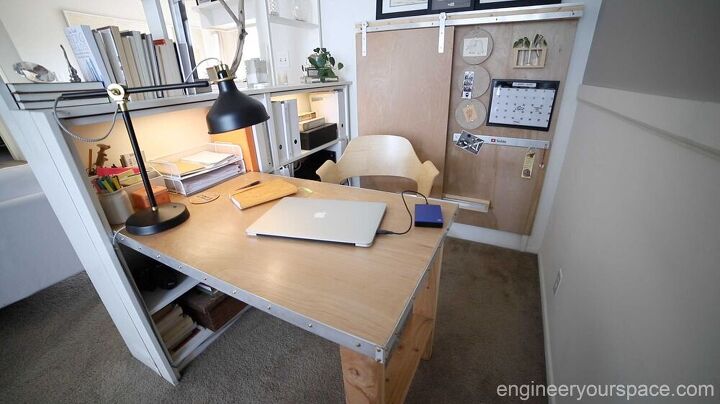

Adding the under cabinet lights to the bookcases is a small detail, but it does go a long way to making this tiny office a bit more luxurious and also a very cozy space to work late into the evening editing videos.
You can see the entire project and more details on my blog and in this video.


Frequently asked questions
Have a question about this project?