


Adjustable Height Live Edge Desk

by
Zac Builds
2 Materials
$250
1 Hour
Easy
I've been eyeing a sitting/standing desk for a while now. The only problem? I already made myself a desk that I'm quite fond of and don't want to get rid of. I put a lot of hours into it and I don't want to trade it in on some generic desk.
So naturally I went on Amazon and searched for a solution. Finally I found it. A company was selling a set of electronically adjustable legs that you could attach to any desk. These legs transform a regular desk into one that rises up and down at the touch of a button.
Now I have a desk that looks awesome (subjectively to me, anyways), is ergonomic, and is bordering on futuristic. Let me show you how it all went together!
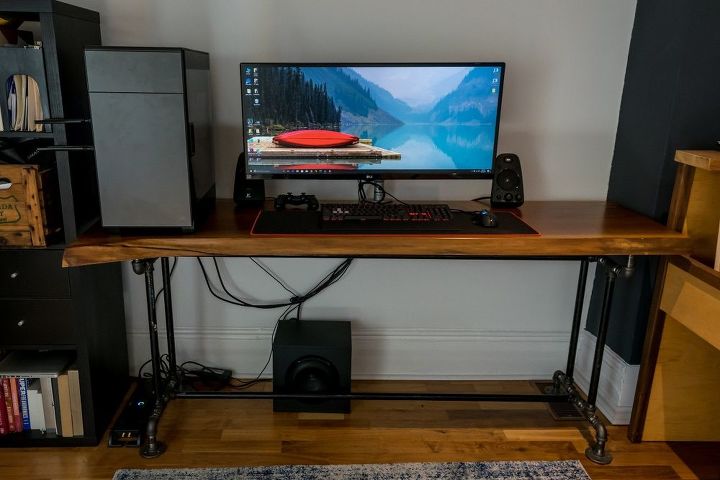
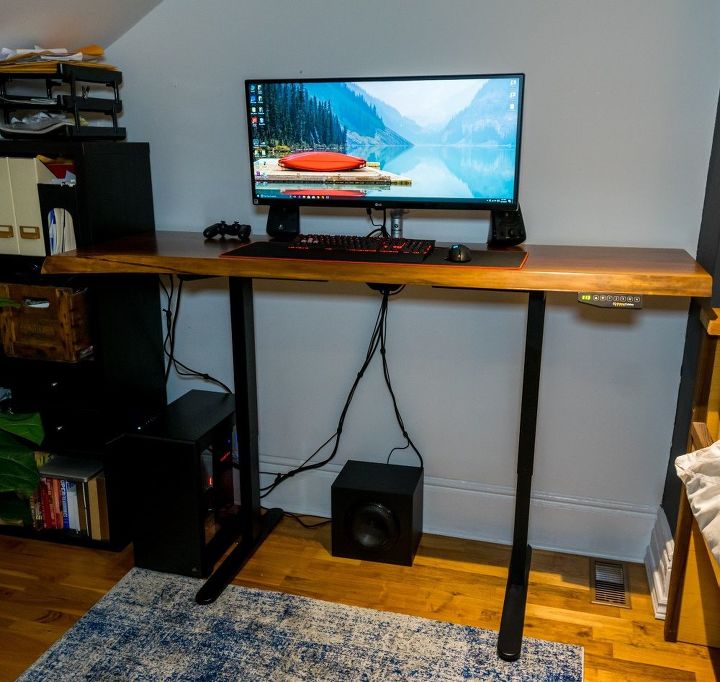
This is what my desk looked like when I started. The surface is made of a solid slab of walnut. I did that project a few years ago and unfortunately wasn't documenting my projects back then, sorry!
The legs however were made out of steel pipes, and while they looked cool, I wanted something a bit more ergonomic. It's time for an upgrade.
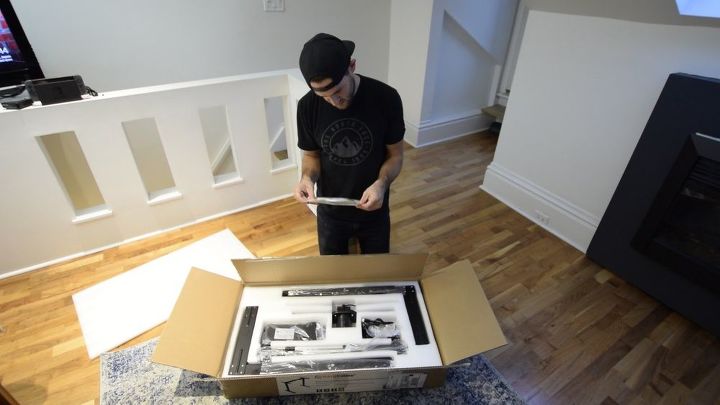
The first step was to unbox my new legs and get started on assembling them. I feel bad for the poor mail person who had to deliver this box, it's HEAVY.
Again I ordered these off of Amazon and they are sold by a company called prime cables. I'll included a link to them at the end of this article.
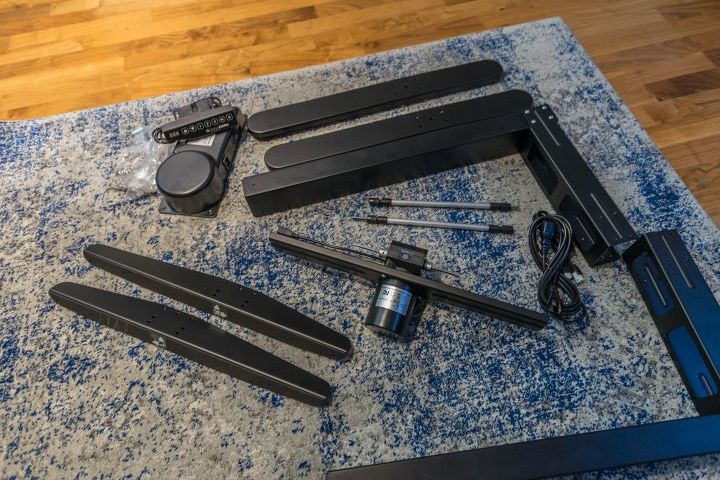
Oh wow, this is a few more parts than I was expecting. Better read the instructions and see how this all goes together.
Took me the better part of 30 minutes to get these guys assembled but the included instructions were actually quite good and the only tool I needed was an allen key. Kind of like Ikea.
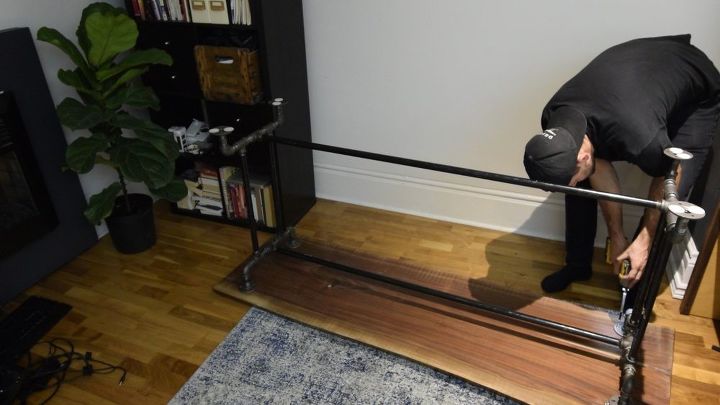
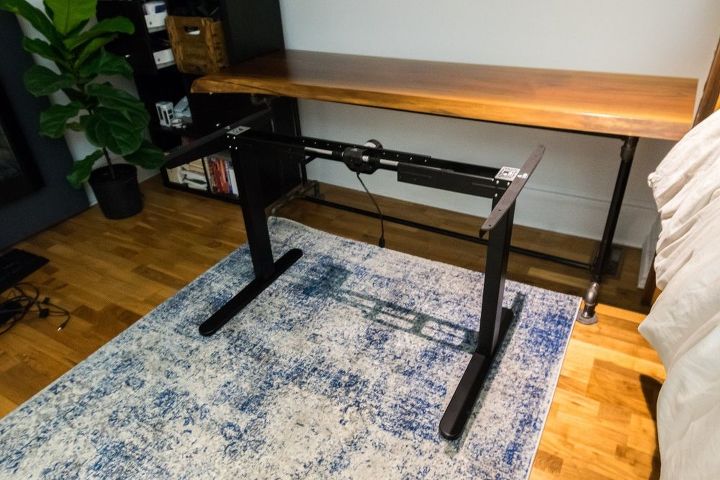
Next I flipped my desk over and removed the old legs. These legs were just screwed in so disassembly was a breeze.
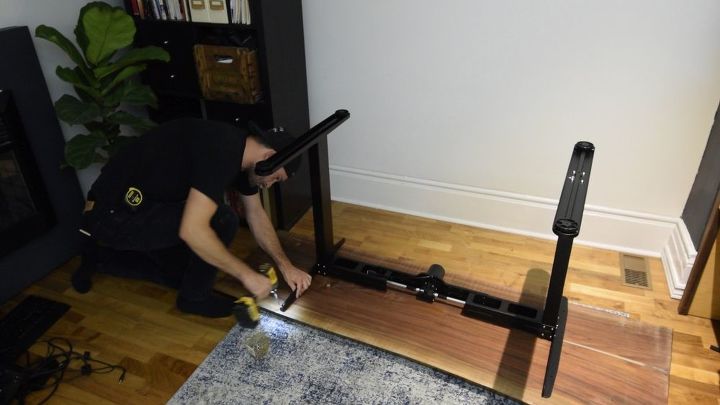
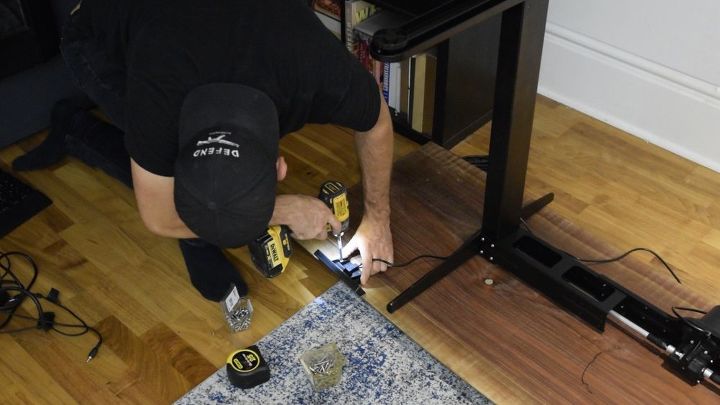
Next I attached the new legs to the bottom of the desk. I used 1" long #12 wood screws. Because walnut is so hard I had to pre-drill each screw hole before putting the screws in. I used a cordless drill and a drill bit that was slightly smaller than the diameter of the screws I was using.
If I skipped that step I probably would've snapped most of the screws I tried to put in.
Next I attached the control panel that sets the height of the desk. Because I'm right handed I put it on the right side of my desk. Makes sense right?
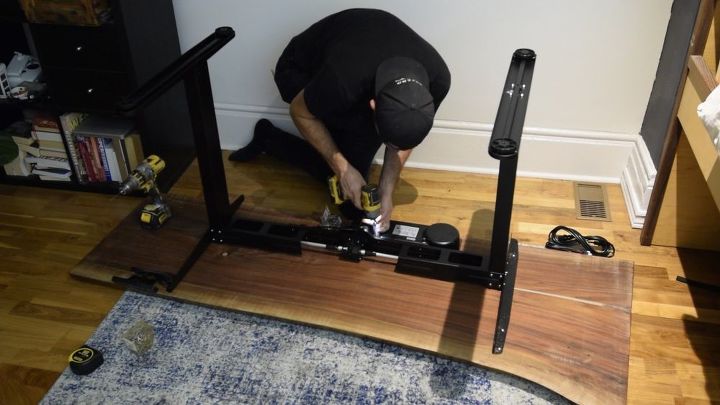
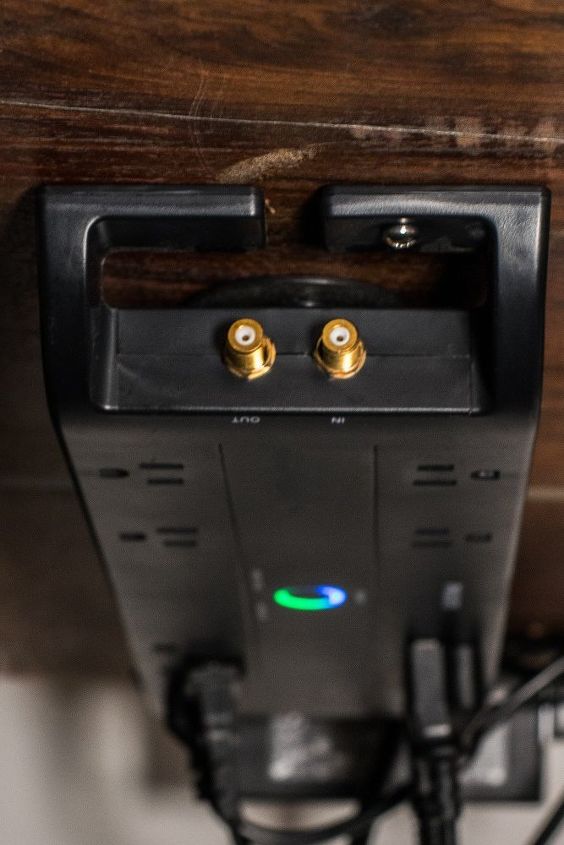
Next there was a large power converter that supplied power to the motor in the desk legs. I tucked this away at the back of the desk so it wouldn't be seen. Again I attached it with #12 1" Screws that I predrilled for.
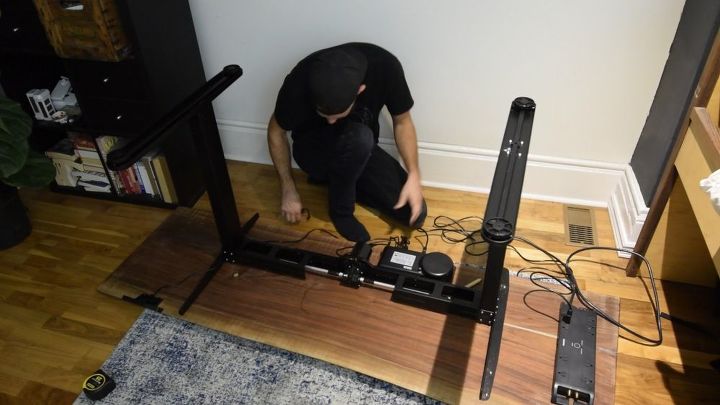
Oh man, so many wires!
I spent a lot of time zip tying the wires to the bottom of the table so they wouldn't be seen.
This is my computer desk and generally I've got a lot of electronics plugged into it, so I decided to screw a power bar to the underside of the desk.
This made it a little easier for me to manage my cables and keep everything clean.
The power bar didn't have any built in mounting points so I had to make my own by screwing a screw through its legs and into the table. Sorry power bar, it had to be done.
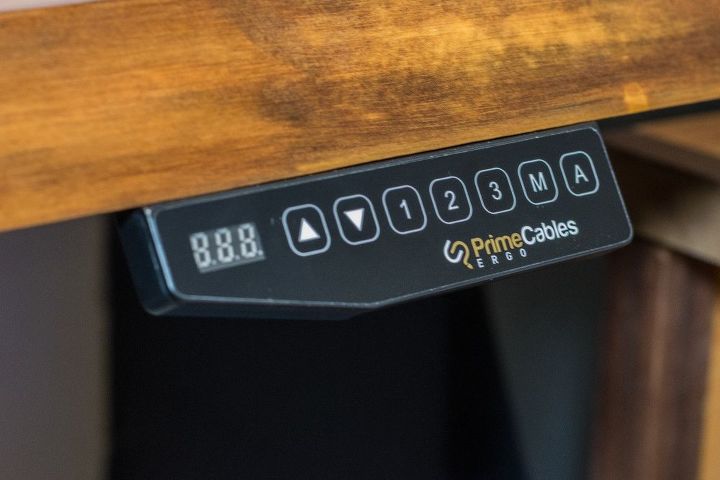
Here's the control panel. The 1, 2, and 3 keys are memory settings. You can set a few different heights and toggle between them quickly with these keys. The arrow keys are for fine tuning the height of the desk.
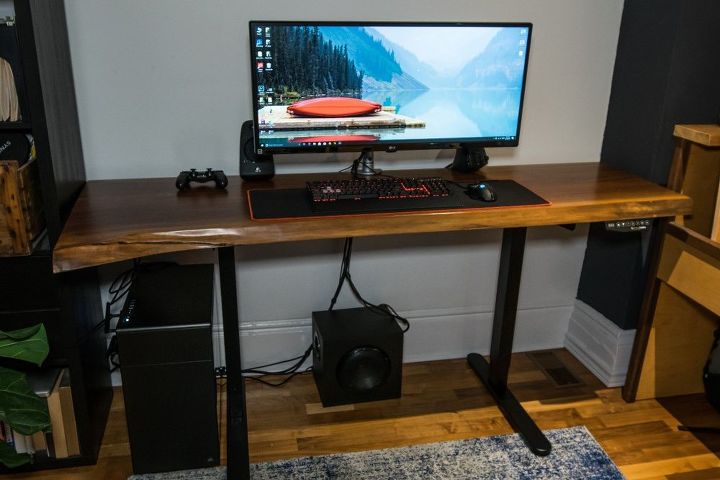
This is the desk at it's sitting height. A little higher than your standard desk, but that's only because that's how I like it. The control panel allows you to adjust the height of the desk down to 1/10 of an inch.
You can set it to whatever works best for you!
This is the desk at it's standing height. This is what I feel most comfortable at, and I'm 6'2". This isn't its maximum height though, no, it goes at least another 6 inches higher. These legs would probably work for anyone who's under 6'8".
{
"id": "4602254",
"alt": "",
"title": "",
"video_library_id": "7212",
"thumbnail": "https://cdn-fastly.hometalk.com/media/2018/01/16/4602254/adjustable-height-live-edge-desk.jpg"
}
{
"width": 634,
"height": 357,
"showRelated": true,
"noautoplay": ""
}
Here's the desk in action. I use the desk a lot in the standing position, in fact I wrote this whole article in the standing position.
Generally If I'm going to be at the computer for more than 30 minutes I'll put the desk at the sitting height, but for short sessions standing is the best.
Thanks for checking out my project. Hit me up with any questions or comments you might have below.
For a more in depth guide on how I did this you can check out my blog linked below as well.
Resources for this project:


Any price and availability information displayed on [relevant Amazon Site(s), as applicable] at the time of purchase will apply to the purchase of this product.
Hometalk may collect a small share of sales from the links on this page.More info
Want more details about this and other DIY projects? Check out my blog post!


Frequently asked questions
Have a question about this project?