


Turn Two Pieces of Pine Wood Into A Beautiful Desk!
7 Materials
$85
2 Hours
Medium
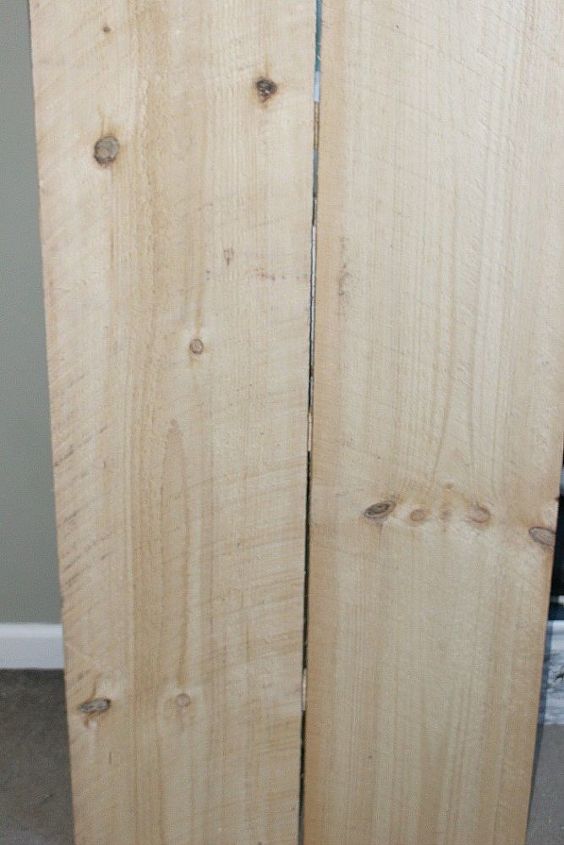
I am working on a craft room challenge turning my daughter's old bedroom into a craft room. I've never had a dedicated space and am really excited to finally have a room to craft and create. I wanted a desk for this space that was fun, feminine and colorful. I started with 2 pine boards:
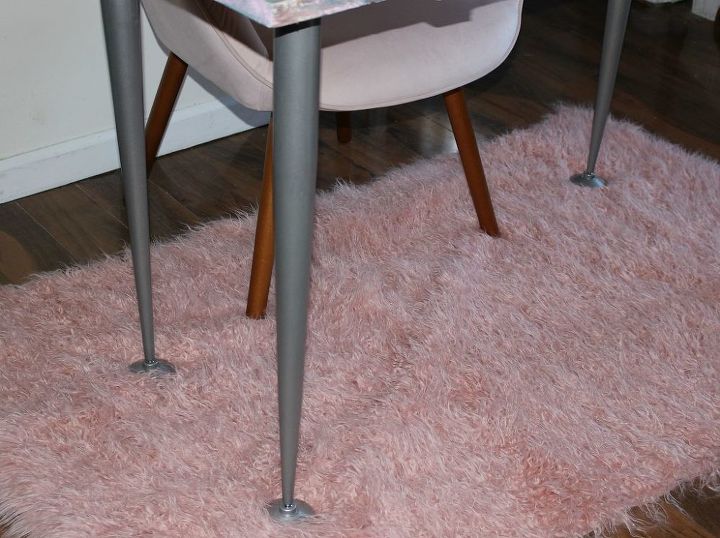
Next my Dad secured it with cross pieces of wood and attached the gorgeous, sleek legs from https://www.dlawlesshardware.com/steel-table-leg-743mm-heavy-duty.html
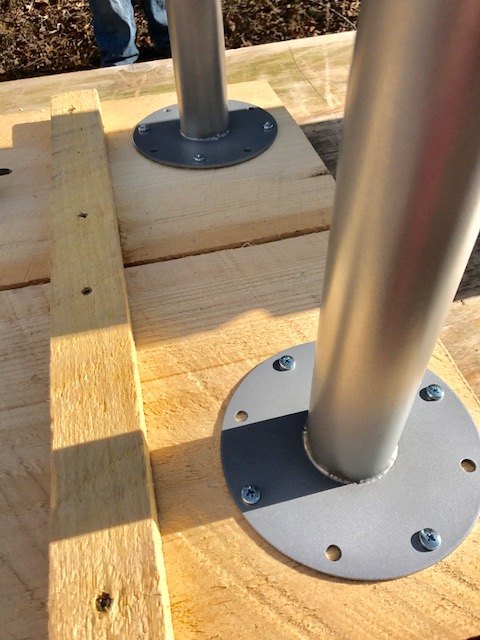
The legs are the perfect desk height and size, plus they are tapered so give it a modern look. Next, I gathered all of my paints and epoxy resin so I could get started on this process.
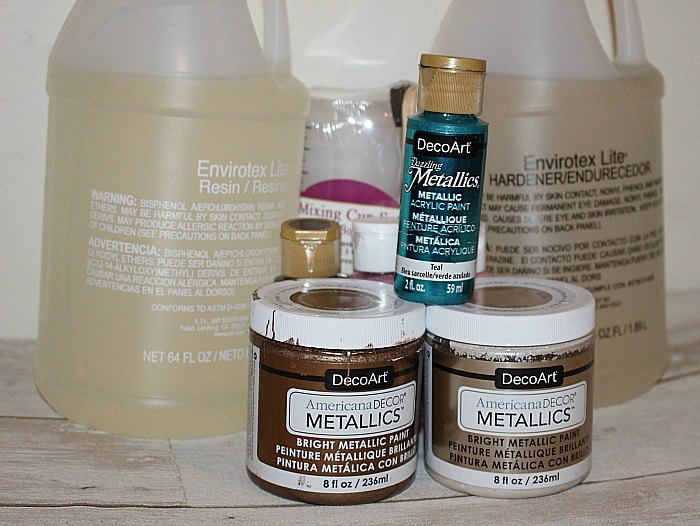
When working with epoxy resin it is important that the measurements be exact, otherwise it won't adhere properly. Mix one part resin and one equal part hardener. Follow the directions included and be sure to wear gloves. Once I had the resin mixed, I added about 10% paint to 90% resin to individual cups for mixing.
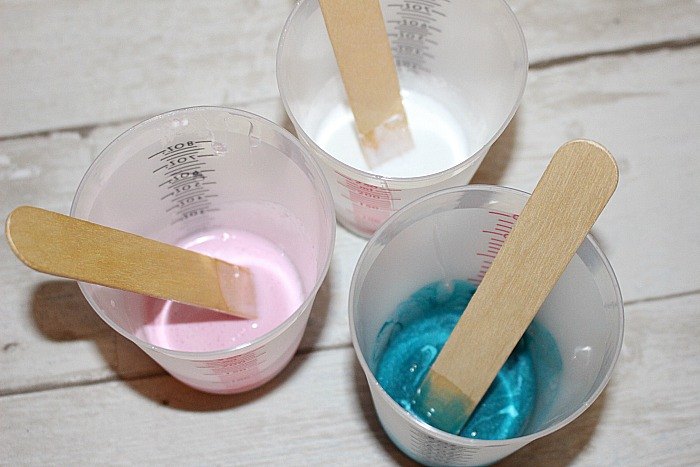
I poured a good amount of the resin on the desk first and used a blow dryer to get rid of any air bubbles. Then I used a paint pour process to mix all the different colors. I used four all from DecoArt. The links to the paints I used are in my full blog post here https://ourcraftymom.com/how-to-make-a-beautiful-epoxy-resin-desk/
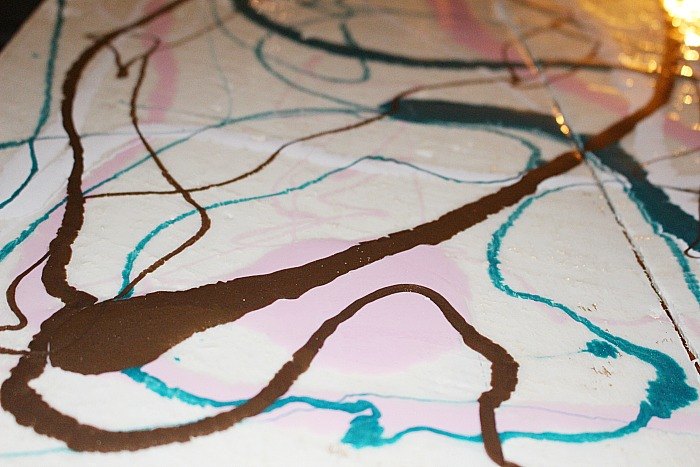
There was no rhyme or reason to how I poured it. I just tried to cover the entire piece and then used a mixing stick to move and blend the paint across the entire desk. I also used my gloved hands to achieve the the blending. To create movement I used the blow dryer and also removed any air bubbles.
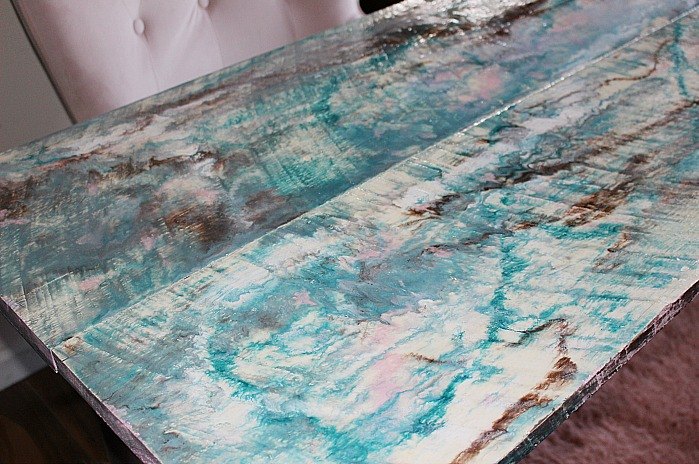
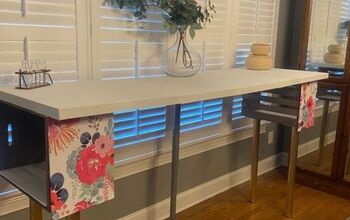
Let the desk cure about 72 hours. Here is a close up of the sleek legs:
The final piece is very soft and feminine and will hopefully inspire me to create cool projects!
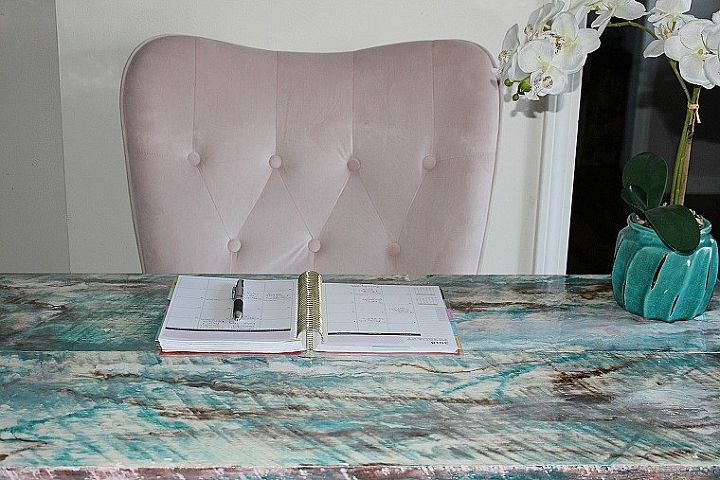
Hard to believe this started out as two pieces of wood, right? I hope you liked this post and would love it if you visit my blog :)
Resources for this project:
See all materials


Any price and availability information displayed on [relevant Amazon Site(s), as applicable] at the time of purchase will apply to the purchase of this product.
Hometalk may collect a small share of sales from the links on this page.More info

Want more details about this and other DIY projects? Check out my blog post!
Comments
Join the conversation
2 of 10 comments
-
Stunning ! I love it. Enjoy :)
-
So cool!!!


Frequently asked questions
Have a question about this project?
hi, love the technique. Did you allow the resin to dry before commencing with the paint pouring. Is there a reason for doing the resin first. Regards