


How to Embed LED Strip Lights in Resin
In this DIY tutorial, learn how to embed LED strip lights in Epoxy Resin and easily replace them.
I received many questions/comments regarding my preferred technique for embedding light strips in resin. Consequently, I decided to provide more detail regarding the technique. Keep in mind, I use the term ’embed’ in this article as a synonym for submerge, cover, and encase.
Hollow Tunnel
In previous projects, I glued UV LED light strips to the bottom of the river. Obviously, this isn’t ideal because the LED light strip falls over time. Also, it is visible. As a result, I thought of a way to create a hollow tunnel in epoxy resin large enough to hold the UV LED light strip.
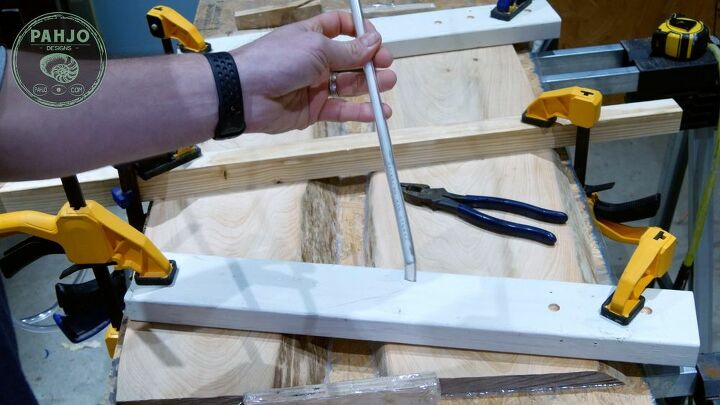
Clear Tubing and Rod
First, 1/4″ clear flexible tubing works best.
The tubing does not stay straight and prefers to curl. In turn, I recommend to use something rigid to keep it straight.
Also, be sure whatever you use is plastic because it will need to be cut in later step.
I happen to have an old plastic wire fish rod which fit perfectly..
Seal Ends
Use hot glue or silicone to seal each end.
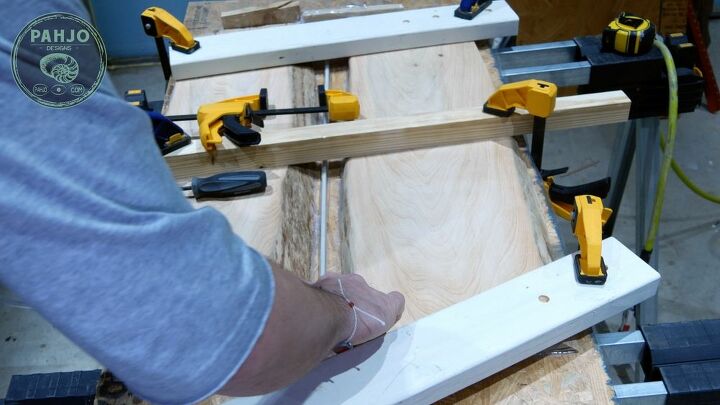
Place Tubing in Resin
I recommend pouring a thin layer of resin, allowing it to cure, and then placing the tube on top. Or, you can suspend the tube a bit like I did in this project, but it is definitely more difficult this way.
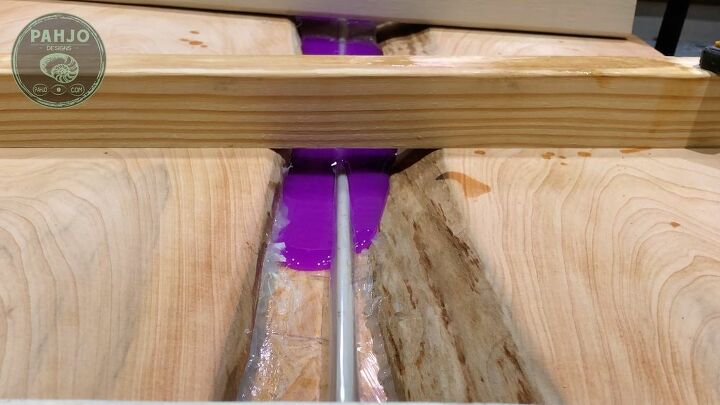
Pour Resin
This step is self explanatory. Ultimately, just pour resin into the space. Just make sure the tube is fully submerged.
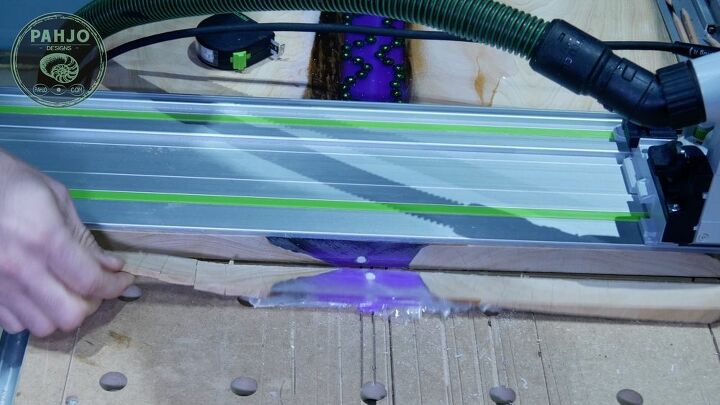
Trim Each End
For this step, use a circular saw, jig saw, or hand saw to trim each end. Be sure to cut a little of the plastic rod off during the cut. This exposes the rod, which makes it easier to remove.
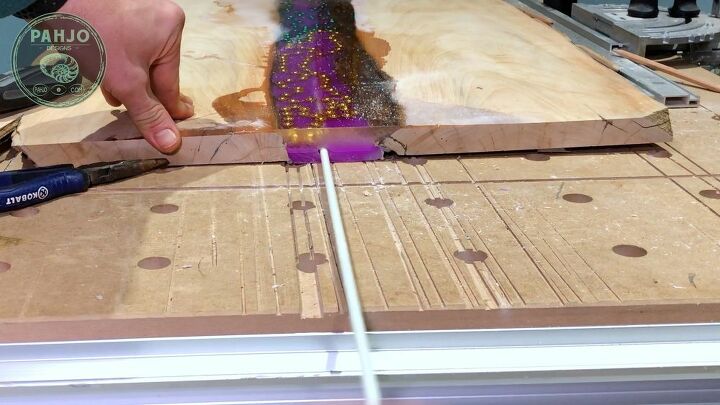
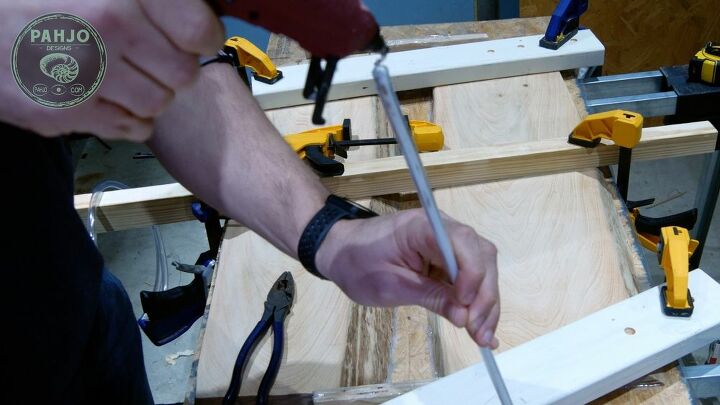
Remove Rod
Expose the rod from the other side by pushing it a little with a screw driver or something similar. Then, go to the other side and completely remove the rod from the tube.
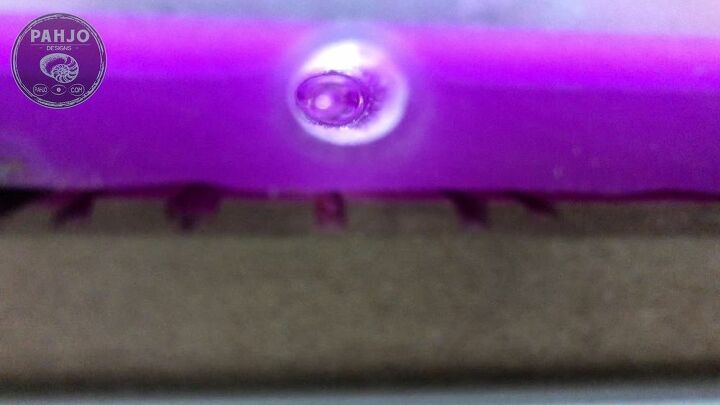
Inspect Tunnel
Inspect the tunnel once you remove the rod. It should look like the picture in this step without any low spots.

First, tie or tape the led light strip to the rod or device used to keep the tube straight.
Additionally, I prefer the LED lights to face down towards the rear of the table.
Next, pull the LED strip through the tunnel.

Cut LED Light Strip
Cut the LED strips between the contacts. Or, bend it around the end towards the back if it will be powered via a wall outlet.
Also, be sure to leave about 5" in excess to power the LED lights.
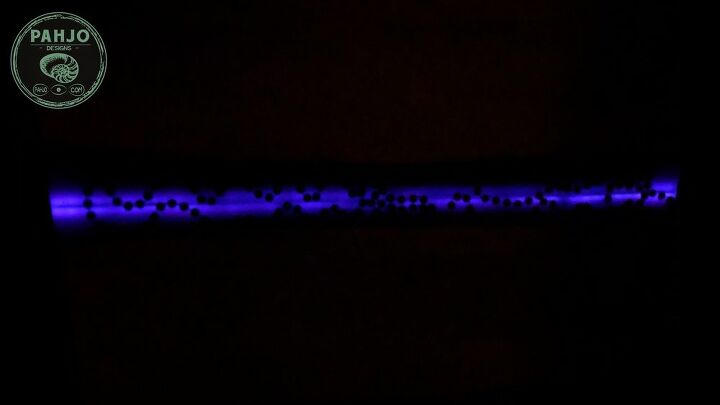
Conclusion
I hope this HT tutorial helped you learn an easy way to embed LED lights in resin. This method makes it easy to replace or change the LED light strip without worrying about removing glue or resin.
Be sure to visit my online store for DIY plans and handmade items & subscribe to my YouTube channel for future DIY project videos.


Frequently asked questions
Have a question about this project?