


How to Make Silicone Molds for Seriously Creative Craft Projects

By Judy Schumer
Molds of every kind have been used throughout history to create artisan pieces, tools, and all types of manufactured goods. Molds can also be used for crafts at home, but instead of industrial plastic, they’re often made with silicone, which is a rubber-like material you can easily make by mixing a few ingredients you'll find at the craft store.
Once you learn how to make silicone molds, you’ll soon have the perfect vessels for all of your artistic creations. From making copies of your favorite toys to crafting stunning jewelry pieces and upcycling home decor, silicone molds are the best way to get the shapes you want.
In this guide, you’ll learn how to make silicone molds with simple ingredients like dish soap, caulk, and cornstarch. Read on to find out the what, why, and how of silicone mold-making.

Photo via Stefanie -Oh You're Lovely
One-Piece vs. Two-Piece Silicone Molds
There are two types of silicone molds for most projects, one-piece and two-piece. Which one you should use depends entirely on how you want to use it.
A one-piece silicone mold is simple, which makes it perfect for beginner crafters. However, it does have a limited range for use. The object you’re attempting to copy will need a base or a flat side so it can stand alone as the silicone is being poured around it. When the silicone is fully cured, your piece can easily be removed from the mold.
A two-piece silicone mold is most often used for spherical objects, which cannot stand on their own or have a hole through them (like a ring). One part of the mold holds your object in place so you can pour the second piece of the mold around the object. Two-piece molds are the best choice if using resin to create your new object.
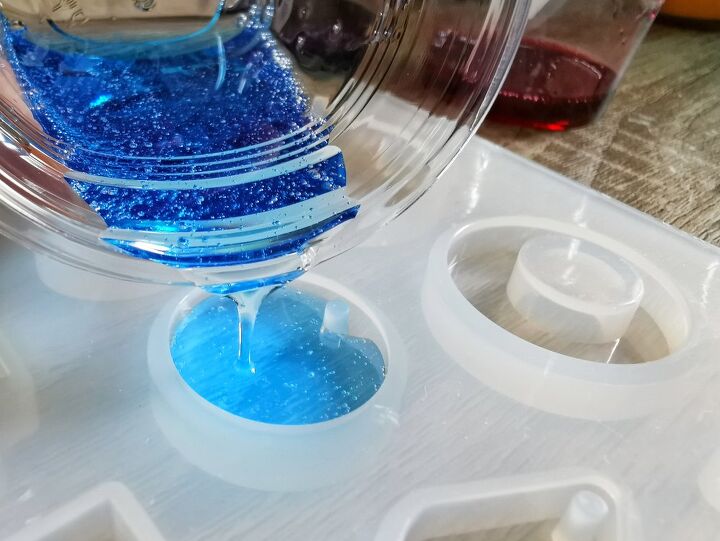
Photo via Shutterstock
How to Make a Silicone Mold with Dish Soap
One of the easiest ways to make a silicone mold is to use dish soap and silicone readily available at any hardware or home improvement store. This is a one-piece method, best used with objects that can stand independently.
Tools and Materials Needed:
- Water
- Large mixing bowl
- Liquid dish soap
- Stirring utensil
- Scissors
- Heavy rubber gloves
- Tube of pure silicone (caulk or sealant—not quick-set)
- Caulking gun
- The object you want to create a mold of
Step 1: Prepare the Water
Fill the mixing bowl with tepid water. The bowl will need to be deep enough for you to submerge your hand into. Add the liquid soap to the water, using a ratio of one ounce(or two tablespoons) of soap to every 10 ounces (or 1¼ cup) of water. Stir gently until the soap is dissolved.
Step 2: Add the Silicone
Place the silicone tube into the caulking gun and secure it into place. Snip the tip off the silicone tube. Squeeze the trigger of the caulking gun to add enough silicone into the bowl of water so that the silicone will cover the object you’re molding.
Step 3: Knead the Silicone
Put your rubber gloves on and, while keeping the silicone submerged, knead it like you would a ball of dough. Keep kneading until the silicone loses its stickiness (about five minutes), then roll it into a ball.
Step 4: Flatten the Silicone Ball
Place your silicone ball onto a flat surface. To avoid sticking, run a thin layer of dish soap onto the surface. Push down on the ball to flatten it until it is flat but thicker than the object you’ll be placing into it. You’ll need the silicone to cover the object’s front and sides.
Step 5: Create Your Mold
Push the object you’re making a mold of into the silicone. The design of the object should be face down to form the cast. Ensure the silicone surrounds all sides of the object; there shouldn’t be any gaps except for the open end.
Step 6: Let the Mold Dry
Leave the object in the silicone and let it dry for six to eight hours. It will still be pliable but shouldn’t be able to be indented. To test it, press your thumb into a small outer area of the silicone. If you leave a thumbprint, it needs more drying time.
Step 7: Get the Mold Ready for Use
Once the mold has dried, remove the object from the silicone. You’ll be able to gently pull the edges of the silicone away from the object to remove it completely. The mold is now ready to fill with your modeling compound of choice.
How to Make a Silicone Mold with Cornstarch
Using cornstarch is another easy and effective way to create a silicone mold. Because you aren’t using any liquid, this method is fairly mess-free. The cornstarch method also requires a shorter cure time to create a usable mold.
Tools and Materials Needed:
- Large disposable platter
- Cornstarch (1-2 containers)
- Heavy rubber gloves
- Scissors
- Tube of pure silicone (caulk or sealant—not quick-set)
- Caulking gun
- Object you want to create a mold of
Step 1: Prepare the Silicone
Place the silicone tube into the caulking gun and secure it into place. Snip the tip off the silicone tube. Onto one side of the platter, squeeze the caulking gun's trigger to add enough silicone to cover your object.
Step 2: Add the Cornstarch
Pour twice the amount of cornstarch as the amount of silicone onto the empty side of the platter.
Step 3: Knead the Silicone
Put your rubber gloves on and knead the silicone and the cornstarch together, working it as you would a ball of dough. Keep kneading until the silicone loses its stickiness (about five minutes), adding cornstarch to the “dough” if needed to eliminate tackiness. Roll the kneaded silicone into a ball.
Step 4: Flatten the Silicone Ball
Place your silicone ball onto a flat surface. Push down on the ball to flatten it until it is wider and taller than the object you’ll be placing into it.
Step 5: Create Your Mold
Push the object you’re making a mold of into the silicone. The design of the object should be face down to form the cast. Make sure the silicone surrounds all sides of the object; you’ll want to eliminate any gaps or bubbles.
Step 6: Let the Mold Dry
Leave the object in the silicone and let it dry for 20-30 minutes. It will still be pliable but shouldn’t be able to be impressionable. To test it, press your thumb into a small outer area of the silicone. If you leave a thumbprint, it needs more drying time.
Step 7: Get the Mold Ready for Use
Once the mold has dried, remove the object from the silicone. You’ll be able to gently pull the edges of the silicone away from the object and pop the object out of the mold. The mold is now ready to fill with your modeling compound of choice.
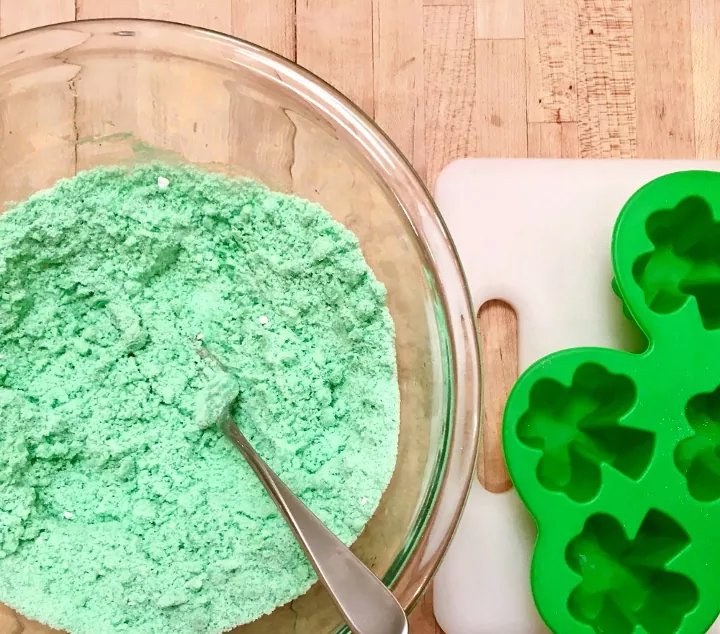
Photo via Rebecca D. Dillon
Uses for Silicone Molds
Silicone molds are boons of creativity. Just because you don’t see a pre-made mold that speaks to your artist’s soul doesn’t mean you can’t bring your artistic vision to life yourself. All it takes is a spark to get started, so take our ideas for using silicone molds to turn that spark into a piece of art!
Here are a few ideas of things you can make using silicone molds:
- Wedding Bands - Silicone wedding bands are comfortable, affordable, and much safer than metal bands if you work around machinery. Adding to the practicality is how incredibly romantic it is to make your own wedding bands.
- Bath Bombs - You can create bath bombs from silicone molds to give as gifts or to keep on hand for those nights when only a hot bath will erase the stress of the day. Make them round, fizzy, sparkly, scented, and in different shapes.
- Crayons - Kids love to color; making your own crayons shaped like their favorite zoo animals, cars, and toys adds to the fun.
- Soap - Make soap inside silicone molds, adding the scents and emollients to your liking.
- Jewelry - Resin has become increasingly popular as a medium crafters use to work their magic. Resin is an excellent material to create jewelry with, and the silicone molds used to form the designs are as unique as the artist.
- Fishing Lures - Fishing lures can be expensive, and avid fishermen need to keep a good supply on hand. Making your own fishing lures is easy with a silicone mold. You’ll have worms, bugs, and other fish toys ready for your next fishing trip in no time.
- Sidewalk Chalk - Create thicker, more colorful sidewalk chalk yourself by molding it using a silicone mold. Get creative and make the chalk into shapes for your budding young artists.
- Candies - You have to use food-grade silicone for any project that produces edible treats. Once you’re set with the proper silicone, the possibilities are endless. Clear old-fashioned sugar lollipops shaped like animals, chocolates customized for baby and bridal showers, and gummy bears are just a few of the sweet treats that can be made in a silicone mold.
Have you made silicone molds before? Do you have any special uses for them? Let us know in the comments below!
Comments
Join the conversation
-
Thank you! been looking for simple recipes for silicone molds. There are so many online it's overwhelming. These are simple and great instructions
-
i just love working with the resin but the molds get expensive so thank you for posting these recipes I will definitely be trying these!!!


Frequently asked questions
Have a question about this project?
If I want a mold of something flat ie a leaf, how deep do I have to press the leaf and will the dough stuff just come over the edge of where it was pressed in? I get that I can make it as deep as I want but not sure about edges. I guess in other words will the edges stay straight up from the object?
Hey, making silicone molds is such a cool craft! I remember diving into it when I wanted to create custom pieces for my home. It's surprisingly easy and opens up endless creative possibilities. I stumbled upon inject molding at https://partmold.com/collection/inject-moulding, they offer top-notch solutions for various industries. Who knew crafting could intersect with industrial techniques? It's all about exploring new avenues and letting your creativity flow.