


Our Best Tips and Tricks on How to Paint Kitchen Cabinets

By Marilyn Syarto
It can feel overwhelming when you think about rejuvenating your faded, outdated, or dark and dreary kitchen cabinets. It’s tempting to gut your kitchen, but if the cabinets and the rest of the kitchen are in decent shape, a complete gut isn’t necessary. Your cabinets might just need an affordable paint job. Learning how to paint kitchen cabinets may sound difficult: Yes, it takes some time, labor, and elbow grease, but as far as skills go, if you can handle a paintbrush, you’ve got this. The other important skill you need? Patience.
Compared to the thousands of dollars you would need to replace your cabinets, a few hundred dollars to paint your cabinets on your own sounds just about right. Or, you can hire painters and that will likely run you a little over at least a thousand dollars or so. Our guide tells you how to accomplish this project on your own so it looks like a million bucks.
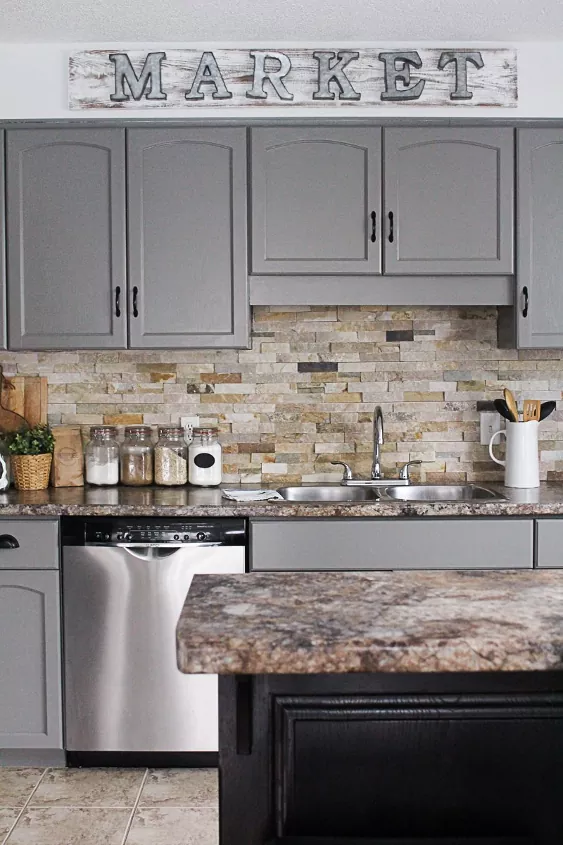
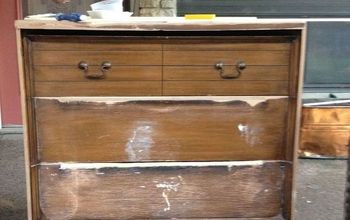
Photo via Kassandra DeKoning
How to Assess the Condition of Your Cabinets
Can you actually paint your cabinets? It depends on how damaged they are and what material they’re made from. A few pointers:
- Wood is the ideal surface that can be refreshed with paint—but prepping is key (which we will explain more in-depth later).
- Laminate, a thin layer of plastic over plywood or particleboard, is a tough surface to paint. However, if the surface is not damaged or peeling, it can be prepped, primed (with a special bonding primer, and painted over for a short-term solution. Many people use chalk paint over laminate cabinets for its adhesion.
- Thermofoil, which is vinyl applied to medium-density fiberboard, can peel, chip, and turn yellow over time. It can be prepped and painted over if you use the right primer (ask the paint store for help), and only if the surface is not damaged. However, painting over thermofoil may not be a long-term solution for your cabinets.
If you are using about the same color paint to refresh your cabinets, you should be able to use one to two coats. If your existing color is darker or lighter than the new color, you may need three coats of paint. If you’re covering old, dark paint with a lighter color, you may need to add two coats of primer rather than just one.
Bring a Door to Your Paint Dealer
How Much Does It Cost to Paint Kitchen Cabinets?
We mentioned it takes a couple of hundred dollars to paint your kitchen cabinets on your own. We’re not kidding. You’ll likely need a couple of gallons of primer and the same for paint depending on the size of your kitchen, plus other painting supplies to get the job done right. The whole process can take between two to four days (or more if you work slowly).
You can use online paint calculators to guesstimate how many gallons of primer and paint to buy.
Most major paint manufacturers have one, including Sherwin-Williams, Glidden, and Benjamin Moore. The calculators are based on room/wall dimensions, so you’ll have to make the calculations with a grain of salt.
One gallon of paint covers about 400 square feet, which is about the size of a small bathroom. That’s a 20-foot by 20-foot room, but depending on how many walls are filled with top and bottom cabinets, you’ll still have to estimate. Quality paints are around $20-$30 a gallon and remember that the better the quality of the paint, the fewer coats you’ll need to use.
Best Paints for Kitchen Cabinets
The paint aisle at a home improvement store can be overwhelming unless you know exactly what you need for your project. Here are two vital pieces of advice for painting kitchen cabinets:
1. Use latex paint.
2. Brush it on unless you’re an expert spray painter.
Let us explain: Many professional painters still love oil-based paints for their instant coverage, smooth finish, and durability. But, oh, the lingering odors and difficulty cleaning it since you need a stinky solvent (such as turpentine) to clean up drips, spills, and brushes! However, the paint does dry fast and hard. Latex paints (water-based), on the other hand, have vastly improved over the years. They cover better and smoother, they’re odorless, they are much more durable, and they clean up easily. But, they take a very long time to fully cure (harden), which means your cabinets can be easily dinged or damaged while they’re drying for those three weeks.
Most of the time, you’ll want to opt for a water-based enamel paint that’s used for trim, according to Sherwin-Williams. The semi-gloss paint gives kitchen cabinets the smoothest, easiest-to-clean finish. However, many people love the look of chalk paint because it can stick to just about any surface because it’s a more natural, less glossy look.
How to Set Up a Temporary Kitchen
Spray Paint vs. Brush Paint
There’s no doubt about it: Spray-painted finishes look fantastic. To get that result, though, you need to learn how to spray paint onto cabinets without spraying the entire kitchen in the process. Plus, you’ll need the spray equipment, which is not cheap.
If you use high-quality brushes, you’ll do just fine, but you’ll need more than one for a decent result. We give you tips on the types of brushes you’ll need to help you get into the corners of your cabinets.
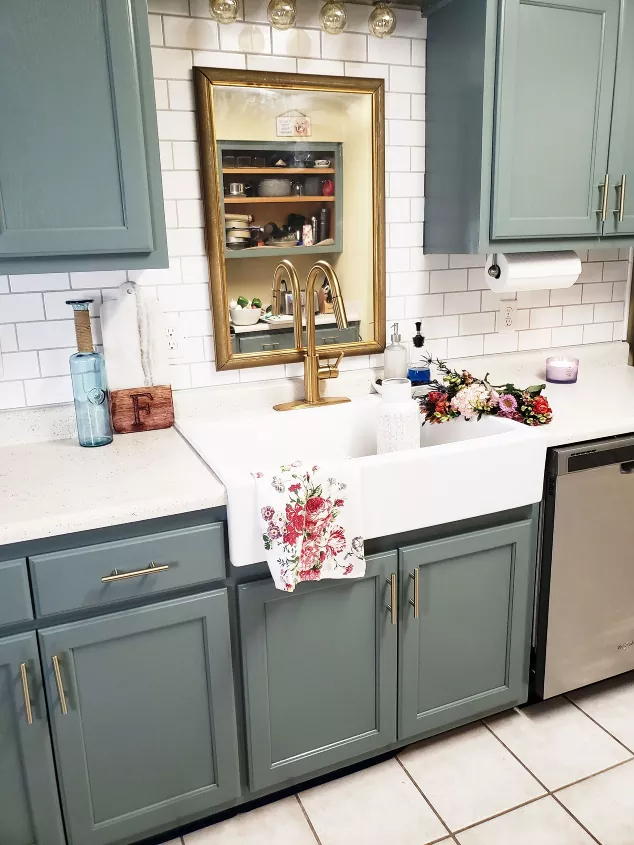
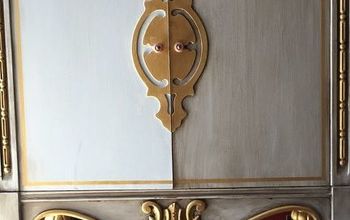
Photo via Michelle | breakingdownthebox
Kitchen Cabinet Color Ideas
Take the style of your cabinets into consideration when choosing a paint color. Painting over a similar color can make the project easier. Painting a darker color over a lighter color also helps the project run smoothly. Here are some tips for picking a cabinet color based on the type of cabinets you have:
- Traditional cabinets: creams, whites, blacks, navy blue
- Vintage cabinets: pastels, aquas, greens, and other bright colors
- Shaker cabinets: bright whites and subtle creams
- Contemporary/modern cabinets: contrasting or two-tones, bright colors, gray, greige (gray and beige), dark brown, black
Tinted Primer
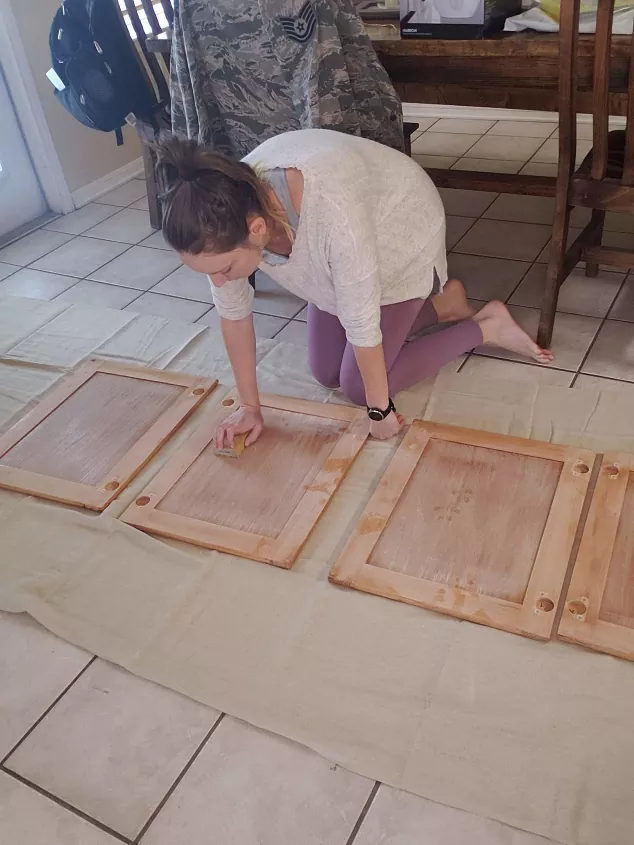
Photo via Michelle | breakingdownthebox
How to Prep Kitchen Cabinets for Painting
Painting cabinets requires a few hours of prep work. Here's what to do, from removing the cabinets to sanding them down.
Tools and Materials Needed:
- Drill
- Screwdriver
- Painter’s tape
- Marker
- Plastic baggies
- Degreasing cleaner (like Rust-Oleum Krud Kutter Kitchen Degreaser)
- Trisodium phosphate (TSP)
- Lint-free rags or sponges
- Putty knife
- Plastic protective sheeting
- Rosin paper
- Painter’s tape
- Medium-grit sandpaper (100 to 150 grit)
- Orbital sander
- Sanding block
- Vacuum with attachments
- Tack cloths
Step 1: Empty and Remove Components
Remove doors and drawers from cabinets using a screwdriver or drill (whichever you prefer). Use painter’s tape marked with corresponding numbers on each surface so you know where each drawer and door will go when you reassemble the kitchen after you’re done.
Remove hardware and hinges with a screwdriver. Also, mark each baggie and hinge cutout with painter’s tape marked with the corresponding numbers so you know where to replace each piece. Even if you are replacing the hardware, this step can help to make sure you buy new pieces to fit the existing holes.
Step 2: Clean Surfaces
Use lint-free rags and sponges and your degreasing cleaner to clean the kitchen cabinets, inside and out, including doors and drawers.
After cleaning, run a damp rag around each surface and let it all air dry.
Step 3: Prep and Sand Surfaces
Use plastic sheeting to mask off walls and backsplashes around each cabinet and on surrounding walls for full protection. Cover counters with sheeting or rosin paper.
Use an orbital sander with medium-grit sandpaper to sand down large flat cabinet surfaces and expanses—go over the surfaces a few passes. You don’t need to sand too far down, just rough up the finished surface a bit so primer and paint have something to grab onto. Use sanding blocks for corners.
Vacuum up and run a tack cloth around each surface after vacuuming to clean up the remaining dust particles.
Deglossing
How to Paint Kitchen Cabinets
Now, let's dive into the project! Here's how to paint kitchen cabinets, broken down step-by-step.
Tools and Materials Needed
- Primer (get an “advanced” primer with extra adhesion and one that hides minor imperfections)
- Foam rollers (4 in. or 6 in. for face frames)
- Square brushes with a straight end (3 in. to 4 in. for flat panels)
- Angled brushes (3 in. for corners)
- Work surface to prime and paint doors
- 220-grit sandpaper
- 280-grit sandpaper
- Sanding sponge (extra fine)
- Vacuum
- Tack cloths
- Paint
- Blow dryer
- Drill
- Screwdriver
Step 1: Prime Surfaces
Use various square and angled brushes to apply primer, following the grain of the wood if you have wood cabinets. (You will use similar brushes to apply both primer and paint.)
Paint primer on cabinet frames, all edges and each side of the doors, and drawer fronts. You rarely need to prime and paint the inside of the cabinets unless you need to rejuvenate those surfaces.
After the primer dries, sand flat surfaces using 220-grit paper. Use a sanding sponge on any holes and dings you have filled.
Vacuum and then run a tack cloth over all surfaces to ensure all sanding debris is wiped up. Sand primer lightly with 280-grit paper, and then vacuum and use a tack cloth to clean up again.
Make a Drying Station
Step 2: Paint Surfaces
We recommend using a new paintbrush or roller for each coat of paint. Even if you clean the rollers and brushes properly, the materials may break down a bit after a coat and you don’t want any debris to get stuck on and painted over.
Paint doors on a flat surface to reduce drips, using square (for flat expanses) and angled brushes (for angles and corners). Work from top to bottom of each frame using a foam roller (which reduces drips since the frames are still hanging on the walls), applying paint first across the grain, then with the grain.
Let dry between coats. After it's dried, lightly and gently sand surfaces between coats. Use a tack cloth or blow dryer to remove sanding debris and let all surfaces dry to the touch.
Step 3: Dry and Reassemble Cabinets
Replace shelving in cabinets, matching numbers on doors and drawers and replace components. Replace or install new pulls and knobs.
Leave all cabinet drawers and cabinets slightly ajar while curing. If you close everything, you run the risk of having the surfaces stick together because they truly aren’t “dry” until two or three weeks of curing.
How to Touch Up Painted Kitchen Cabinets
You worked hard to paint those cabinets, but the reality is that the paint will chip or flake over time. The areas where you’ll likely see chips will be the tops of silverware drawers that rub against the counter or the cabinet door under the sink that is opened many times a day. Realistically, you need to touch up these areas once every year. Here are a few tips for touching up your paint:
- Keep a small jar of the paint handy.
- Clean the area with a degreaser before painting.
- Lightly sand the area with fine-grit paper and wipe remnants away with a tack cloth.
- Brush a thin coat of primer on the area.
- Use one or two thin coats of paint so it blends in somewhat seamlessly with the rest of the paint.
Tips and Hacks for Difficult Cases
If you are hoping to paint cabinets in a house that was built before 1978, the paint may have lead in it. If you are restoring original cabinets from a home that was built before 1950, there’s almost a 100 percent chance there’s lead in the paint. You’ll need to either use a test kit to see if the paint on the cabinets has lead or call a professional to safely identify and remove the paint for you.
Have you painted your kitchen cabinets? What color did you use? Do you have any tips to share in the comments below?
Comments
Join the conversation
-
Sherwin Williams now has a "self leveling" paint made especially for cabinets and the primer is mixed in. My mother and I used it in her kitchen and I have to say, this stuff is amazing! I reccomend it 100%! Saved us money also, as we only needed 1 gallon for the bottom 4 cabinets (2 coats) and 1 gallon for the top 6 cabinets (2 coats)
- See 1 previous
-
I hired 2 painters and paid them $700 total to paint my drab brown kitchen cabinets white. They used Sherwin Williams paint and the result is beautiful. Looks great with the black counter top.


Frequently asked questions
Have a question about this project?