


How to Plant Tulip Bulbs Like a Pro

By Alexa Erickson
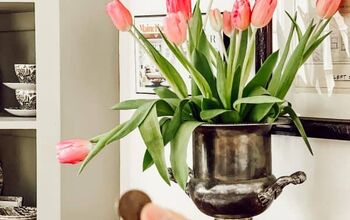
Tulips are a timeless flower that have been revered for hundreds of years. The structured flower makes for a stately yet whimsical appearance when perched in window boxes, within borders, or cut into a gorgeous spring bouquet. Not only are tulips available in a wide array of colors, but they’re fairly easy to plant and take care of. To make this large, showy, and brightly colored flower a part of your home’s decor in the garden and beyond, learn when and how to plant tulip bulbs with this helpful guide.
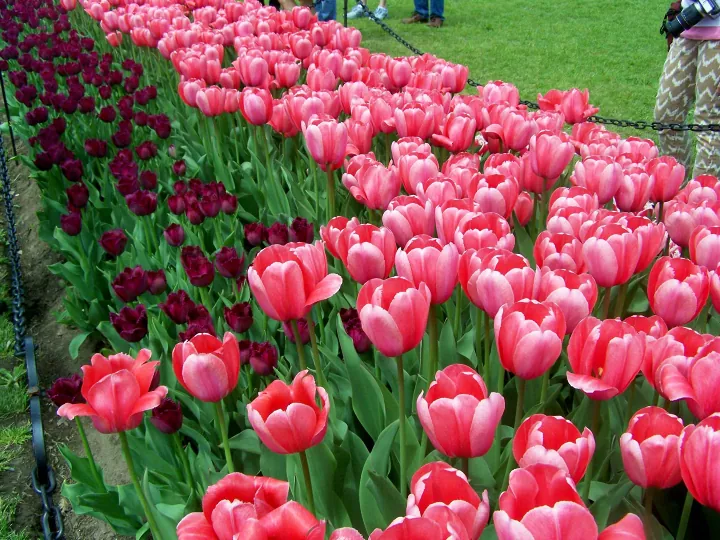
Photo via Maria Morell
When Do You Plant Tulip Bulbs?
Tulip bulbs should be planted in the fall or winter for spring bloom, depending on where you live. For USDA Hardiness Zones 7 and below, plan to put tulip bulbs in the ground before frost arrives in the fall. For Zones 8 and above, plant tulips in late December or January.
The experts at K. van Bourgondien company, a grower of fine Dutch flower bulbs, recommend that tulip bulbs be chilled at 40 to 45 degrees Fahrenheit for 10 weeks prior to planting if you live in Zone 8 or above. Chilling bulbs will keep them in a dormancy period, which prevents them from sprouting too early once they’re in the ground (we’ll get into the specifics of chilling tulip bulbs in a bit).
Where to Plant Tulip Bulbs
If you live in Zone 7 or below, plant tulips in a spot that gets full sun, or six hours of sunlight per day. For southern areas (Zone 8 and above), tulips grow best in partial shade, or three to six hours of sunlight per day. Tulips should be planted in a location with well-drained soil and a pH between six and seven—to check soil pH level, you’ll need to conduct a soil test. Also, make sure the garden space where you plant the tulip bulbs has plenty of room for the bulbs to be planted three to six inches apart from each other.
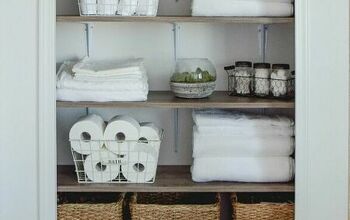
Succession Planting
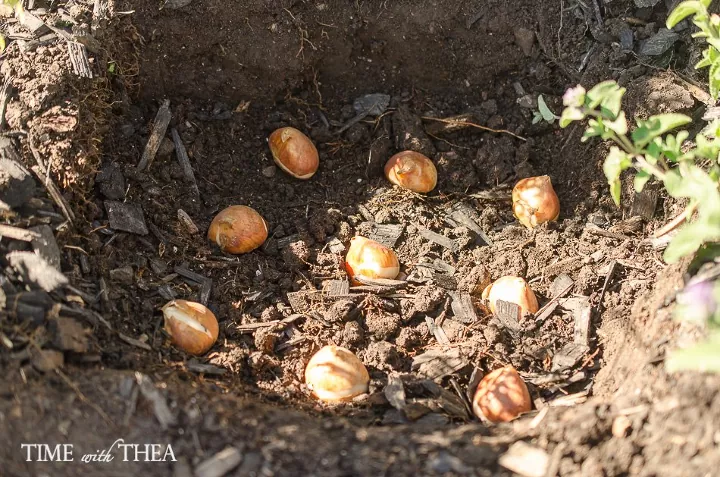
Photo via Time With Thea
How to Plant Tulip Bulbs
Planting tulip bulbs is a relatively simple process. Plant in the fall and prepare to be amazed at the stunning sight of fresh, colorful blooms come springtime.
Tools and Materials Needed
- Measuring tape
- Garden trowel
- Garden soil
- Watering can or hose
Step 1: Prepare the Planting Area
Mix three inches of garden soil into the top six to eight inches of native soil in your chosen tulip garden bed to promote a healthy root system.
Step 2: Plant Tulips
Plant tulips in groups of 10 or more for a beautiful display once in bloom. Plant each bulb pointy end up, eight inches deep, measuring from the bottom of the bulb. Be sure to include the depth for any mulch placed on top of the soil in your measurement and space each bulb three to six inches apart. Water well to help establish.
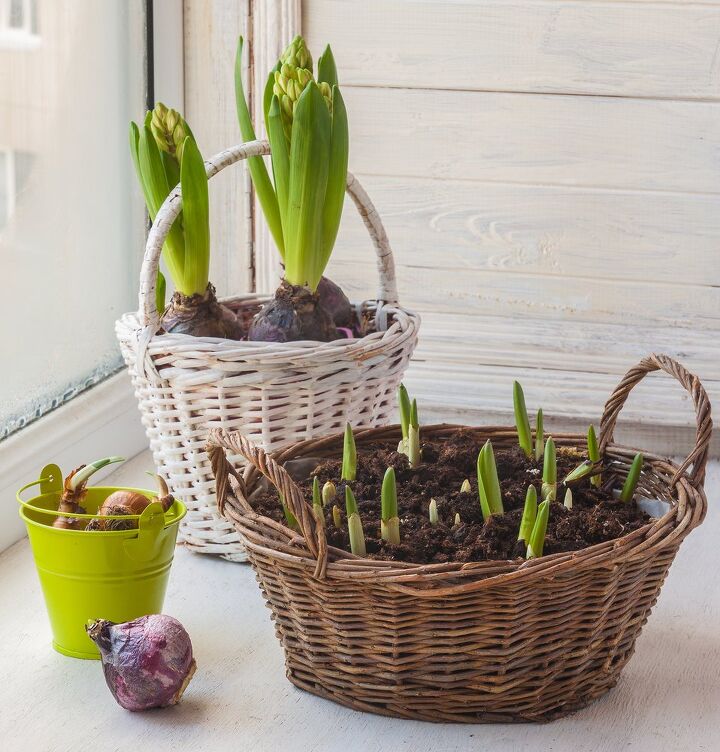
Photo via Shutterstock
How to Force Tulip Bulbs in Pots
With the proper steps, you can enjoy tulips in the winter. Yep—you heard us right. Tulips can be grown in indoor containers, so long as they are chilled and planted under the right circumstances. Forcing tulips involves mimicking winter conditions to trick the tulips into sprouting indoors. Keep in mind that not all tulips force well; the best varieties to force include those found within the following species:
- Tulips
- Double early tulips
- Single early tulips
- Triumph tulips
Tools and Materials Needed
- Tulip bulbs (we recommend a single variety so all plants bloom at the same time)
- Any container with drainage holes in the bottom
- Potting soil
Step 1: Inspect the Tulips
After purchasing tulip bulbs for forcing, inspect the bulbs to make sure they are firm and free of blemishes. If any bulbs have a blue-gray surface mold, use a paper towel to remove the mold. If any bulbs are soft, discard them.
Step 2: Place Bulbs in a Cool, Dark Place
Place the healthy tulip bulbs in a cool, dark place for 12 to 16 weeks to be chilled. For blooms by Christmas, start the process in October. For blooms by midwinter, start in late fall. The temperature at which tulip bulbs are chilled should hover around 35 to 45 F—a vegetable drawer in the refrigerator is a great place to store them during this period.
Step 3: Start the Indoor Growing Process
After the chilling period is over, choose a container with multiple drainage holes and fill it with potting soil to about three to four inches below its rim. Place the tulips on top of the soil, with the pointy end up, each three inches apart. Then, add more soil around the bulbs until it fills all the way to the top of the container, ensuring the very tips of the tulip bulbs are still visible. Place the pots back in a cool, dark place like the basement or unheated garage. Water lightly once a week.
Step 4: Transition the Location
Once yellow shoots begin emerging from the bulbs, place the tulips in a cool (50 to 60 degree F) location that receives low to medium light, such as the garage or a basement storage room. When the shoots turn green (about four to five days), move them to a brightly lit, 60 to 70 degree F location.
Step 5: Water, Turn, Look for Flowering
Ensure the plants stay well-watered. Turn the containers regularly to promote straight, upright growth. Within three to four weeks, flowering should occur.
Tulip Bulb Care
A little upkeep will ensure your beautiful blooms stay healthy and vibrant. Here’s what you need to know about proper tulip watering, when to fertilize, and how to keep pests at bay.
Watering
Water the bulbs once a week for the first month after planting, then leave them alone until the spring. When springtime hits and the leaves begin to appear, begin watering again.
Fertilizing
The experts at Miracle-Gro recommend applying plant food once the leaves have faded, which usually occurs late June or early July after they’ve bloomed. Doing so will promote leaf growth and help the bulb store nutrients for next year. Do your last feed each year in the late fall.
Pests and Diseases
Deer love feeding on the flowers of tulips, while chipmunks and squirrels enjoy digging up the bulbs. To deter deer, plant daffodils or Crown Imperial bulbs next to your tulips, which deer stay away from. You can also try spraying bulb foliage with a deer repellent like this one or staking Irish soap around your garden to steer them away.
To prevent bulbs from being dug up by smaller critters, lay chicken wire directly above the planting holes after you’ve filled them in with soil. The sprouting tulips will make their way through the wire just fine—we promise!
Have you planted tulips before? Share your insight in the comments below!
Comments
Join the conversation
-
I'd like to I have bought these in water before they bloom in the winter but wasn't sure how they did it
-
My rule of thumb if you're planting them to naturalize in the garden, tulips and daffodils look best en masse planted in a hole large enough to snugly fit 10-12 bulbs each. It looks amazing in the garden!


Frequently asked questions
Have a question about this project?