


How to Wrap a Present 3 Different Ways

By Sharon Brandwein
While finding the perfect present is always the first step in gift-giving, it’s important to remember that presentation matters, too. So powerful in fact, that Roy Orbison recorded a whole song about it aptly titled “Pretty Paper”. Learning how to properly wrap a present is just another part of the process and a way to show the recipient how much you care. Moreover, a beautifully wrapped gift certainly adds to the excitement of the moment, and it’s a part of the fun.
The great thing about learning how to wrap a present is that it’s a skill that you’ll always use. Knowing how to wrap a birthday gift is no different than knowing how to wrap a Christmas present.
Ahead, we’ll walk you through how to wrap a present perfectly. We’ll share a list of gift-giving supplies you may want to keep on hand, and we’ll even show you how to tackle gift wrapping when you bump into some common issues like running out of tape or not having enough paper for that last gift. So, if you’re ready, let’s tear this one open and get started.
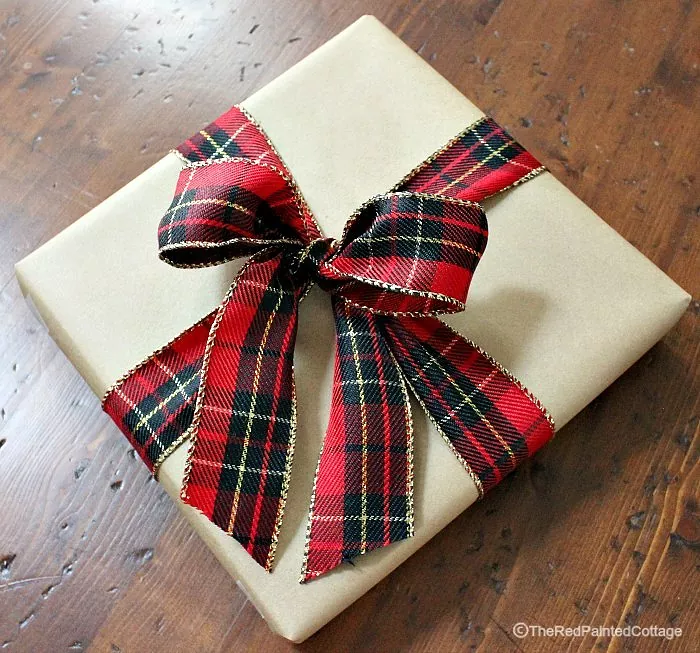
Photo via Theredpaintedcottage
Materials Needed to Wrap Presents
The good news is that wrapping a present always requires the same few items. And with as many birthdays, anniversaries, and holidays we all observe in our lives, it may be best to keep these items on hand. Here’s a full list of materials needed to wrap gifts.
Good-Quality Wrapping Paper
Anyone who has used cheap wrapping paper will probably tell you that, in the long run, it’s not worth it. Cheap wrapping paper tears easily, and it just doesn’t make for a nice presentation because it tends to wrinkle. Crisp, good-quality wrapping paper, on the other hand, always looks pretty dynamite. If there were any rules for wrapping paper, it would be the thicker, the better.
Stock Up!
Sharp Scissors
Sharp scissors are a must-have for gift wrapping; they’re important for cutting clean, straight edges, which ultimately affect the final presentation. If you’re Santa or the designated family gift wrapper, that probably translates to a lot of wrapping. In that case, you may want to opt for a pair with a soft, ergonomic grip that lets you wrap to your heart’s content with minimal hand fatigue.
Tape
We’ve all used packing tape in a pinch, but it’s not aesthetically pleasing, and it’s generally hard to work with against thin wrapping paper.
To keep it simple, grab a few rolls of clear, standard Scotch tape. Or, if you’re really in the present-wrapping mindset, Scotch also makes a Satin Finish gift wrapping tape, which has a smoother finish and was designed to blend beautifully into wrapping paper. Alternatively, you could go for double-sided tape, which, as you would expect, keeps the paper in place, but there are no visible signs of tape on the outside of the package.
Ribbons and Labels
Ribbons and labels are the fun part of wrapping a gift. Not to mention, they’re a great way to personalize your gift and show the recipient how much you care.
Now when it comes to ribbons, the world is your oyster. From tulle and satin to wired ribbon and curling ribbon, the possibilities are virtually endless. At the end of the day, the type of ribbon you choose will really depend heavily on your skill level. For a novice, curling ribbon is always a good choice. Wired ribbon is also great for those just starting out because they can be shaped for an easy assist to hide imperfections. For those who are a little more well-versed, you can choose whatever makes your heart sing.
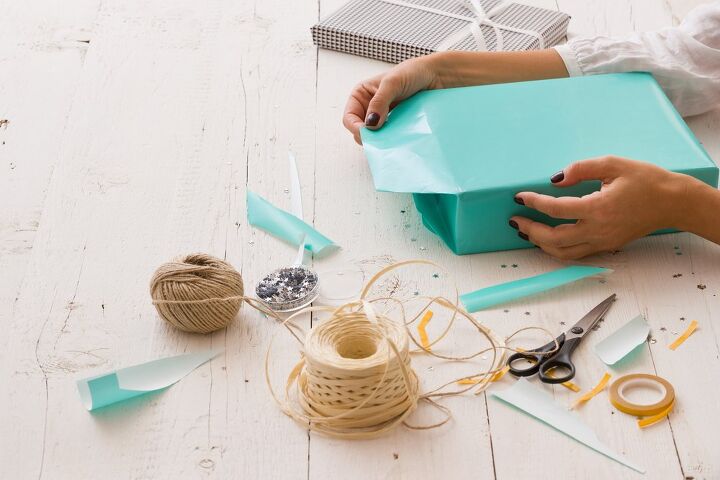
Photo via Shutterstock
How to Wrap a Present
Before we dig in, it’s worth noting that there is more than one way to wrap a present and everyone has their own way of doing it. Some people tuck the flaps at the end; some fold them over; the permutations are endless. This is just one way of wrapping a present, and as you get more comfortable with the process, you may find yourself putting your own spin on things.
Tools and Materials Needed:
- Wrapping paper
- Scissors
- Scotch tape
- Ribbon
- Gift tags
Step 1: Lay Out Wrapping Paper
Working on a flat surface, start with a sheet of wrapping paper that’s large enough to cover your box (a good rule of thumb is to make sure your paper is twice the length of the box). Place the box in the middle of the paper facing down; this way, the seams will end up at the bottom of the package.
Step 2: Cover Box with Paper
Pull the left edge of the paper over the box, covering the box almost entirely. Leave about ½ inch of the top face of the box visible at the right edge, and secure the paper down to the box with tape. Pinch and seam the paper for a nice crisp edge.
Step 3: Lift Other Paper Edge Over
Pull the right edge of the paper over the box. At this point, the two edges of wrapping paper should overlap slightly. If necessary, trim the right edge of the wrapping paper so that the top layer overlaps the bottom layer by just a few inches. Secure the top layer (the right edge) to the bottom layer (the left edge already taped to the box) with a piece of tape in the middle.
More (Wrapping Paper) is More
Step 4: Fold In Top Flap
Turn the box so one of the ends that is still open is facing you. Push in the sides of the paper on the right side (it will make two 45 degree-angle flaps), crease, and repeat on the left side.
Step 5: Secure Flaps
Fold the bottom flap up and secure it to the box with tape. Fold the top flap down, overlapping the bottom flap, and secure with tape.
Step 6: Repeat
Flip the box to its last uncovered side and repeat steps 4 and 5 to finish wrapping the box.
Step 7: Add Finishing Touches
Add the finishing touches such as ribbon, bows, and gift tags.
How to Wrap a Present Without Tape
At some point in your journey through life, you will find that you need to wrap a gift, but there’s no tape in the house (chances are your three-year-old hid it somewhere, but that’s another story). The good news: It is possible to wrap a present without tape! This Japanese gift wrapping technique, which we break down step by step, will help you wrap a present when you're in a pinch and without tape.
Tools and Materials Needed:
- Wrapping paper
- Scissors
Step 1: Lay Down Wrapping Paper
On a flat surface, start with a square piece of wrapping paper that’s large enough to accommodate your box (if each side of the wrapping paper meets each corner of the box, you’re set). Place the wrapping paper on your table diagonally (or in the shape of a diamond) and center the box in the middle.
Step 2: Fold Bottom Corner Over
Take the bottom corner of the wrapping paper and lay it flat across the top of the box. Pinch and seam the paper to form a smooth crease.
Step 3: Fold In Right Side
Holding the bottom corner of the paper in place with your left hand, use your right hand to create a triangular fold on the bottom right side of the paper against the box. Fold the right side of the paper over the box.
Step 4: Fold In Left Side
Holding the paper in place with your right hand, use your left hand to create a triangular fold on the bottom left side of the paper against the box. Fold the left side of the paper over the box. There will now be a slot where the final corner of the wrapping paper will fit in.
Step 5: Fold Top Paper Over
Holding the gift wrapping paper in place with your left hand, grab the top point of the paper with your right hand. Using your fingers, pinch and seam the paper over the top of the box for a crisp crease.
Step 6: Tuck Paper Into Slot
Take the point you just folded over and tuck it into the slot you created in steps 3 and 4.
Step 7: Add Finishing Touches
Add the finishing touches such as ribbon, bows, and gift tags.
How to Wrap a Present When You're Short on Paper
Diagonal gift wrapping has soared in popularity in recent years, and that’s likely because someone on TikTok did it and blew everyone’s mind. Wrapping a present diagonally started as a way to power through and wrap a gift when you’re short on paper. We’ve all been there, too. The good news here is that you don’t have to grab a brown paper bag and hope for the best. There is a way to continue wrapping a gift when you’re short on paper; here’s how.
Helpful hint: While this is a gift wrapping hack, it’s not a miracle. So, it will work, but just if you’re only a few inches short. Any more than a few inches, and you might have to get the brown paper bag.
Tools and Materials Needed:
- Wrapping paper
- Scissors
- Scotch tape
Step 1: Lay Box Down
Lay your box face down and diagonally on the wrapping paper.
Step 2: Secure Bottom Edge
Take the bottom edge of the paper and pull the corner up over the top of the box. Secure paper to the box with tape.
Step 3: Fold In Left Corner
Using your left hand, fold the left corner in and crease as you pull the left point of the paper over. Secure the point to the box with tape.
Step 4: Fold In Top Corner
Repeat step 3 for the top side. Use your left hand to fold in the corner and crease and pull the top point of the paper over the box. Secure the point against the box with tape.
Step 5: Fold In Right Corner
Folding over the last point may be a bit tricky as you have to manage two sides, but you can work them one at a time. Just like steps 3 and 4, tuck the corners in, crease, and fold the final flap over the box using your fingers. Secure the point with tape.
Step 6: Add Finishing Touches
Add the finishing touches such as ribbon, bows, and gift tags.
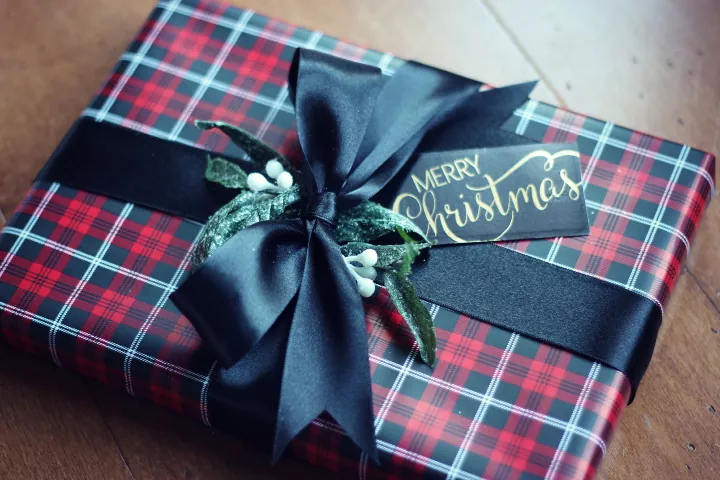
Photo via Jennifer Decorates
More Tips for Wrapping Presents
Now that you know how to wrap presents not one, not two, but three ways, it’s time to address a few more tips to making your crisp, wrapped gift even more beautiful.
Always Pinch and Crease the Edges
When you're wrapping presents, one of the easiest ways you can up the ante to make it look professional is by pinching and creasing the edges. Just remember to pinch and crease with each fold using the tips of your fingers. It's a small detail that makes a big difference.
Play with Ribbon and Finishing Touches
We all know that gift wrapping is just pretty paper until you add a few bells and whistles to the final product. So if you plan to wrap a present with ribbon, have fun and think outside the box (pun intended). Think about layering one ribbon over another or adding multiple rows of ribbons side by side. You can even play with textures like mixing burlap with tulle or trying colorful twine for something completely different.
Scraps Aren’t Always Trash
If you opt for high-quality wrapping paper, you’ll probably be happy to hear this: Your paper and ribbon scraps don’t always have to end up in the trash. For example, try making rosette present-toppers out of leftover wrapping paper. Or, plain craft paper can be beautifully tszujed with leftover strips of paper. The end result is gift wrapping with a little dimension that looks creative and professionally wrapped.
Pay Attention to Proportions
Remember to keep the proportions in mind when you're adding the final touches like bows or other embellishments to your presents. A thin ribbon wouldn’t look quite right on a large box, just as a wide ribbon can overwhelm a small box. So when choosing your finishing touches, be sure to maintain a sense of balance. Look for ribbons and bows that are appropriate for the size of the package.
Do you have any clever gift wrapping hacks? Tell us in the comments below—we’d love to hear them!
Comments
Join the conversation
-
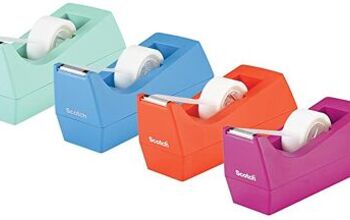
IMO I would not omit a tape dispensor on a list of necessities for proper giftwrapping. Having one hand free to hold the paper in place, while you are tearing off a piece of tape makes achieving neat flat surfaces so much easier.
Scotch brand makes heavy weight, no-tip tape dispensors.


Frequently asked questions
Have a question about this project?
And tying the perfect bow?????