


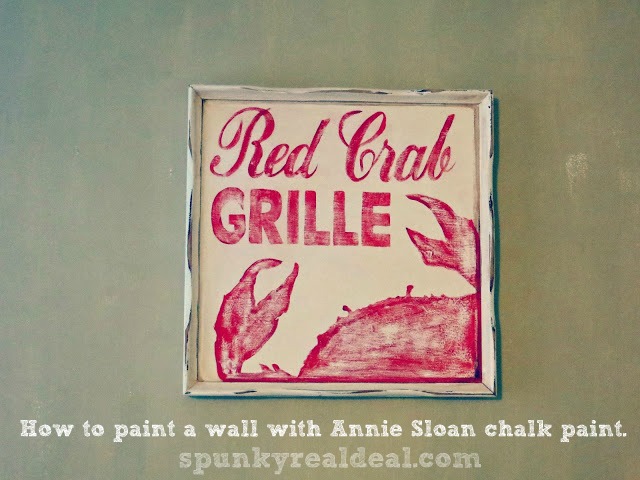
How to Paint Your Walls With Annie Sloan Chalk Paint
Annie Sloan Chalk Paint is the only chalk paint I recommend for painting your walls and floors. Why? Because, I have used other brands of chalk paint and Annie Sloan passes the test of time. The real test. My Annie Sloan walls, lightly waxed, look like they were painted yesterday. My little kitchen nook with heavy traffic was painted over a year ago! The video below shows me painting the other corner of my kitchen while giving some tips on painting your walls with Annie Sloan chalk paint. Let's take it step by step, because painting an old piece of furniture is not nearly as scary as taking it to your walls!
How to paint a wall with Annie Sloan Chalk Pa
1.) Clean your walls. Wash them with warm water and a mild soap and let dry. The same first step as if you were painting a piece of furniture. Easy-Peasy.
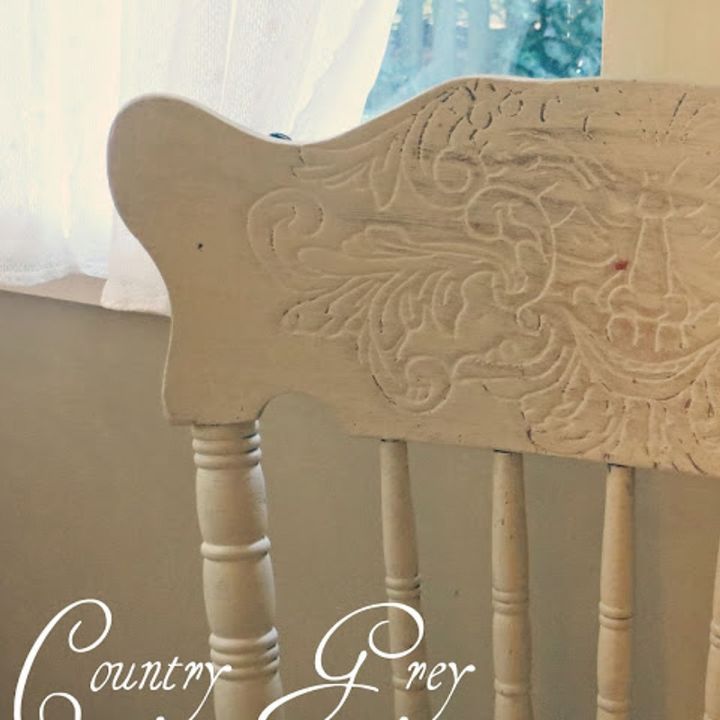
Country Grey painted chair and wall.
3.) Start painting using even strokes. If the paint gets "hard to work with" add a small amount of water. As hard as this may be, DO NOT go back over previously painted areas during the drying process. The wall will look different and splotchy while the paint is drying...completely normal. Look at the wall when it is completely dry and in good natural lighting before deciding whether or not you would like to go back over the area(s) in question.
{
"id": "2270",
"alt": "",
"title": "",
"video_link": "https://www.youtube.com/embed/qzWkkLkl7zQ",
"youtube_video_id": "qzWkkLkl7zQ"
}
{
"width": 634,
"height": 357,
"showRelated": true
}
4.) Do watch for drips. Check frequently for drips and catch them before they become permanent bumps on your wall. Take a damp brush and brush out the drips.
{
"id": "2273",
"alt": "",
"title": "",
"video_link": "https://www.youtube.com/embed/mMjxiWlQXXE",
"youtube_video_id": "mMjxiWlQXXE"
}
{
"width": 634,
"height": 357,
"showRelated": true
}
I hope this post helps you confidently take the next step with your chalk painting adventures! Be advised that it is a daunting task to take on painting a large room, but smaller areas are a pleasure to paint. Get ready for the complements to flow from your house guests. Good Luck! XO.

Want more details about this and other DIY projects? Check out my blog post!


Frequently asked questions
Have a question about this project?