


Marble Countertops for $180???

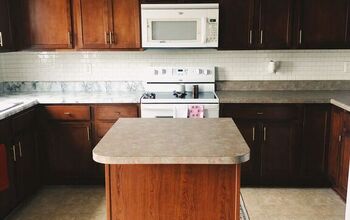
When we moved into our home two years ago, our kitchen had builder grade solid surface counters that were scratched, stained, and horrible!!!! I found this kit on Amazon and figured why not give it a try???

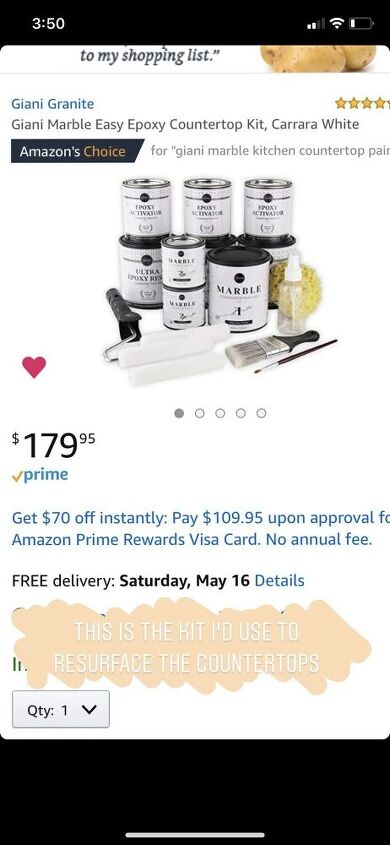
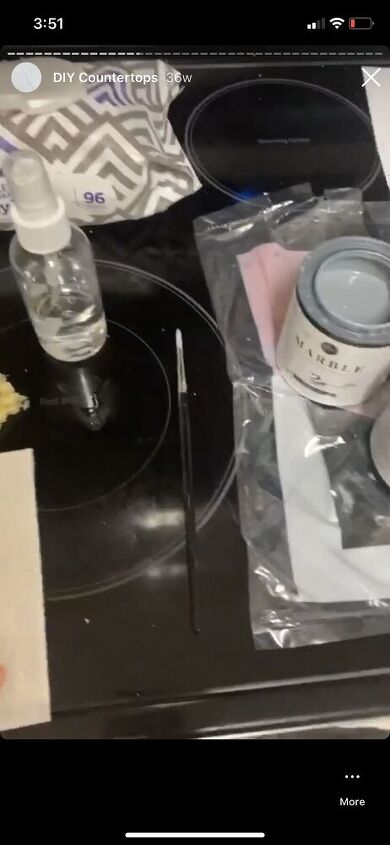
So here is the kit that I bought! It literally comes with everything you need to complete this project.

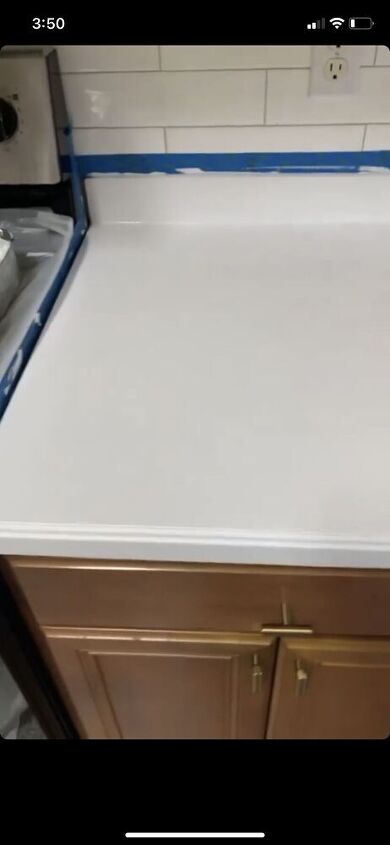
The first step is to clean your counters REALLY well, let them dry and then apply two coats of the primer. It has really great coverage and two coats was plenty!
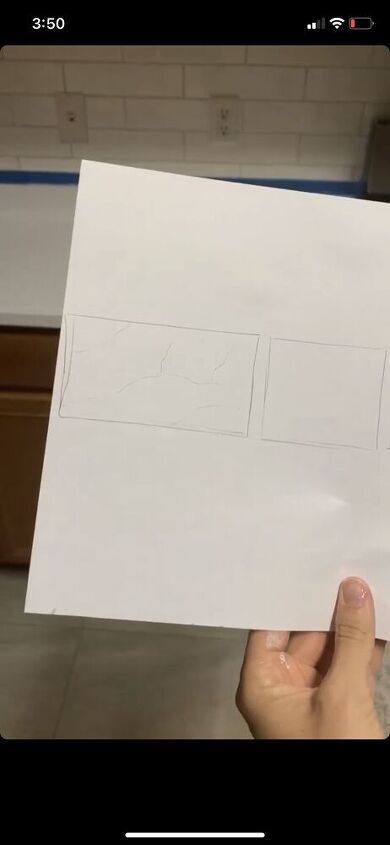
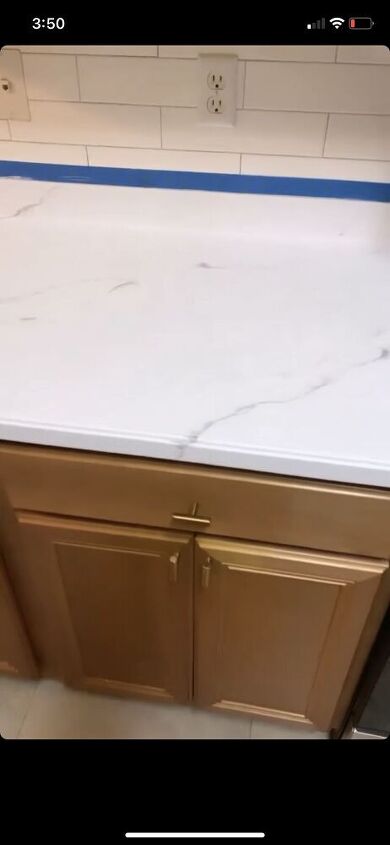
I would suggest looking at pictures of marble veining that you like and draw out a game plan for your counters. It helped so much!
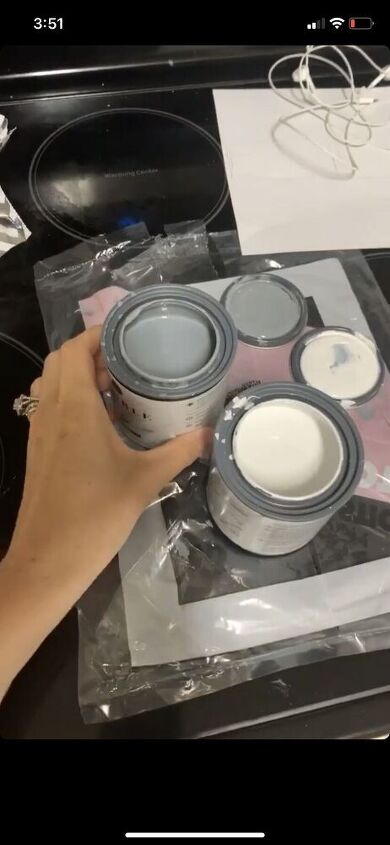
Once your primer is dry, you can start the veining process. It comes with two smaller cans for the veining and these paints are much thinner, which makes them easy to work with!
Use a small detail brush to apply your veining. my suggesting is to hold the brush really lightly and let it drag naturally across the countertops to achieve the most natural looking veins.
Then use the small water bottle of water to spritz water on the vein immediately after you paint it. This is key! Use the sponge and another dry paint brush to feather out your veins so they aren't harsh and fade naturally.
The good thing about it is, if you don't like how one turns out. You can easily wipe it up or paint over it and try again!!!
The white paint is used for highlight. It has a slight shimmer/pearlized finish to it. You will apply these highlights next to your veins to add depth.
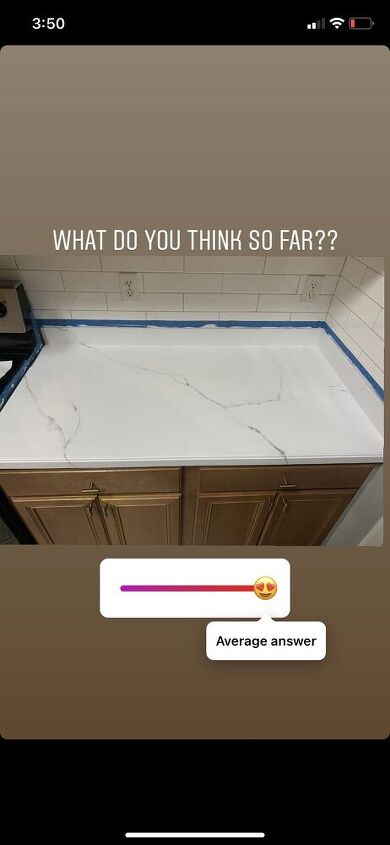
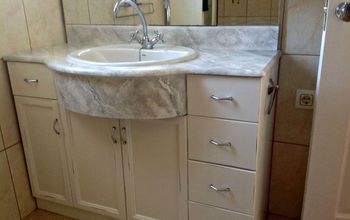
Here are some pictures of my veining.
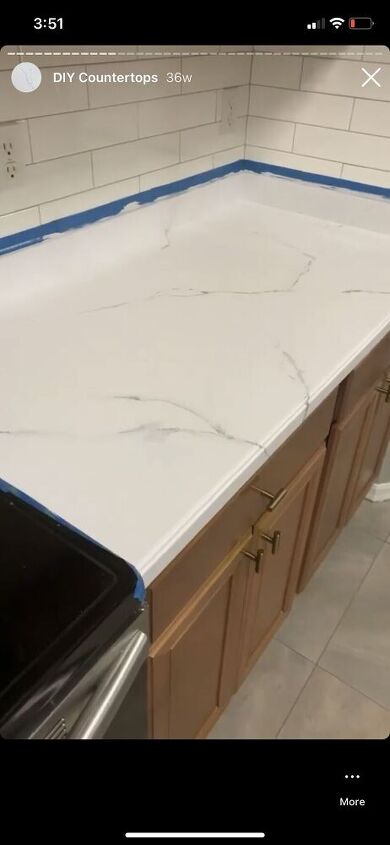
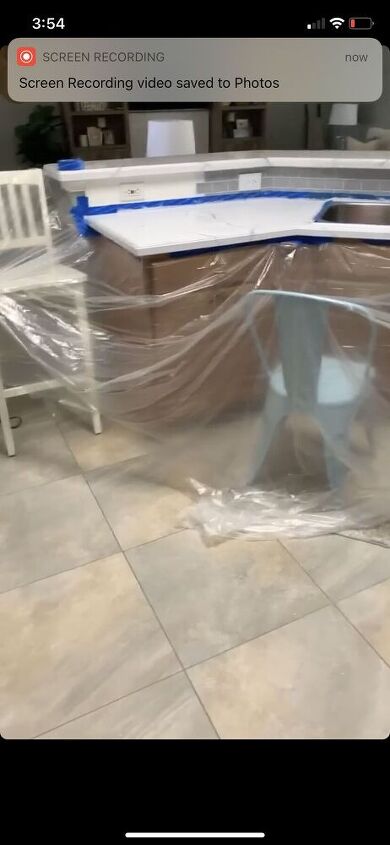
The last step is applying the epoxy. You'll want to take the plastic all around your counters and I suggest using chairs or something like it to create like a "pocket" in the plastic. It will help with drips and make clean up so much easier!
The epoxy is self-leveling, which means that after you roll it on it levels and smooths itself out to a nice glossy finish.
Once you mix the two epoxy chemicals together, you'll pour it onto sections and use the foam roller to smooth it over the counters.
TIP: While it is still wet, use a pair of tweezer to get any debris that may have fallen into the epoxy while you were pouring, and also if you notice bubbles, you can use a hairdryer to smooth them out!
Resources for this project:


Comments
Join the conversation
-
I am going to try this!!! Your directions were really precise. I can’t wait to get this done!!!! Thanks


Frequently asked questions
Have a question about this project?
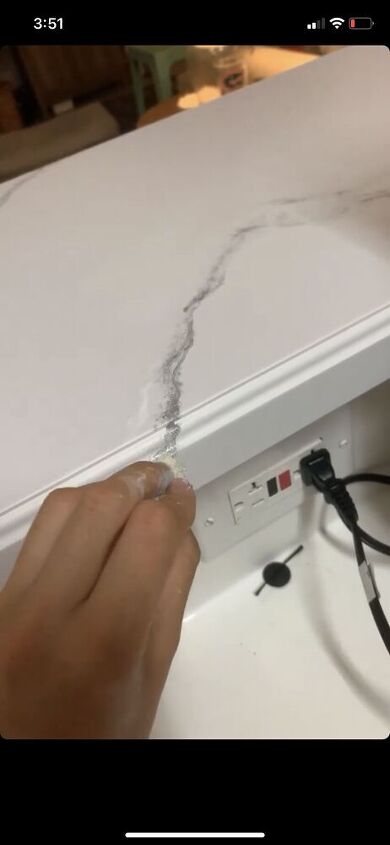
my counter has a small burn stop where the formica bubbled and then cracked and broke pieces out of the spot. Is there a way to cover this and still use this product?