


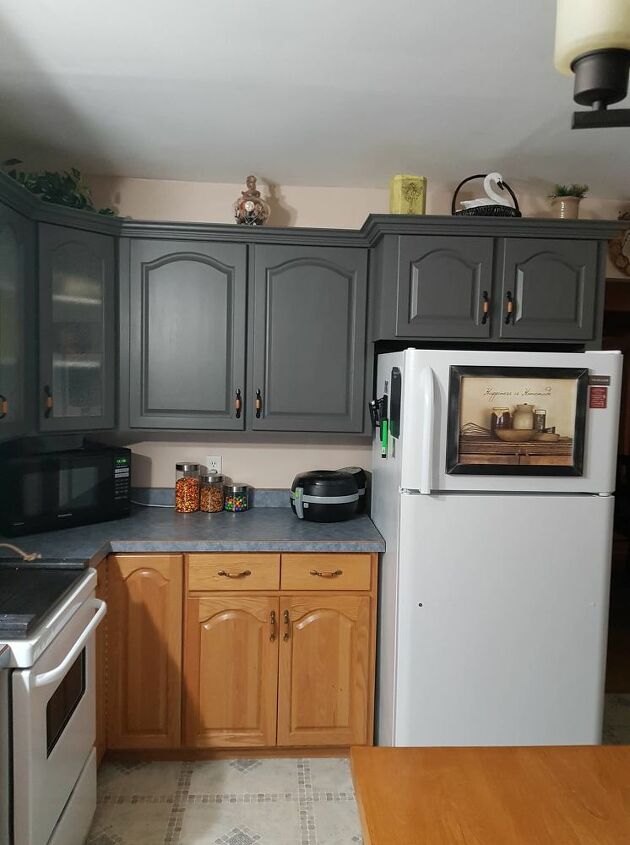
Refinishing a Laminate Countertop!
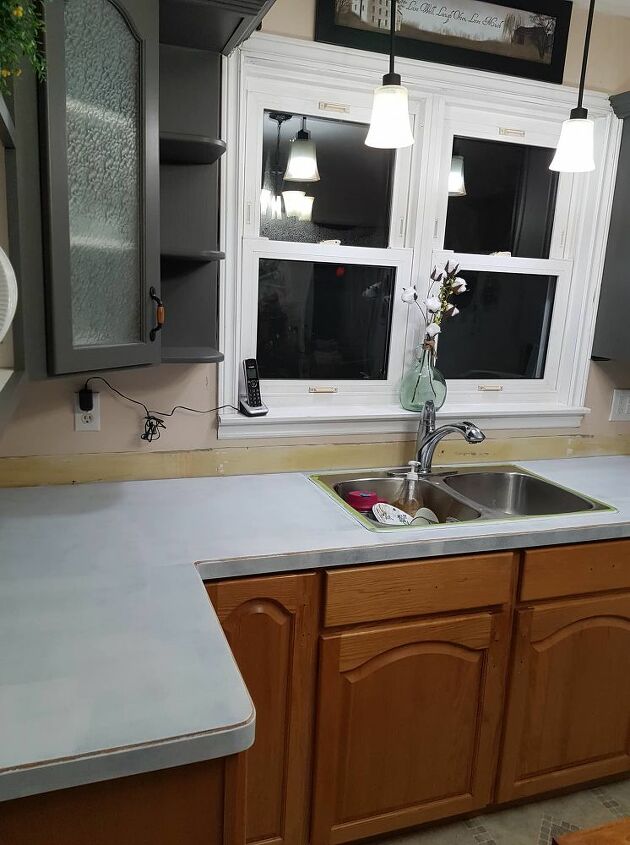
I just finished renovating my parent's kitchen. One of the biggest things that Mom didn't like about her kitchen was the blue countertops and their thick but short built-in backsplash so the first thing to go was that backsplash. It was an easy removal. Then, Dad used my rotary sander and scuffed up the countertop surface just to dull it down a bit. I rolled on a coat of Stix primer and left that for a day to cure.
After several failed attempts with different methods (you can read more details on my blog), I ended up just rolling the paint on with my favorite flock foam rollers. What ended up working for me was to roll the paint on in a section of about 3 or 4 roller widths and then very lightly roll rapidly over that section again without reloading the roller (to eliminate roller marks). Then I would reload the roller and continue on with another 3 or 4 roller widths and repeat the process.
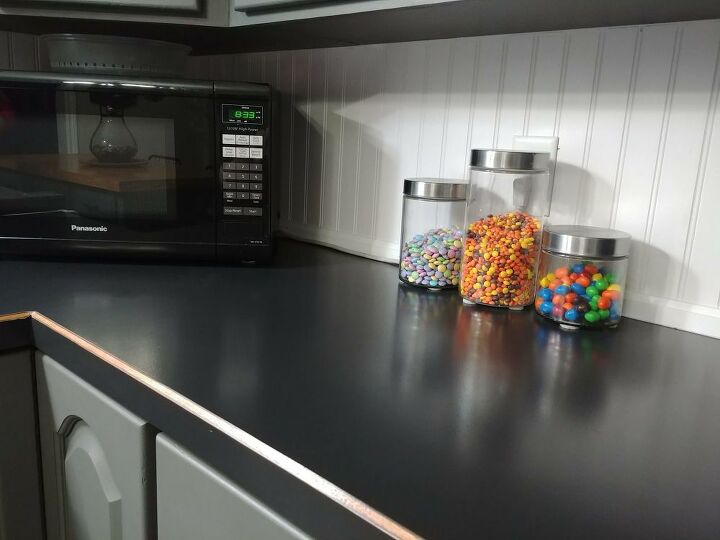
I used regular Benjamin Moore Aura paint in an eggshell finish that I had on hand (you can buy a pint for around $10) and mixed it up with BB Frosch Chalk Paint Powder. After a couple of coats (I waited about an hour between coats), I left the countertops three days to cure.
I bought a jar of Saman Water Based Varnish in Satin and rolled on 3 coats. I have lots left to use on other projects! The reason I chose Satin, instead of Matte as I usually do for most projects, is that the rule of thumb when it comes to clear coats is that the higher the sheen the more durable the finish. Where this was a high use countertop, I decided to go one step higher than matte. I expected to run into difficulty getting even coverage that is streak-free but I had no difficulty at all. Saman's clear coats are the easiest to use, period! No streaks!
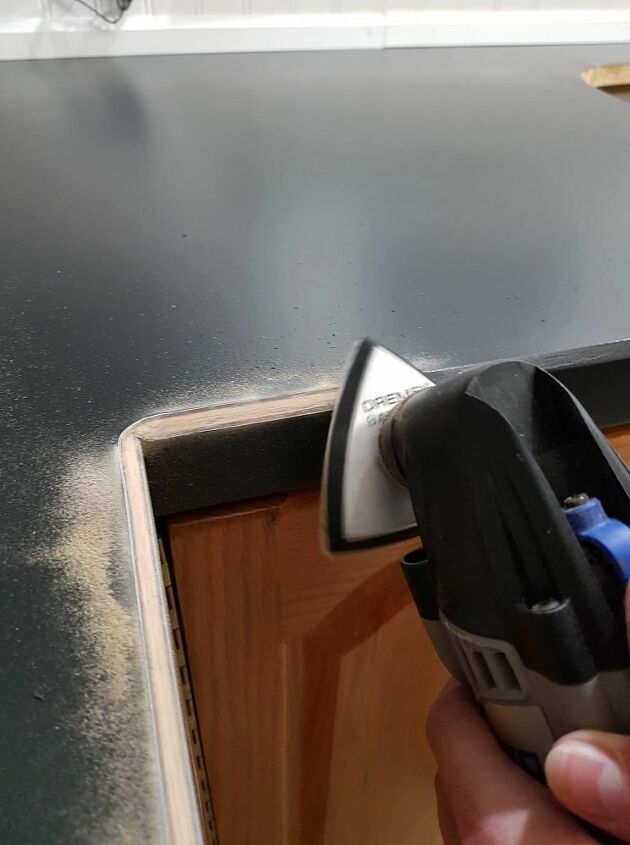
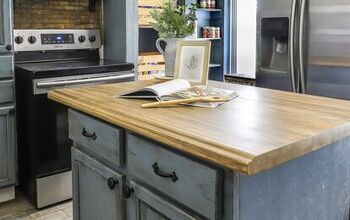
The next step in this process was to sand the slanted edges back to the wood. I used the sander attachment on my Dremel and the job went smooth as butter!
Then, I put two coats of Saman One Step Stain & Varnish in Cedar on the wood edges with a small artist brush and the job was done!
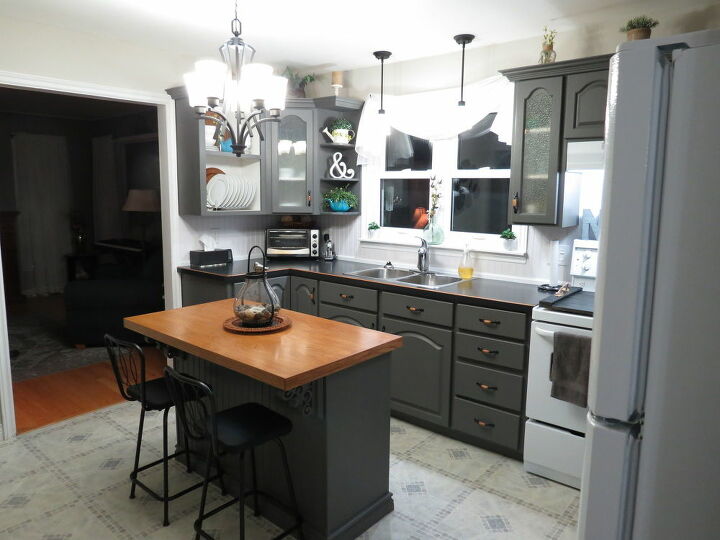
This picture was taken partway through the renovation. Only the upper cabinets were done at this point. Its the best picture I could find that shows what the countertops looked like before refinishing them.
Resources for this project:
See all materials


Frequently asked questions
Have a question about this project?
my question isn’t quite about this specific project but I noticed you changed the backsplash to bead board - is that wood, a more kitchen friend type or something else altogether?