


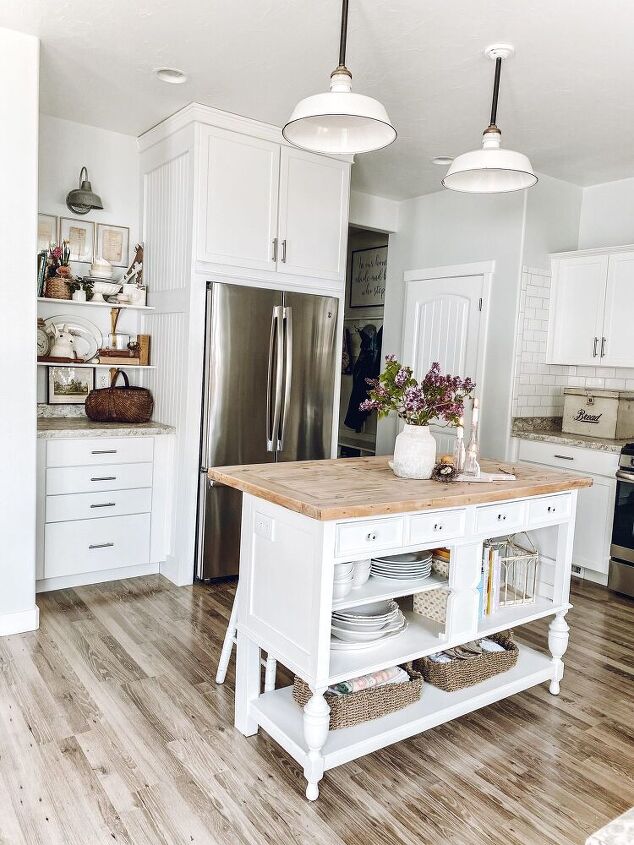
My DIY Kitchen Island
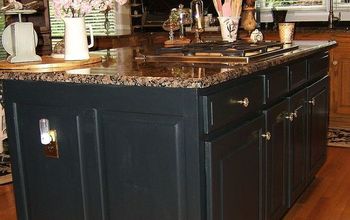
Another project completed...my kitchen island. Here’s my kitchen before, with the original kitchen island….
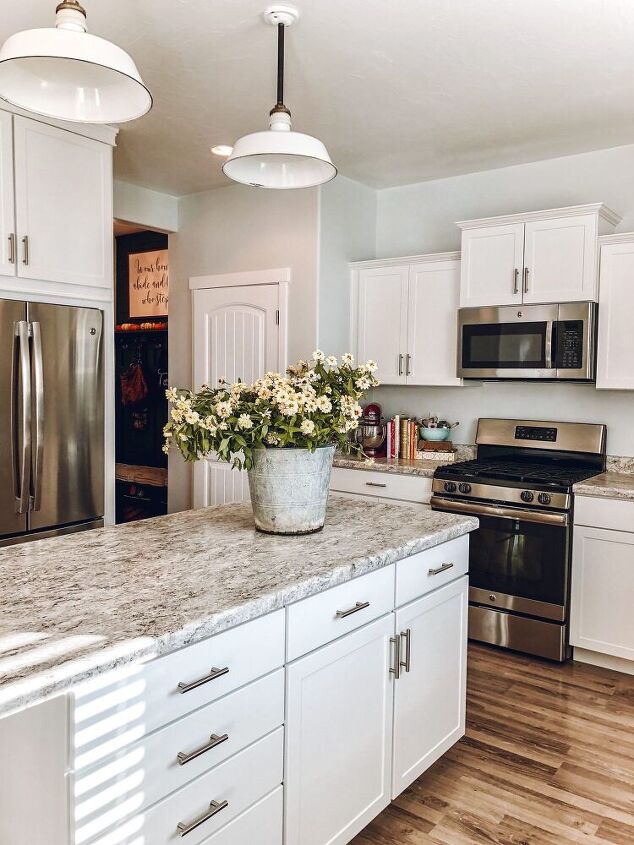
Ever since we moved in, I’ve wanted to replace it, and now seems as good of time as ever!
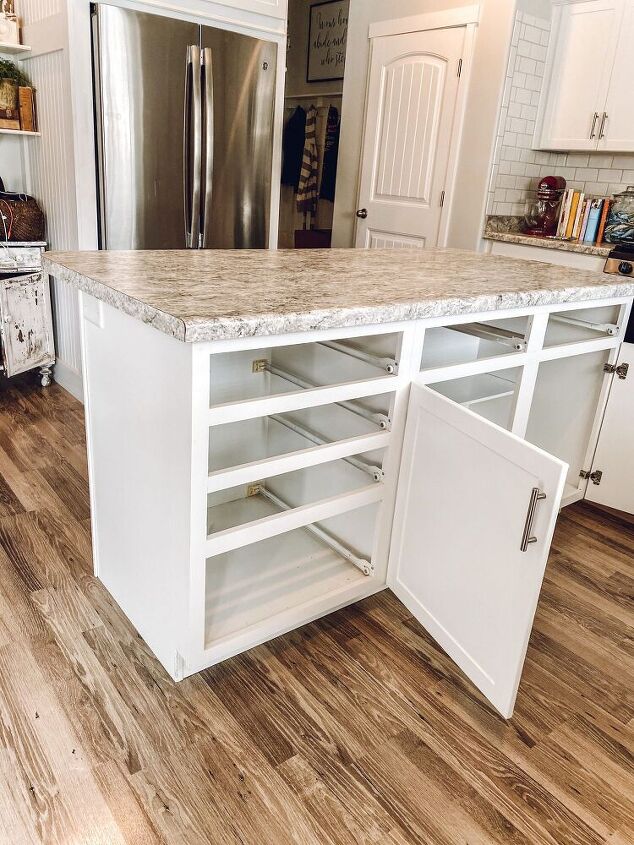
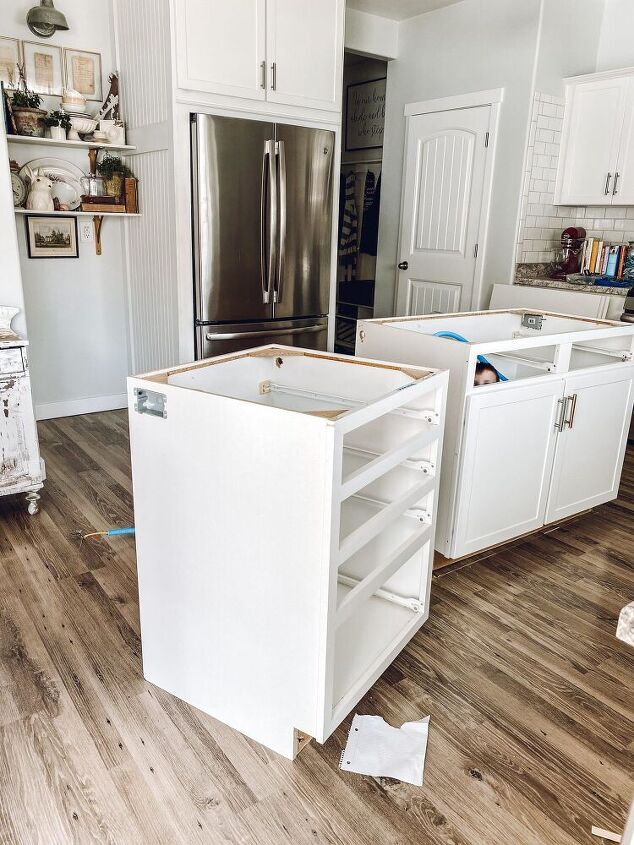
I already knew that the same flooring was under the island, making it a much easier project. I was so glad not to have to repair/add/replace any flooring, there are just a few screw holes that I will easily be able to fix with some putty and sandpaper.
I decided to move the drawers to the wall, next to the refrigerator. I love the sweet vintage cabinet that was there, but only wanted one furniture piece in this space. Now all of the cabinets on the perimeter of the kitchen are matching, making my new island the main focal point.

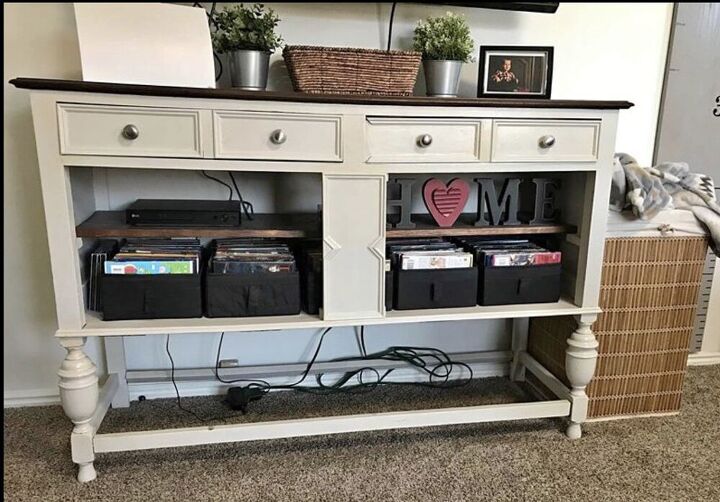
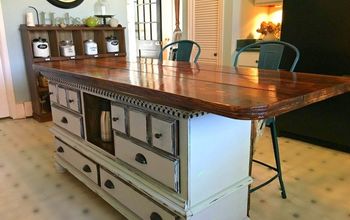
For the island, I started with this vintage buffet/side board that I found on the FB marketplace for just $40!!
I started by taking the top off…
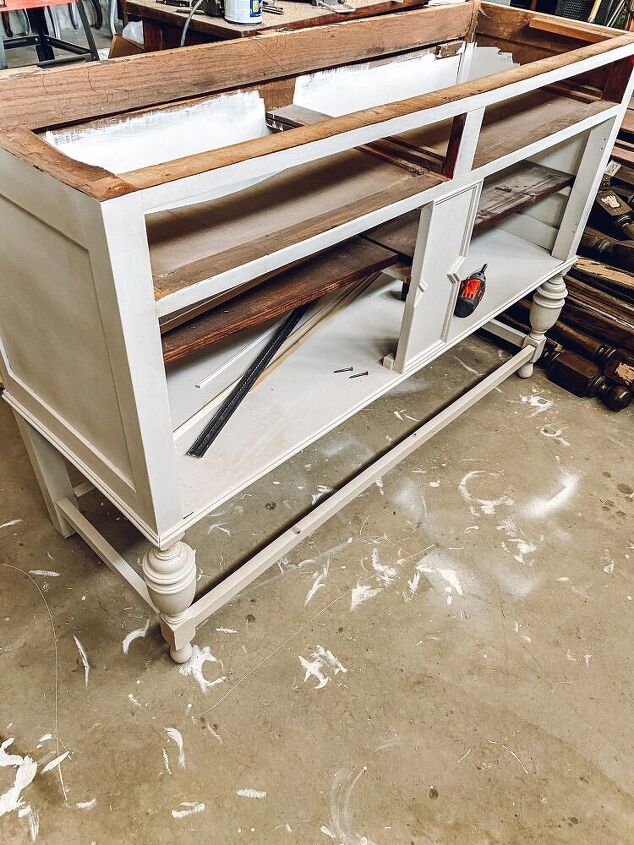
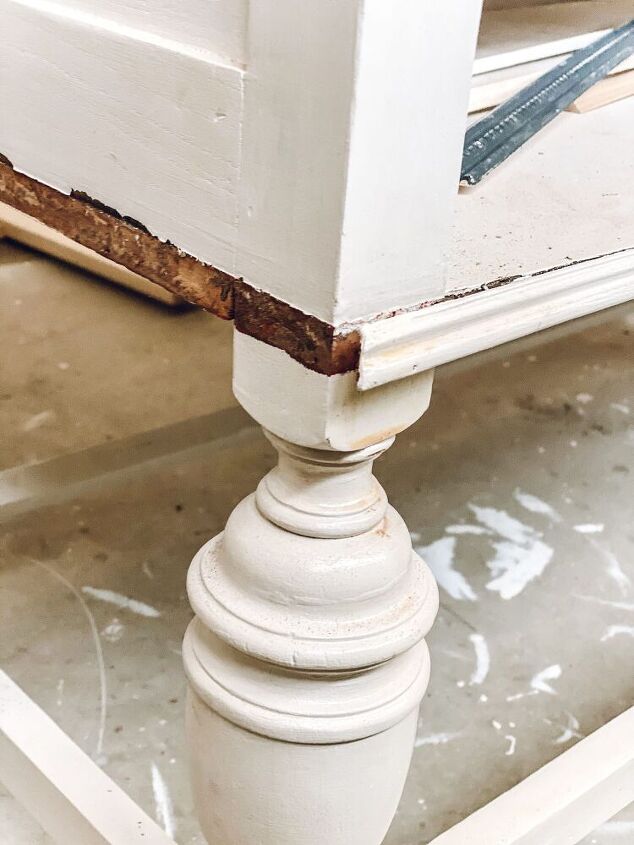
In order to add the bottom shelf, I had to better secure all of the cross supports between the legs, using wood glue and long screws.
I also took the molding off around the bottom, and added a new molding. I needed the original molding to replace a missing piece on one of the drawers.
I built legs on the back, using 1×2 and 1×4 select pine boards. I kept the legs hollow, to allow the wires to come up from the floor, into the island…
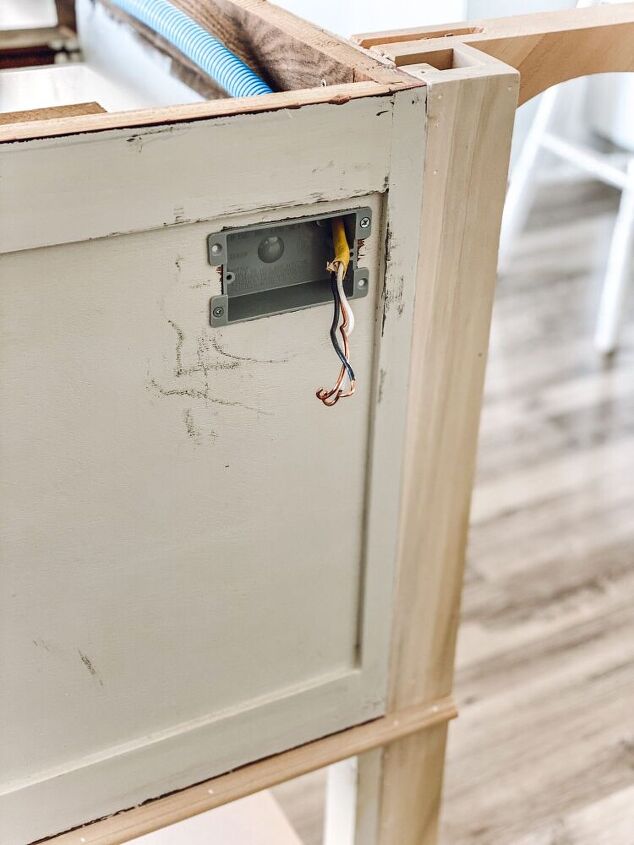
The wires come in through a hole in the floor, up the back leg, and into the island.

The wires are inside that blue tube, which I’m now realizing that I still need to paint. It usually takes me forever to get to all of the little details. But, it is mostly done, which makes me so happy!
Added beadboard and corbels to the backside of the piece…
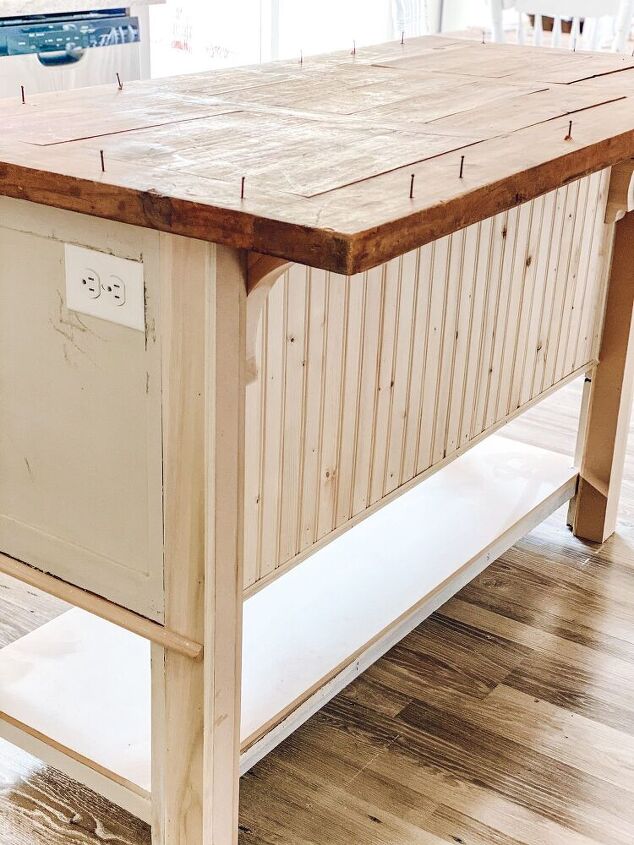
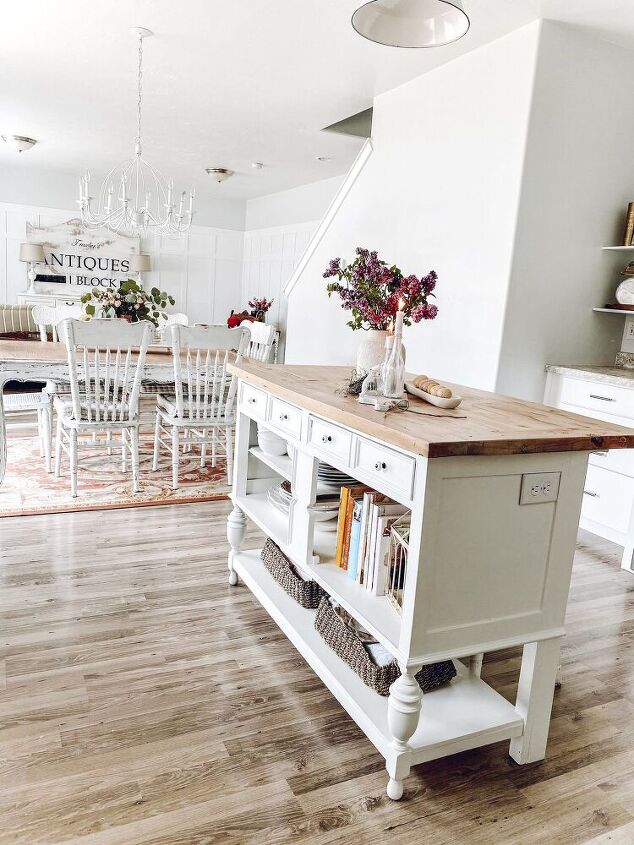
And then came time to figure out the countertop. I really wanted butcher block, but it was proving hard to find. Luckily, I found this solid wood antique tabletop to use. I love it! I can’t imagine a better top!
Now time for paint…
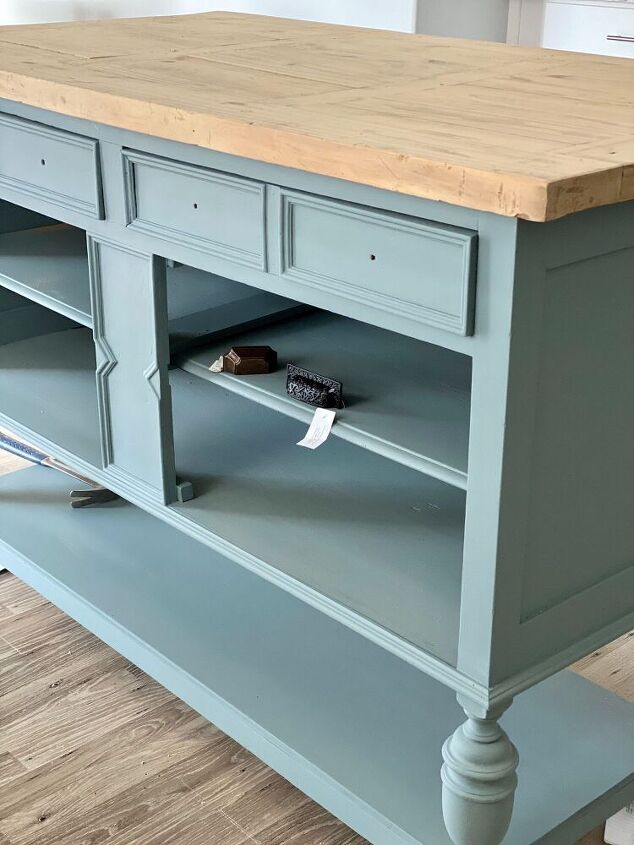
I started with a beautiful blue paint, and LOVED it, but it just didn’t fit in like I had envisioned. I turned to my tried and true love, Benjamin Moore White Dove.
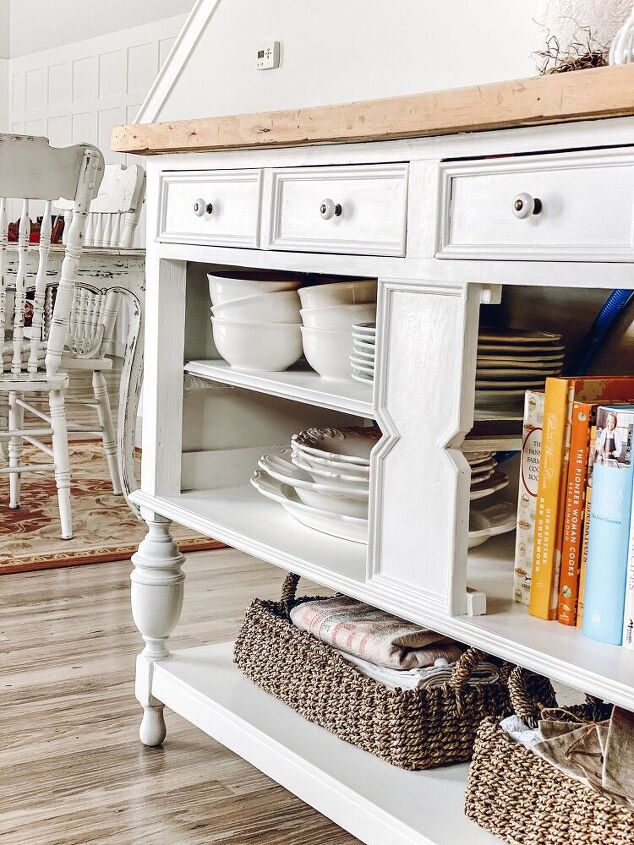
For the top, I sanded it down, and finished it with white wax. Loving how light it is!!
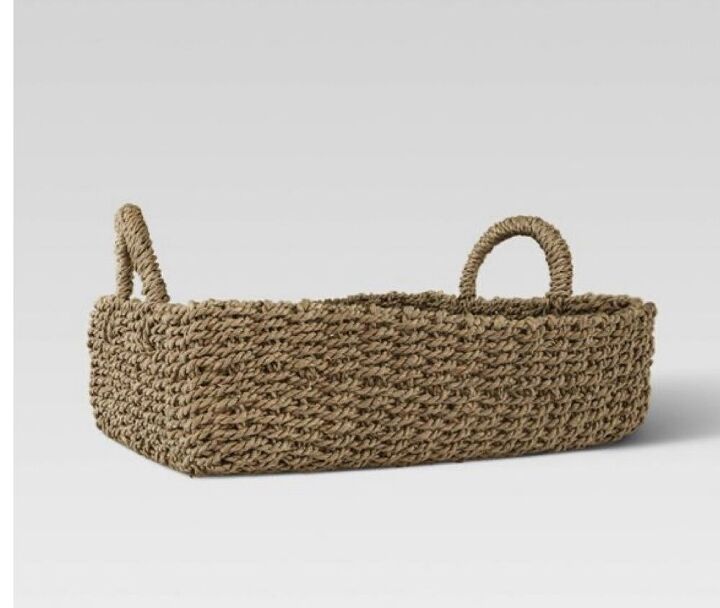
For this project, I already had everything that I used, except for the baskets. I found those online and had them delivered. Aren’t they perfect!!
SOURCE
I Hope you all have an amazing day!!
Sending you all so much love!!!
~Emily
Resources for this project:
See all materials


Comments
Join the conversation
-
Great job. Nice picture of before with your child peeking out. Children do love hiding in cabinets.
-
If you were to do this now, the island outlet would require GFCI protection. You can use a simple GFCI receptacle, or protect the whole area with an appropriate breaker in the electrical box in some cases.


Frequently asked questions
Have a question about this project?
I’m very confused as you said you started with the vintage sideboard you found on line but it’s obvious that is not what you made your island out of???
That's my question to! Wheres the antique piece you were going to use? Obviously you didnt use it? But. I love love what you did. I am looking for a piece to turn into island as well.