


Dining Table Gets a Facelift...

by
Tracie
2 Materials
$19
3 Hours
Easy
So...after completely setting my dining table for Thanksgiving I decided my tablecloth needed a quick touch up. I know. I already knew...but yes i did it anyway..steam iron ON the wood table. You can guess what I found once the meal was over, guests were gone and I removed the tablecloth 😬😬. I hit the internet in search of a "fix" and tried them all. Each time the table looked worse. Fast forward to last week in the middle of the night my mind decided it was time to do something with the elephant in the room....so I started sanding. Once I had the table 2/3 Sanded an idea hit me and I had to stop right there and start drawing. Here's a tip I'll be using if I ever do this again, aside from not ironing on my tabletop: print the image then go over it with pencil, flip it over and rub it with a pencil to transfer the image to your table. I tried using newspaper under my image kind of like carbon paper and it did work but not all that well. Then I ran to Lowe's and bought the stain marker in the shade that best matched my outer edge of the table and went over my image with stain. I used painters tape to keep my lines straight and try not to let the stain pool or it will bleed. Also..i had a tissue in one hand and I blotted as I went. Then I had to sand the part of the table I skipped in my excitement. I got my husband to help me with the clear coat because I know nothing about that. Voila! A new tabletop that still matches the china hutch! Now my eyes are wandering over to the church pew I have beside the table.... 
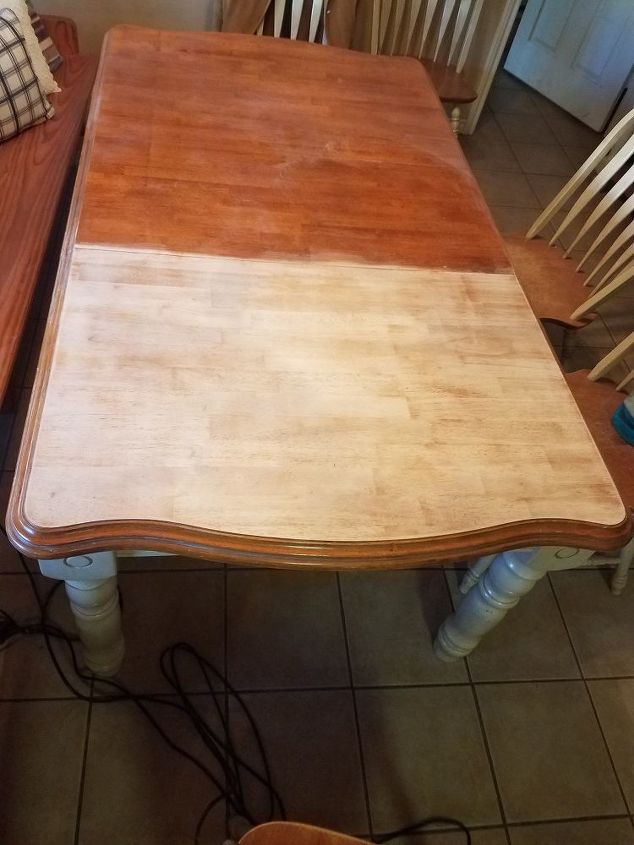
Started sanding..in for a penny in for a pound 
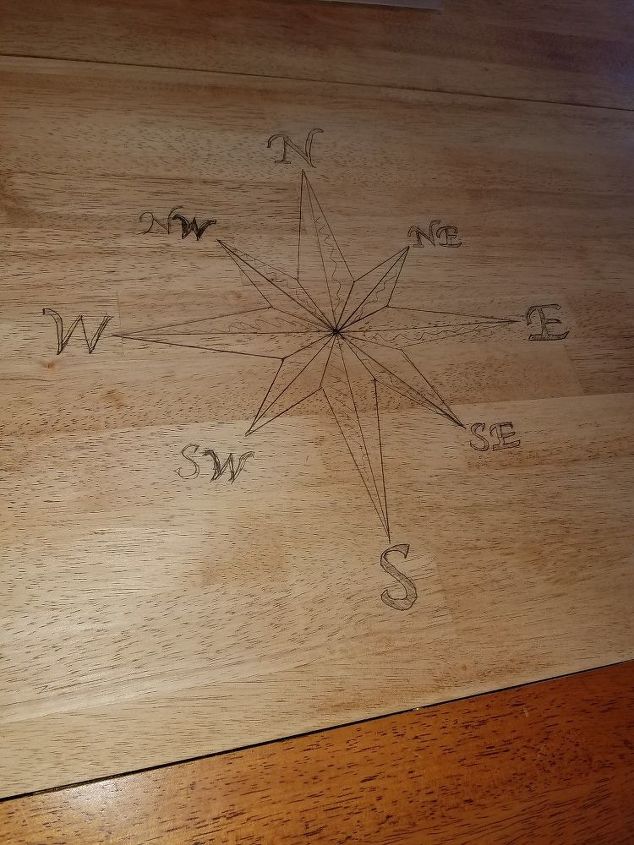
The image is drawn on
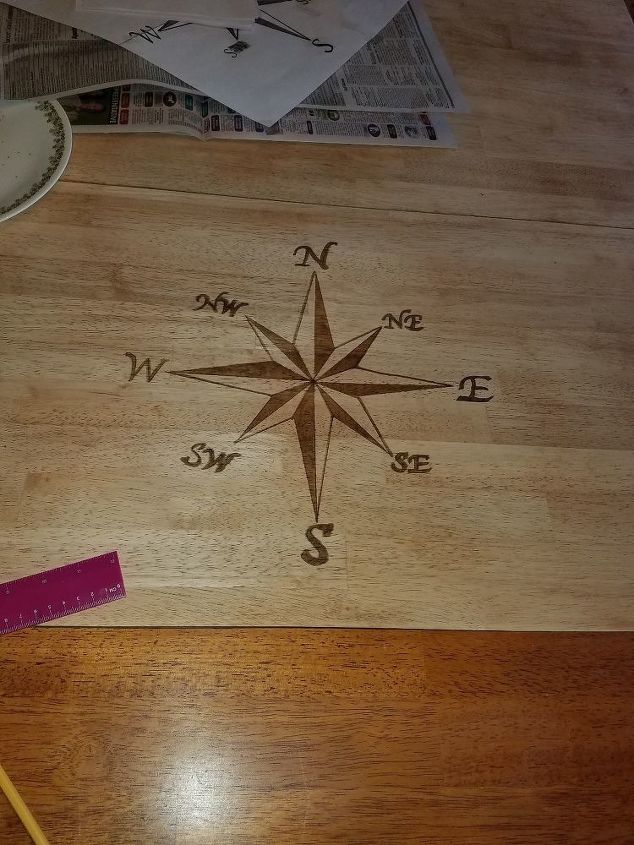
Stained with the marker
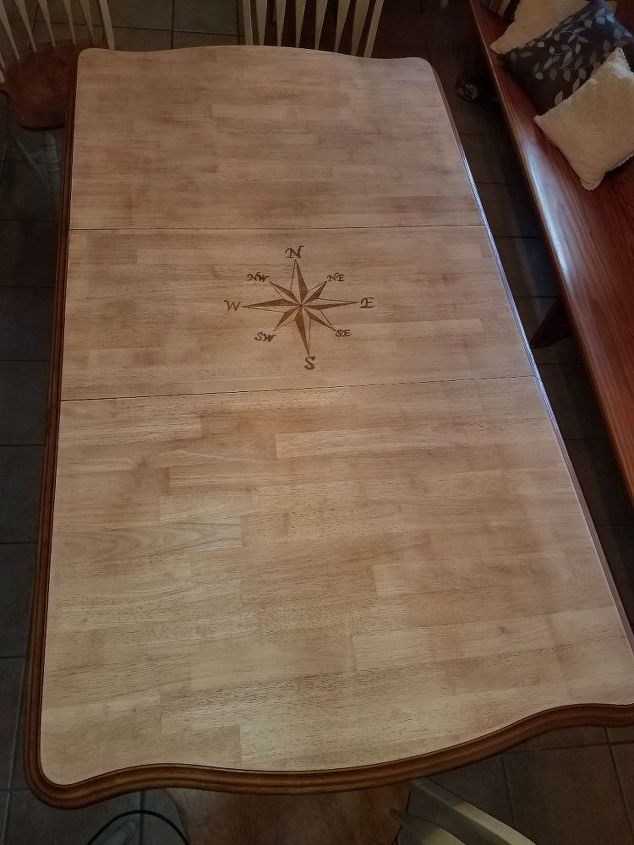
Finally finished sanding the tabletop
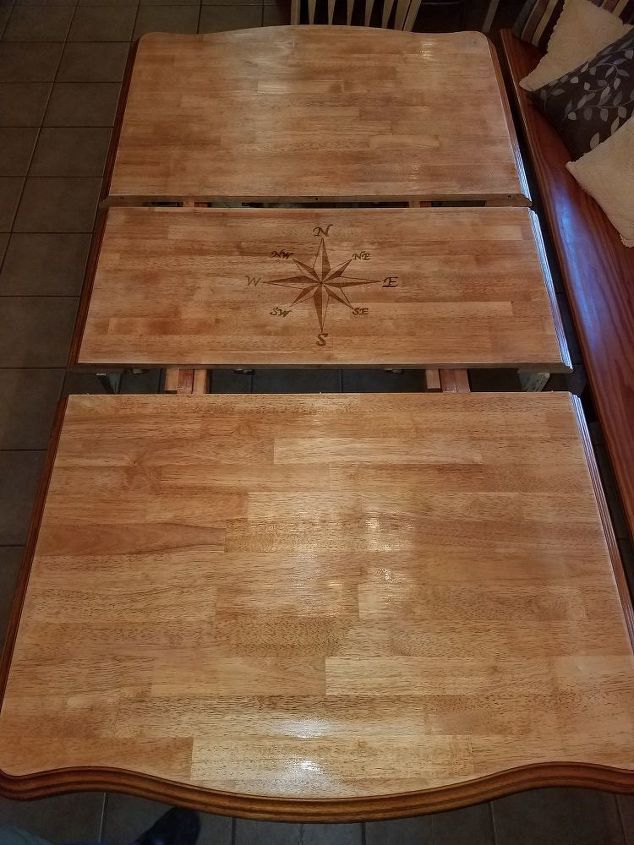
Clear coat applied. Waiting for it to dry before I close the table.
Comments
Join the conversation
2 of 10 comments
-
Hey what a nice idea! Looks great! Thanks!
-
Thanks Tonya


Frequently asked questions
Have a question about this project?