Adding Shaker Trim to Flat Panel Cabinets

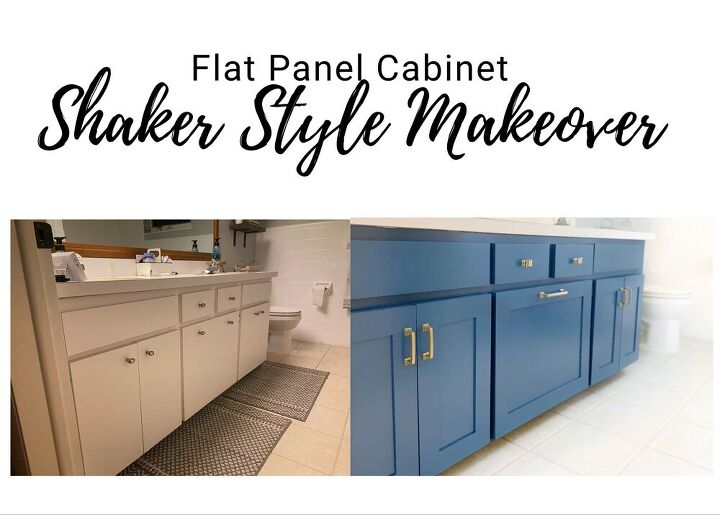
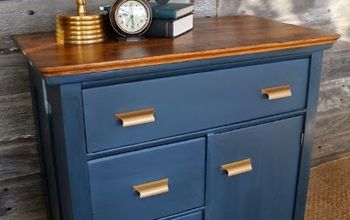
I recently decided to give my bathroom a budget-friendly makeover. Instead of replacing the bathroom vanity, I decided I would add shaker trim to the flat panel doors and paint the vanity to look brand new. Checkout the detailed videos on my IG: instagram.com/mrsashleyfrench
First I removed the hardware off the cabinets. Then I removed the doors by unscrewing the hinges. I completely removed the hinges from the doors and placed the hinges, screws, and hardware into a bag so I wouldn't lose any pieces.
We purchased a sheet of 1/4in Birch Plywood that measured 2ft by 4ft. We decided on a 2.5in wide shaker trim and ran the plywood through the table saw into 2.5in wide strips. Then we used the miter saw to cut the strips of wood down to length to match the cabinets.
I applied wood glue to the back of the trim pieces and used a silicone brush to smooth out the glue before placing them on the cabinet doors. Make sure they are lined up perfectly with the edge of the cabinet door.
I added 23 gauge pin nails into the trim pieces to ensure they were secure to the cabinet doors.
I used wood filler/spackling to fill the cracks between the trim pieces and any small holes/dents created by the pin nails. Allow this to dry before painting the cabinet doors.
I painted the cabinet doors and trim with a coat of primer. Allow this to fully dry before applying your cabinet paint color.
I applied 3 coats of cabinet enamel paint to both my cabinet doors and the bathroom vanity. I used a firm foam roller and a small brush for inside the angles. I recommend letting the cabinet doors dry for a minimum of 48 hours before installing the hinges and hardware and reattaching to the vanity.
I used a hardware template from Home Depot to center and mark the holes for the cabinet pulls. I then drilled the holes and installed the new hardware.
We are so happy with the shaker style doors and vanity makeover!
Enjoyed the project?
Comments
Join the conversation
-
 Donna Bates
on Jan 06, 2023
Beautiful and that color just popped it all! I love that color!
-
-









Frequently asked questions
Have a question about this project?
I want to know the color too!! As well as the info on the vanity top (if you refinished it too).
Did you sand the cabinets?
Did you add the wood to the draws above the cabinets as well or left them thinner ????