


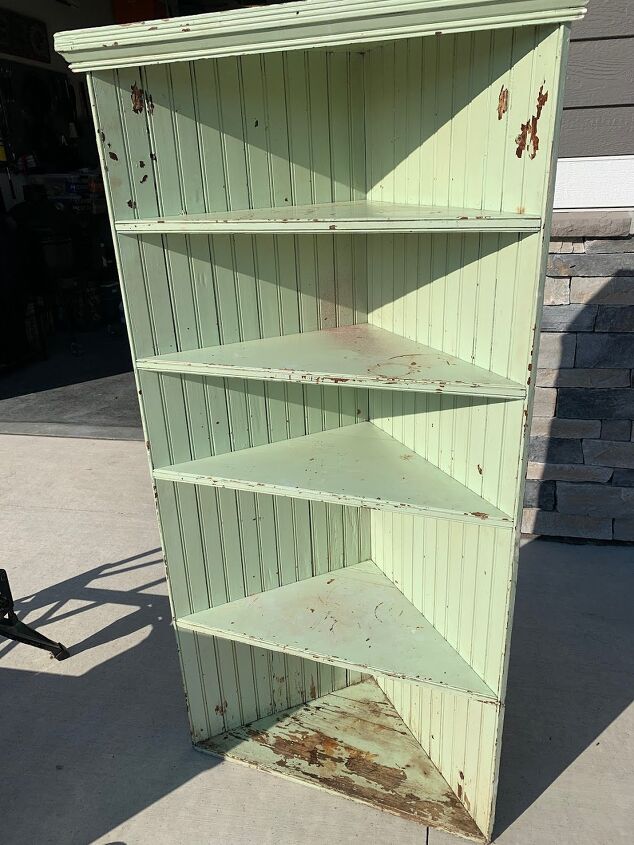
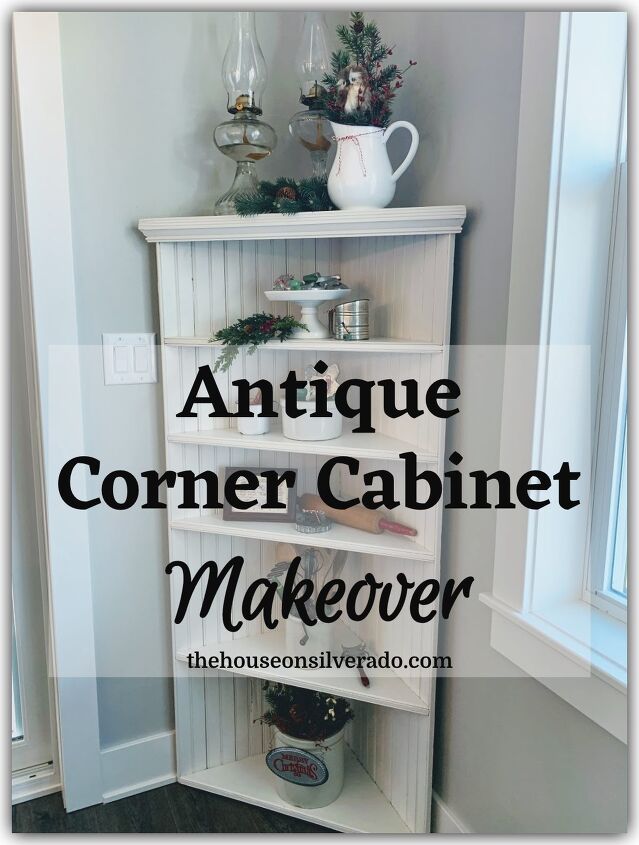
Antique Corner Cabinet Makeover
One of the things I kept from my parents’ home when we cleaned it out and sold it was this antique corner cabinet.
For as long as I can remember, my parents had this in their basement. It clearly used to be a built-in cabinet from a much older home, but I have no idea when or where my parents acquired it.
When I was very young, it was kept under the cold, dark, front stoop, holding all the jars of vegetables my mom canned from her garden.

Then, at some point, it got moved to a basement storage room, where my dad actually screwed it to the side of another shelf to stablize it. That’s where it lived for many, many years.
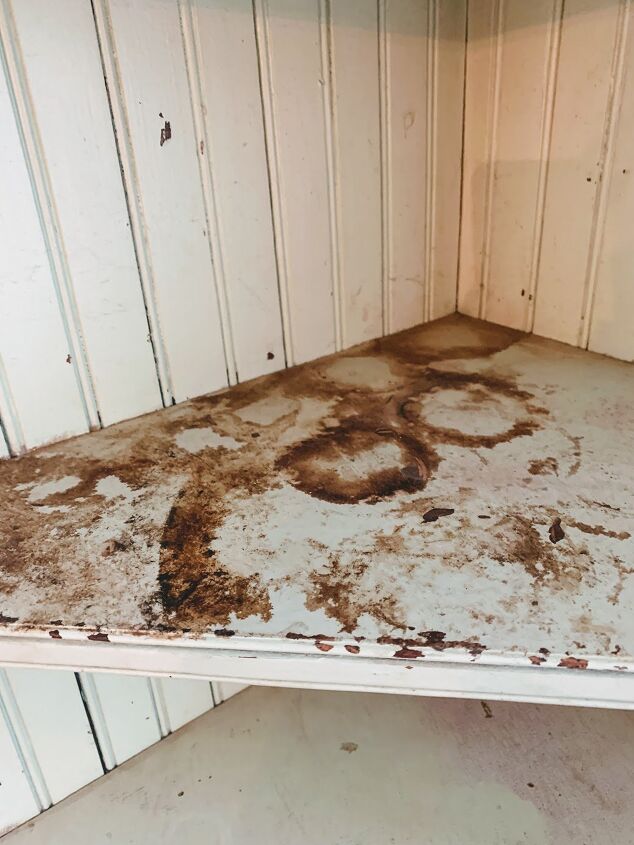
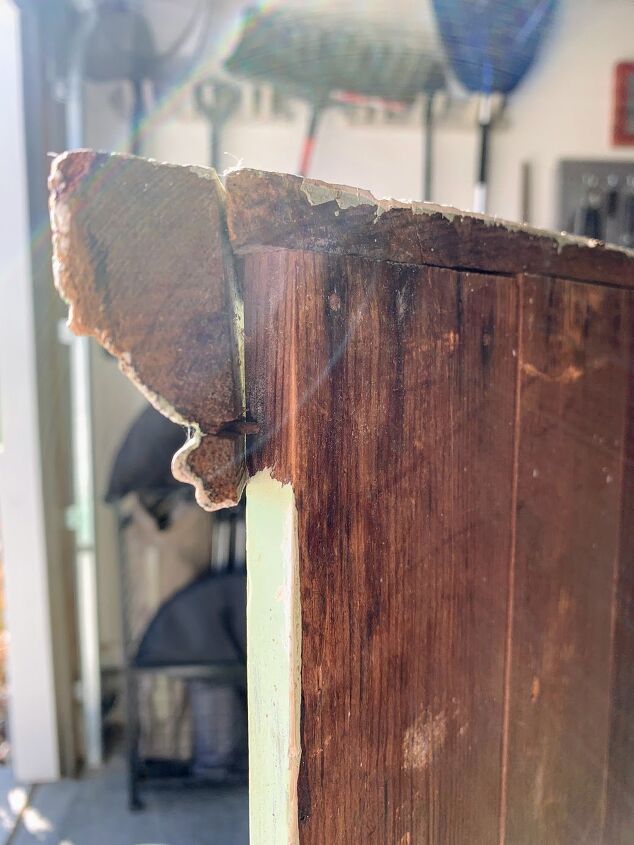
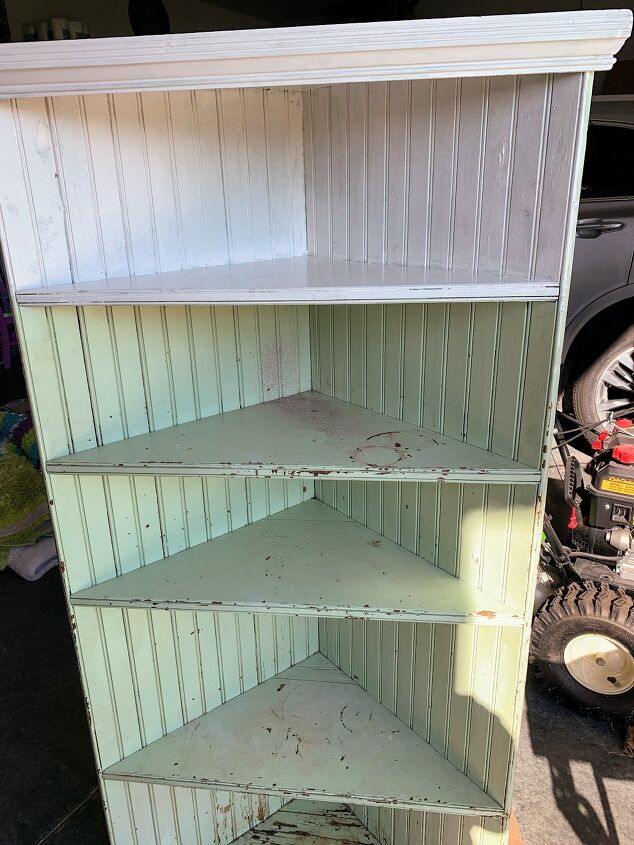
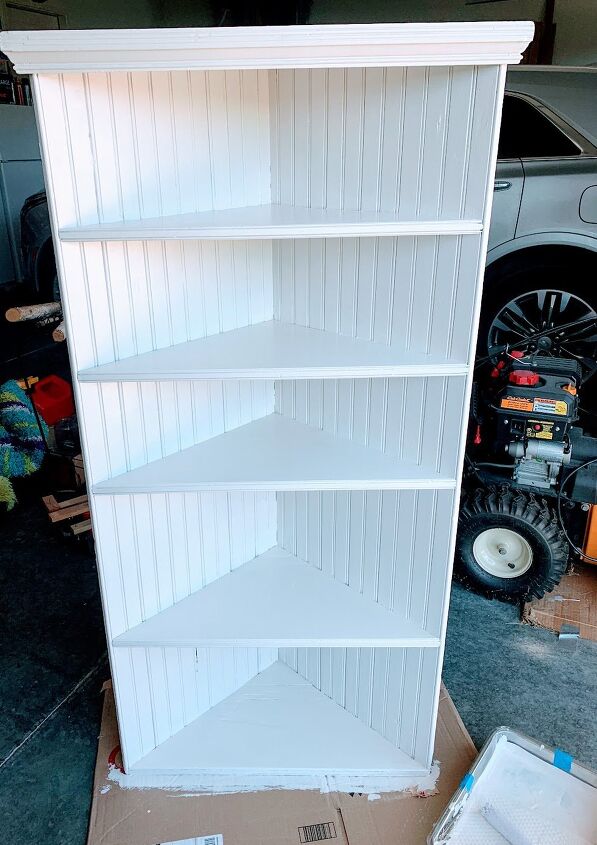
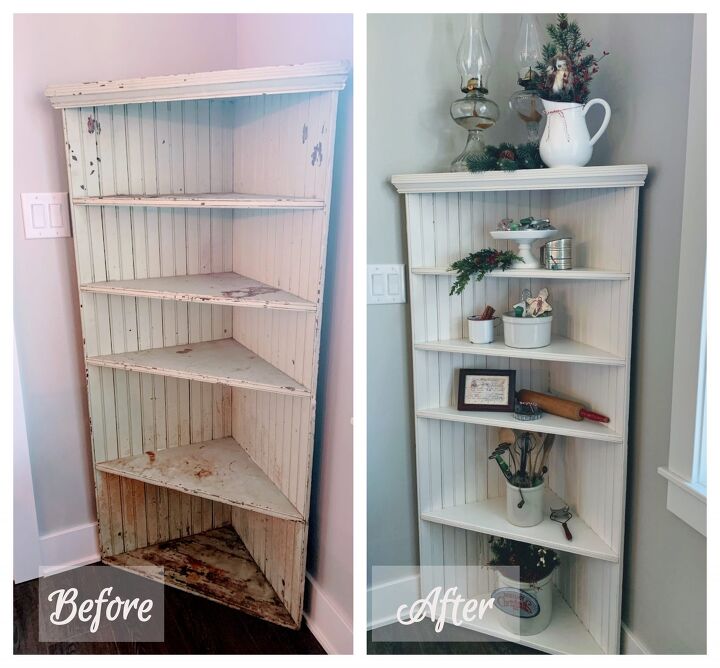
You can see that it acquired some water damage on the very bottom, screw holes on the sides, and a lot of grime. You can even still see the circles of grunge from years of holding canning jars.
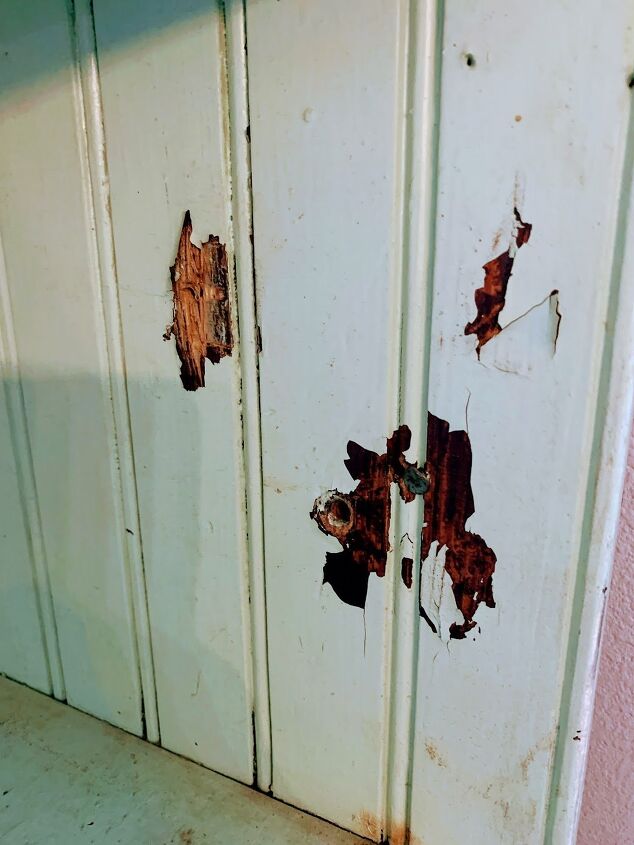
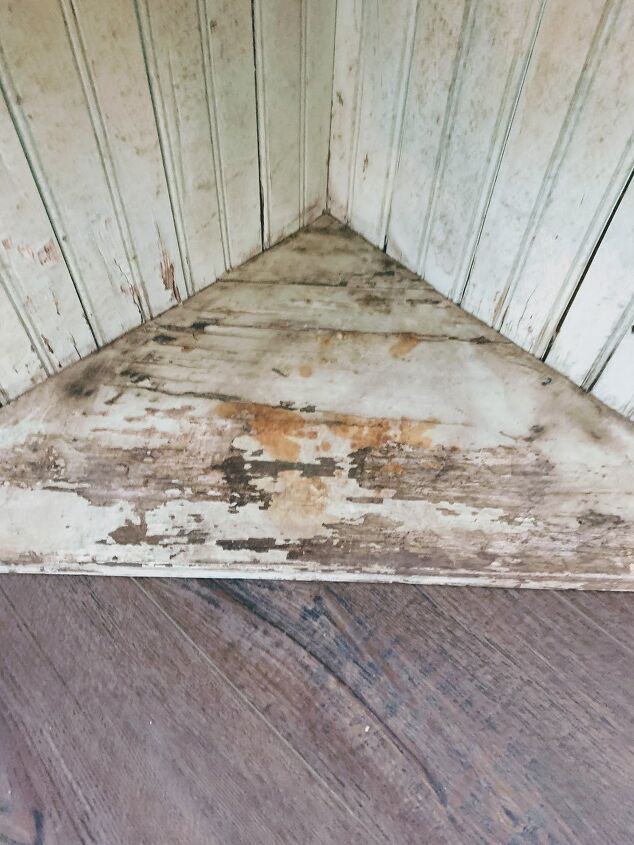
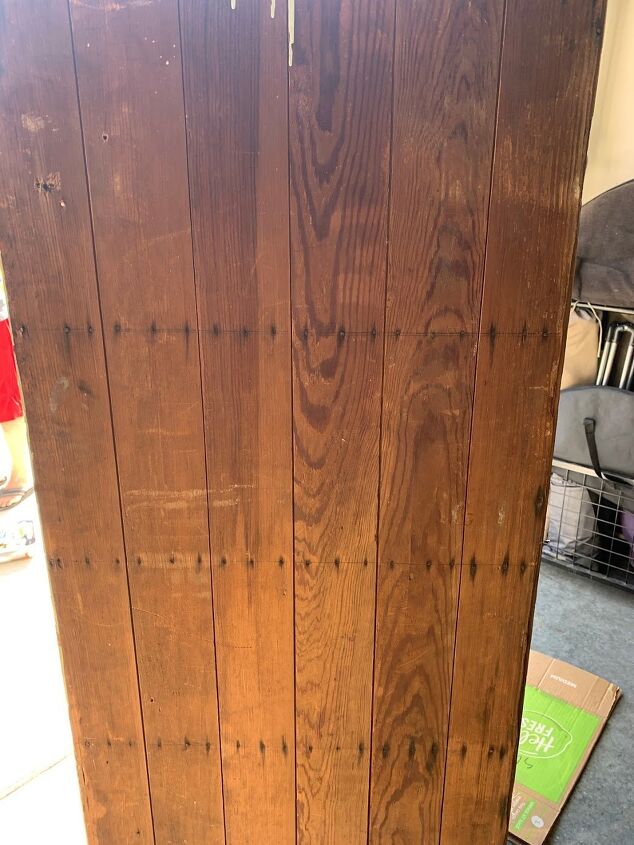
But, if you look past the grime and damage, you can also see the beautiful bead board, the lovely ridged decorative moulding on the top, and the vintage wood and nails on the backside.
(Side note: If you love furniture makeovers, or using antique treasures in your home, visit my blog for more posts like this one!)
It was definitely worth saving, and bringing more history into my newly-built home.
The Work BeginsCleaning It Up
Just wiping it down did wonders to improve its appearance. We also carefully chipped some of the really bad paint flakes off. I didn’t want to disturb too much of it, because I have no idea what kind of paint was on it. My plan was to seal it in with the new paint.
Filling the Holes
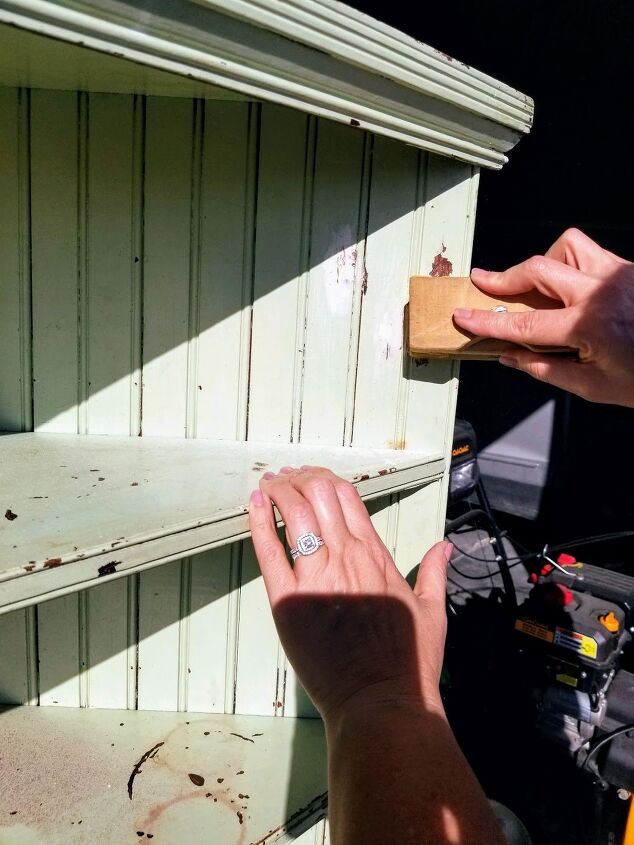
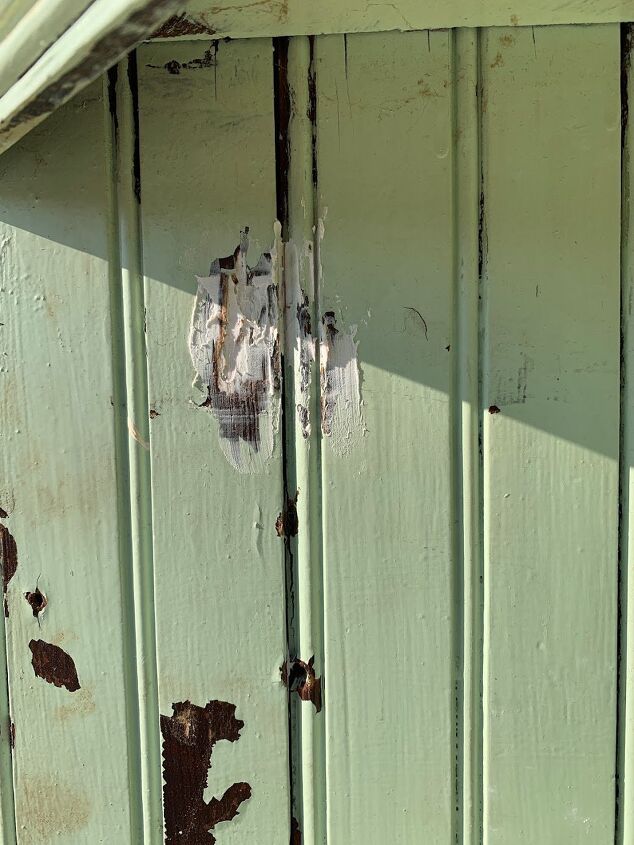
I filled the screw holes with wood putty, and carefully sanded just the putty until smooth.
Painting
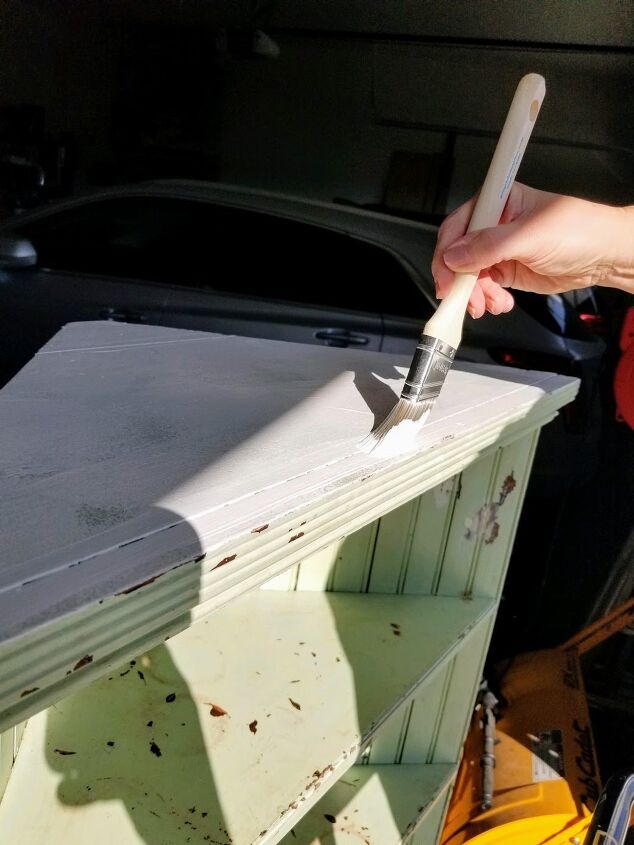
Since I planned to place it in the corner of my kitchen, I wanted it to tie in, so I used the same paint as all of the kitchen cabinets and trim. It’s a custom color called China White by Sherwin Wiliams.
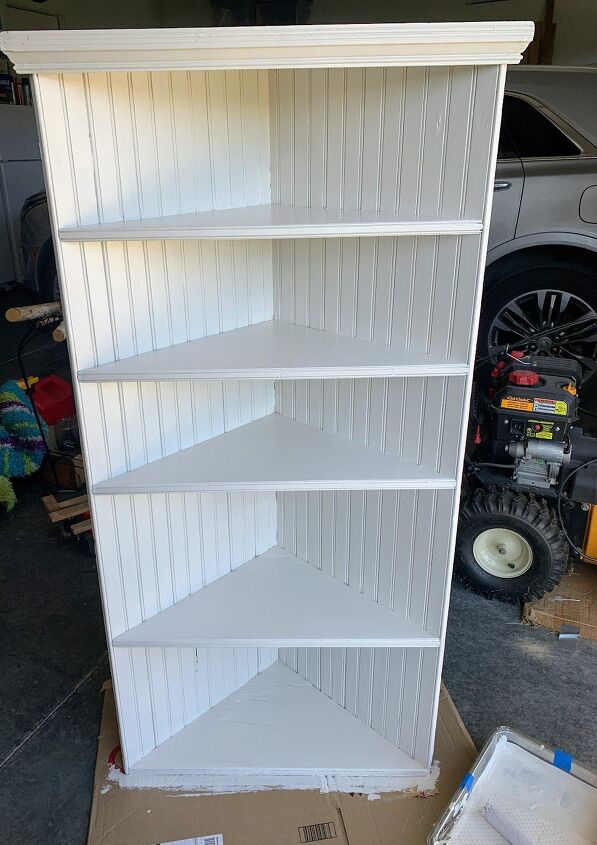
After only one coat, it already looked like night and day! Just seeing it like this was already making my heart flip-flop!
Before
After
I put two coats of paint on the whole piece, and three on the shelves to make sure the stains didn’t seep through.
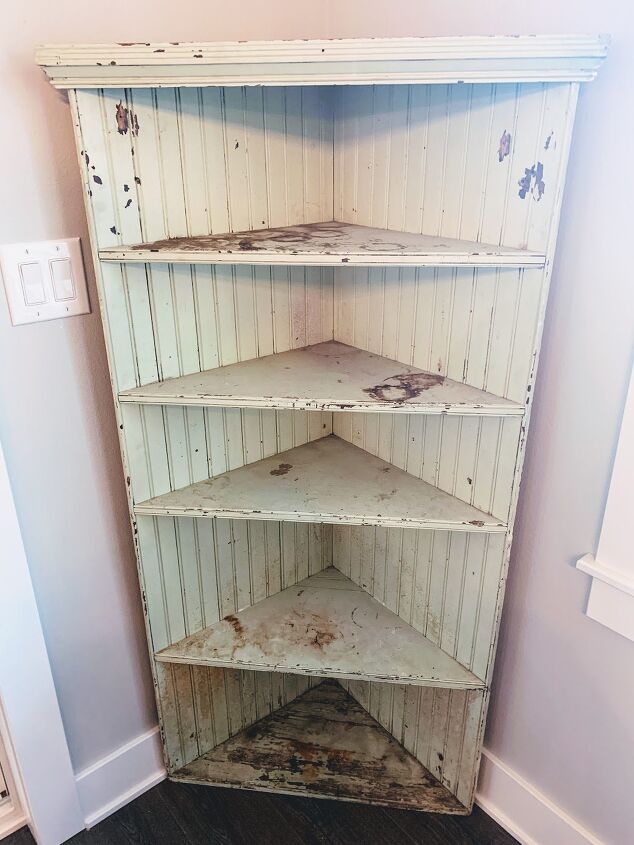
After drying overnight, we were ready to bring it back inside!
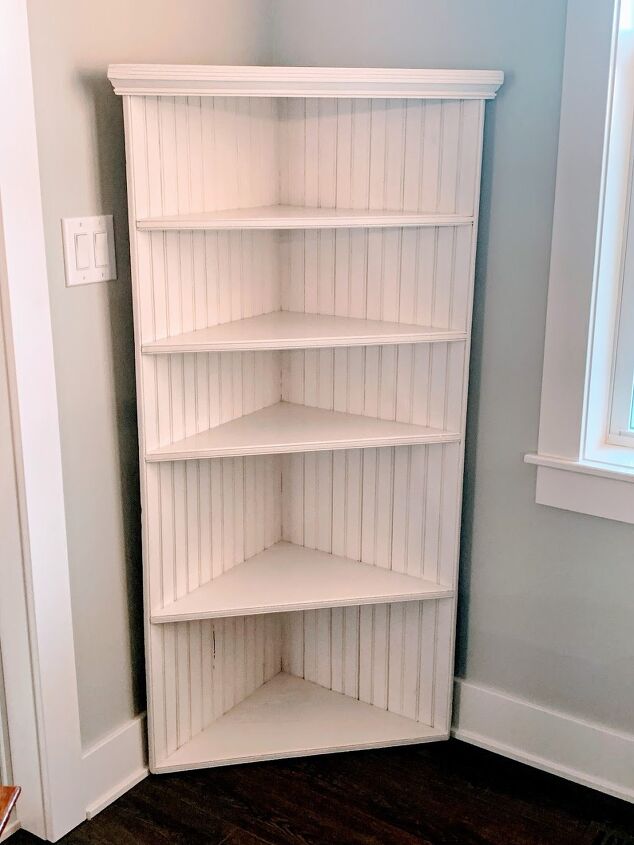
The white paint really accentuated the adorable bead board backing, and makes the whole thing look fresh, clean and happy again. I love that it is revived, without being perfect. That’s the whole point. This cabinet is easily over 100 years old. I wanted it to keep its unique character.
Time to decorate!
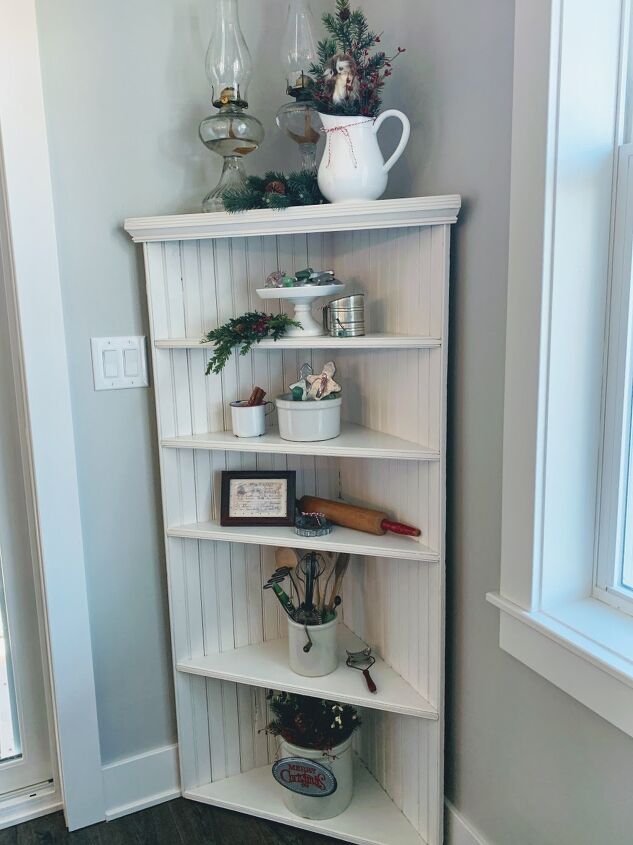
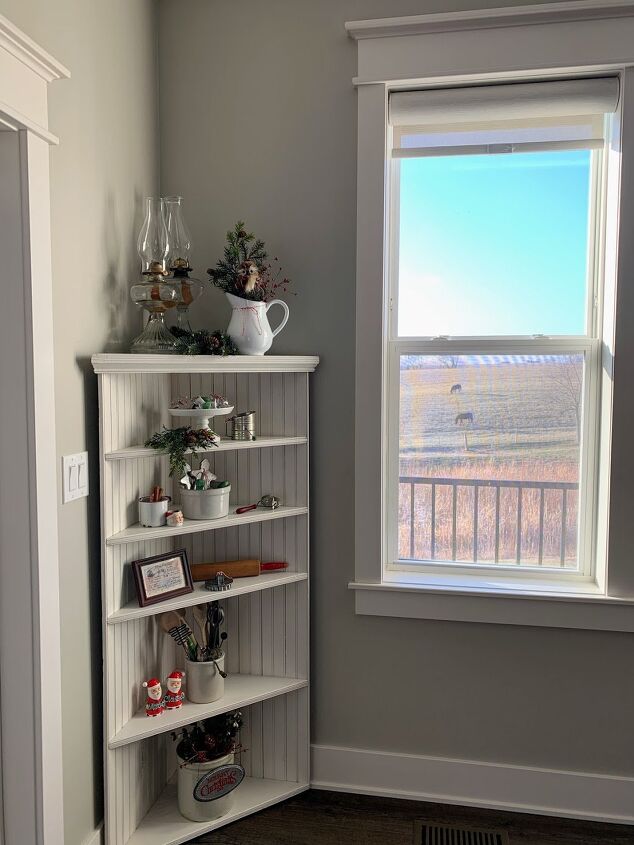
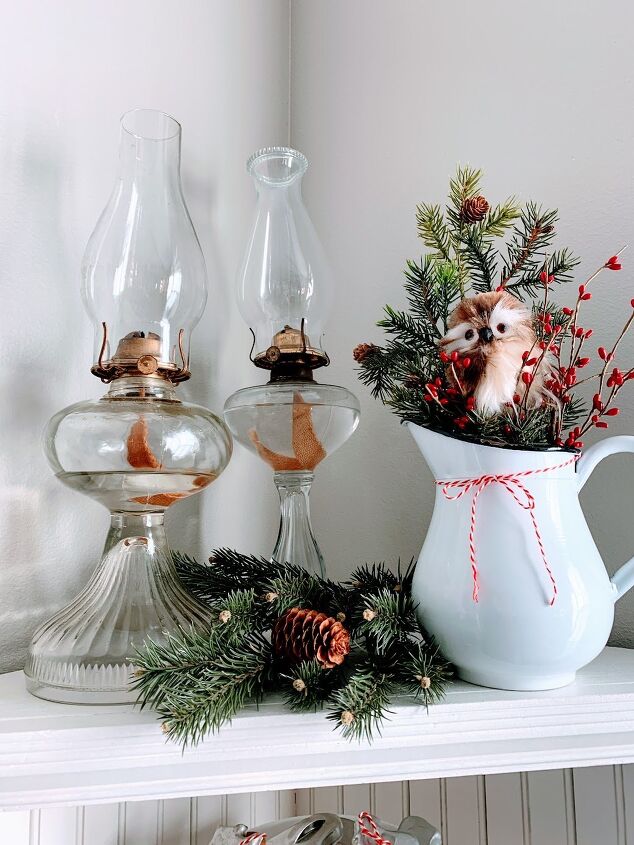
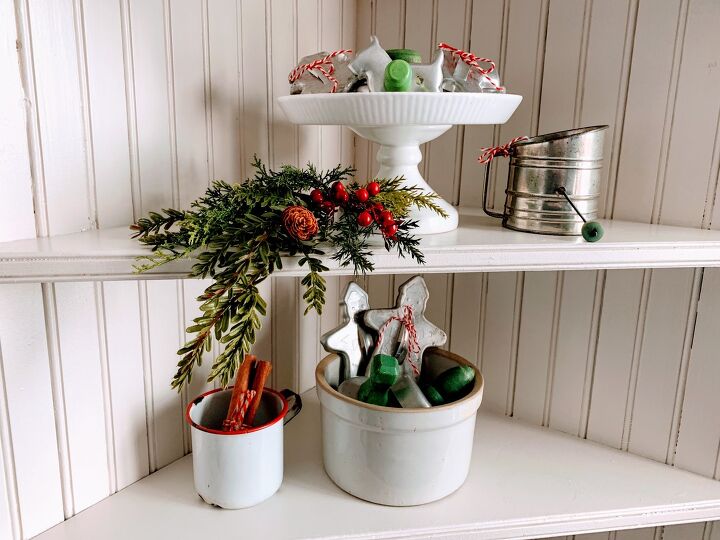
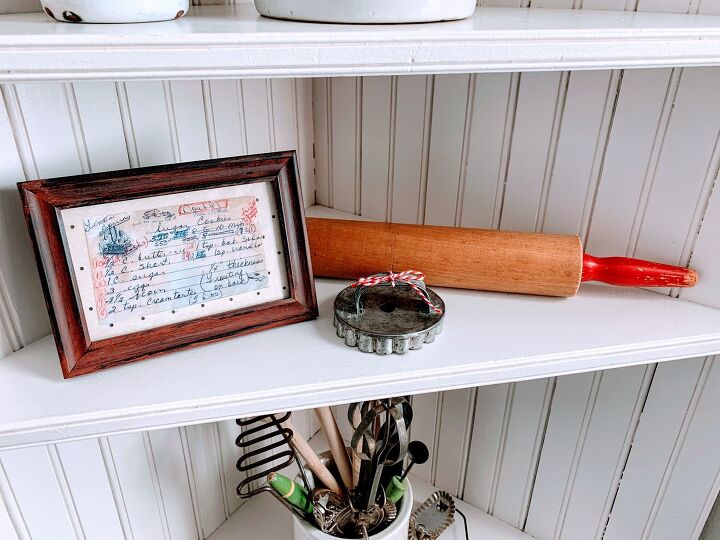
I love how the cabinet tucks neatly into this small corner of my kitchen, and gives me the pefect place to display some of my vintage cooking utensils that have sentimental value. Many were my mom’s, grandmother’s and great-grandmother’s.
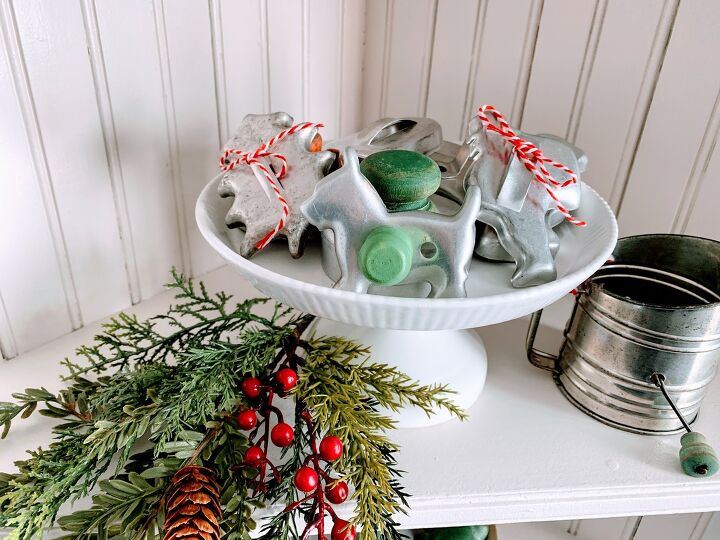
My mom's cookie cutters look so cute displayed here for Christmas.
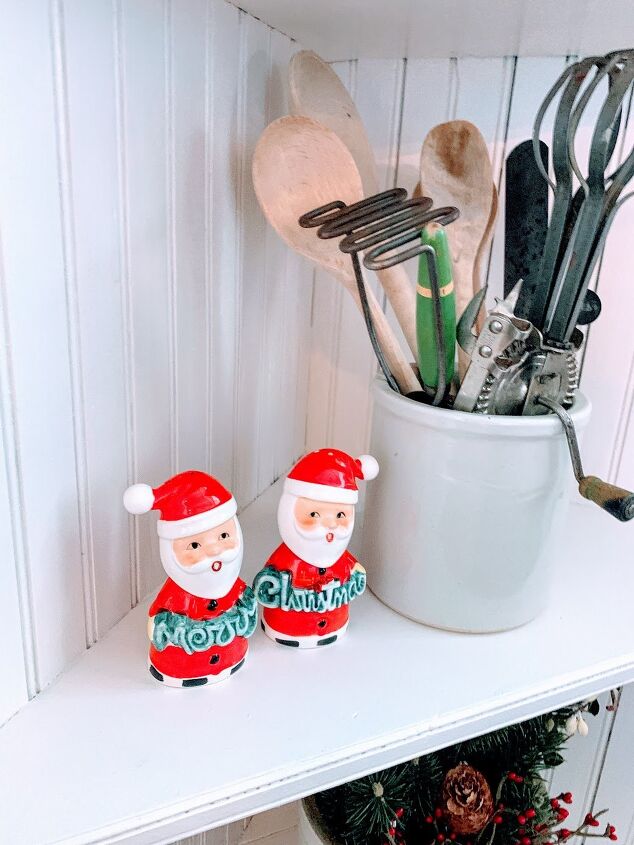
Vintage S/P shakers that were my grandmother's.
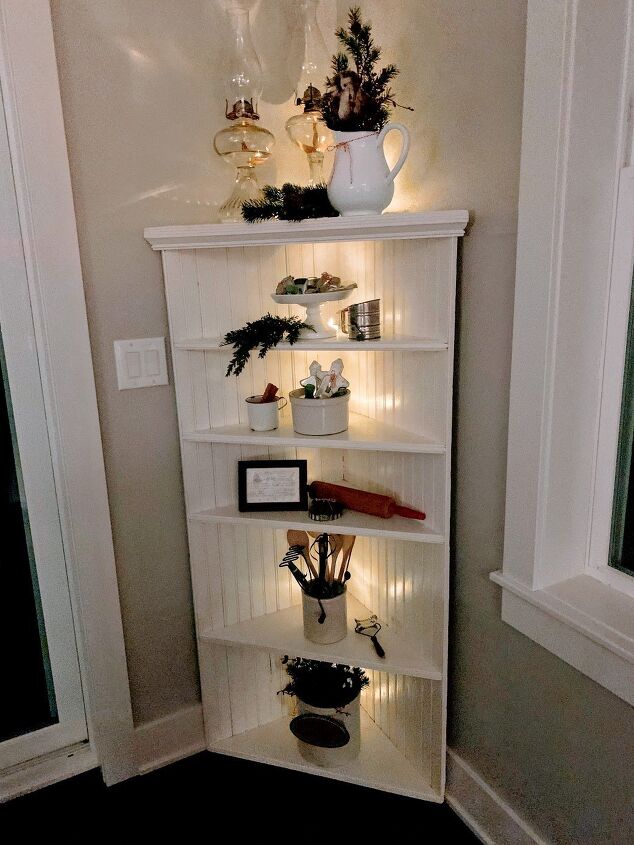
Battery operated tea lights on timers add some pretty Christmas glow.
This is one of those projects that just makes my heart happy. The cabinet turned out beautiful, it fits perfectly in the spot where I wanted it, and it gives me space to display things that have meaning to me. 💕

PS. I’d be so grateful if you’d follow me on social media and visit the blog. Then you won’t miss a thing from The House on Silverado.
Facebook —– Instagram —– Pinterest

Comments
Join the conversation
-
What a great save. You did an exceptional job and brought it back to life. Looks amazing.


Frequently asked questions
Have a question about this project?