


Apothecary Cabinet or... My Chest of Many Drawers

This sweet little chest was gifted to me by Habitat for Humanity's Re-Store. From the moment I saw it sitting in the store I knew I wanted to transform it from an outdated nightstand/small dresser to a multi drawered apothecary cabinet!
I have a bit of an obsession for drawers, I don't know why and can't explain it, but I love them! I've always wanted an apothecary cabinet but find they're often much too expensive so I decided a long time ago that when I found just the right cabinet I would make my own.
Thanks to the habitat for Humanity Re-Store, now is my chance!

This is what this cute little chest looked like when I first saw it. A bit outdated but I could see it's fabulous potential!!!
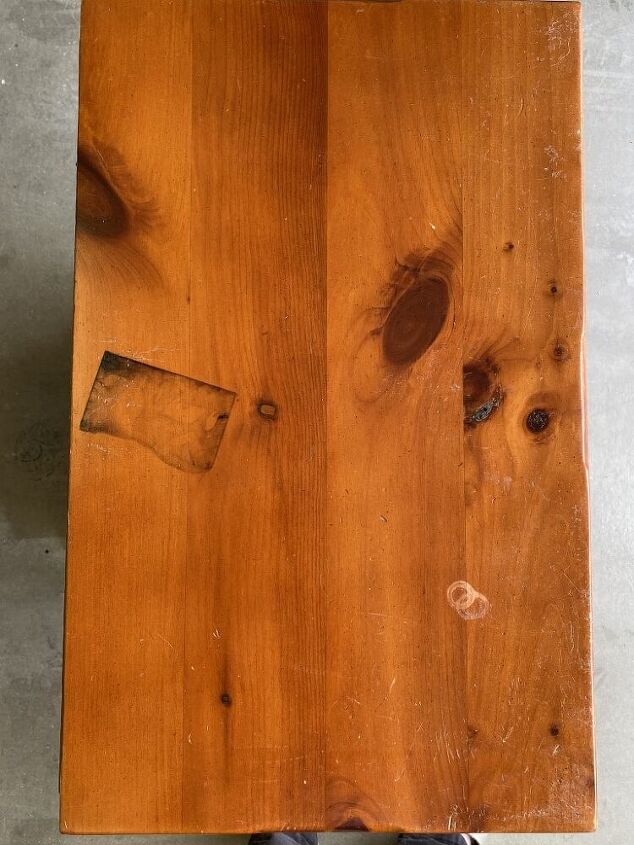
It was in pretty good condition other than a few stains and scratches!

My list of supplies that I used:
Clean Slate
Sander
Paint & brushes
Screw driver
Square
Miter Saw
Drill
Clamps
Finish Nailer
1x4's
Light weight wood
Caulk
Milk Paint
Antiquing Glaze
Antique Wax
Dust of Ages
Catalog Pulls
Vintage Newspaper
Ok, this list is long but I'm just letting you know everything I used.
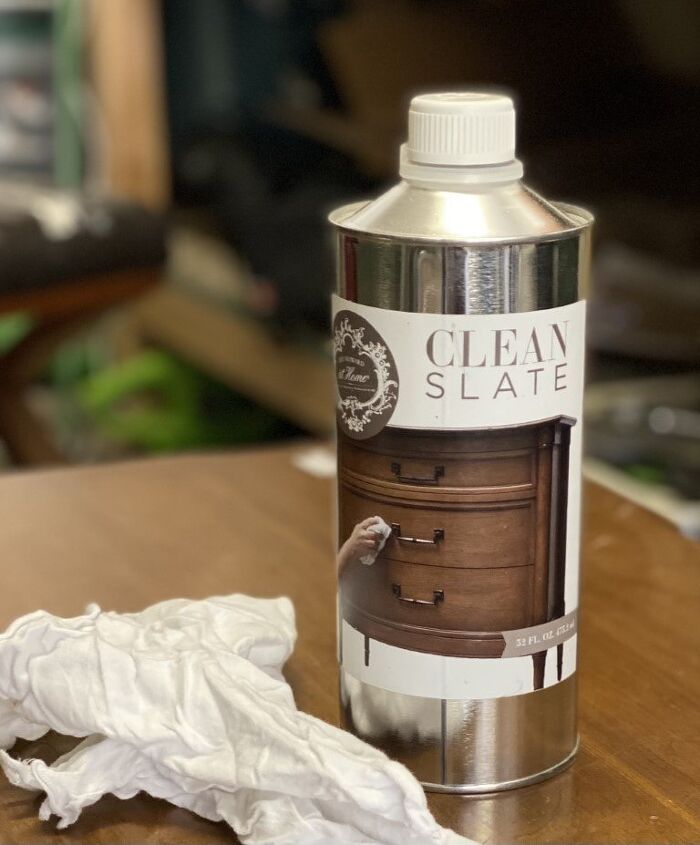
The first thing I did was wipe it all down with my favorite cleaner in preparation for painting, Amy Howards Clean Slate!
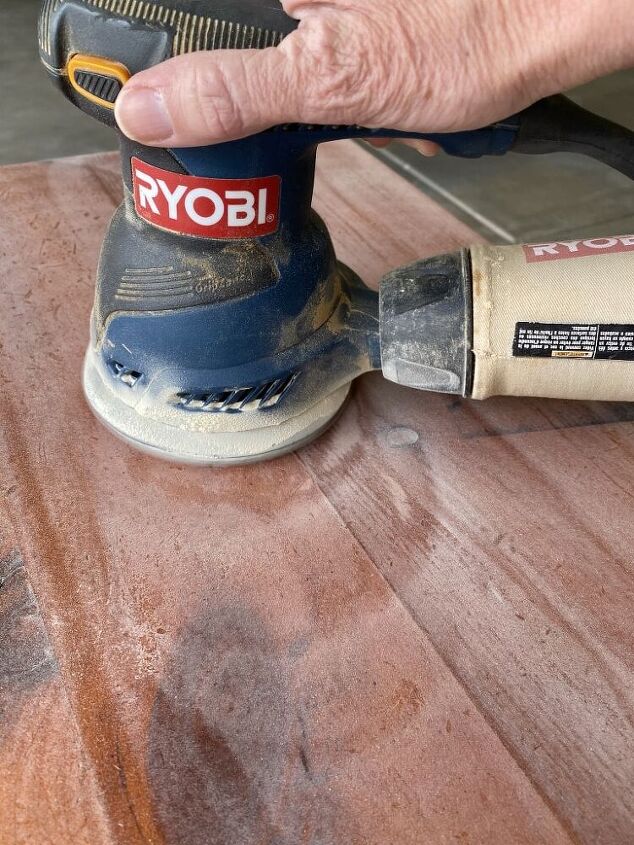
I gave the top of it a bit of sanding with my Ryobi sander! (I've had mine for years and they've changed the color since then).
I didn't sand it completely, just enough to remove the gloss and smooth out a few scratches!
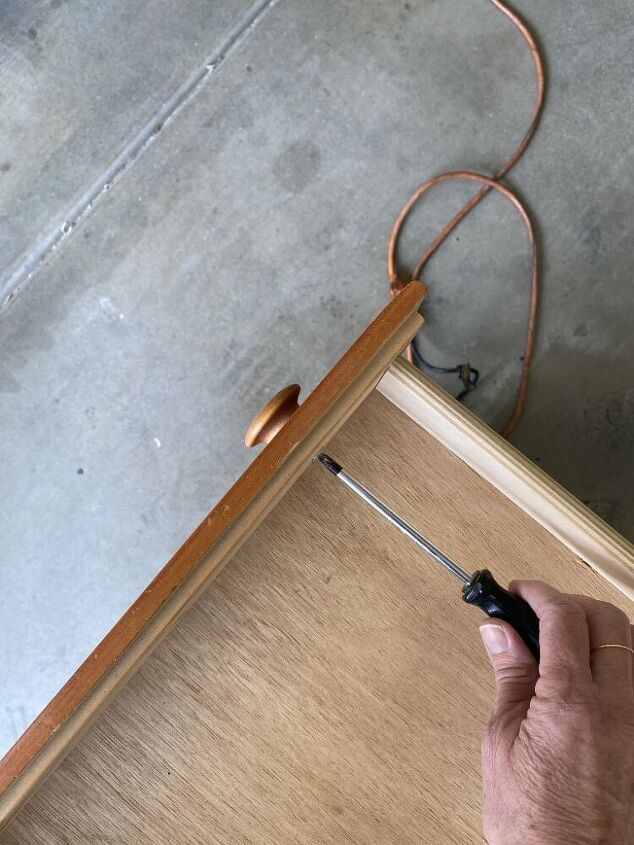
I removed all the wood knobs and added them to my collection of 'knobs that I may one day find a great use for'.
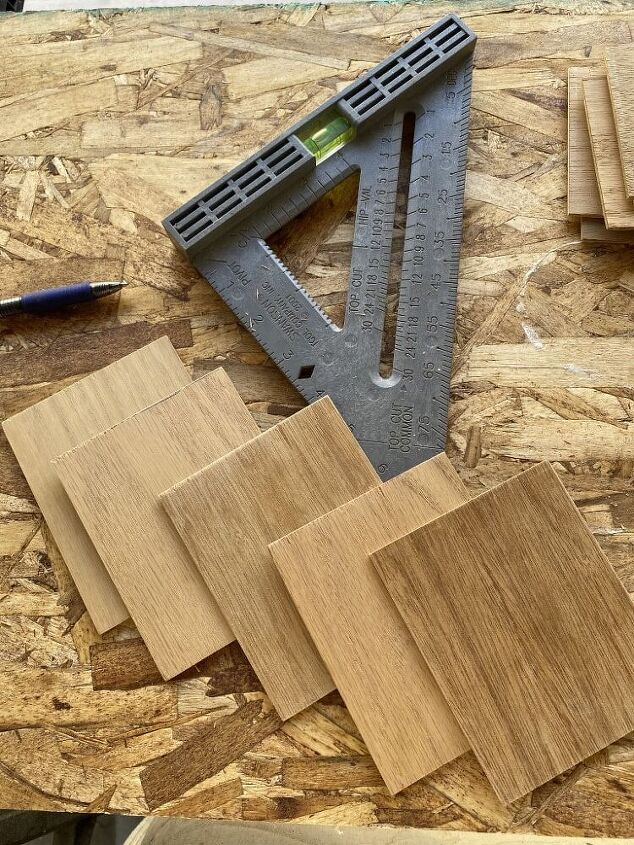
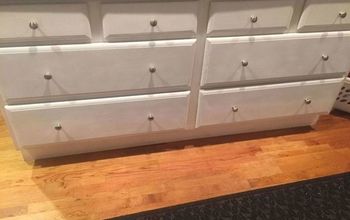
In order to make it appear as though it has several small drawers, I found some small slats of lightweight wood (I have no idea what kind of wood it is) to cut into drawer fronts. These slats came out of an old roll top desk that I repainted and still have in my living room. They separated the drawers into smaller sections and I didn't need them for that, thank goodness I kept them in my 'slats that I may one day find a great use for' collection.
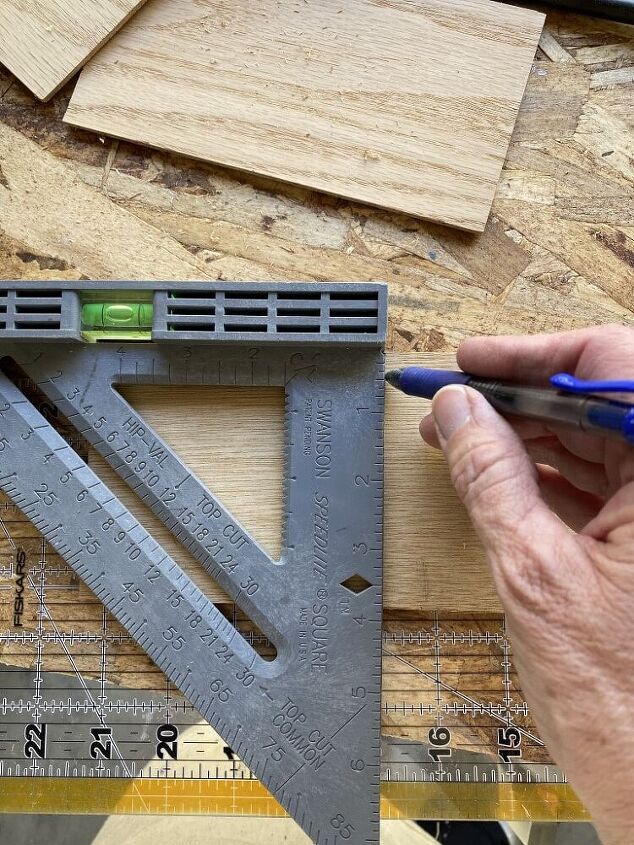
Using my handy dandy square to make my cut marks before taking them to the miter saw for cutting!
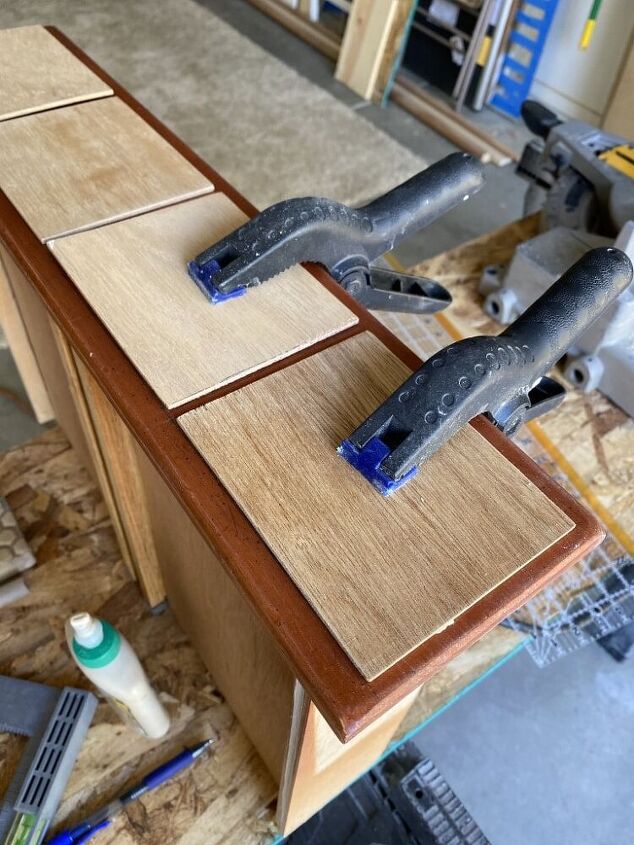
The top drawer is slightly different in size from the other two so it worked out best for this drawer to have 4 small drawer fronts on it while the other two drawers got 5 each. I cut them to the appropriate size and then laid them on top of the drawer with equal distance between them and did my best to line them up equally on the top and bottom. I then put a small amount of wood glue on the back and clamped them on.
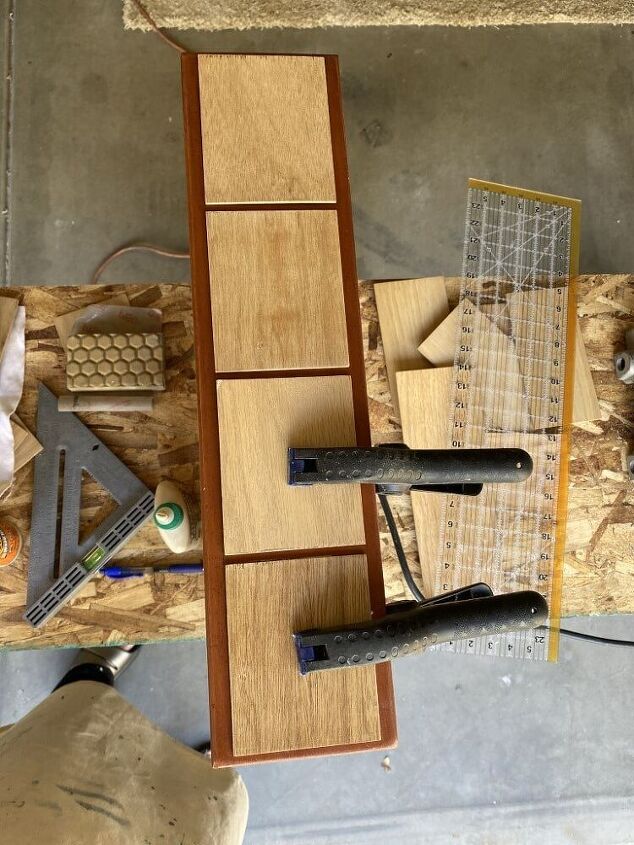
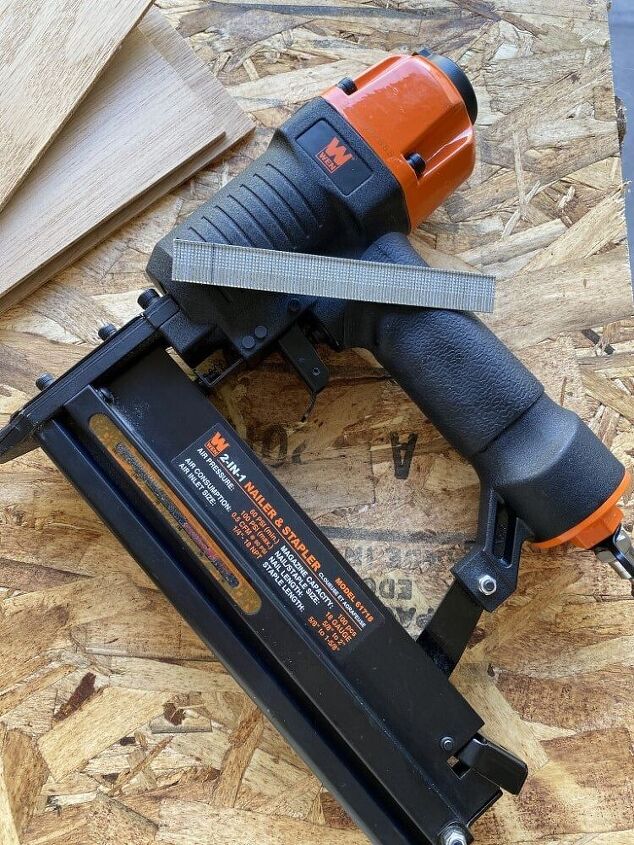
I'm a bit too impatient to wait for glue to dry so I pulled out my finish nailer and secured them with a nail in each of the 4 corners on each fake drawer front.
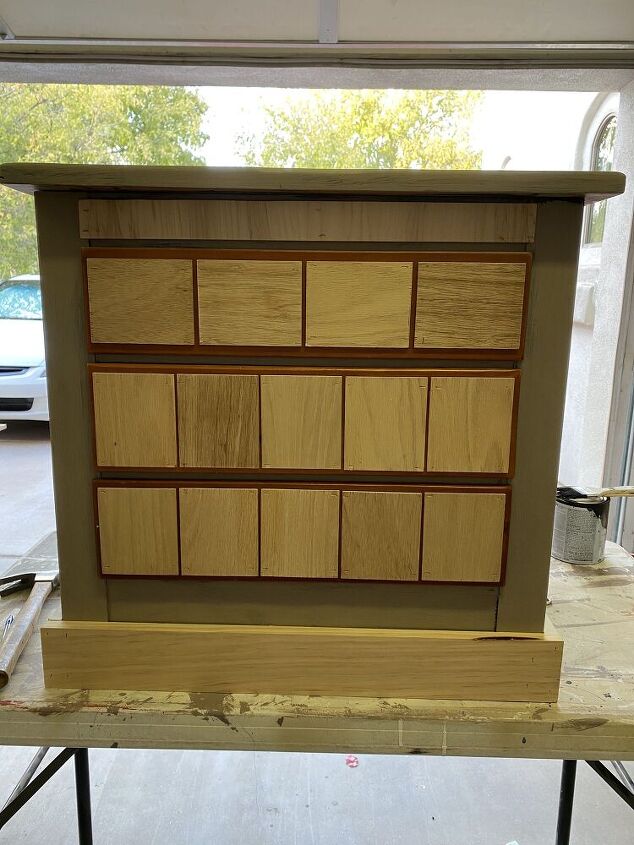
I wasn't thrilled with the little squiggly leaf pattern above the top drawer (see before photo) so I cut out a piece of thin wood and covered it up. I decided it might be fun to make it look like a long narrow drawer in my 'cabinet of many drawers'! 
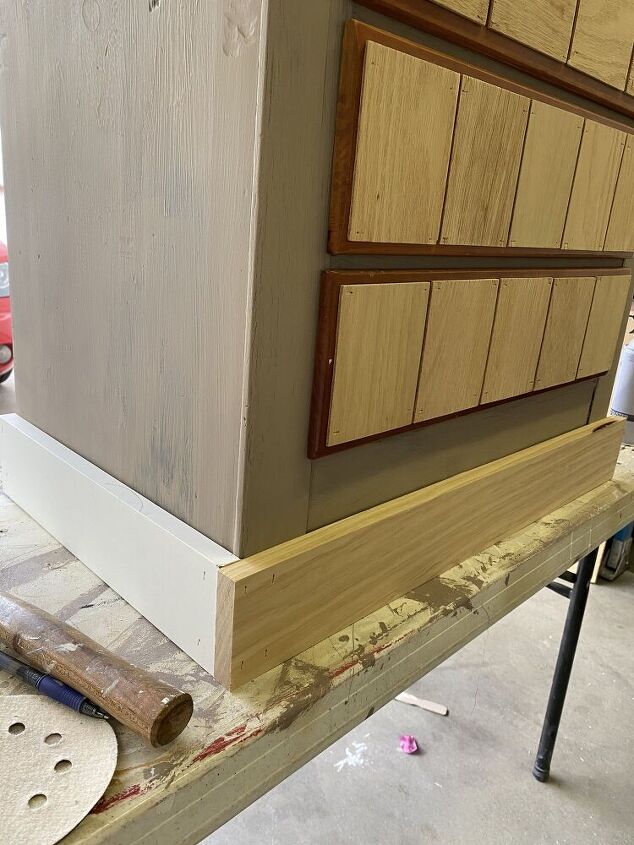
I painted the entire chest with my favorite chalk paint from Amy Howard at Home, for the base color I chose Java. It was then that I decided something needed to be done about the scallop edge along the bottom (see before photo). So I found some scrap 1x4's in my garage, cut them to size and nailed them on. Perfect! It's starting to look like something you might see in the office of a Hardware store which is what I'm going for!
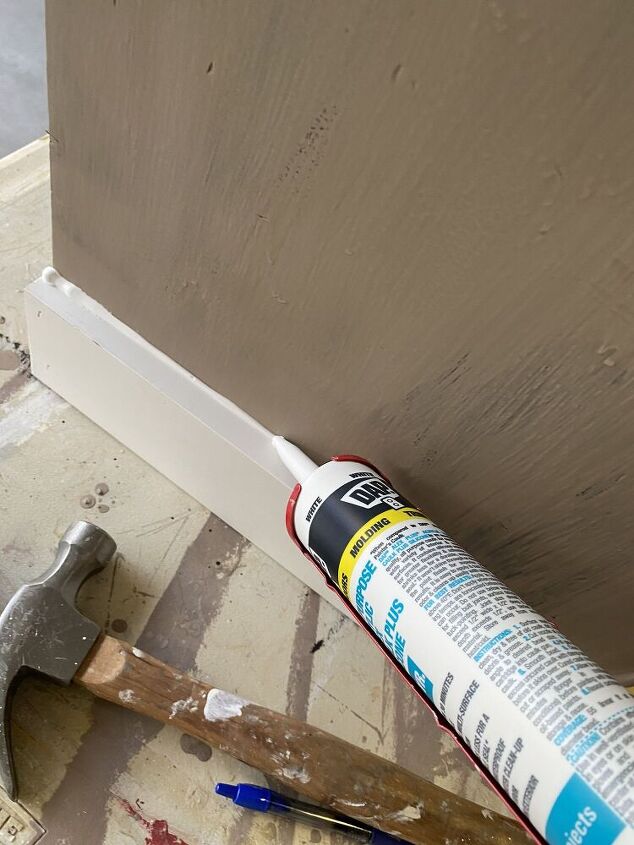
Once that was on and caulked I gave the entire chest 2 solid coats of Java because I didn't want any of that old orangey color showing through. (sorry no photo at that point) 
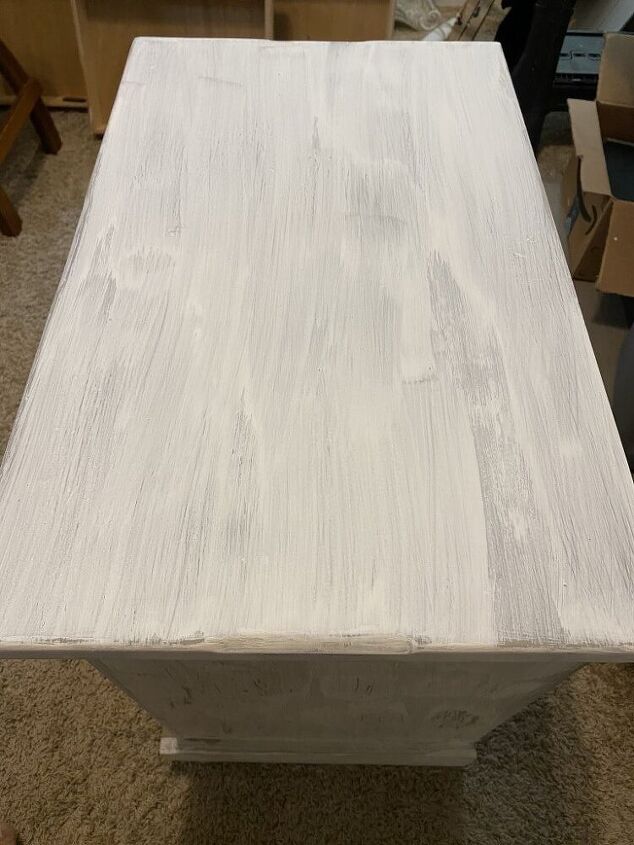
After using the Java I decided to try Amy Howard's milk paint because I wanted to achieve a chippy look. My vision for this cabinet is to have it look like it's been sitting in the back of an old hardware store for years.
I had never used this milk paint before and am convinced I did something wrong. It was so thin and watery (though I mixed it per the instructions, 1:1) I did a couple of coats and then gave up. I then used Antiquing Glaze by sponging it on with a sea sponge. This basically pulls the paint back off so you have to be careful and only do it in spots. It was a total learning process for me and I had to just keep hoping the end result would match the picture in my mind.
After the antiquing glaze I used Amy Howards Light Antiquing wax followed by Dust of Ages. Yep...it's dust, ok not like dust from dirt, but its like using dust. Sprinkle it on and grind it in with a chip brush. I figured at this point I couldn't hurt it.
I apologize for not having more photos, I was just trying to stay focused on all these steps and kept forgetting.
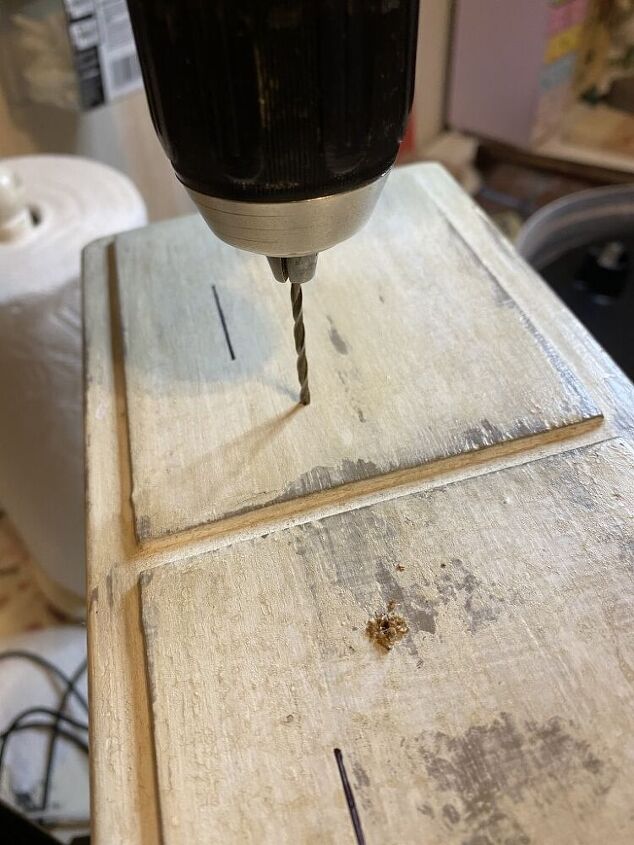
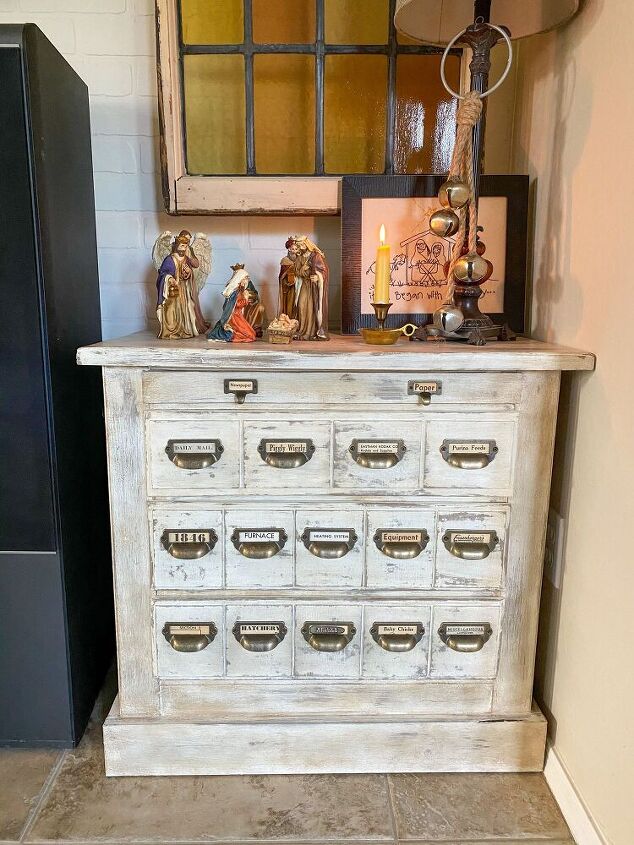
Well, believe it or not after ALL these steps...and yes THEY WERE MANY, I finally was ready for hardware. I drilled pilot holes and then attached these fabulous catalog pulls with the screws that are included with them. These are my favorite pulls, they're from Amazon and they are such good quality.
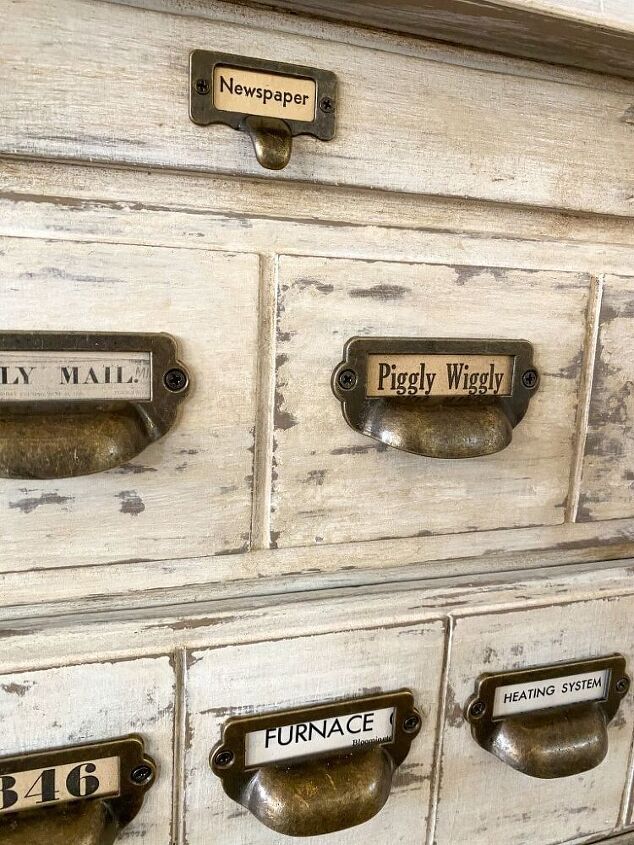
I love old vintage newspapers and have a basket full of them so I cut headlines and ads out of one of them to make labels, that was a lot of fun finding the words.
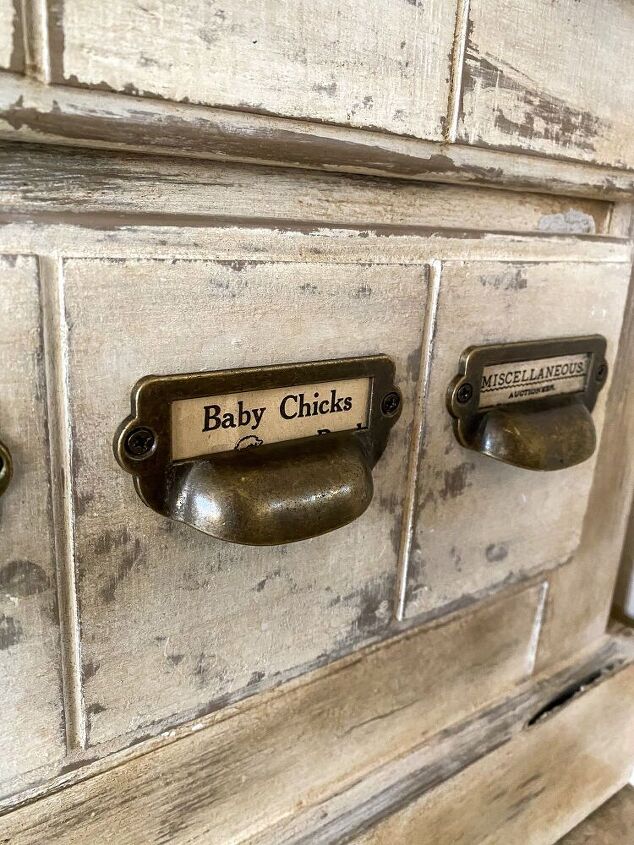
It would appear that I have a drawer full of Piggly Wiggly and a drawer full of Baby Chicks! Be careful when you open that drawer! LOL!
I will admit that this was a very step-heavy project but in the end it turned out exactly how I had imagined. And after doing this project I have much more respect for the extremely high price of apothecary cabinets. 
Projects can be time consuming for sure, but it's really nice when they turn out exactly how you had imagined. There were many times along the way I thought I had really messed up, but if I did....it worked in my favor.
Thanks again to the Habitat for Humanity Re-Store for giving me this opportunity to turn someone's outdated old piece of furniture into my fabulous apothecary cabinet.
Happy DIY'ing my friends!
~Cindy~
Be sure to visit me on Instagram @somethingpaintedwhite


Comments
Join the conversation
-
Super cool piece of furniture! You did an excellent job! :)
-
Wow!! You can tell by this beautiful piece that you have patience and talent!! Outstanding job!!


Frequently asked questions
Have a question about this project?
Beautiful! FYI - Piggily Wiggily is a grocery store chain here in North Carolina (and probably surrounding States), believe it or not! Who came up with that name so long ago???
How did you get a free bureau from Habitat?