


Bar Stool Makeover With Milk Paint
I recently painted my barstools with Rustoleum milk paint and wanted to share that process with you all. I must say that I was super excited to see Rustoleum come out with a milk paint. I’ve used their brand for years and absolutely love all of their products.
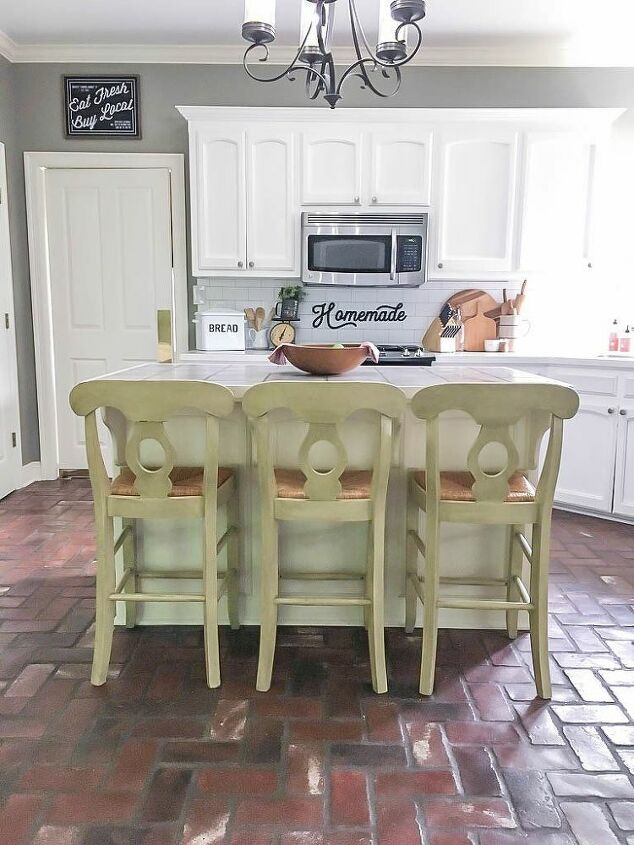
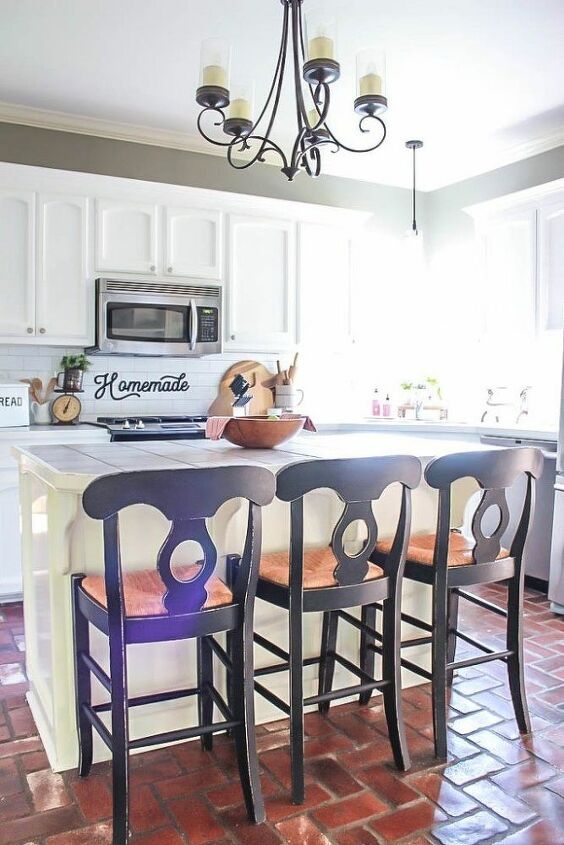
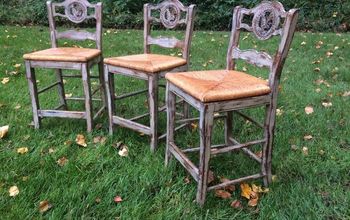
Let me start by saying that the Rustoleum milk paint is different than any milk paint I’ve ever used in the past. I’ll share what I mean below. I painted my kitchen bar stools using the color Eclipse, which is a matte black. These bar stools were in our home when we purchased it and they were originally a yellow color.
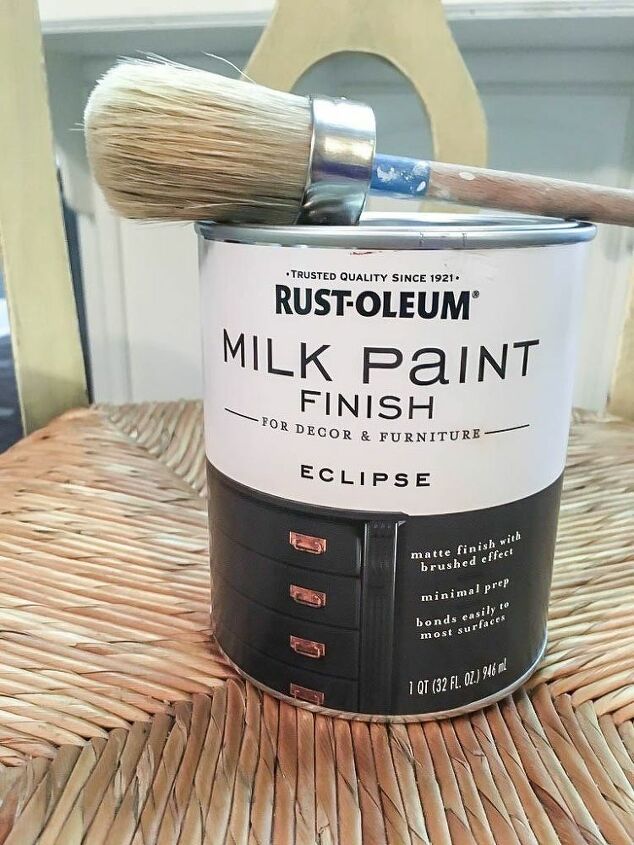
The Rustoleum milk paint comes pre-mixed. You can open the can, give it a stir, and get to work! I’ve always used powder forms of milk paint that you reconstitute with water. In a previous post, Chalk Paint vs. Milk Paint, I talked about how powder forms can sometimes create a problem when you run out of paint before finishing a project. You won’t encounter that problem with this pre-mixed paint.

Prep work is minimal to none. As with most chalk and milk paints, you can just give your piece a quick cleaning and get to painting. The milk paint has great adhesion properties, so no sanding or priming is necessary.
It is easy to layer coats with the Rustoleum milk paint. The milk paint goes on thin and is very buildable so you can customize the coverage you want. You can even layer multiple colors to create an old vintage look.
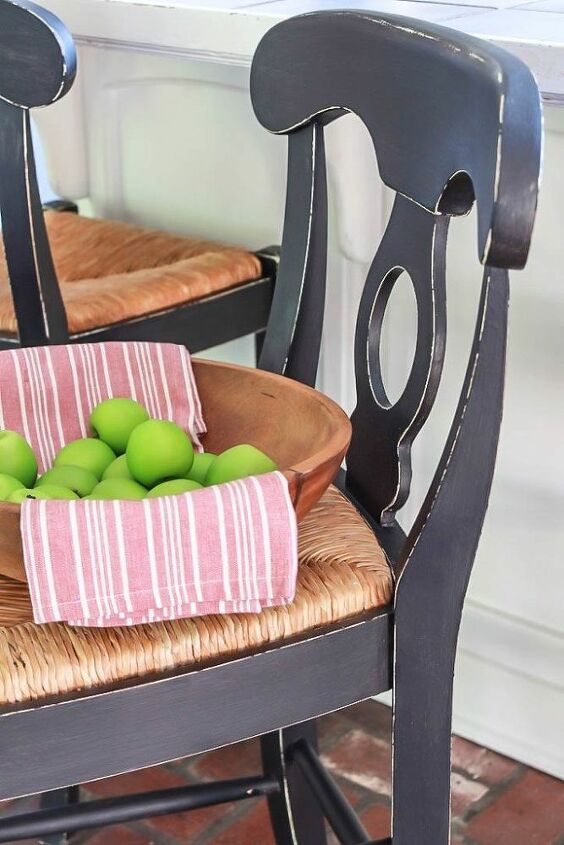
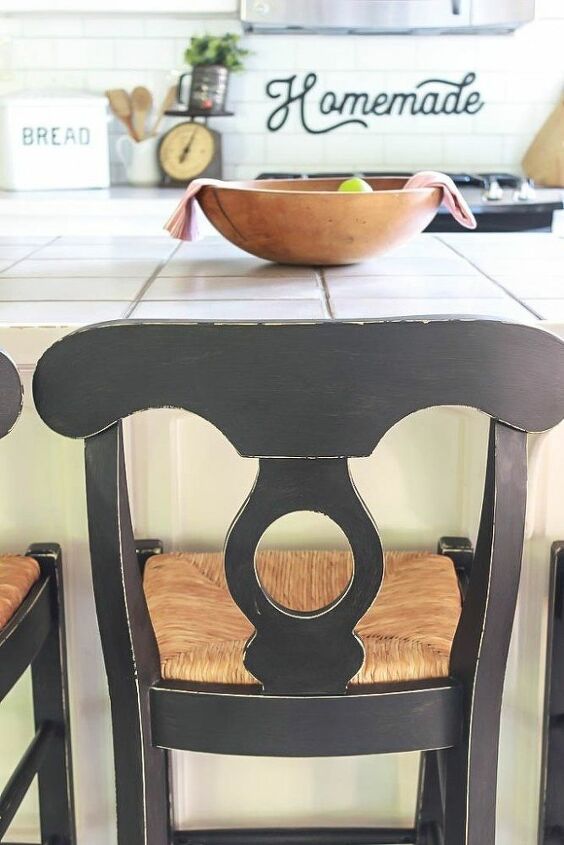
The Rustoleum milk paint dries to a matte finish with a light brushed effect and good texture. The milk paint is great at highlighting the original details of your piece. If you have a piece that has a lot of ornamental detail, this would be a great paint to use. It is also easy to distress to create an antique look. I used a clear wax on top to protect the paint since our chairs get quite a bit of use by my 3 boys.

With the Rustoleum milk paint, you are not able to create a “chippy” look. This may be a pro for some of you, but the ability to create a chippy look is one of my favorite things about using milk paints. You can read more about how to create that look { HERE}.
In general, milk paint is known to have a thin consistency. However, I noticed that the Rustoleum milk paint took more coats that I’m accustomed to using. I generally use 2 coats of paint on my projects. On this project, I used 3 coats and even had to touch up some areas with a 4th coat.
I also noticed that the Rustoleum milk paint took a lot longer to dry between each coat. I’m used to being able to start a second coat as soon as I’m done with the first due to super quick drying times. However, this paint took a good 30 minutes to dry between each coat so it took a lot longer to complete my project.
I do plan to try the milk paint again using the classic white color. To be fair, I must say that I’ve never used any paints in this dark of a color. I almost always go with whites. So some of my comparisons may be biased based on that difference.
Now it’s you turn. I’d love to hear your favorite paints and why you like them. Are you planning to give the Rustoleum milk paint a try?
Resources for this project:
See all materials


Frequently asked questions
Have a question about this project?