Blue & White Vintage China Cabinet

by
Patricia
(IC: blogger)
I said I wouldn't paint it. Unless it didn't sell. It didn't sell. So I painted it!
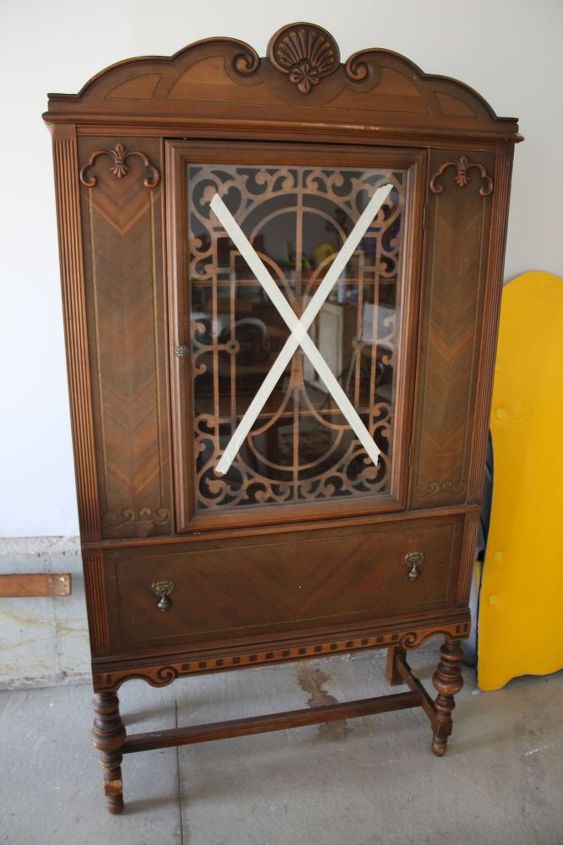
Let me explain. I purchased this vintage china cabinet at a thrift store. It looked like a puppy had chewed on it as evidenced by teeth marks. It also had damage to the side panels that the previous owner attempted to repair. But otherwise it was structurally sound and I initially planned to restore the finish.
Let me explain. I purchased this vintage china cabinet at a thrift store. It looked like a puppy had chewed on it as evidenced by teeth marks. It also had damage to the side panels that the previous owner attempted to repair. But otherwise it was structurally sound and I initially planned to restore the finish.
Below is a photo of the repair started by the previous owner. I sanded off the bondo and added new trim to cover the repair on both sides of the cabinet.
There were quite a few teeth marks along the bottom and the legs of the cabinet. But I thought it was charming nonetheless.
I reconditioned the interior and exterior of the entire china cabinet. I thought it turned out rather well (photo below) and planned to take it to my booth to sell. One thing led to another and it ended up sitting in my hallway for a bit. After about a month I noticed that the veneer was drying out severely. I reconditioned it again and again, but eventually decided it was a losing battle and decided to paint the cabinet.
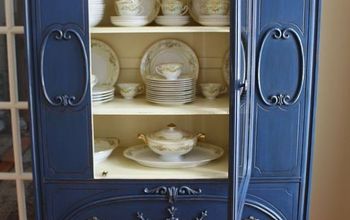
I chose a color scheme of Duck Egg Blue and Old White (Annie Sloan Chalk Paint).
Since there was still wear and tear on the cabinet I decided to work with it instead of fighting it and applied medium to heavy distressing in keeping with its vintage charm.
The exterior details were highlighted with Old White.
I painted and distressed the hardware.
As you can see in the photo below there is still evidence of teeth marks.
The interior was painted in Old White.
The photo below shows the trim that was added to the sides.
I removed the background from the Before/After photos for a side-by-side comparison without the background clutter. I think the new look gives this piece a more beautiful appearance and looks like it has aged gracefully over the years. Which do you prefer?
Enjoyed the project?

Want more details about this and other DIY projects? Check out my blog post!
Published April 28th, 2015 9:09 AM
Comments
Join the conversation
4 of 366 comments
-
 Bernice H
on Oct 17, 2023
This is so adorable! And the teeth marks are an added talking point bonus. "Puppy loved it sooo much"..etc!
Nicely done!!
Yes I would have bought the makeover also!👏👏
-
-
-









Frequently asked questions
Have a question about this project?
did you take off the old finish 1st? I have a cabinet I want to paint, the wood doesn't look like it is stained, looks natural. could it possibly hand rubbed stain? how do I know? thank you. dolly
Can you please tell me what the scroll piece in the glass is called and where to get a replacement. I have a cabinet very similar to this one.
I just LoVE the new look !!!