


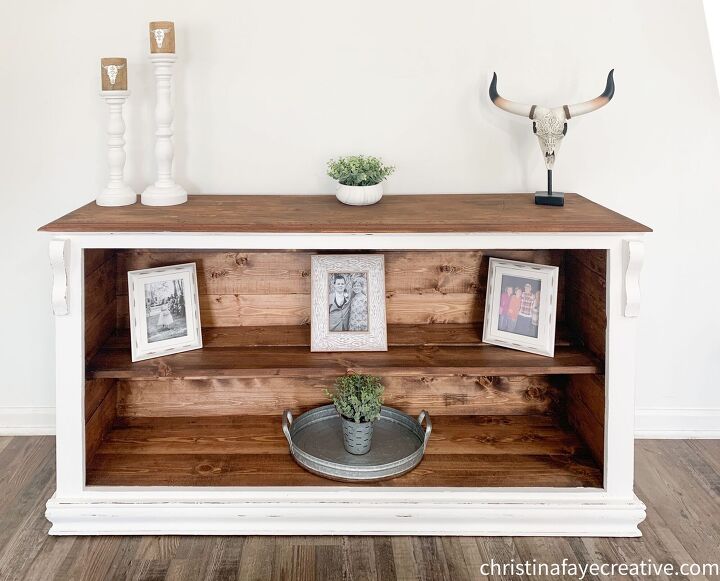
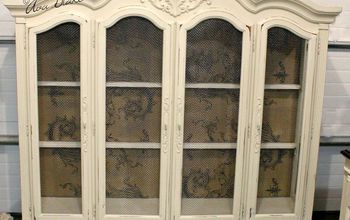
Broken Dresser Repurposed Into Beautiful Farmhouse Cabinet
The Hubs and I always have folks around here who donate old items to us. Like this dresser. It was missing drawers, and the three bottom drawers were in awful shape. But of course, we see potential in everything! I needed a piece for my living room to display family photos and trinkets. I knew this old dresser would make the perfect farmhouse cabinet. This is how the broken dresser was repurposed into a beautiful farmhouse cabinet!
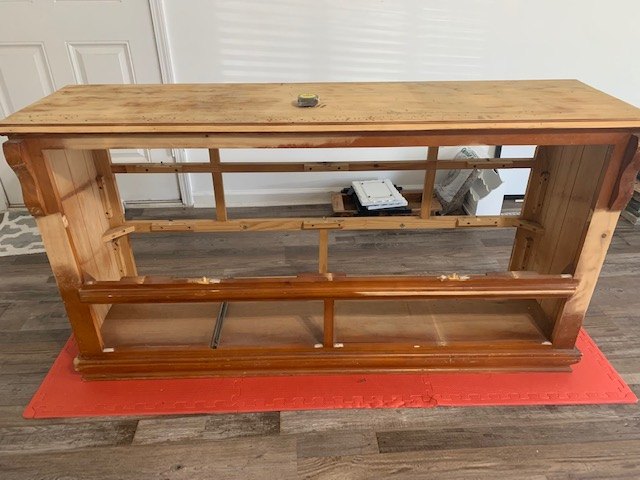
The Broken Dresser Before
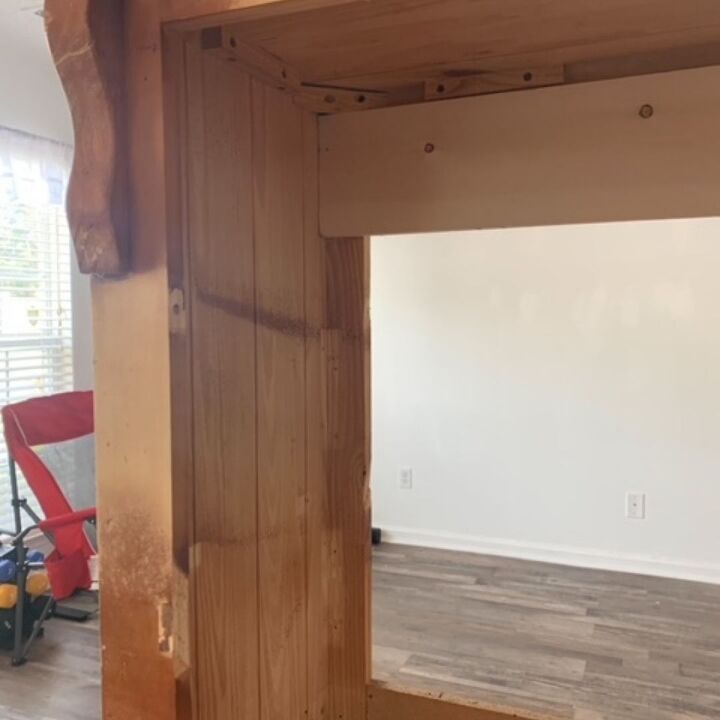
The dresser bones were in awesome shape. It was indeed real wood and had beautiful trim. Therefore, it was decided that we keep the trim and the two décor pieces on each side.
Purchasing Wood
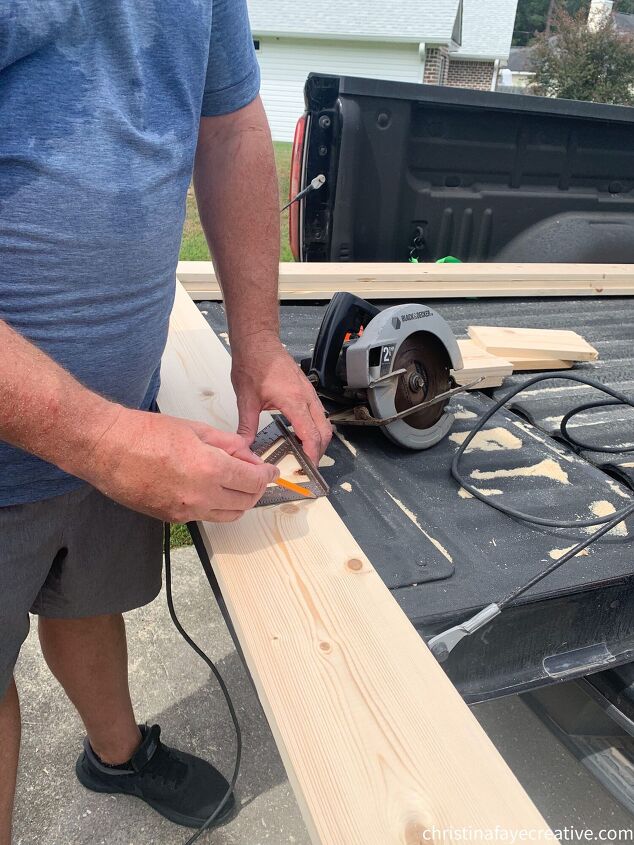
We made a visit to our local salvage store, Storehouse Salvage. They have just about any kind of wood that you can think of, at discounted prices. The Hubs and I found spruce pine boards that would be perfect for our project!
This wood would be used for the back, the sides, the bottom, and the shelf of the broken dresser. It is important, especially if you are staining wood, that the wood be the same. I at one point was going to just stain over the sides since it was wood, but from previous experience, I saved myself a lot of headache by replacing the sides with the same type of wood. Staining different woods can cause major color issues. The Hubs chose 1x6x8 spruce pine boards.
Supply List
This supply list is for your convenience. You can purchase everything you need by clicking the pink links below. I am a member of the Amazon Affiliate Program and I make a small commission at no extra cost to you when you make a purchase. Thank you for your support of my small blog 🙂
1 x 6 x 8 Spruce Pine Boards
Minwax Stain In English Chestnut
Gloves
Old Cloth
Dixie Belle Paint – Cotton
Wooster Paintbrush – My Favorite!
Nail Gun or Hammer
Brad Nails
Wood Glue
Circular Saw (or you can have your local home improvement store cut the wood)
Minwax Wax
220-Grit Sandpaper
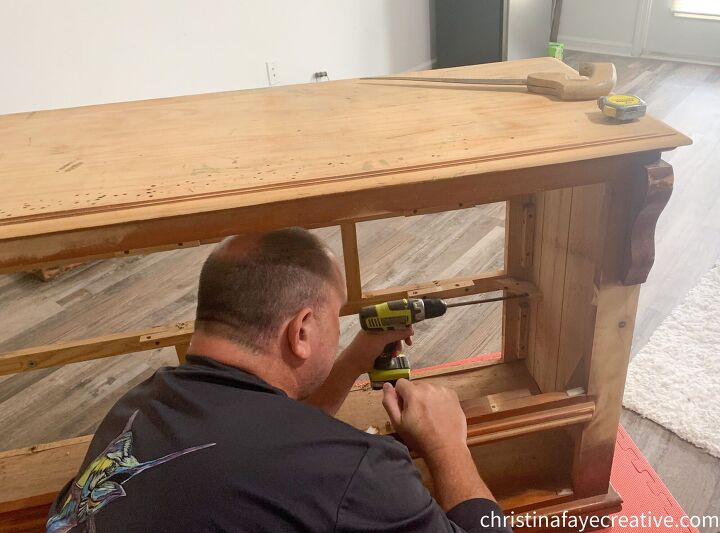
Constructing The Inside
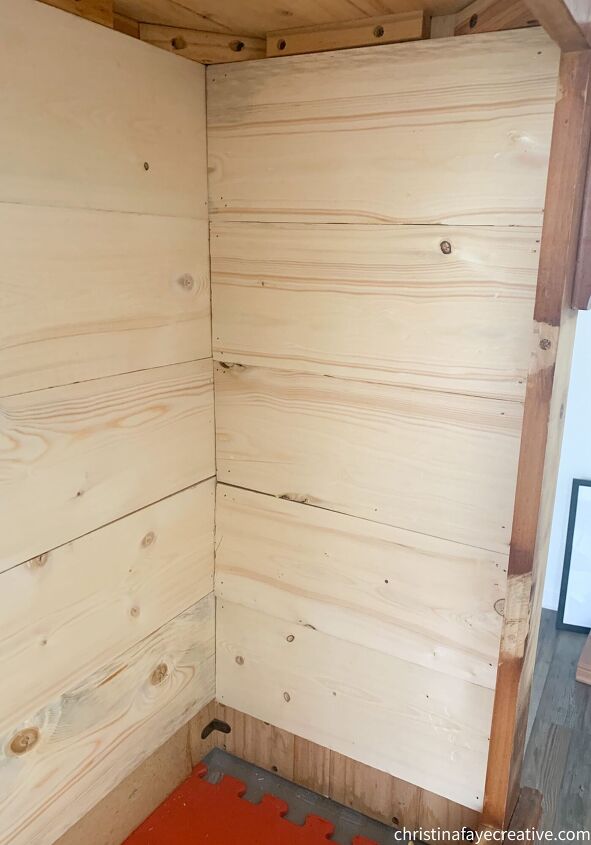
The Hubs got busy with the back. He measured the length of the back and how many boards would be needed to run them vertically. He cut the 1x6x8 spruce pine board to size. (Just measure your dresser for appropriate sizes).
After lightly sanding with 220 grit sandpaper, he attached the boards by using a nail gun. You can also use the old fashion hammer and nail way or even wood screws.
Constructing The Sides
Next, was the sides. He measured the sides of the dresser and cut the boards to size. He added the boards using the nail gun just as he did in the above step.
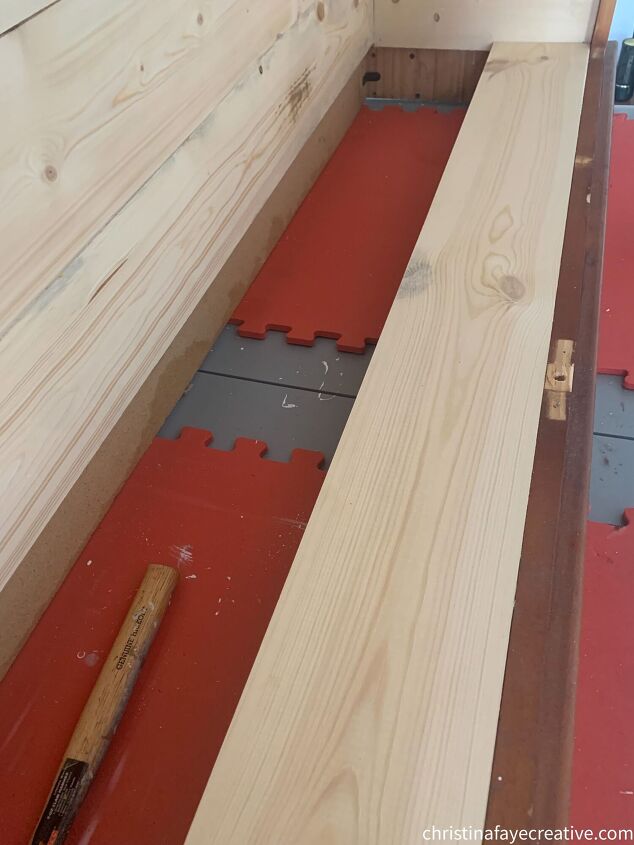
The hubs measured the bottom of the dresser to determine what size our wood needed to be to apply it to the bottom part.
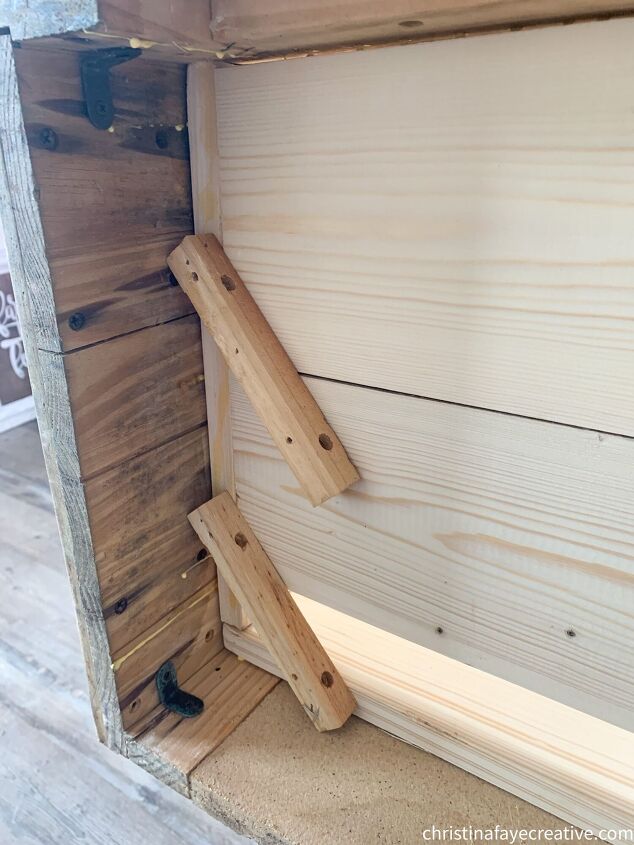
He added support to the bottom using the wood brackets he removed from the old dresser. He used wood screws to attach them.
Shelf Construction
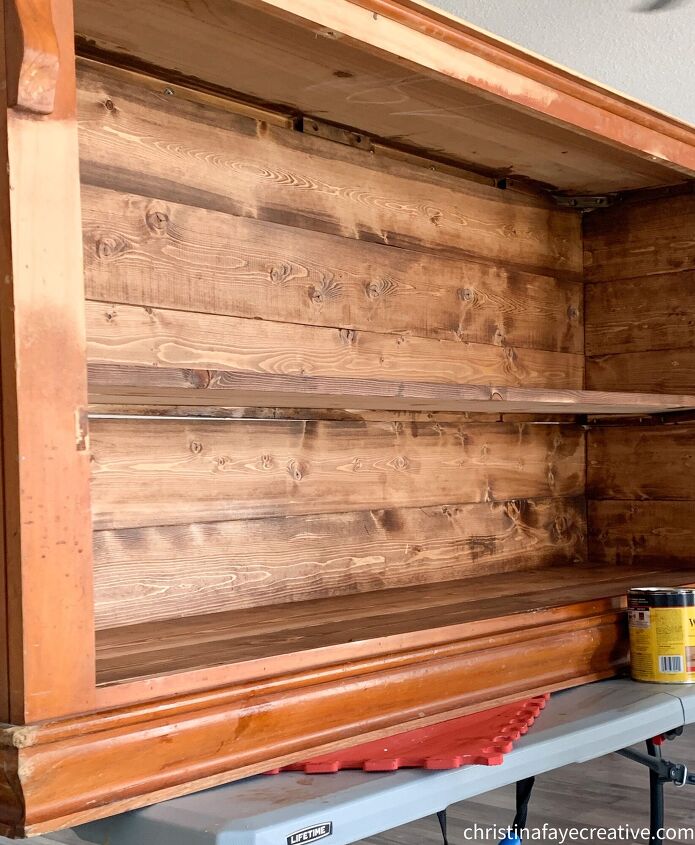
The shelf was constructed by measuring the boards to size and using two boards side by side. We also recycled the wood brackets from inside the dresser and used them to hold the shelf.
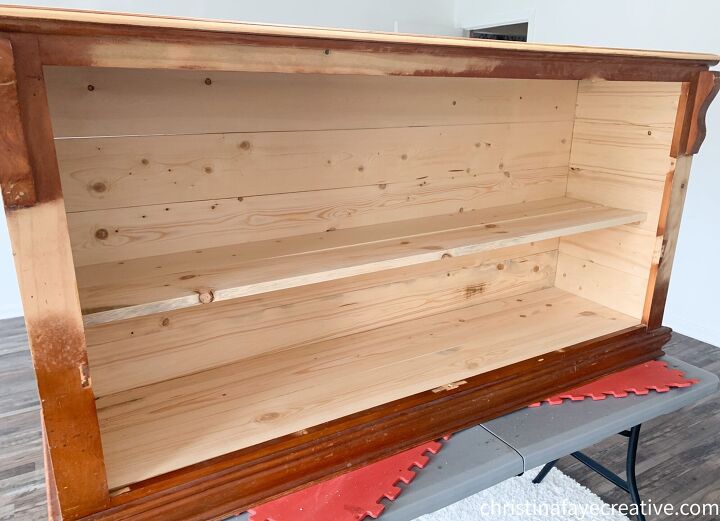
Here is what the inside looks like finished. Rustic and wonderful!
Staining The Cabinet
Now it was my turn to put the finishing touches on our repurposed dresser turned farmhouse bookcase.
I wiped down the outside of the dresser with a Lysol wipe. Next, I used my mini vac to vacuum the dust from the inside of the dresser.
The holes were filled with wood filler and allowed to dry for about an hour. I then sanded smooth.
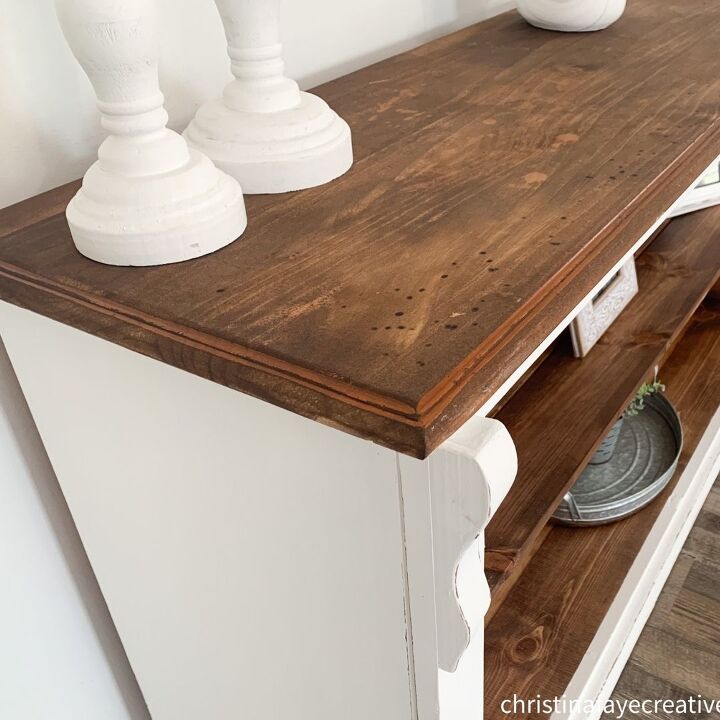
After wiping away the sanding dust from filling in the holes, it was time to stain. I applied one coat of English Chestnut by Minwax stain to the entire inside of the dresser. I also applied a coat to the shelf.
Look at all that rustic goodness!
I allowed the stain to dry overnight. Then, it was time to paint!
Painting The Cabinet
My color choice for this project is Dixie Belle’s Cotton. I just LOVE white furniture. It is so crisp and chic looking. I always apply my Dixie Belle paint by misting my paintbrush bristles with water. I use a spray bottle and lightly mist. This allows the paint to apply smoothly and minimize your brush strokes. Here is a look at the first coat.
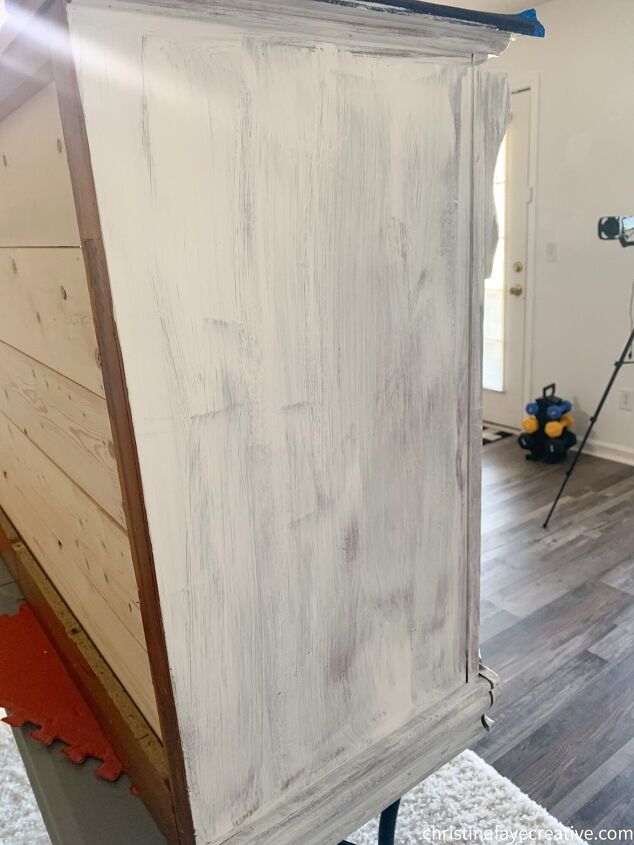
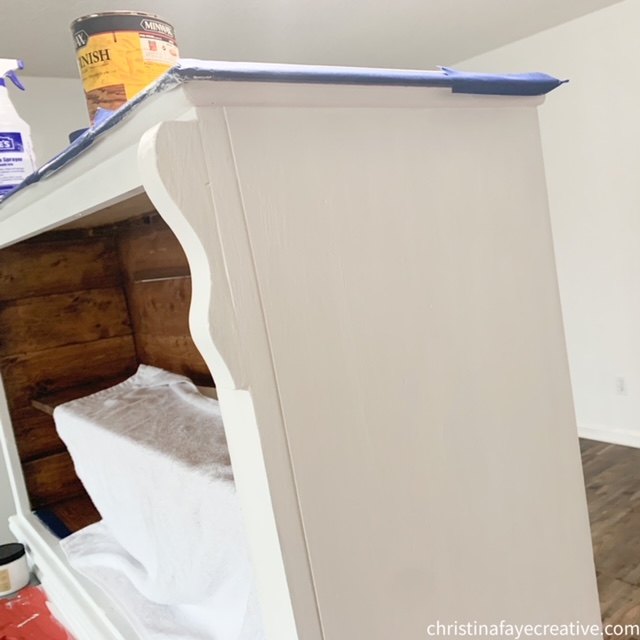
I allowed the first coat to dry for about 3-4 hours. Of course, it dries a lot quicker than that, but I like mine to sit for a while. I applied the final coat. To paint the front, I simply used painter’s tape and taped it where I did not want the paint applied. And I used an old towel to cover where I had stained.
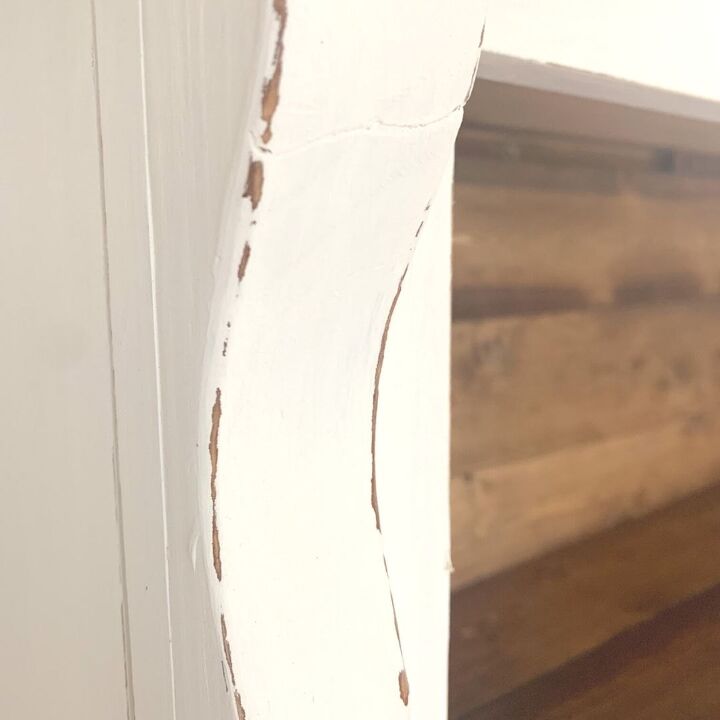
Distressing The Cabinet
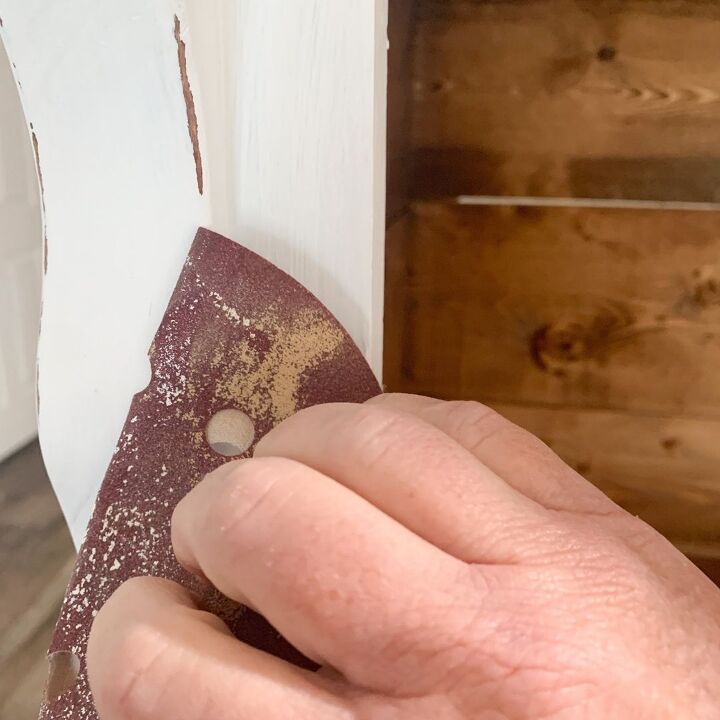
Once it completely dried overnight, it was time to distress! I used a piece of 220 grit sandpaper and lightly distressed the sides and the outline of the trim and the two wood décor pieces.
I sealed the cabinet by applying one coat of Minwax Wax in Natural using a lint-free cloth.
This piece now sits in my living room. It’s amazing how these old, outdated pieces can turn into conversational pieces!
Happy repurposing!
Resources for this project:
See all materials


Comments
Join the conversation
-
Nice job. I sure didn’t anticipate your vision, proving patience and a plan triumph every time. Thanks for sharing and inspiration
-
Amazing. It looks beautiful. Thanks for sharing.


Frequently asked questions
Have a question about this project?