


Chalk Painted Buffet Makeover

When I purchased this buffet 2 years ago I knew that one day I’d have to change the color but hadn’t decided on a color until now. After we recently re-stained our staircase, I decided to go with a grey paint and I’m glad that I did.
My choice of paint: when I received this color, Freedom Road from American Paint Company for me to sample, I knew once I saw it, I would be using it to paint my buffet. First, I have to say if you are a lover of chalk paint, you must give this company a try. Their paint is fantastic to work with. You can checkout the details of my review on IG @mycreativekneads This color is warm and rich.
This is a photo of the buffet as I bought it. The color wouldn’t have been so bad but the paint job was not very good. It was so blotchy looking and after painting my staircase white, the color took on a very blueish silver color that I wasn’t too crazy about.
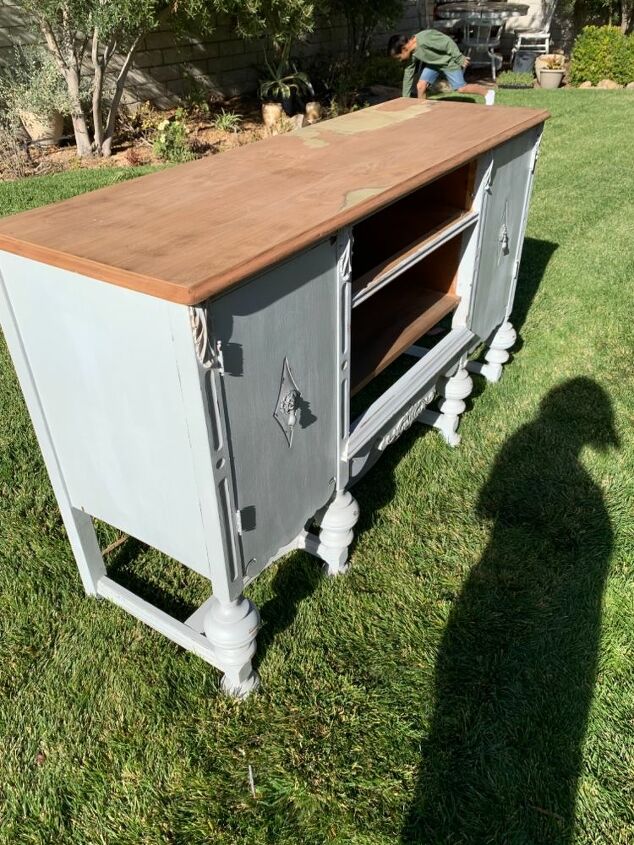
After cleaning the buffet with TSP (can you see the bluish tint on this), I decided to sand off the top and stain it instead of painting it. I’ve mentioned in other painted projects blogs that the pieces I paint talk to me as I’m working on them. I know, it’s crazy talk you may say but there’s something about painting that just puts me in a zen moment and I get transformed into a place of relaxation. I go in to my projects with an idea of what I want to do with them but it’s not until I’m actually painting them that I begin getting inspired and my original plans typically go out the window 💁🏻♀️ I can’t help it!
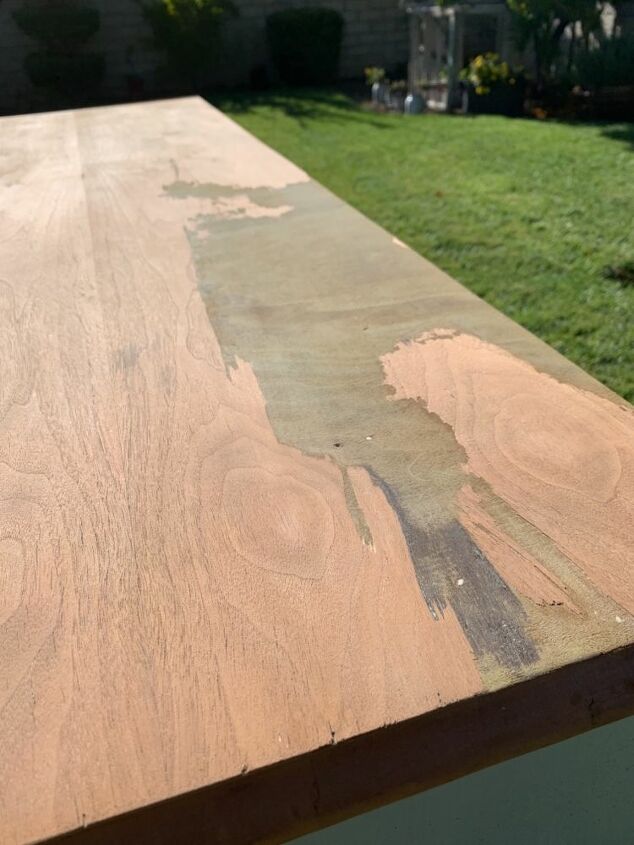
After I sanded off pretty much the entire top and got to the end of my sanding, I saw this! It was at this point that I realized the top was veneer and this portion had peeled off. When I saw this I thought that maybe I should just paint it instead of staining it. After much thought, I decided I would stain it first and if I didn’t like it, I’d paint it. I’m so glad that I did because I loved how it turned out!
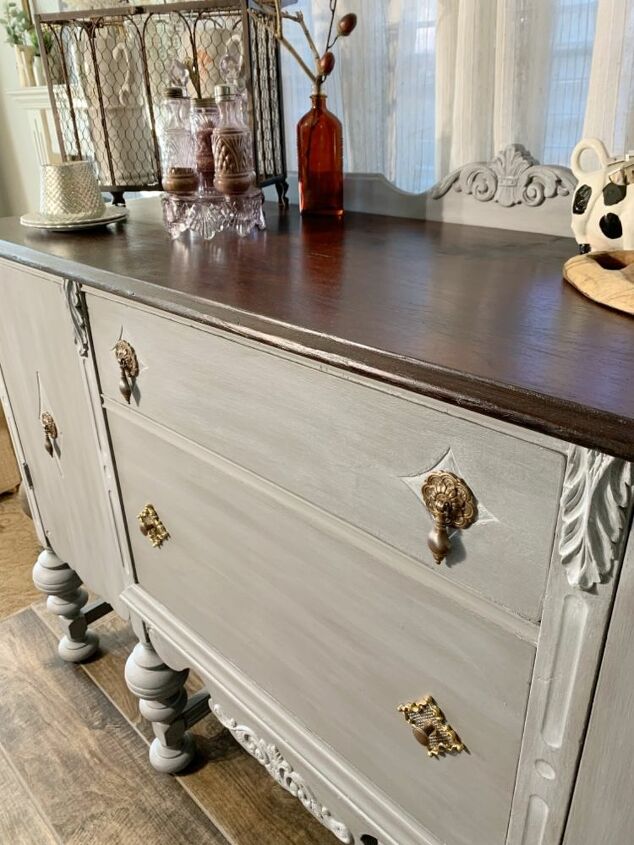
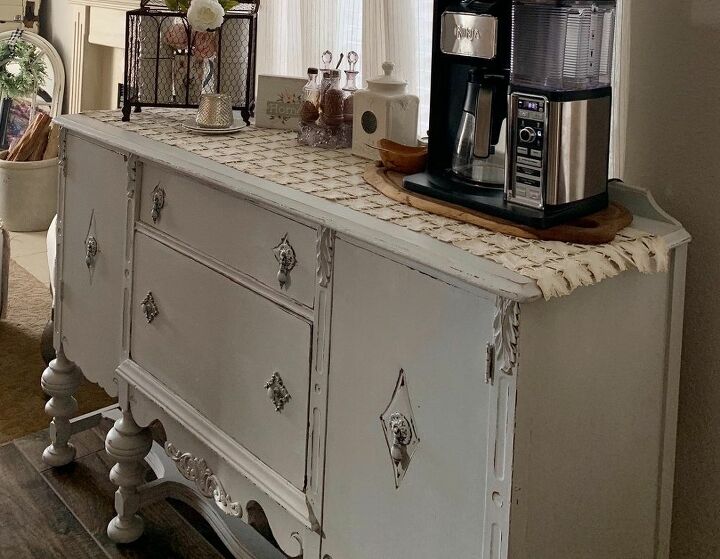
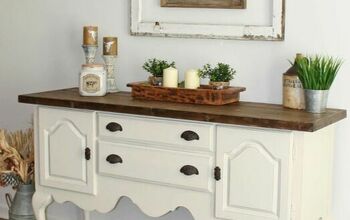
For the top: I first used a pre-stain conditioner by Minwax and allowed it to dry. For the stain, I used one coat of Minwax Red Oak, allowed it to dry and then applied one coat of Dark Walnut. Guess what, the damage that was on the top, wasn’t even that noticeable!
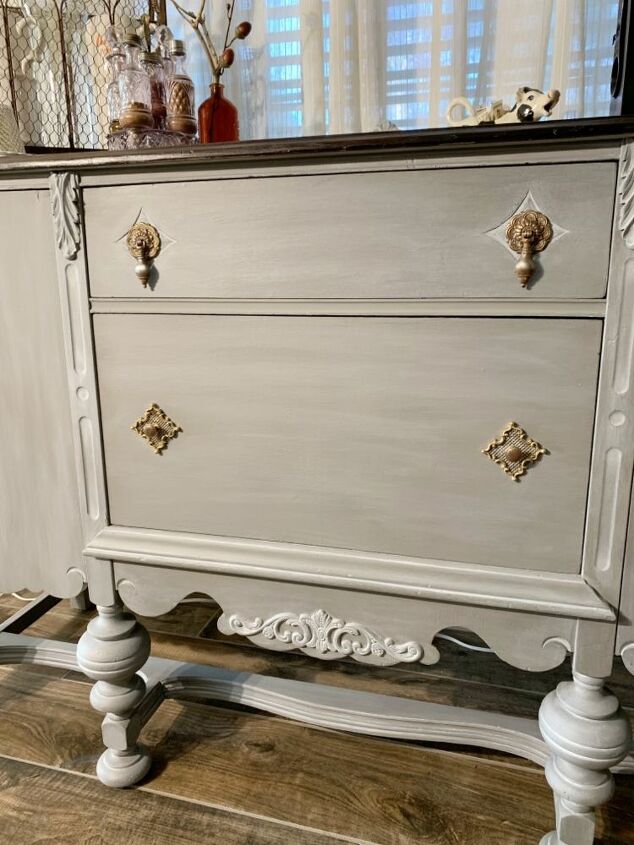
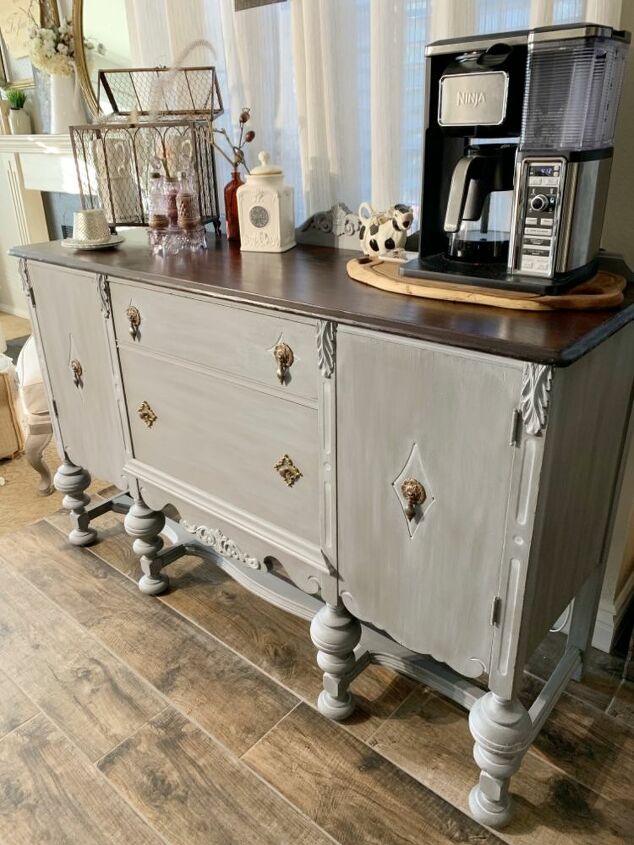
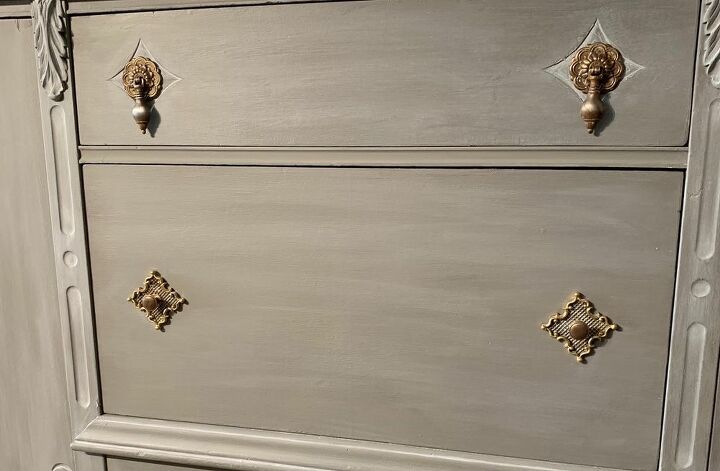
I applied 2 coats of Freedom Road by American Paint Company and after it was thoroughly dried I applied Clear Wax. I also decided to apply a White Wax for details and highlights. Both waxes were also by American Paint Co.

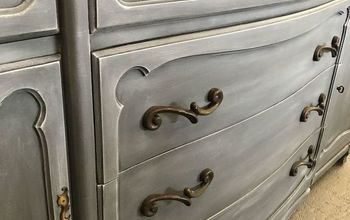
This is a close up of the white wax on some of the legs and wood appliqué details. I love how the white wax highlighted the beautiful details of the buffet.
When I purchased this, the hardware was painted the same color as the buffet, I didn’t like it. I boiled the hardware in water for several minutes until the paint could be easily wiped off. When I saw the original finish of the hardware, I decided to leave them alone instead of spray painting them. I love how they turned out too.

The lighting in this photo is better and I think you can see the grey color a little better and the white highlights. I’m truly obsessed with this piece now. The top color, the color of the base, the white highlights, I just love it! If you want to see more of what I do, please visit me on Instagram at https://www.instagram.com/mycreativekneads/


Frequently asked questions
Have a question about this project?