


Chest of Drawers Update

I purchased this chest of drawers for £10 for our nursery four years ago. It was time for a little update to better fit the style of room now but also to accommodate damage to the surface from wear and tear.
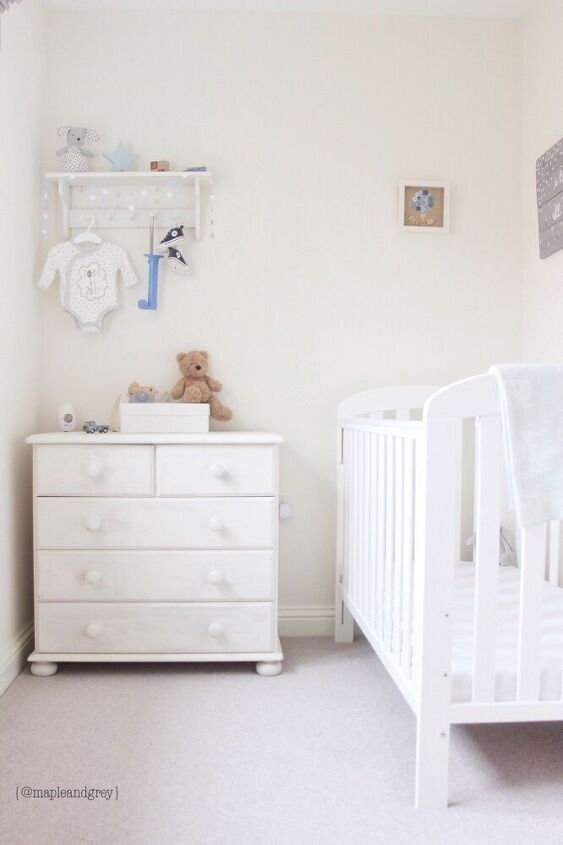
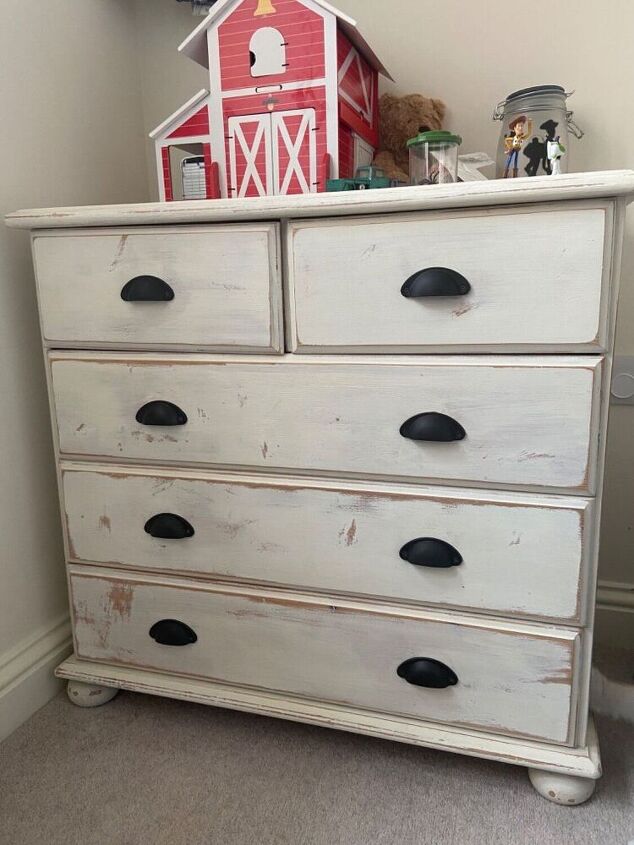
This is how I refinished the drawers originally- just a couple of coats of white chalk paint and sealed with wax. I have to admit I was lazy and didn’t prep them properly before painting (I was quite heavily pregnant at the time!). So since they were a very orange, varnished pine the paint did not adhere well and there were brush stroke marks to begin with. I styled them for a clean white look for the nursery which I loved for that season.
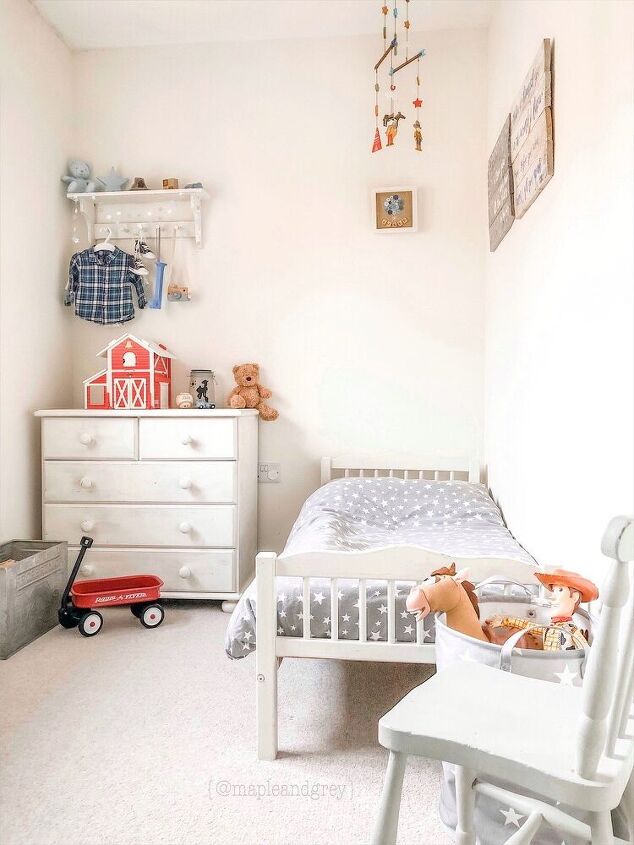
As my son has got older the room is now taking on more of a cowboy theme so I wanted more of a rustic feel for the furniture. The plain white didn’t feel like such a good fit anymore and also he has chipped areas of the paint so the finish was quite a mess.
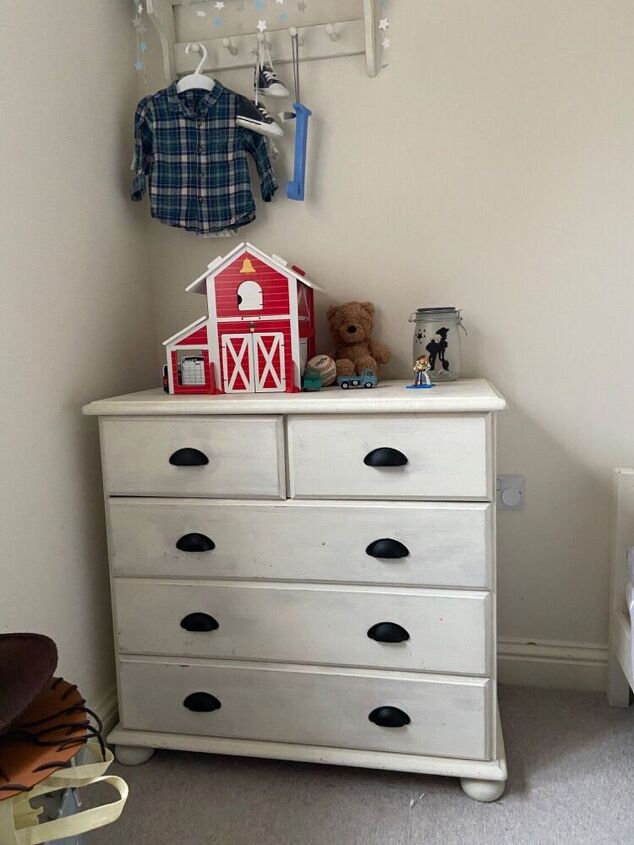
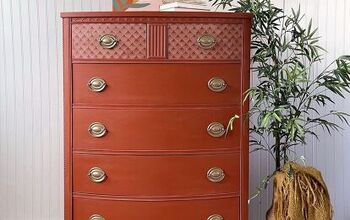
I had planned to add some black hardware for a while and finally got around to changing this the other weekend. I found these cup drawer pulls on Amazon and they were a really affordable option. But I didn’t feel like it looked complete and quite right just as it was. I do plan to remove the paint and sand back to the wood one day and either repaint it or leave it as wood. But for now I wanted to create a nicer and more finished piece.
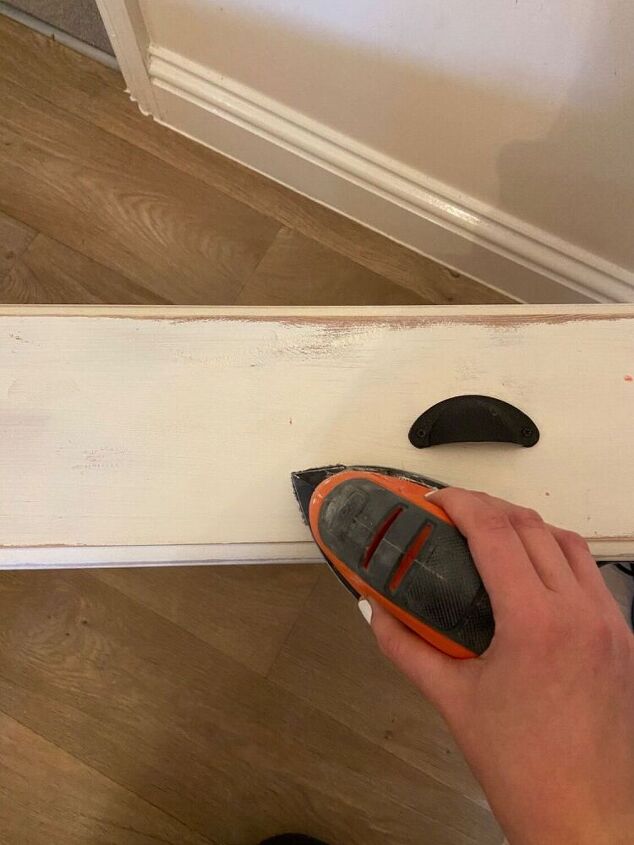
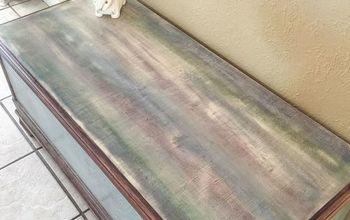
I took my sander and sanded all the edges of the drawers. This was so quick and easy and made a huge difference already.
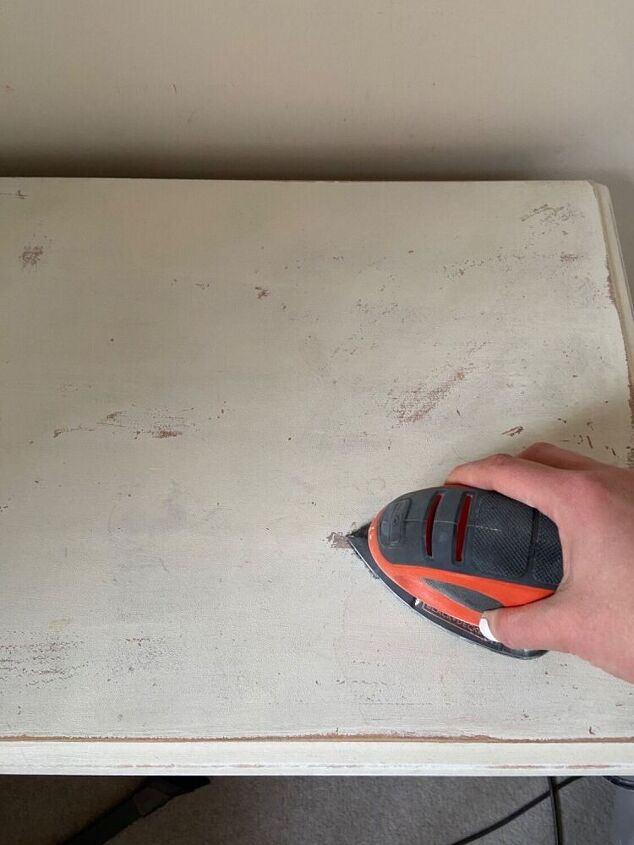
I also worked on the main unit and attempted to blend a few of the chipped areas.
I did get a little carried away with the sanding and over distressed in some areas on the drawers. So then I wasn’t happy as it still didn’t look quite right. The distressed areas just looked too harsh and stood out too much.
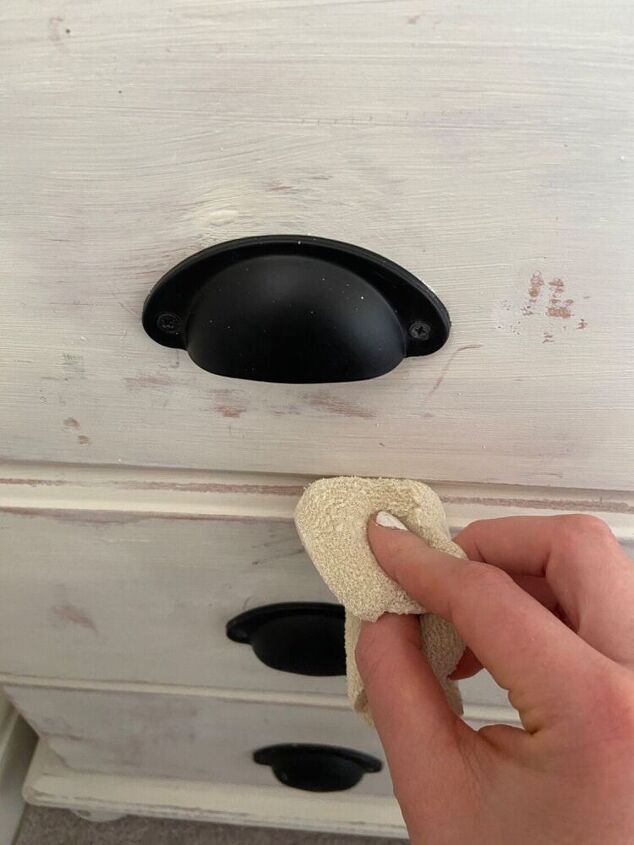
So I took some white wax which I made using 1 part white chalk paint with 4 parts clear wax and applied using a baby sponge. This just blurred it all together and blended the harsh distressed areas with the white painted finish.
I then took a lint free cloth the next day and buffed the wax to leave a smooth finish.
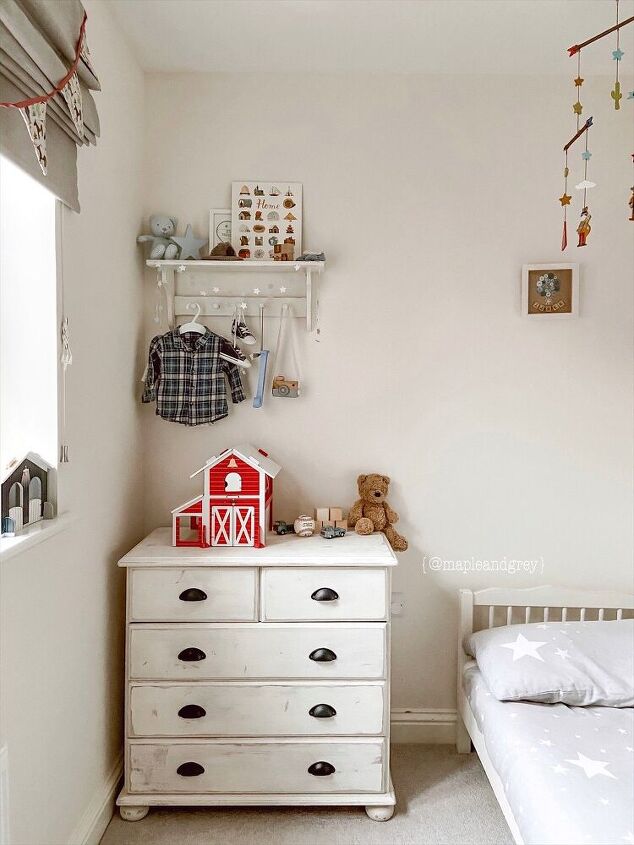
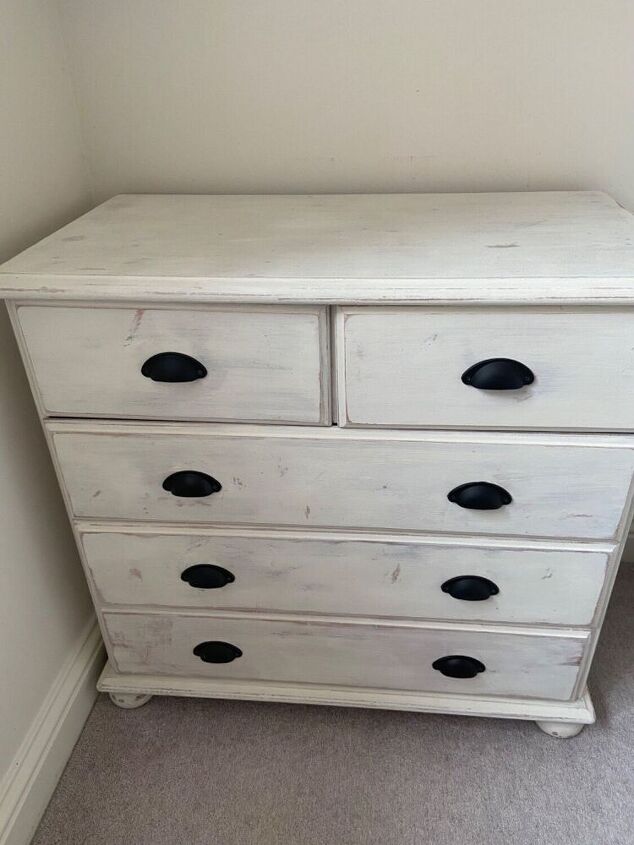
Here is the finished result and l am so happy with it for now! I sometimes find myself in the mindset that once I’ve transformed a piece that it will stay that way. I’m slowly learning that I can easily make subtle or bigger changes to adapt a piece to the look of a changing space. I hope that this post demonstrates that you can make small, subtle changes without spending a lot of money to alter a piece of furniture to fit your current needs!
To see more of this and other projects follow along on Instagram!
~ Rachel ♡


Frequently asked questions
Have a question about this project?