


Desperate Mom's First Time DIY

by
Kara Wurtzel
7 Materials
$40
2 Hours
Medium
Let’s set the scene: Summer vacation 2018. 6 kids home from school, camp is over. We are well into the "Fortnite" craze and it was time for a break for my screen Zombies. There I was, out on my nightly walk when I saw it...
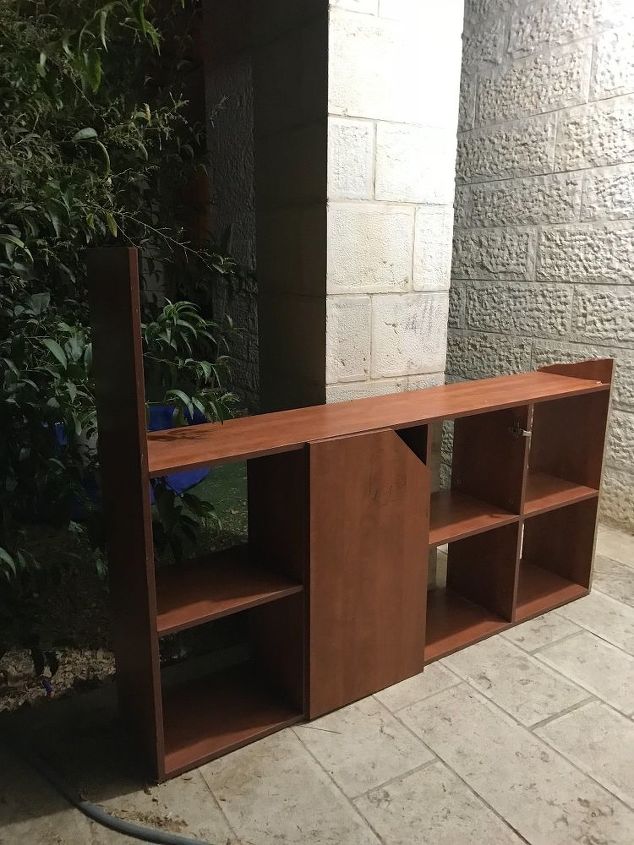
...this ugly, falling apart, bottom-half of a sandwich board cabinet. Pretty, right? The hinges were rusted or broken off. The one remaining door was all that held it up. On further inspection, I opened the door and the whole thing collapsed sideways. Oops. There was a reason someone had tossed this piece of cr@p. But alas, this desperate to break up the fights and get them off screens mom started to come up with a plan...
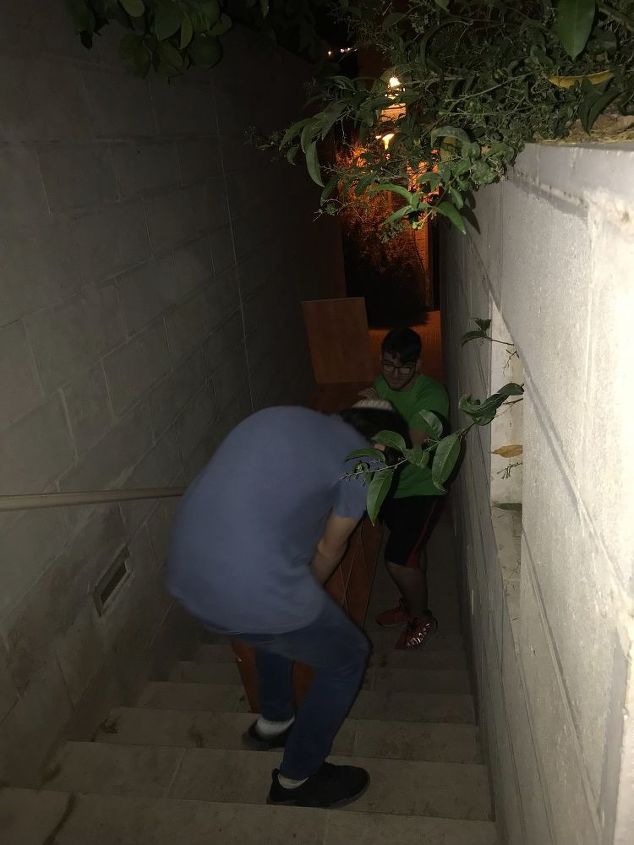
Step 1: Turn off WiFi when no one is looking and act perplexed. Suggest that if 13 and 15 year old have nothing else to do, maybe they can go schlep it over from the dumpster.
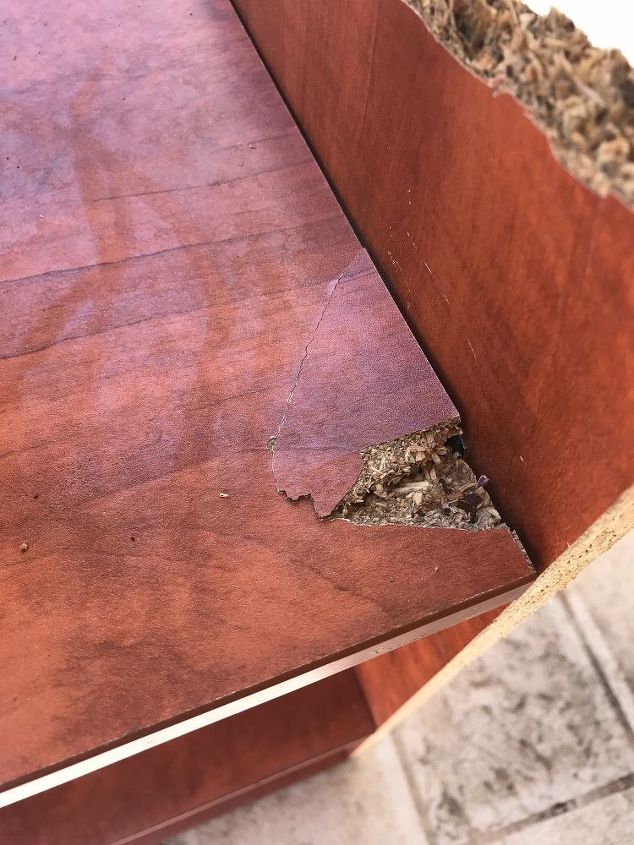
Step 2: Hope that by the light of the next day it’s not as bad as you thought. When you see it is actually worse, pray.
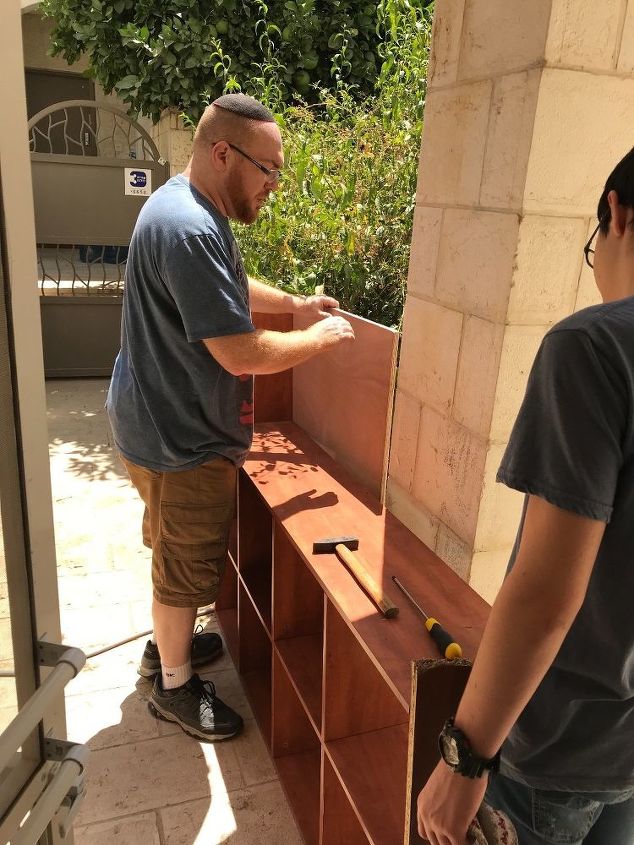
Step 3: Enlist (read: beg) patient and kind husband to help you on his day off. He went and got some plywood.
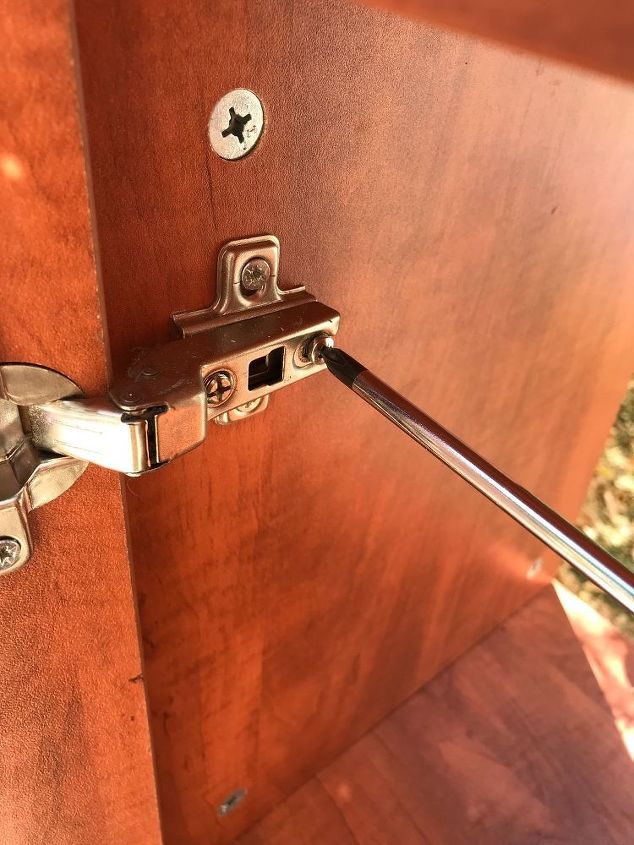
Step 4: Remove all doors and hinges in 104 degrees and wonder whose dumb idea this was anyway...
Step 5: Have 12 year old measure plywood to fit the back of the cabinet. Hope 12 year old has learned enough in school to know how to measure.
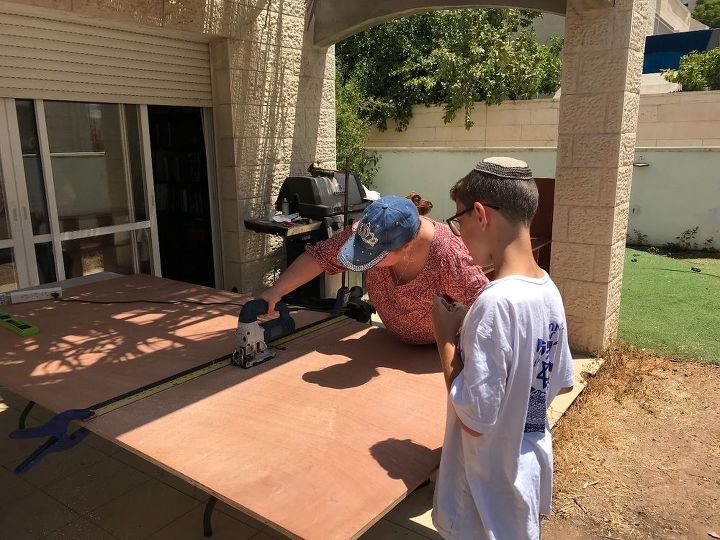
Step 6: USE POWER TOOLS LIKE A BOSS and impress said 12 year old. First time using a jigsaw. Admittedly, this was not the best tool for cutting my wood but it was what we had on hand.
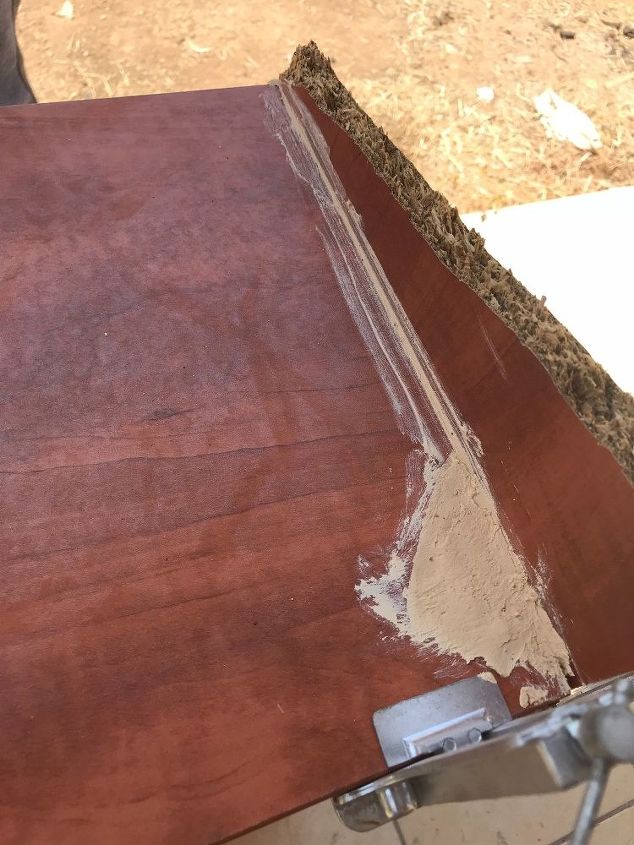
Step 7: Show 13 year old how to use wood filler to patch holes. Cringe when he doesn’t do it perfectly. Keep mouth shut.
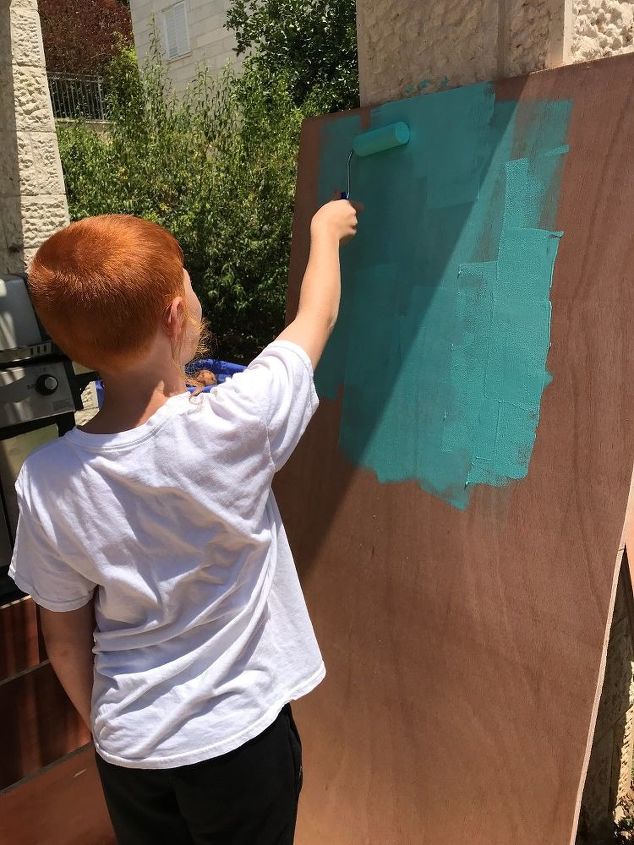
Step 8: Let 9 year old go crazy with a foam roller and Americana Decor Maxx Gloss paint in “Aqua Waters”. Pretend you don’t see the very aqua paint on the very white stone patio pillars.
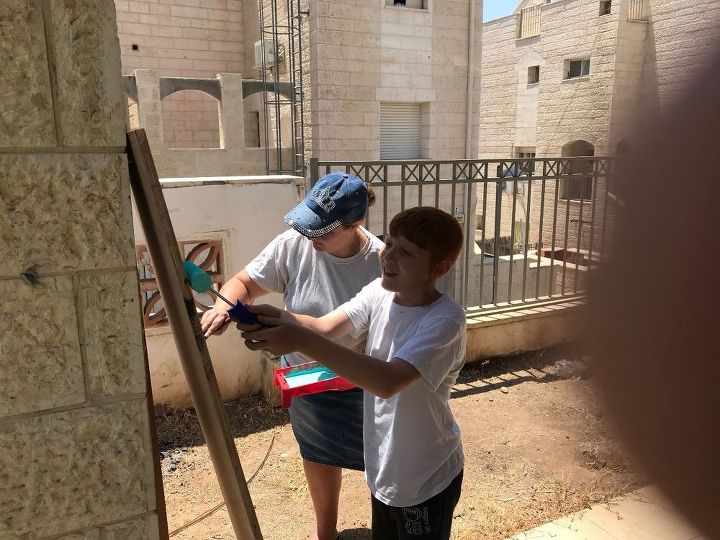
Step 9: While he is slapping on paint with reckless abandon, touch up with a brush under the guise of “painting together“.
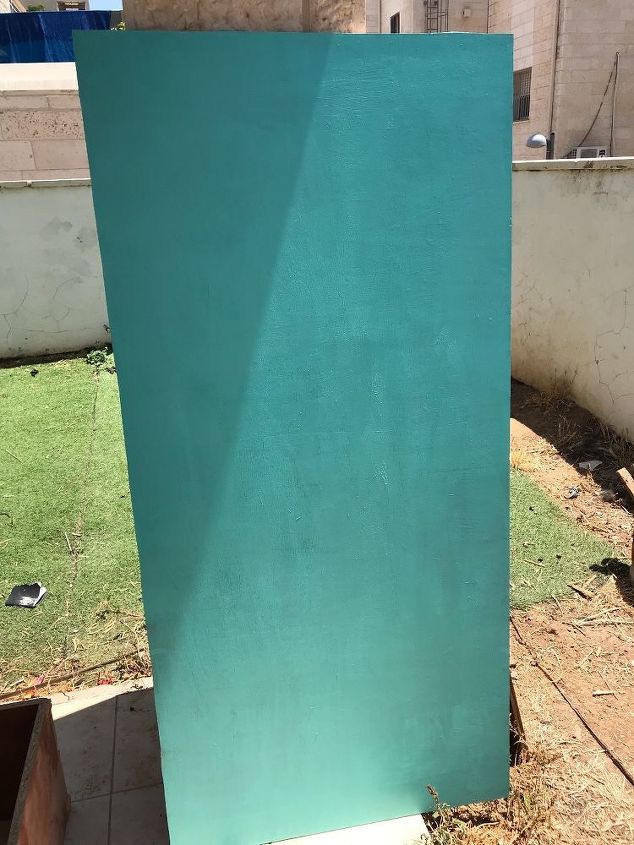
Step 10: Stand back and let it dry (2.5 min in our dry heat)
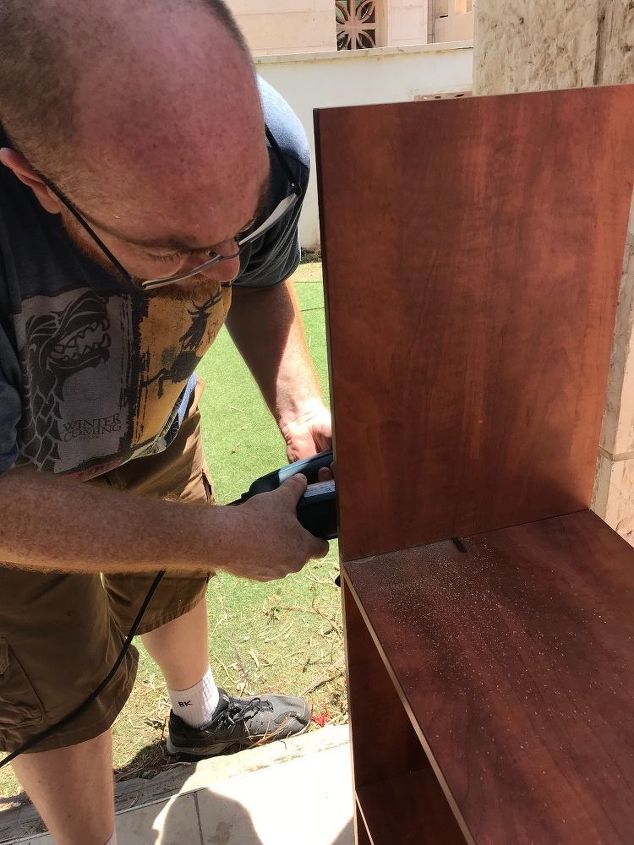
Step 11: “Let“ husband have turn with power tools to remove broken awkward remaining sides of the cabinet.
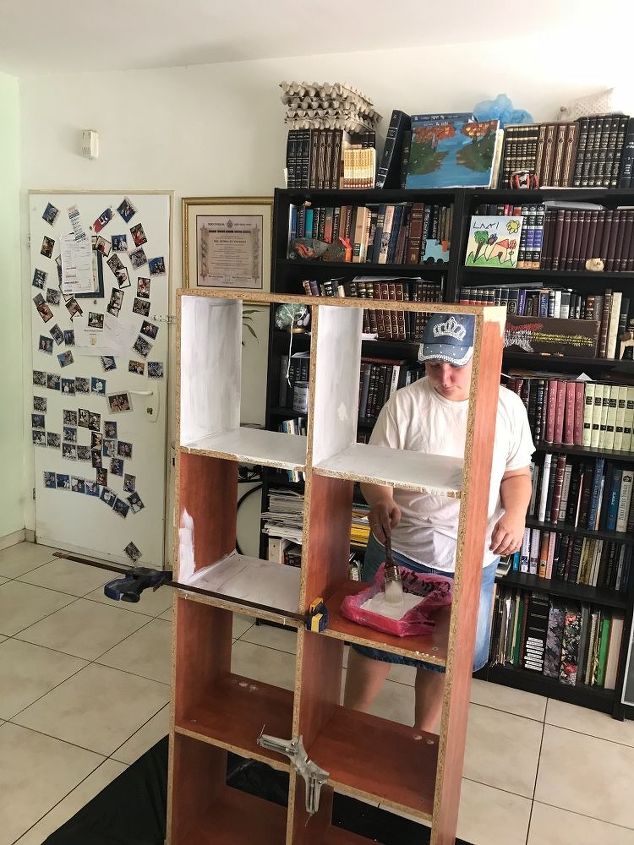
Step 12: Cry because you can’t possibly work outside in the heat anymore and “PLEEEEEASE can someone bring it inside so I can just finish it already?!!” After meltdown, paint with Rustoleum Chalked in Linen White. It took 2 coats to cover this nasty beast.
Step 13: Let everyone back on their computers after they witness your meltdown. It wasn’t pretty, and after that, they deserve a break.
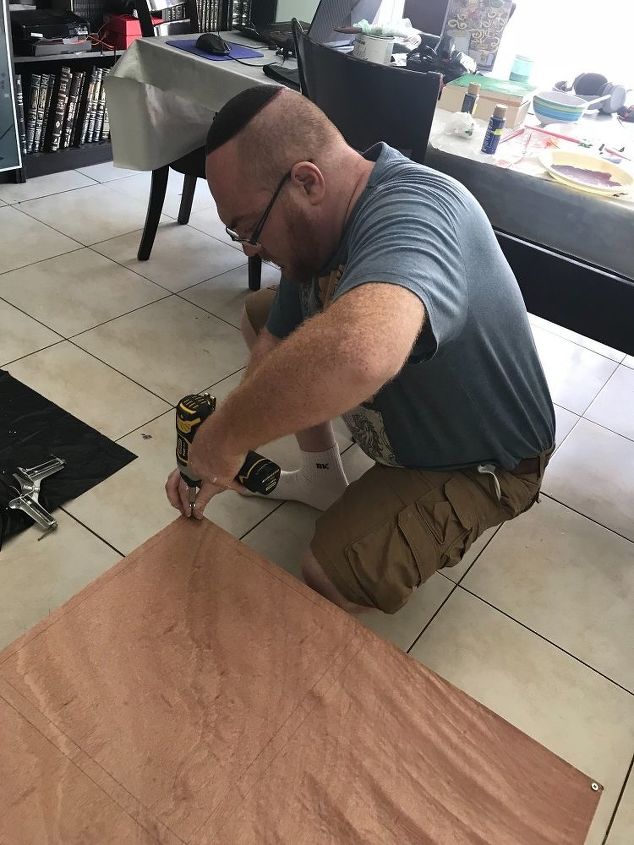
Step 14: Lay that cut board on the back of the cabinet and yell "praise be!" like the Handmaid's Tale fan girl you are when it actually fits 😂 Screw it into the back of the cabinet with 2” screws and a power drill.

Step 15: Shock absolutely everyone (but no one more than yourself) when you have an awesome new cabinet and got some pretty great family time in, too!
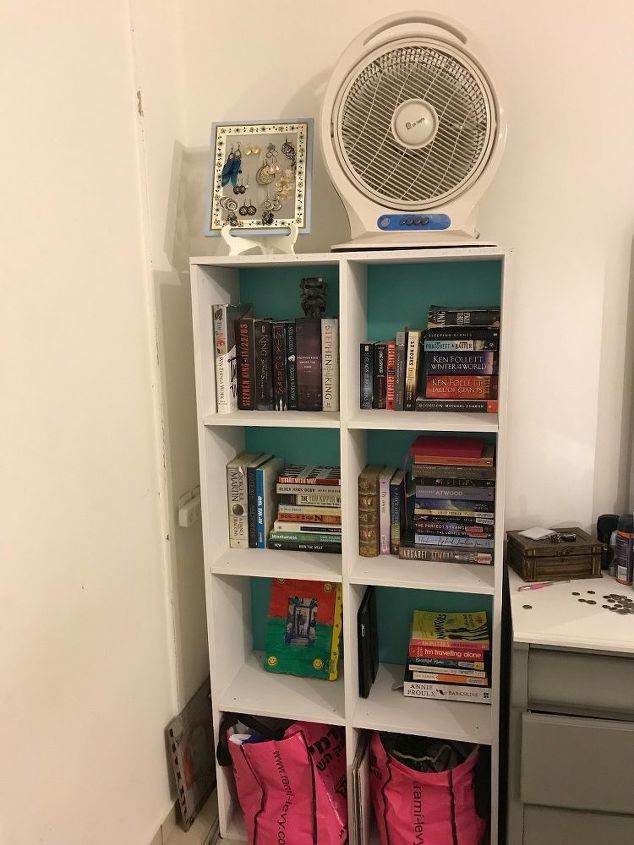
Loving my new bookshelf!!
Disclaimer: I (we) have never done anything like this before! If we can, you totally can too!!
Resources for this project:
See all materials


Any price and availability information displayed on [relevant Amazon Site(s), as applicable] at the time of purchase will apply to the purchase of this product.
Hometalk may collect a small share of sales from the links on this page.More info
Want more details about this and other DIY projects? Check out my blog post!
Comments
Join the conversation
2 of 226 comments
-
There is nothing I didn't love about this!! Just have to remember to get some sort of saw so I can do these projects with my kids with the wifi "down" mwahahaha!!
-
I enjoyed reading your DIY instructions. You did a super job. Mozeltov.


Frequently asked questions
Have a question about this project?
Love the shelf and writing style!!! Hope you see more soon.
LOVED reading your step by step to wayyyy more than most. Great job!
Hi ! couldn’t help noticing the buildings around you , where do you live? it looks amazing and so does your bookcase!