


DIY Fur Vanity Chair

I wanted a glam fur vanity chair for my closet but could not find one I really liked that wasn't insanely expensive. I've done countless chair makeovers so I decided to DIY it.
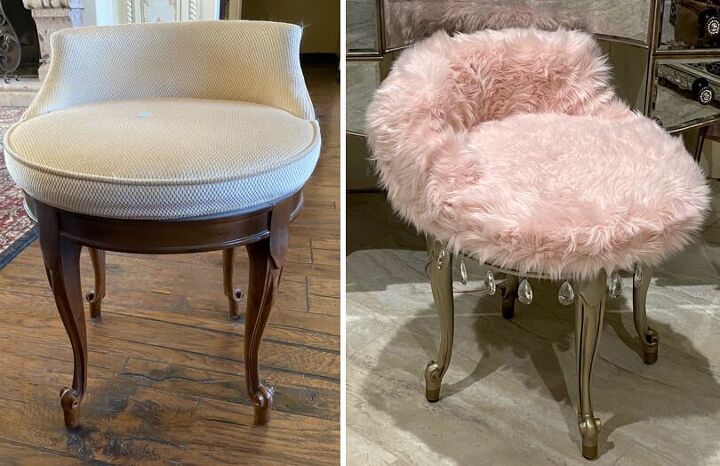
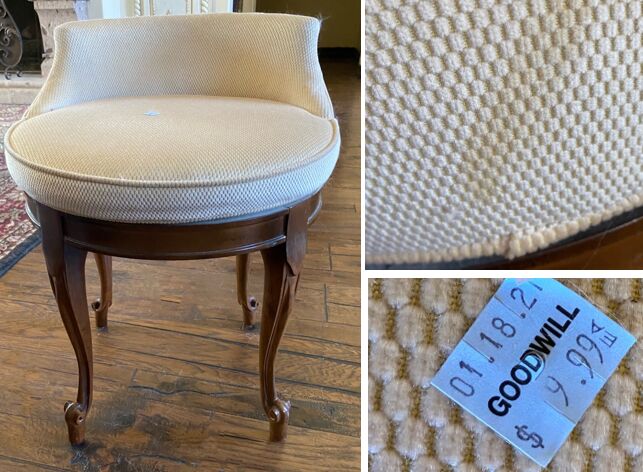
I needed an unusual height since I didn't want it to cover too much of the front of the mirrored vanity, but I also needed it to have some back support. I found the perfect chair at Goodwill for $10! It was stained and dirty, plus the wood legs were scratched, but that was no problem since it was getting a complete makeover.
After a deep cleaning, it was time to take it apart to recover and paint it. 4 screws at the bottom of the seat made it easy to remove the seat from the base.
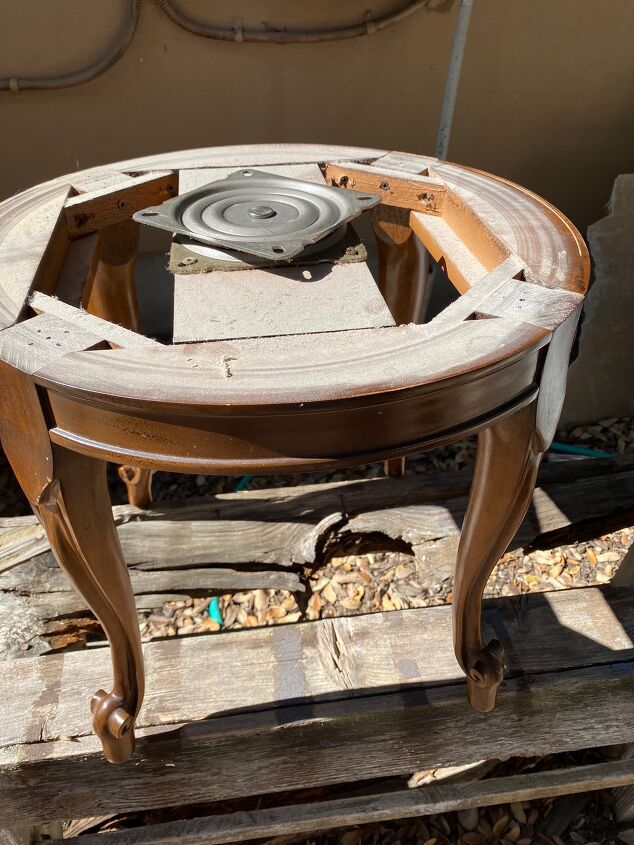
I started with the bottom piece first so it could be drying while I recovered the seat.
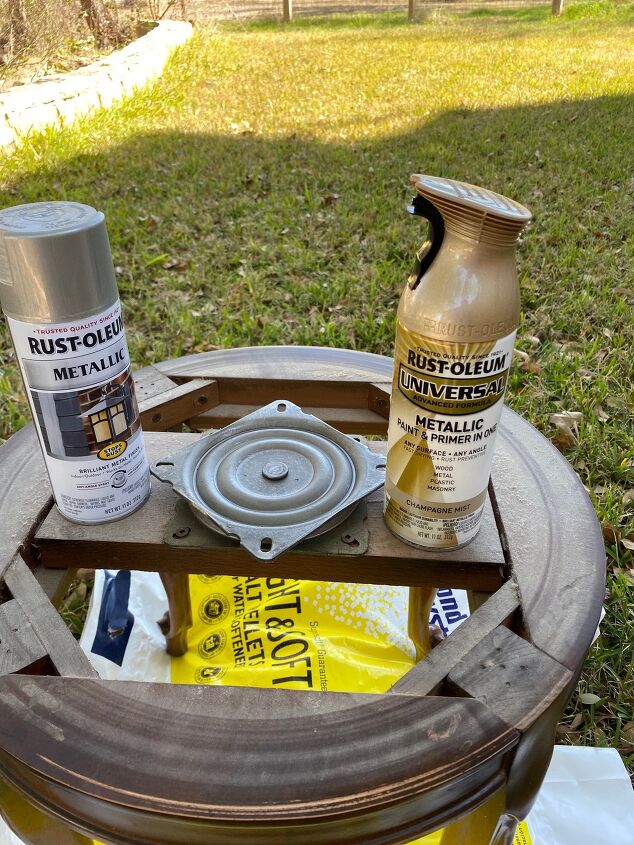
I spray painted the legs metallic sliver first and then dusted the gold spray paint over it to allow both colors to show through.
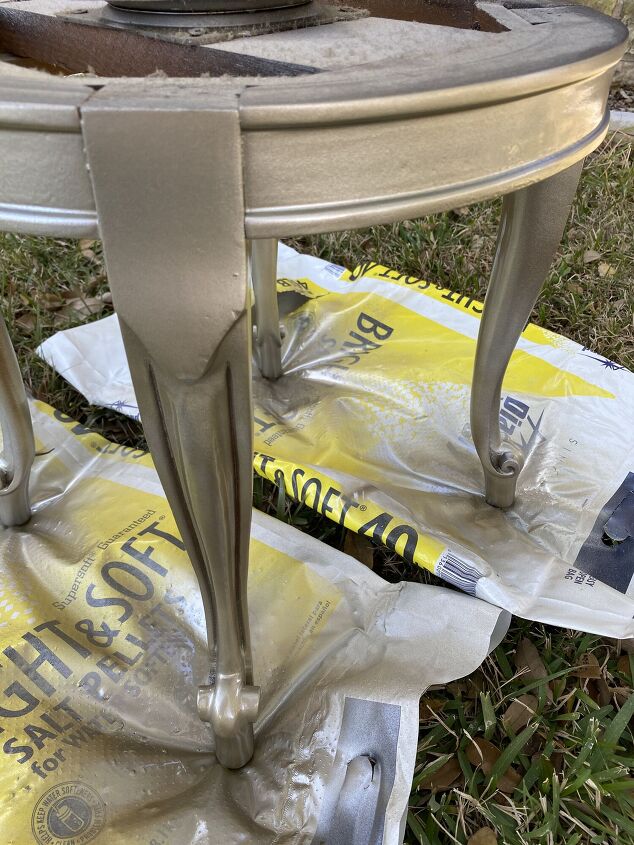
Once it was dry, I dry brushed brown glaze into the detail work to give it depth and age. I used 2 coats of polyurethane to protect the finish.
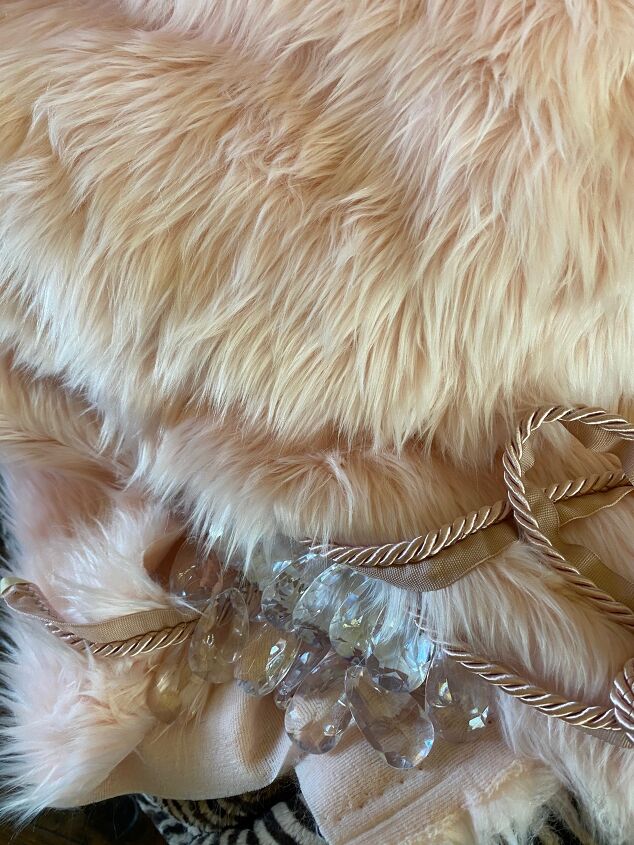
For the seat, I bought a yard and a half of blush pink fur fabric on sale, I already had the trim and the crystals left over from another project, but all these pieces were bought at Hobby Lobby.
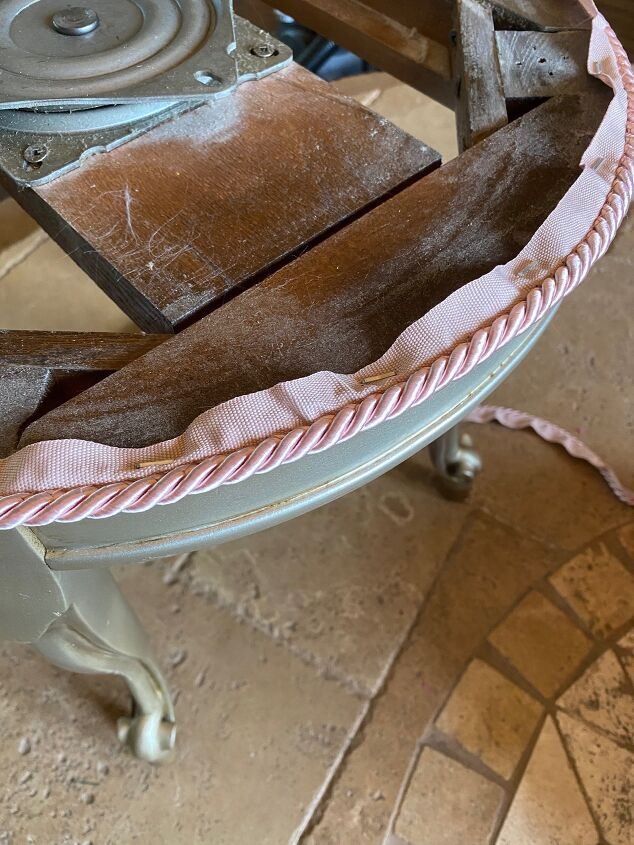
I stapled the trim to the top of the base, but this was honestly an unnecessary step since the fur covers it.
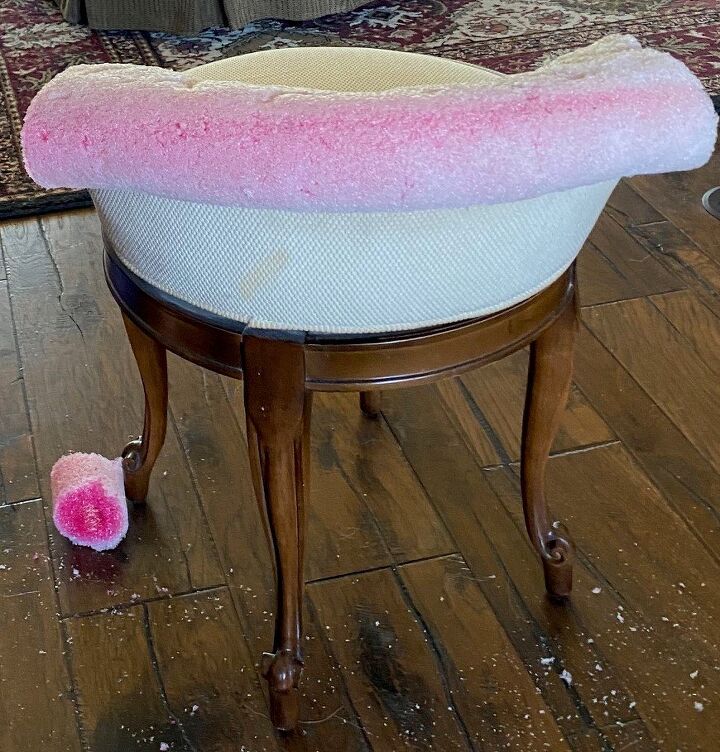
I wanted to beef up the back of the chair and make it more rounded, thinking outside of the box, I took an old pool noodle, cut off the ends to fit plus a slit in the middle of it, and placed it over the seat back. It fit svery snugly.
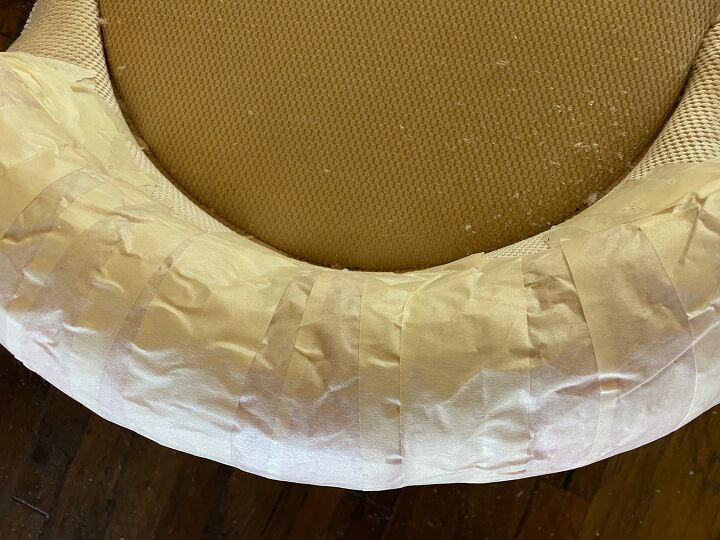
I wanted to keep the noodle from shedding, as they will when they get old. I covered it in thick packing tape, definitely not a standard chair redo, but I like to try new things. If it didn't work out I could always remove the cover and try something else. This gave it the round back I was looking for.
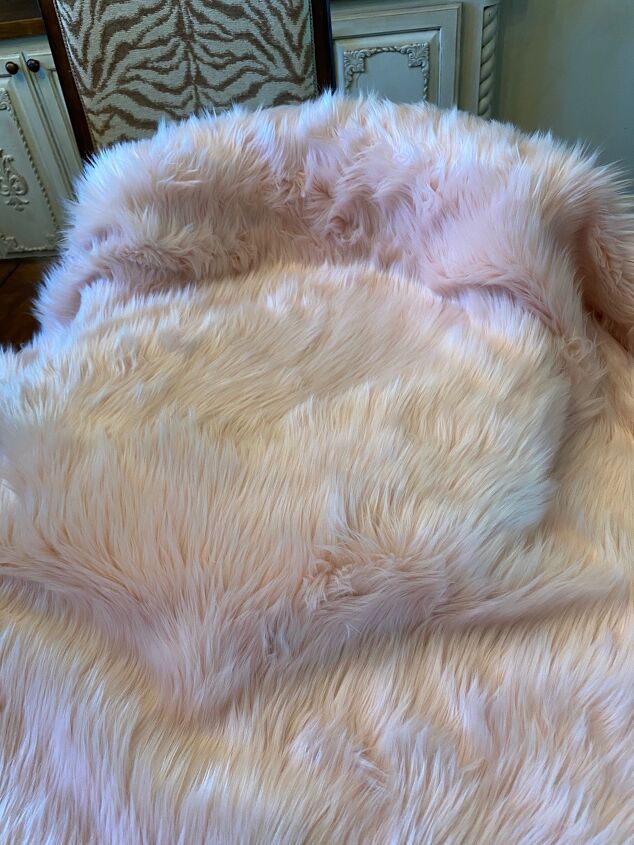
I laid the fabric over the seat, tucking it deep into the crease and then stapling it all around into the wood underneath the seat. I made sure to pull the fabric taught so that it would also secure the noodle.
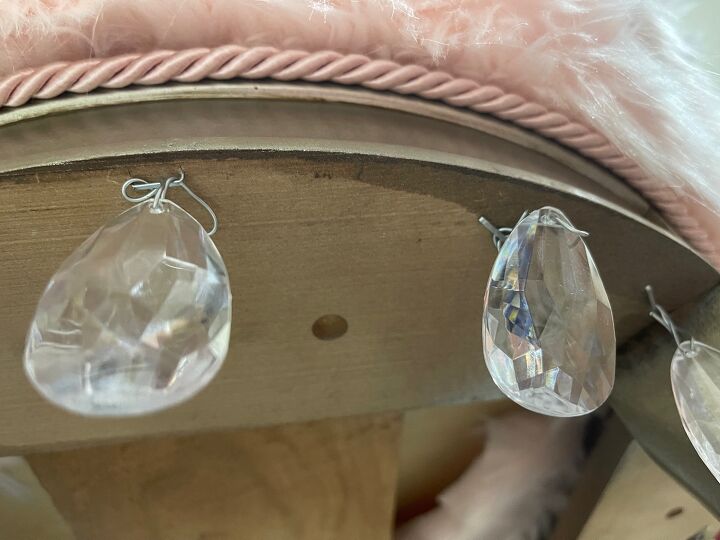
I put thin wire through the crystals and stapled them underneath to give it a little extra glam

The finished chair is exactly what I wanted. It has held up great, it's been in my closet for almost a year now. It routinely has clothes laying on it and the noodle has not moved a bit, nor has there been any shedding of it or the fur.
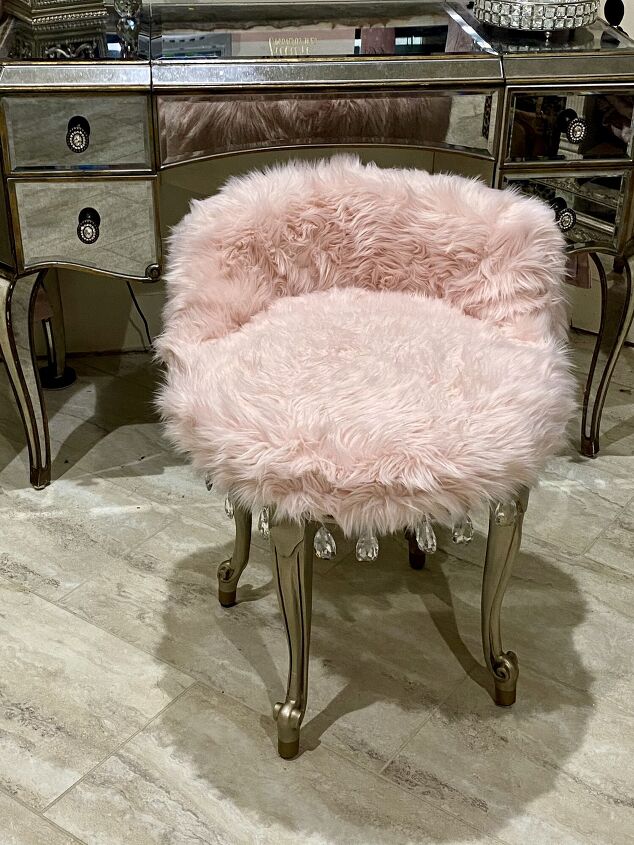
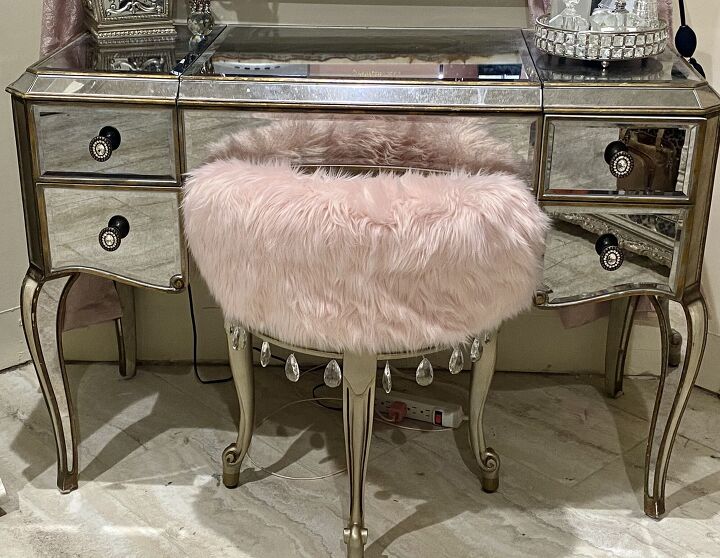
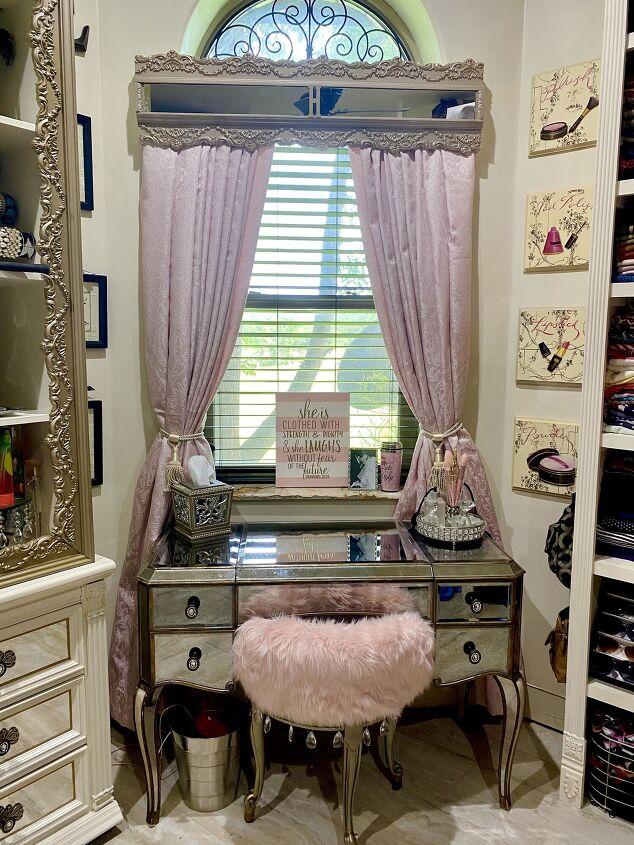
It gives just the right amount of glam and does not cover too much of the front of the vanity which is what I wanted. The chair came in at $28. A great price for a one of a kind chair.
Blessings,
Eden
Resources for this project:
See all materials


Comments
Join the conversation
-
Beautiful!
-
Love the closet, everything about it, gorgeous!


Frequently asked questions
Have a question about this project?