


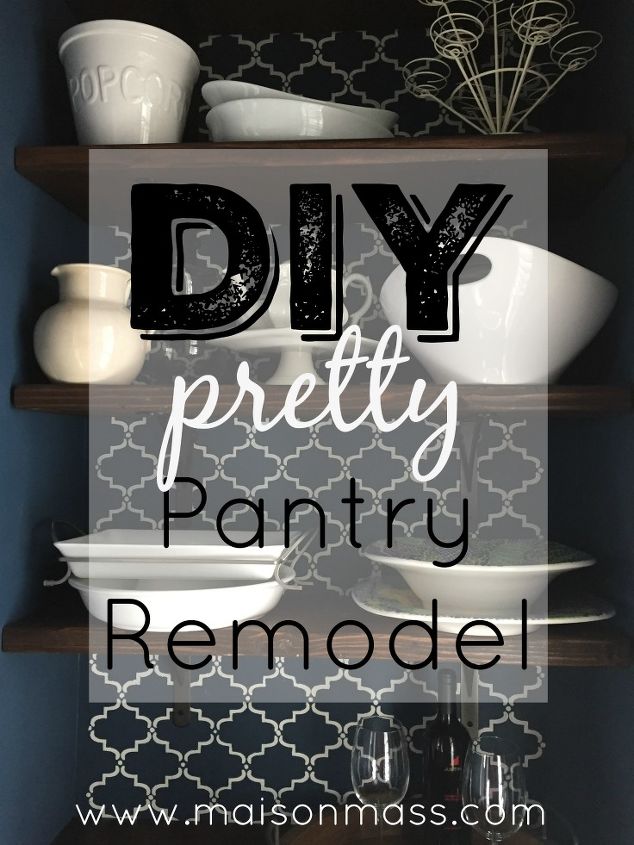
DIY Pantry Remodel
Space and Storage. Everyone wants it and no one ever seems to have enough of it. See how we turned a small closet into a pretty pantry!
Space and Storage. Everyone wants it and no one ever seems to have enough of it; excepting for the small, small-house contingent, who’ve made their tiny Murphy bed and can now lie in it. The rest of us relish our personal and family space, our work and storage spaces. Messy lives crave order in some capacity, even if only in our garage or our pantry. And no matter the Facebook impression, everyone’s got a mess.
After a home renovation a few years ago, we were left with this vacated space off our kitchen. It had originally been a teeny-tiny half bath. Half seems generous, actually. Picture a small space with a big window on its back wall. Removing the window on the front facade would disturb the symmetry, so…it stays. The only logical option for this room is a pantry, a place to put more stuff, namely the vast array of small kitchen appliances Crate and Barrel convinced us we needed to own. Appliances and, of course, those pretty serving platters, trays, and cake pedestals that add whimsy to any holiday affair. Purchase with caution; whimsy is bulkier than it appears in the catalog.
From the get-go we envisioned the space a pantry. In.Our.Minds. For three years, it served instead as a catch-all for sports equipment, tools, winter hats and boots. You name it. The first step was to empty it. Rather than find new homes for everything right away, I let it lay about my kitchen. Out of sight would have meant out of mind. I needed to be reminded (and in turn to remind my woodworking husband) of the project priority. I regret that I didn’t take photos of the mess or even of the room before we started. New blogger oversight. I’ll also apologize now for some of the photos. Its such a small room, it was impossible to get a good vantage point, so the pics are a bit choppy but hopefully, you’ll get the idea.

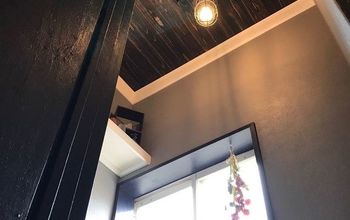
I took the first pass at the room, stripping the wallpaper, spackling and sanding the walls. Next, we tackled the wood trim. For some reason, the existing trim was not in keeping with the rest of the house’s 8” molding. The handy husband rectified this.
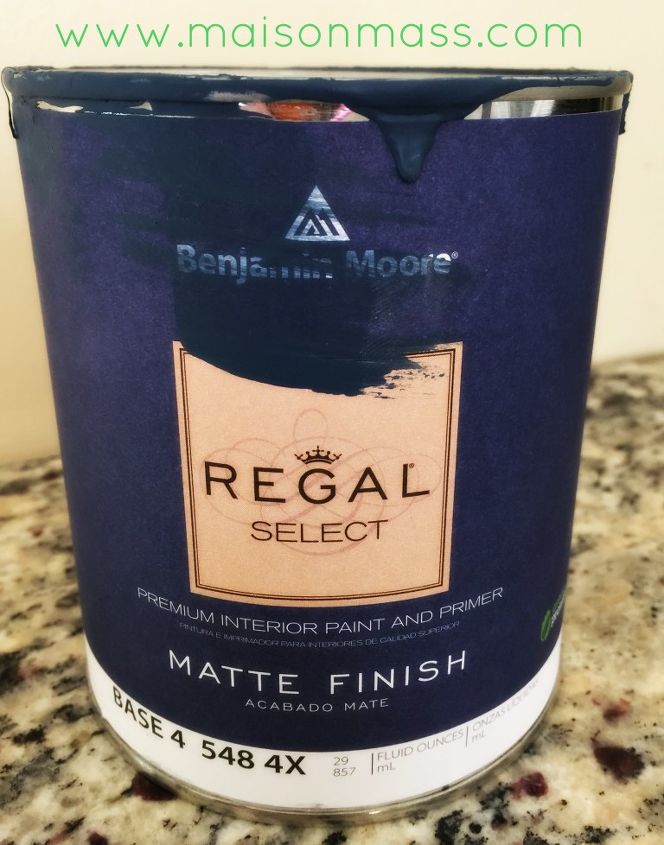
For paint, we settled on dark blue, Benjamin Moore Van Deusen to be exact. I gravitate to darker colors in someone else’s photos, but am reluctant to take the plunge. The truth is I know myself too well to think I could live with a dark color for very long. I like change and neutral backdrops allow me more flexibility with decor. This small room allowed me the perfect opportunity to be bold… in small measure.
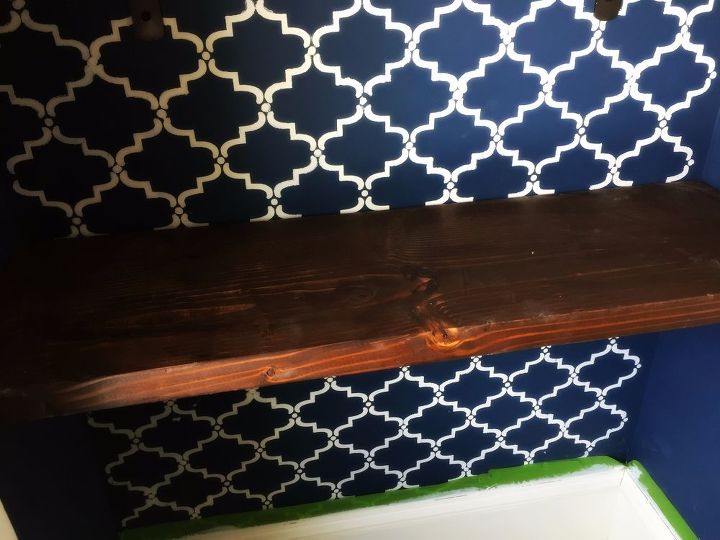
The stencil was my husband’s brainchild and one, in retrospect, I’m grateful for. Though there’s a good deal of trim work around the window and at the floorboards to offset the dark blue, it’s not enough. So the white, floor to ceiling stencil effectively broke up the sea of blue and made the stencil truly pop. Note to future self, in experimenting with stenciling, choose lower contrast paint colors while honing skill. I found the white on blue background to be very unforgiving. Back I went again with the blue paint a second time, now with a finer tipped paint brush to fix my mess. It worked wonders: like photoshop for painters.
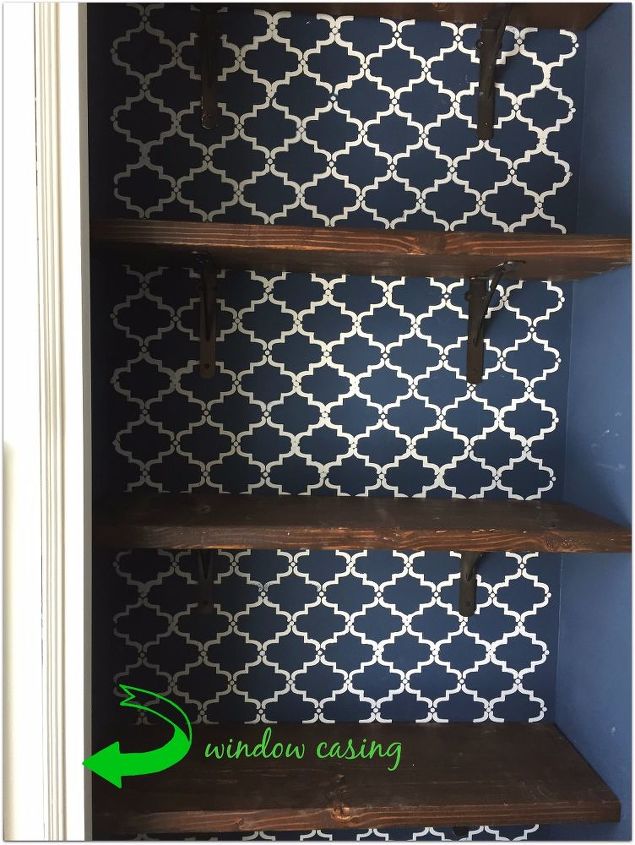
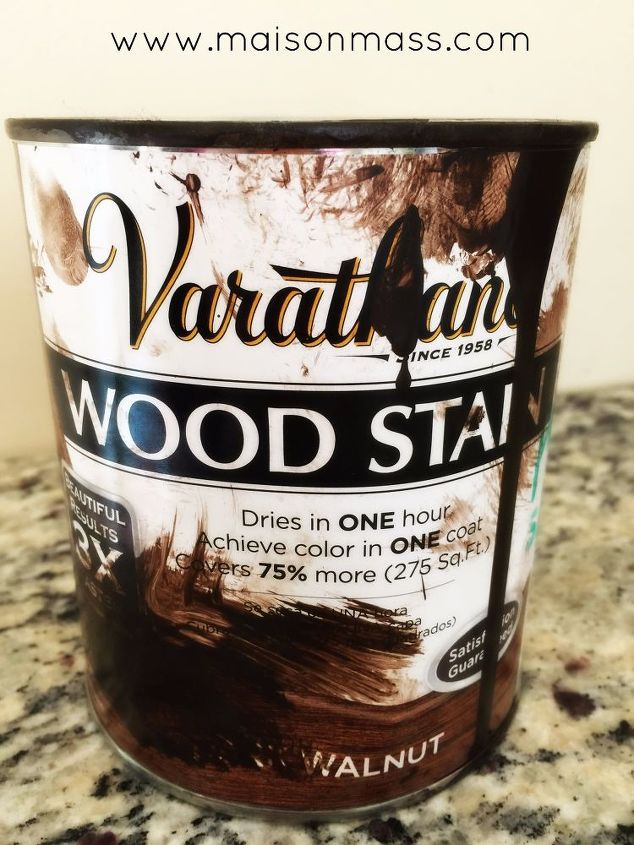
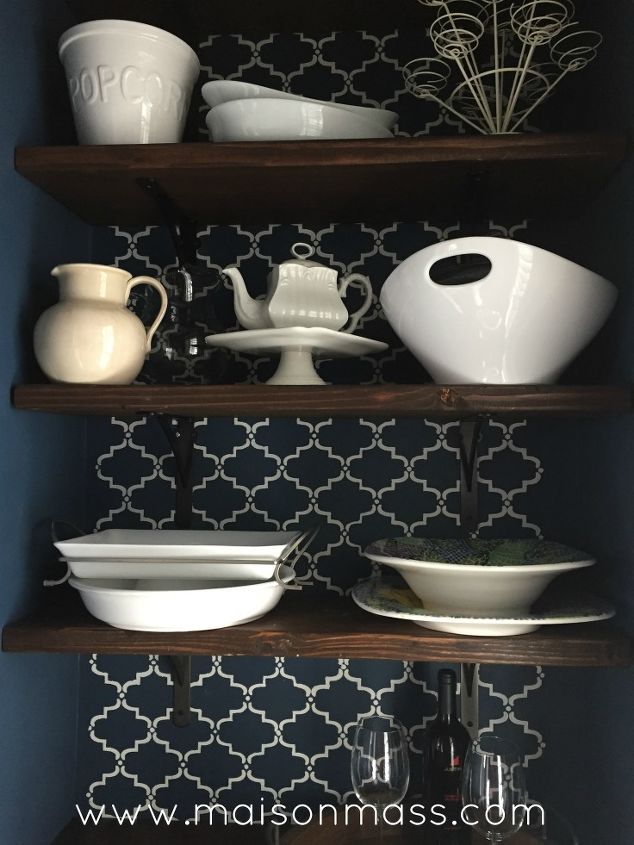
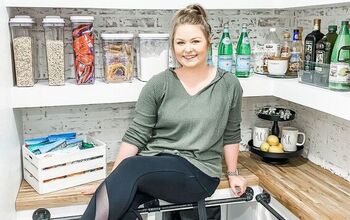
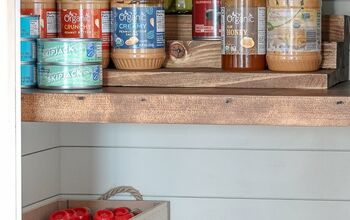
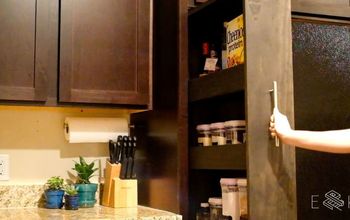
Finally, the shelves! With shelves in place the room finally has purpose. We chose pine wood for the open shelves which I first sanded and then stained with Varathane Dark Walnut. A few swipes with a cloth and the stain was done. The two photos below depict opposite sides of the small pantry; despite lighting, stain does appear identical in real life.
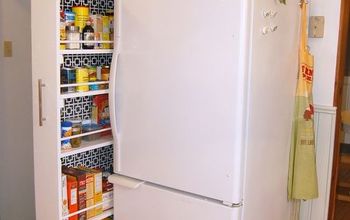
We opted for shelving over cabinets for a few reasons:
- Cost: unfortunately, at this time in our lives, and realistically speaking until we pass, cost still steers much of our decisioning.
- Practicality: once we decided that this pantry space would be used primarily for appliances, large serving pieces and wine storage, cabinet doors seemed more of a hindrance than helpful.
- Aesthetic: I didn’t stencil these walls for lack of anything better to do. We wanted the room to be pleasing to the eye and we’d long pined after the open shelves we’d seen on every other Pinterest board.
Thus with the decision to shelf, we turned to brackets, which were harder to locate than expected. We wanted the pantry to have somewhat of a rustic meets industrial feel and thought wrought iron would fit that bill. That bill it turns out was more sizable than anticipated. True wrought iron brackets cost about $75 a piece. Steel brackets are available at a tenth of that price. No contest.
Shelves up, wine refrigerator returned to its rightful place. Check. Years ago, when we reno’d the kitchen entryway and subsequently sacrificed kitchen cabinet space (which I realize seems counterintuitive), we also forfeited our working wine refrigerator. Exiled to the garage for the last three years, it has sat warm, empty, forlorn. Now, returned to its rightful home, in the home, it has purpose once again and we: cold wine.
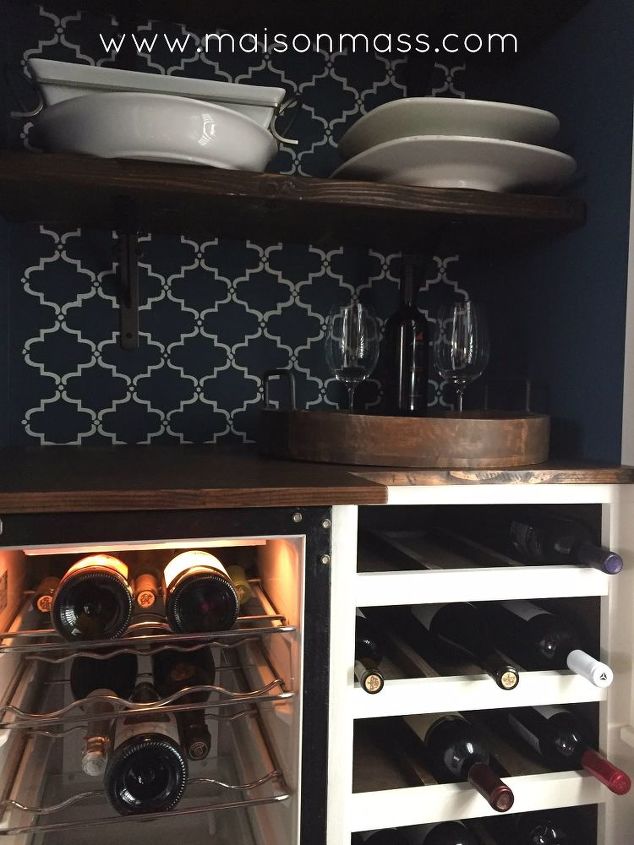
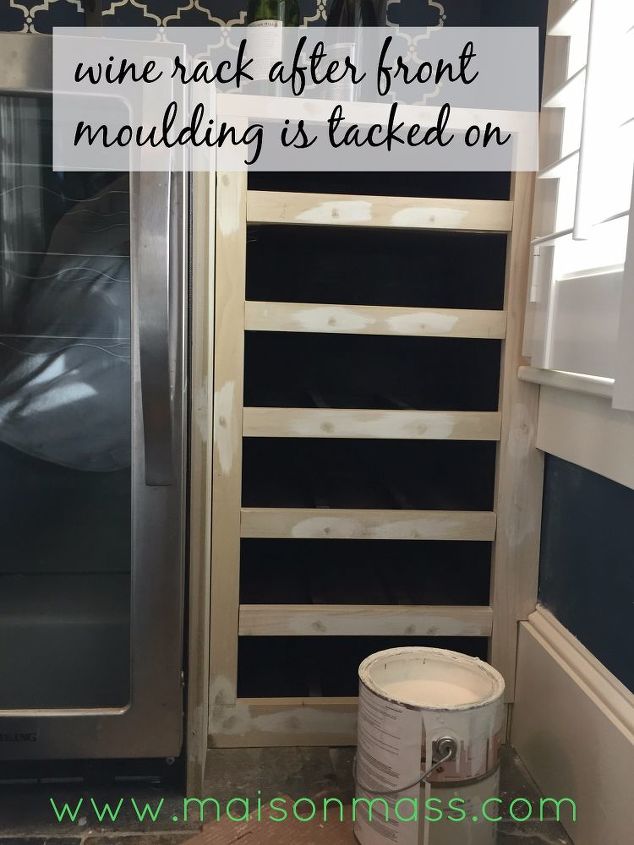
Next to the wine cooler, the resident woodworker has constructed built-in wine storage for other bubblies and such. He built the box frame first, and then cut five same size boards for shelves. On each he nailed two pieces of pine moulding (picture a window mullion), to act as wine dividers. Skilled labor finished, I was called in to stain once again. I stained the interior of the box and all the shelves. Shelves nailed in place, he then framed out the front of the wine rack, which was a bit more challenging owing to the adjacent window moulding. Just a few more measurements and cuts. We then slid the box into its new home next to its colder counterpart. Moulding was attached and once again I was tasked with painting. We decided on the same white as the window and baseboard moulding to achieve a more built-in look.
Finally all that was left was the countertop. We’d considered a granite remnant but it felt maybe too busy in this small space. Instead we opted for more of the original shelving look – stained pine. I might add that the pine was also a tad cheaper and a tad quicker and I was truly feeling the pantry push. This project had run its course and was anxious for closure.
We popped the pine countertop in, and the pantry was done, minus another hour spent touching up walls and scraping paint blobs from the slate tile floor. I let it sit clean, empty,… pristine overnight, and I would at intervals check on it and admire the finished product. I hate to messy it with real life but that is, after all, why we went down this path. We filled it in a matter of minutes and wondered if there were other underutilized spaces in the house where we could deposit more stuff. Still, it helps immensely, in that I no longer have to wrestle one kitchen appliance free of another. They’re always jammed in on top of another, with their cords in a vice grip around the other.
Now, when considering food prep, I can slide into the pretty pantry, take inventory of my various cooking tools orderly lining the shelves, steal a bottle of wine upon my exit, whilst I wait for the pizza to be delivered.
Check out the original blog post for more photos of each step and the finished pantry!

Want more details about this and other DIY projects? Check out my blog post!
Comments
Join the conversation
3 of 7 comments
-
Really great idea! Hmm, wonder where I could put this!
-
You've inspired me! I think I have a couple of places that might benefit from this makeover!


Frequently asked questions
Have a question about this project?