


Easy Chalk Painted China Cabinet in a Day
For me there is nothing more satisfying than transforming a tired and dated piece of furniture.
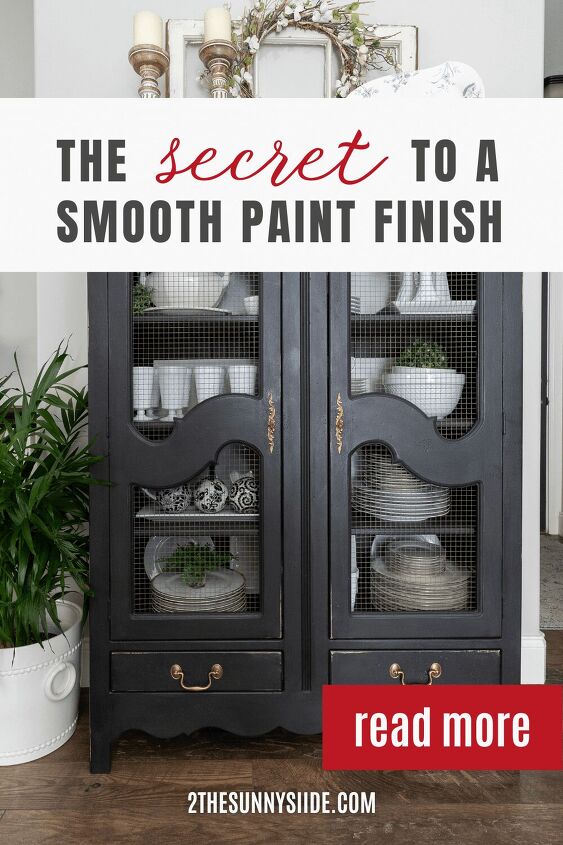
And I’m excited to share with you today, how to easily paint a china cabinet with chalk paint in just one day.
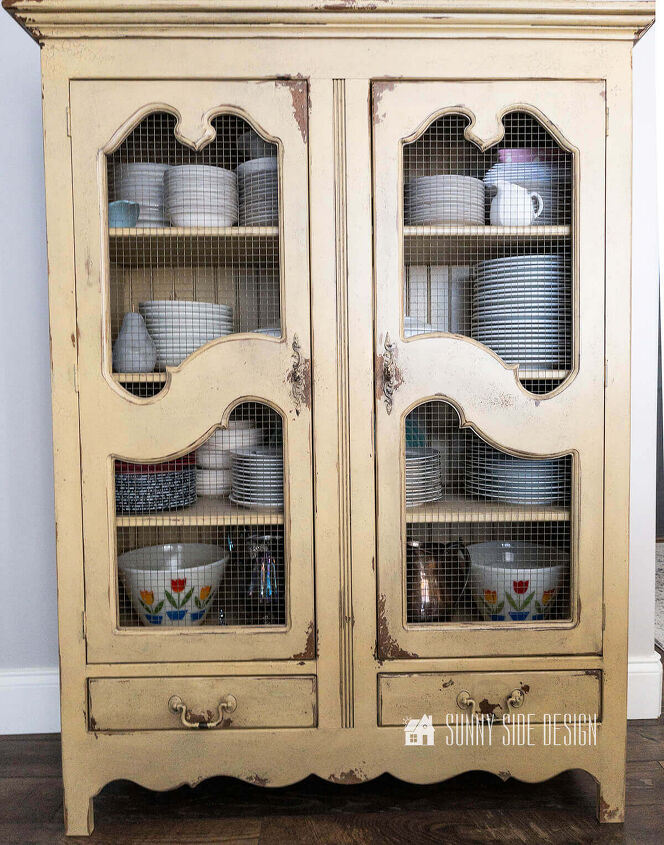
Several years ago I purchased this small china cabinet at a consignment shop.
Not only was it the perfect size for my dining area, but I was also drawn to the vintage, cottage look.
Over the years I’ve tired of the yellow finish and I’ve been itching to paint it black!
There’s something about black that just draws me in.
While the china cabinet still has its vintage cottage vibe, the black paint makes it feel a bit modern to me.
So scroll down and see how I painted this china cabinet with chalk paint in just one day.
In this post . . .
- Choosing the Right Paint
- Supplies
- Prep China Cabinet Before Painting
- Chalk Painted China Cabinet
- Distress Chalk Painted China Cabinet
- Top Coat or Wax
- Update Hardware
Choosing the Right Paint
First off, there are so many choices of paint to use when painting furniture.
Do you feel overwhelmed at all of the choices of paint?
Should you use latex paint, oil based paint, milk or chalk paint?
Which is the best for furniture?
And if you’ve wondered what paint would be best for your project, you’ll want to read “ Painting Furniture: Different Types of Paint and Proven Results.”
For my painted china cabinet I chose chalk paint.
Personally I like the matte finish of a chalk paint along with a wax for protection.
To me it keeps the vintage vibe I like and it’s easy to work with.
While there are many choices of chalk paint, I usually choose Behr’s chalk paint.
Not only is it a quality paint, but you can also have it mixed into any color you’d like.
I love that flexibility!
And it’s less expensive than most chalk paints on the market.
Supplies
You’ll need a few supplies to paint your china cabinet with chalk paint, many of which you may already have on hand.
When choosing a paint brush, choose a good quality brush.
In fact, a cheap brush will result in a cheap and unprofessional look.
Over the years we’ve used Purdy brushes and have loved them.
Recently we’ve tried the Zibra brush and love it too.
- chalk paint
- wax
- TSP degreaser
- angle paint brush
- mini foam roller
Prep China Cabinet Before Painting
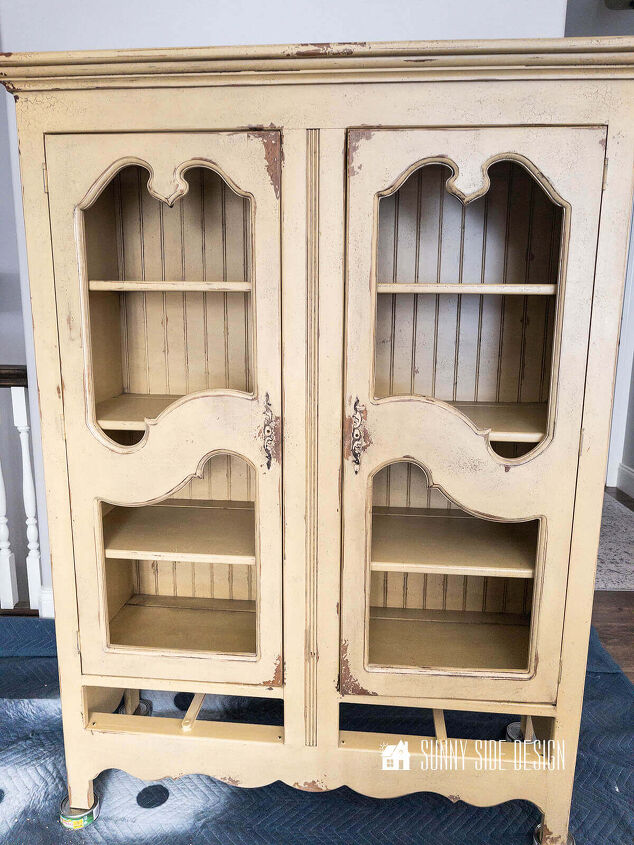
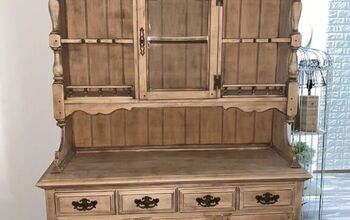
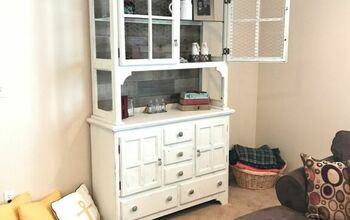
Let’s take a look at my china cabinet before I painted it with chalk paint.
It does have a fun cottage vibe, but it was a little too distressed for my liking and the finish felt dirty to me.
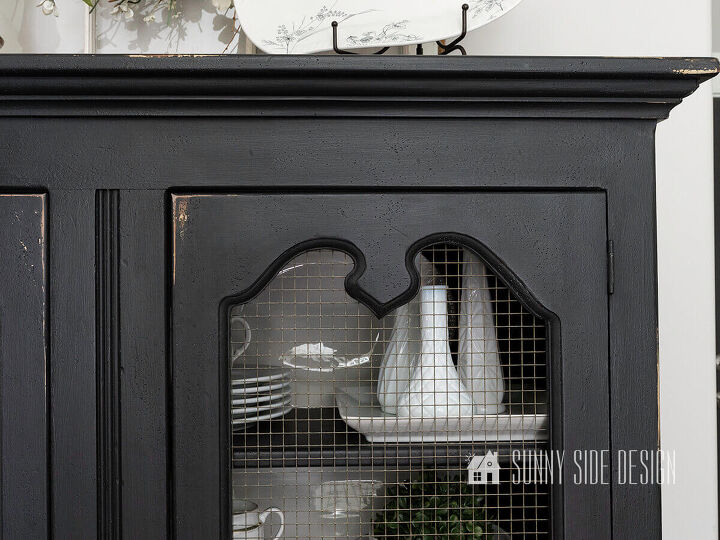
I do love the hardware cloth in the door panels and the bead board backing, for that farmhouse feel, so I’ll be keeping these details.
The original hardware is painted and I’d like to freshen that up a bit too.
Before you begin painting a china cabinet you’ll want to remove the hardware and give it a good cleaning
.
Because this china cabinet is located closely to my kitchen I thought it would be a good idea to clean it with a degreaser.
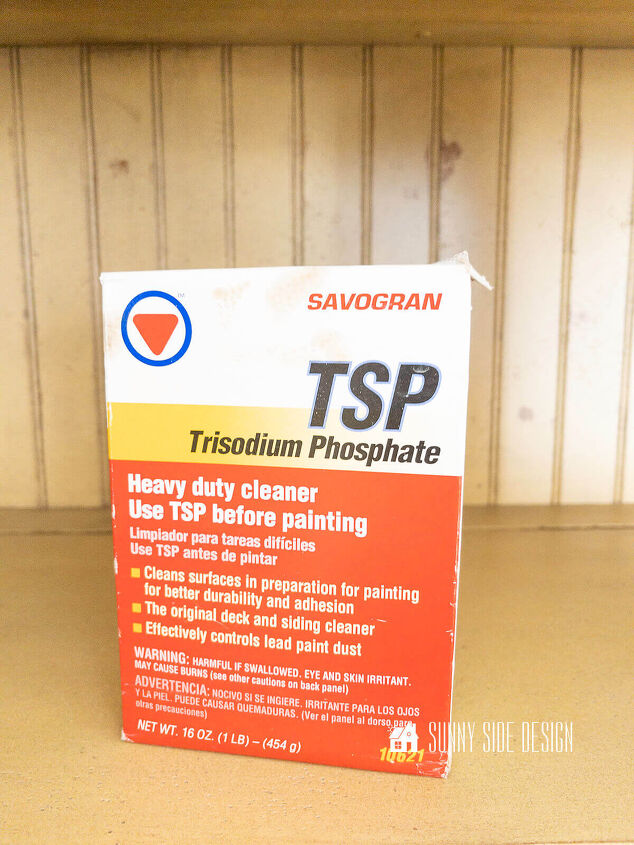
I like to use TSP to clean my pieces before paint, but Dawn dishwashing liquid would also be a great alternative.
Once the china cabinet is clean, we’re ready to paint.
Often I’ll take my furniture pieces I’m painting down into the basement or into the garage.
But this time, the piece was just too big to move myself, so I just prepped the area with a drop cloth and painted it in the dining room.
Enjoying this post?!
Please Pin it for later, and share it with a friend.
Sharing is caring!
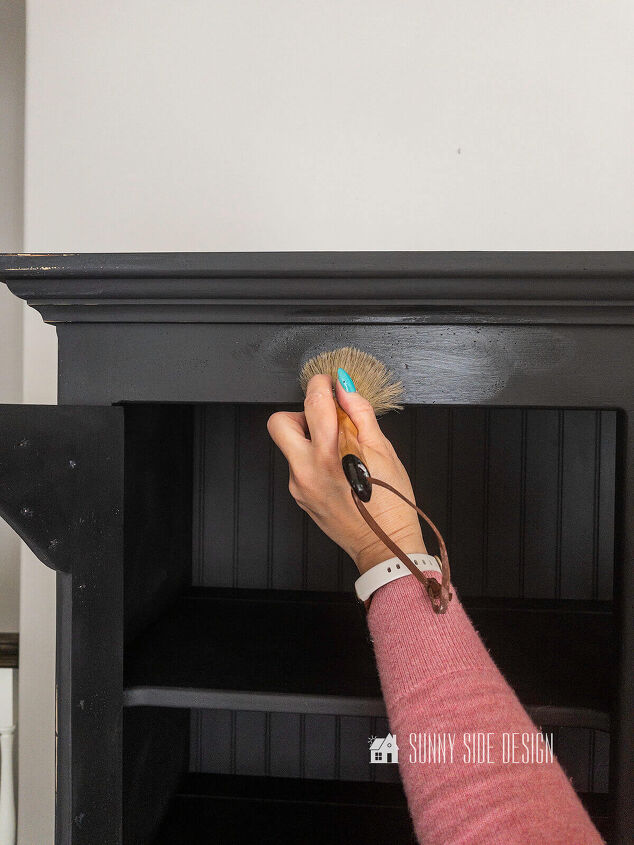
Chalk Painted China Cabinet
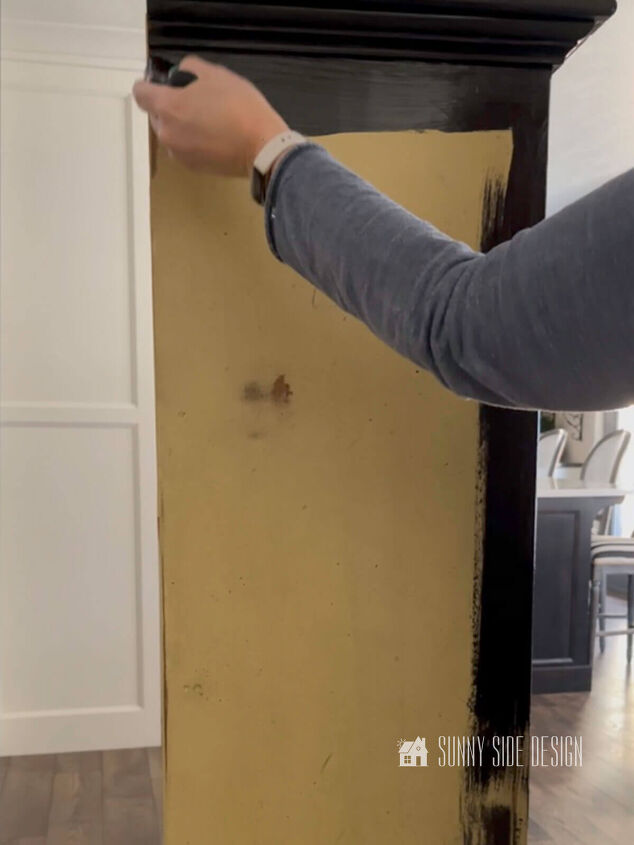
To paint this china cabinet with chalk paint, I first used my angle brush to cut in around the edges.
I also used the angle brush along the bead board backing and any detailed areas.
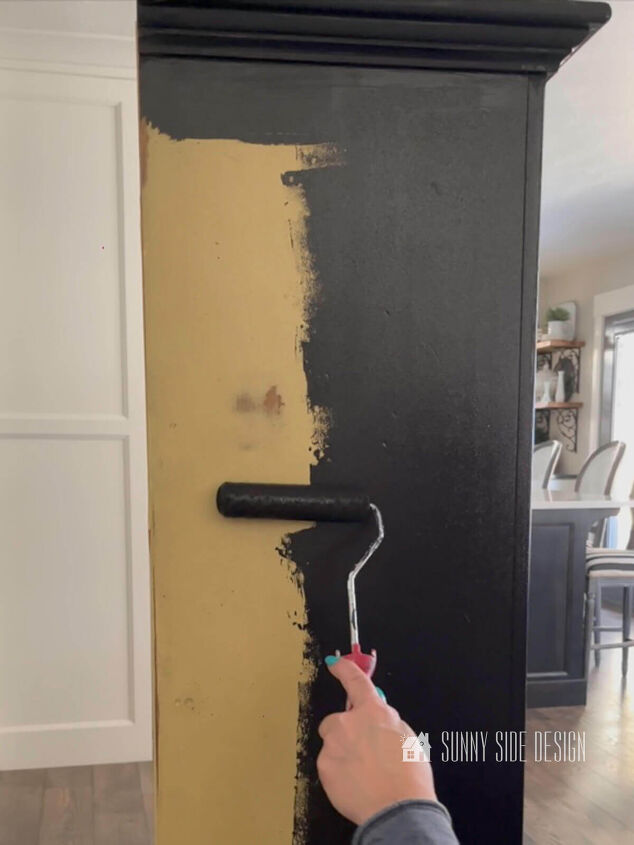
And then for the remainder of the cabinet, you’ll find that a high density foam roller is the quickest way to paint any piece of furniture.
It gives you a nice smooth finish and it is fast.

While it looks like the paint is covering the surface of the china cabinet well with just one coat of paint, I always do two coats of paint.
Often there are imperfections in the finish that you don’t see until it’s dry.
And two coats of paint ensures good durability as well.
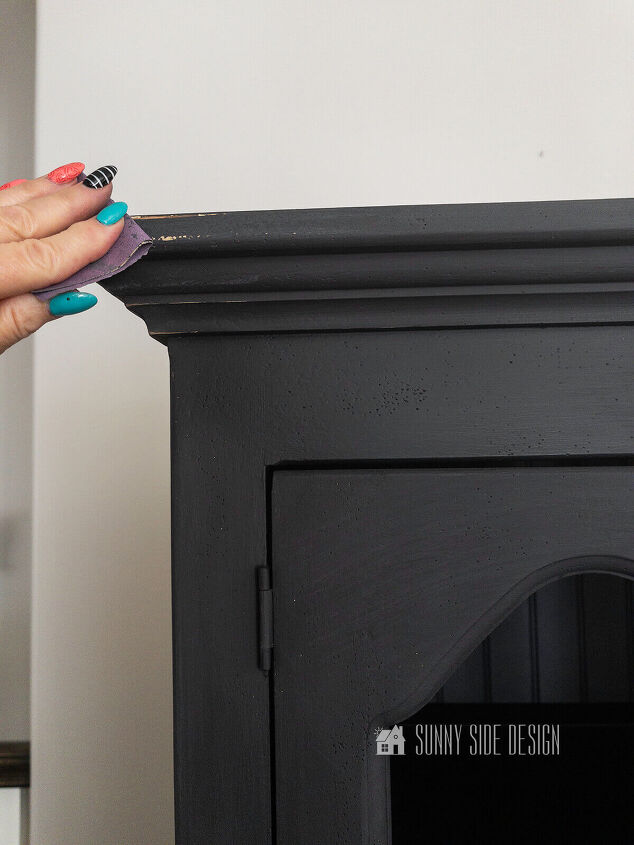
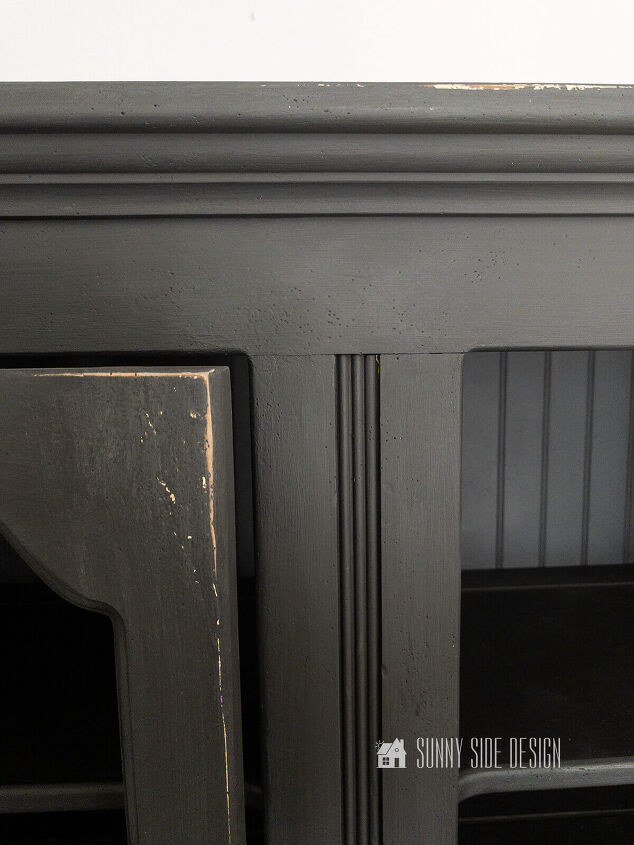
Distress Chalk Painted China Cabinet
Distressing your chalk painted furniture piece it always optional.
I do like a little distressing, to add a little age and character to the piece.
If you look closely at my china cabinet you’ll see the wood itself has tiny holes to simulate aged and vintage wood.
So it seemed appropriate to distress my piece a little.
Let the painted china cabinet fully dry before distressing.
To distress my china cabinet I used a piece of fine grit sandpaper, and rubbed gently on the areas where normal wear would take place on an old cabinet.
Focusing the distressing on the sides and corners.
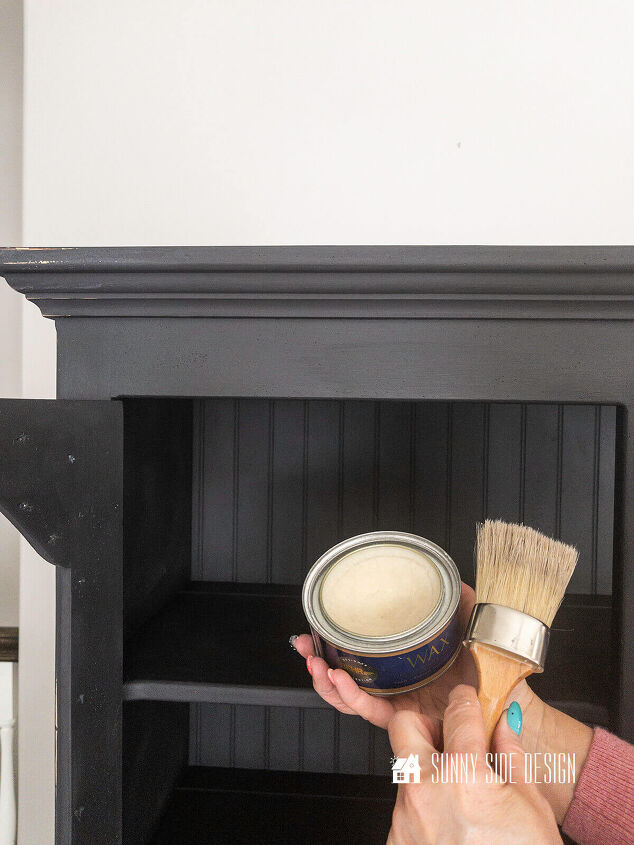
Top Coat or Wax
Certainly the finish of a china cabinet gets a lot of wear as dishes are slid in and out.
So protecting the finish is always a good idea.
For protection on this chalk painted china cabinet I will use wax.
Another option is a polyurethane top coat.
While it can be applied with a soft cloth, I like to use a waxing brush.
This way I’m able to work the wax into the details and grooves in the furniture piece.
Once the wax is applied to the entire surface, let it dry completely.
Often it will take an hour or two, just wait until it no longer feels tacky.
Then buff with a soft, clean cotton cloth.
Now that the china cabinet is all painted, the hardware cloth is stapled back to the doors and it’s time to freshen up the old hardware.
Let’s stay connected! Follow us on social media!
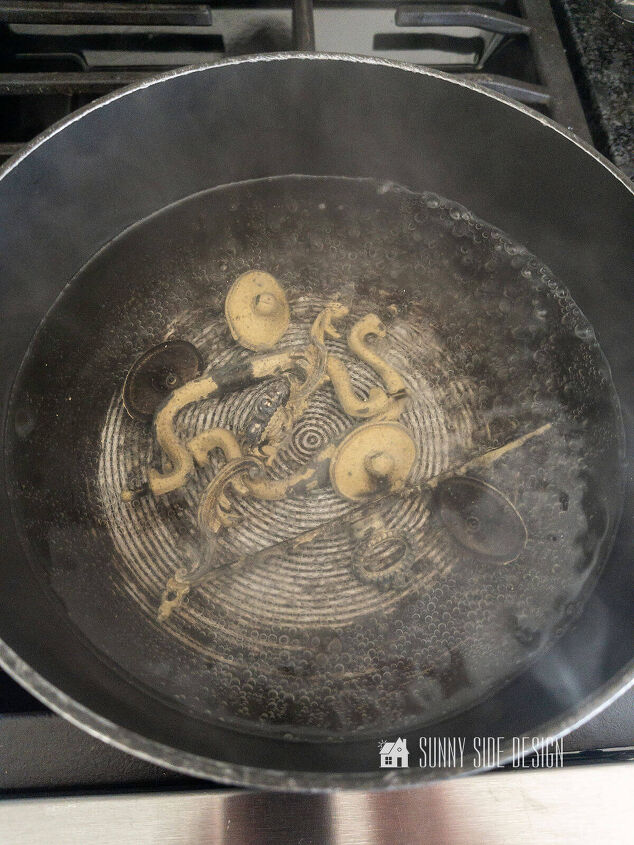
Update Hardware
The hardware on my china cabinet was covered with paint.
That’s not a look that I wanted on my refinished piece.
You easily remove paint from hardware by simply simmering on the stove.
Or you can use a slow cooker to clean the paint from antique or vintage hardware.
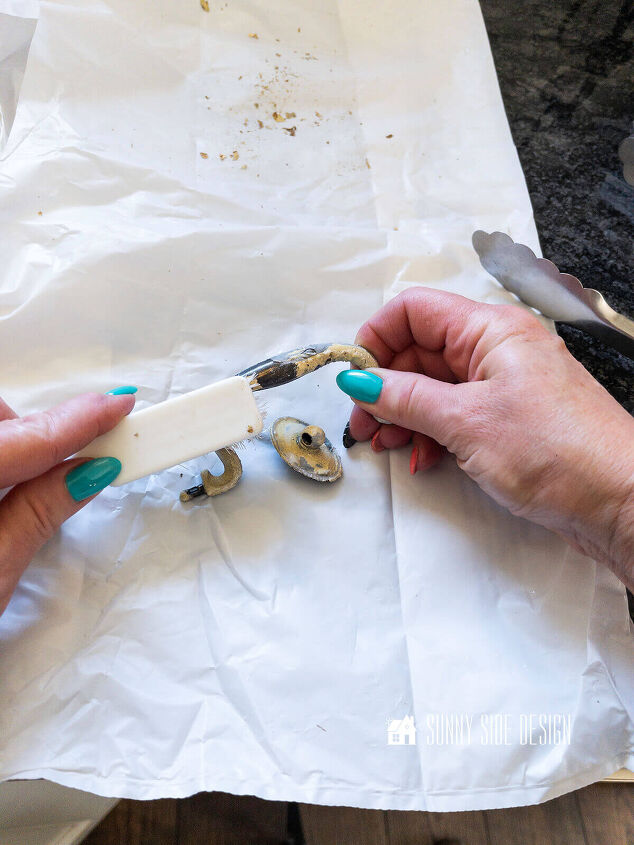
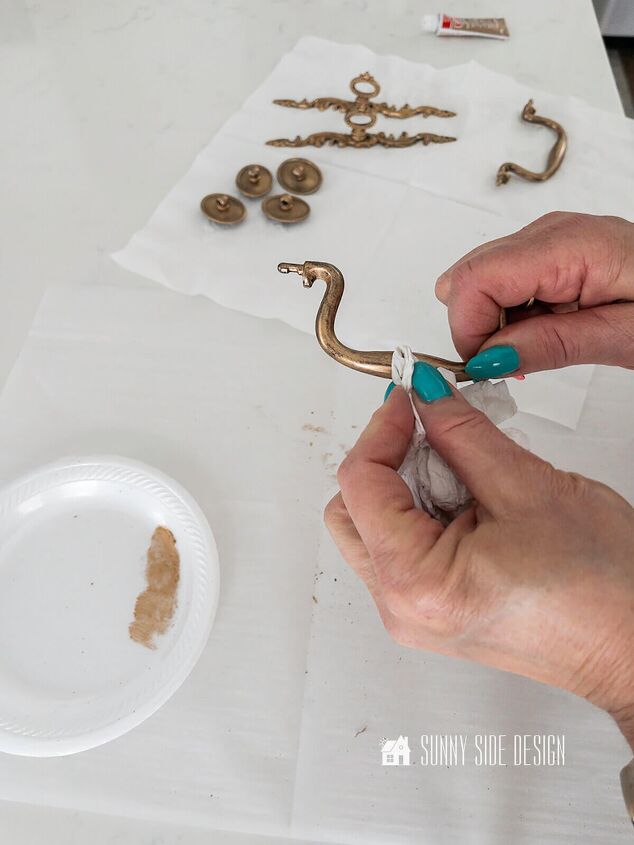
Once you see the paint start to loosen from the hardware, remove it from the hot water and scrub the paint off with a brush.
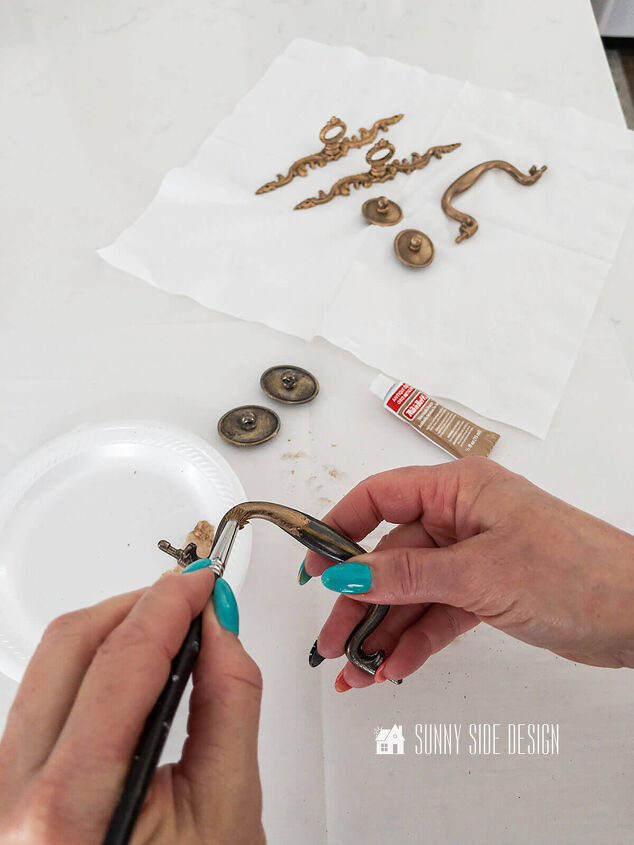
After removing the paint, I still felt like the hardware looked a little dingy, so I applied a coat of Rub and Buff in antique gold with a paint brush.
I really wanted the hardware to pop against the black chalk painted china cabinet.
When the Rub and Buff is dry, buff with a soft cotton cloth and then reattach the hardware to the china cabinet.
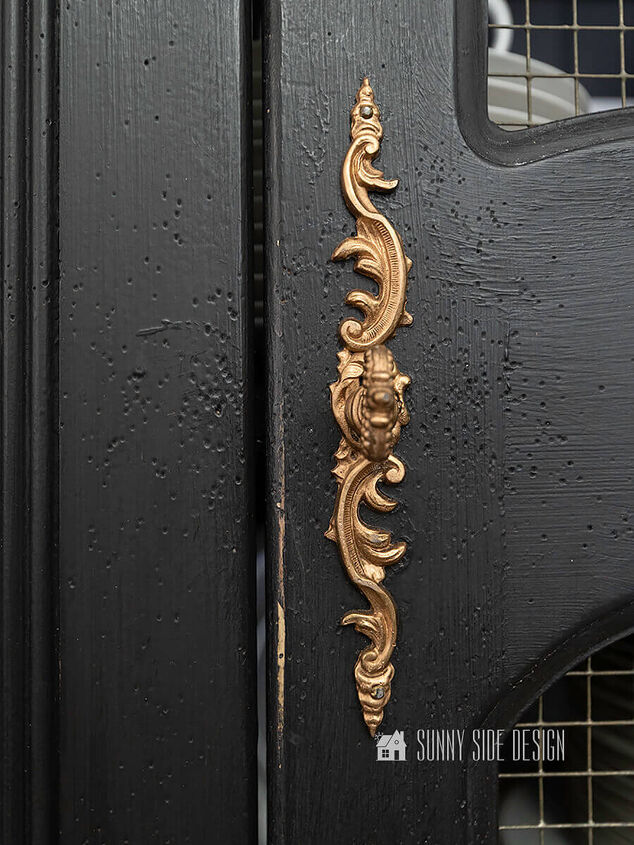
I love the way the antique gold really stands out against the black cabinet.

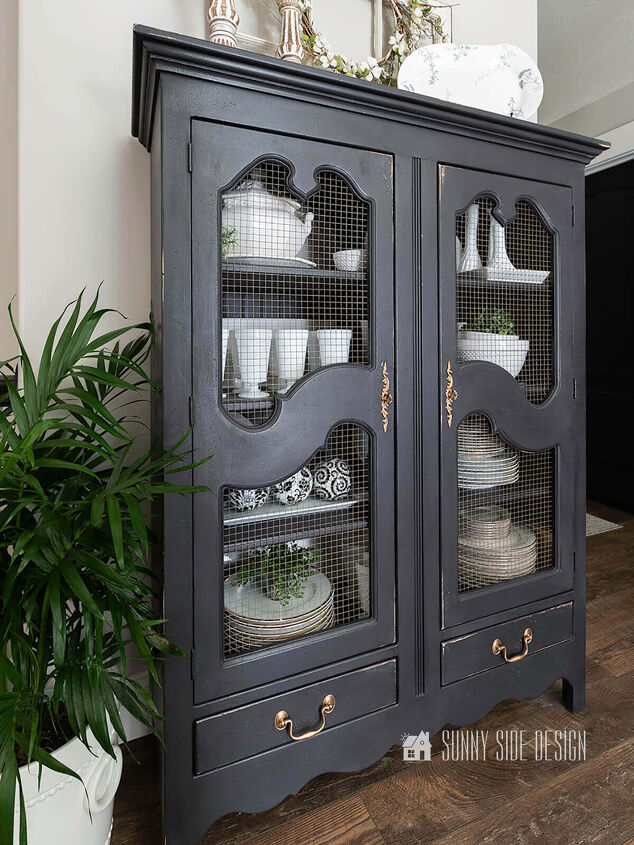
The china cabinet still has a farmhouse, cottage feel and yet feels a bit modern with the black chalk paint.
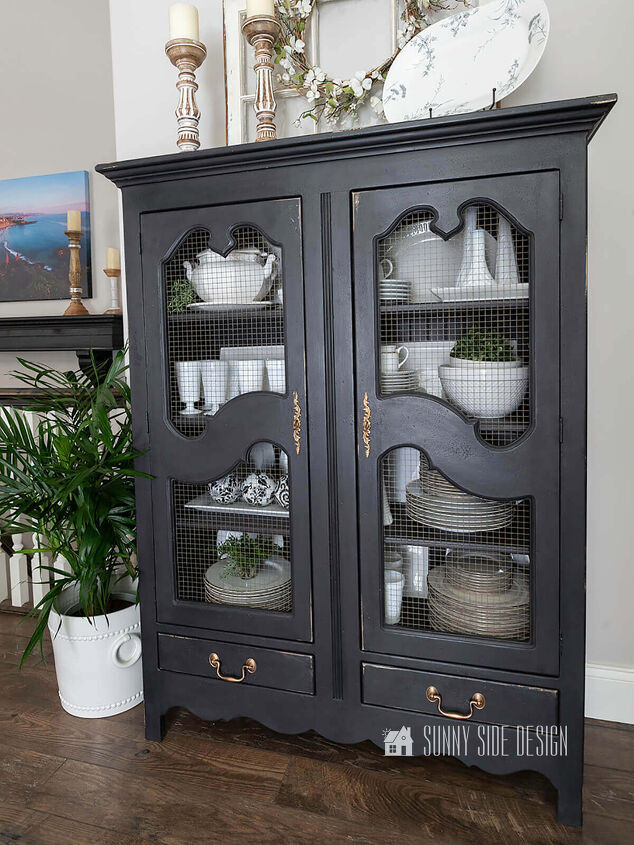
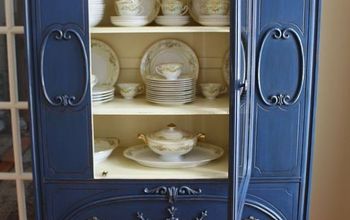
And finally I filled it with my collection of white dishes, so there’s a nice contrast.
So what do you think of the black chalk painted china cabinet?
Does this feel like project you can do over a weekend?
Are you enjoying this post?!
Please Pin it, save it for later and share it with a friend.
Sharing is caring!
We hope you found a little inspiration here today.
For more furniture makeovers with chalk paint see the following ideas:
- Chalk Paint Coffee Table Makeover
- Simple Upcycled DIY Sofa Table
- Heirloom Piano Makeover
- Refinish Wood Dining Table
- Makeover Bar Stools with a Farmhouse Style
- Thrift Store Desk Makeover
And chalk paint can be used for more than just furniture. Just check out these ideas.
- Simple Wooden Plant Pot
- How to Make Bust Halloween Decor
- DIY Halloween Skull Napkin Rings.
Please visit our website for more chalk painted furniture and accessories.
We find it so rewarding to take old discarded pieces and breathe new life into them.
What’s your favorite piece you’re transformed for your home?
Please share your thoughts and questions with us.
We love to hear from you!
If you’re new here, WELCOME! We love having new readers and friends!
You can learn more about us here.
Let’s stay connected!
Subscribe to our free newsletter so you don’t miss any inspiration for your home.
Please PIN and save for later, and share with your friends!
Sharing helps grow our following!
Thanks for stopping by and as always here at Sunny Side Design…
WE HOPE TO BRING YOUR HOME TO THE SUNNY SIDE OF THE STREET.
Be sure to follow us on Pinterest for even more home decor and DIY ideas.
To see what we are working on before it’s on our blog, follow us on Instagram.
You will also find our video tutorials on our YouTube channel.


Frequently asked questions
Have a question about this project?