


Easy DIY Wood & Cane Dining Chair Makeover

by
Love & Specs
6 Materials
$120
4 Hours
Easy
Today's epic DIY project is one that we've been patiently waiting to come to fruition for what seems like many, many moons. We'd been searching, and searching, and searching for the perfect dining chairs for our breakfast table for some time now that were the right style and size, and when we found these super cheap beauties on OfferUp we knew they'd be just the ticket! We knew right when we found them that we wanted to give the chairs a white paint job and leave the cane in its natural state, but we needed to make sure the white/cream paint we used was going to come as close to matching the white/cream paint color on the breakfast table. So we did a little test with the two off-white paint samples and Sherwin-Williams "Creamy" was the winner. This is such an easy DIY makeover that you could give any vintage or antique cane and wood dining chairs in any color that fits your home's design scheme!
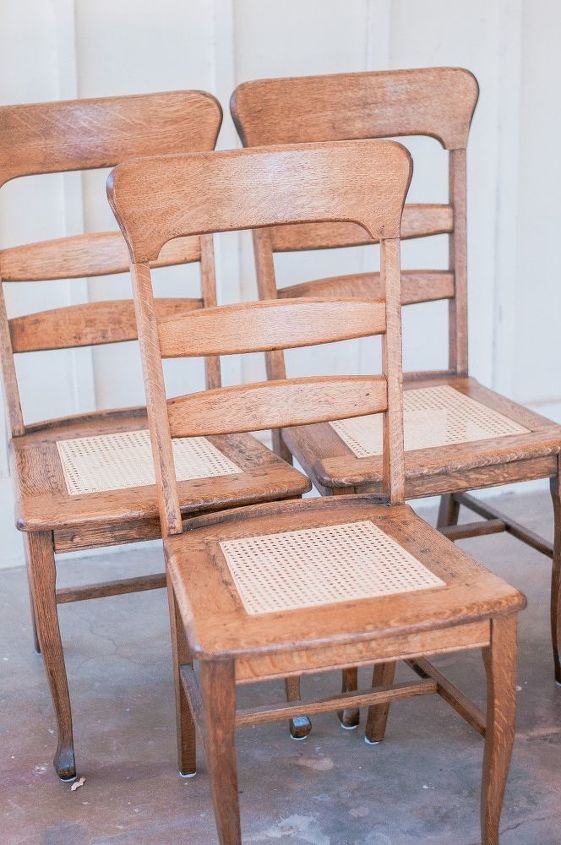
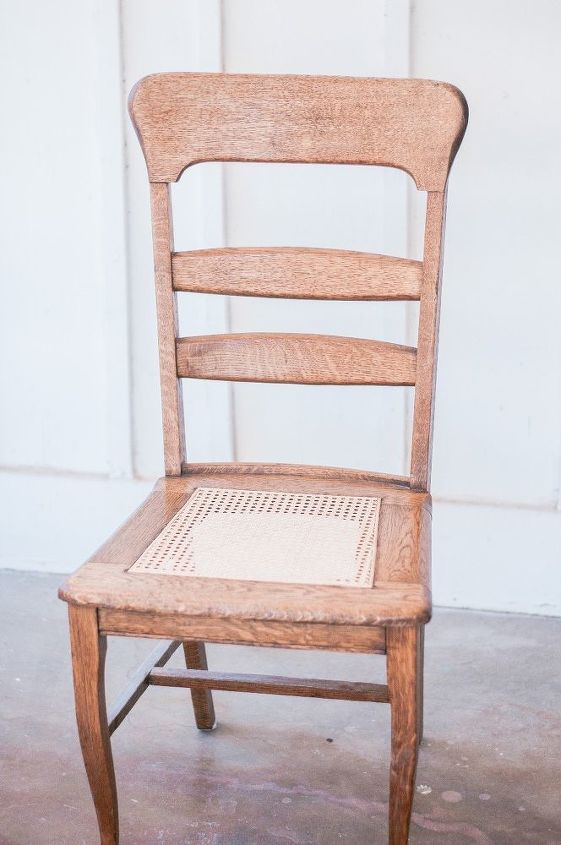
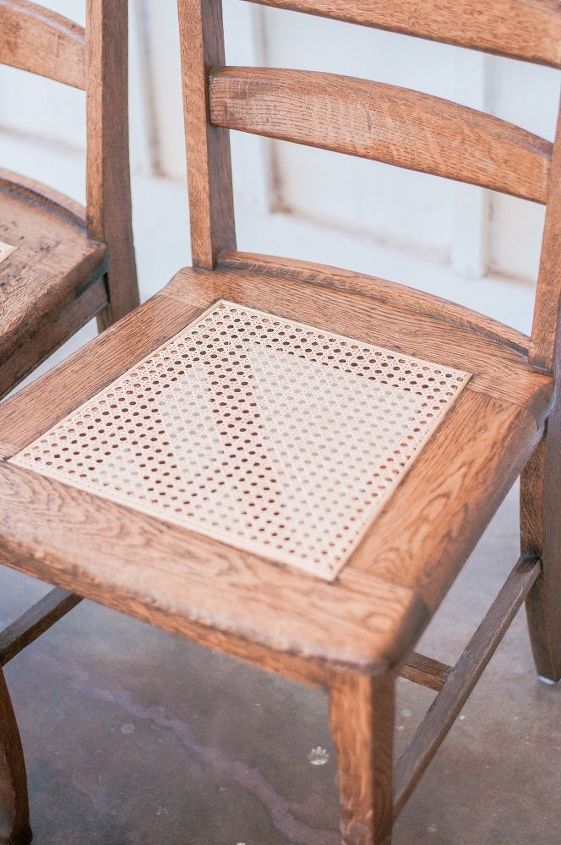
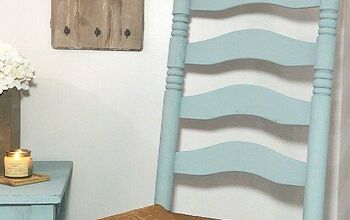
A before photo of the chairs after we bought them and before we sanded.
First, we sanded these really carefully using the finishing sander and 180-grit sandpaper squares. We could see that there was some sort of thick varnish or topcoat on these, so we needed to sand that off as much as possible (I really, really didn't want to strip it), but we had to be careful not to go too hard and accidentally split any wood or weaken any joints further. I also used a small 180-grit sanding block around the cane to be extra careful that I wouldn’t accidentally hit that part of the chairs with the finishing sander. If you’re sanding a varnish, just keep checking that you don’t have any shiny spots left.
To reinforce these chairs we used the exact same approach/steps we used when we gave these old rocking chairs a makeover and had to reinforce them. So check out those steps and make sure to leave us a comment below if you have any questions about how to countersink or use dowel rods to reinforce whatever you need to. Chris reinforced whatever spots were wobbly... which was a lot on these 4 chairs because they're extremely old.

Once we reinforced these we had to sand them a little bit more, not only to catch some lingering shiny spots, but also to sand the dowel rods down to line up flush with the chair frame. Seamless! Wipe the chairs with a damp cloth to remove any lingering dust and then finish with a soft brush or compressed air to get any bits of dust off of the frame. I love using compressed air for those little corners and crevices.
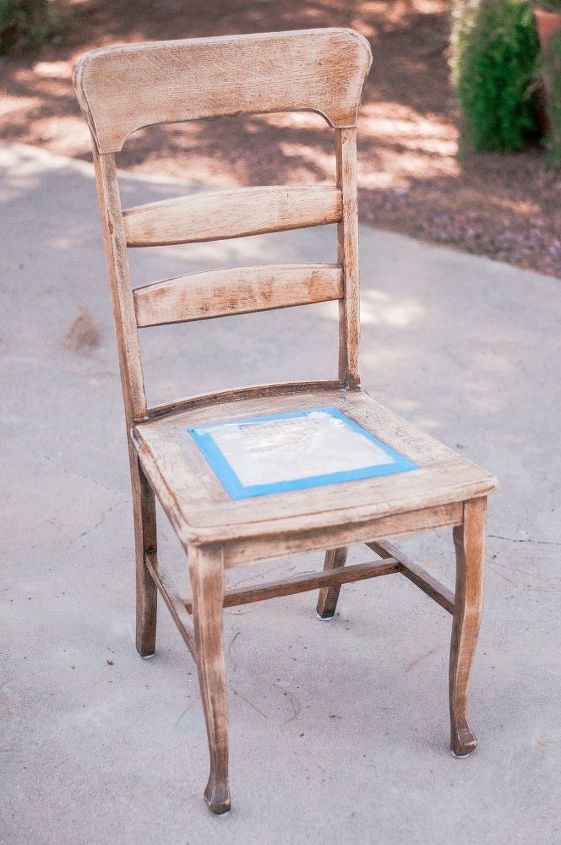
Cover the cane portion of the chair with tarp/plastic and painter’s tape on the top and bottom of the seat. We didn’t paint the bottom, but since we eventually sprayed these it helped protect the cane from catching any overspray.
Now it’s time to paint! I painted the majority of of the first chair by hand because I just love that hand-painted look on a wood piece like this and generally enjoy the act of hand painting. But it took what seemed like forever and I just didn’t have the patience to do all 4 that way. Not enough Hallmark movies in the world to get me through that! So we decided to go the easier route and use the airless sprayer on the rest of that chair and the rest of the remaining chairs and it was ah-maz-ing. So much easier and the finish was perfect. It’s probably one of the easiest airless sprayer experiences we’ve had to date and we assume that’s because the interior paint formula was a really solid one and not super thick. Sherwin-Williams for the win!
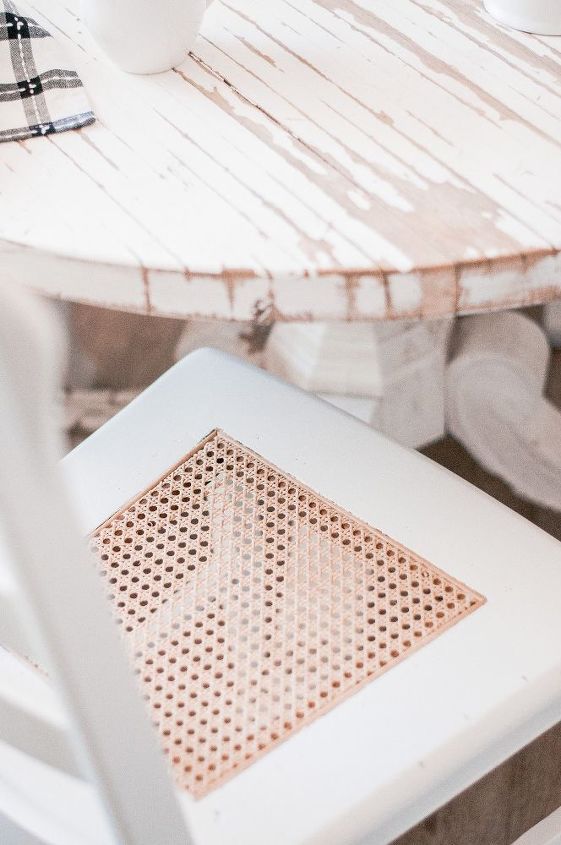
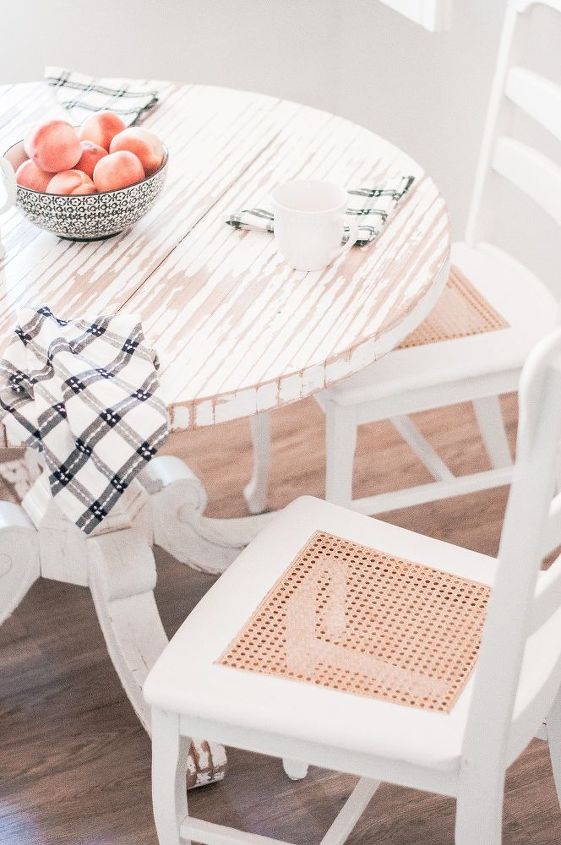
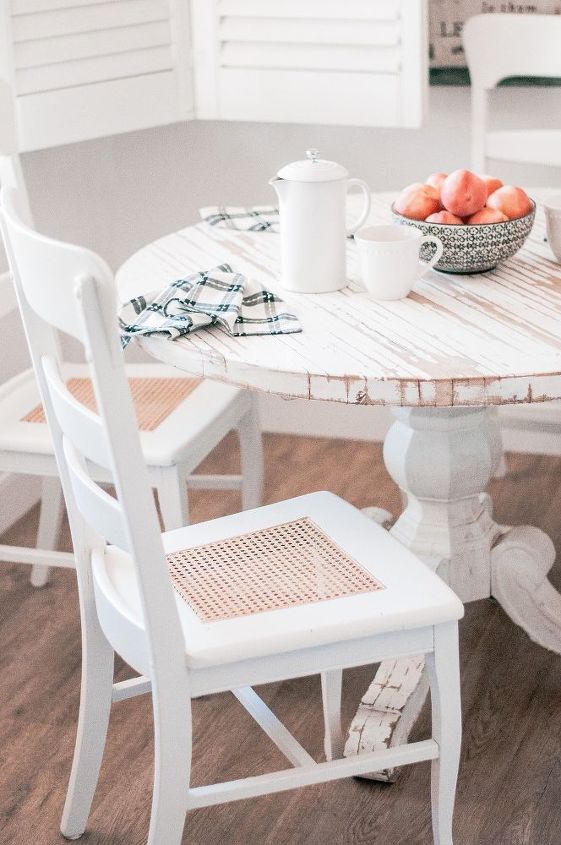
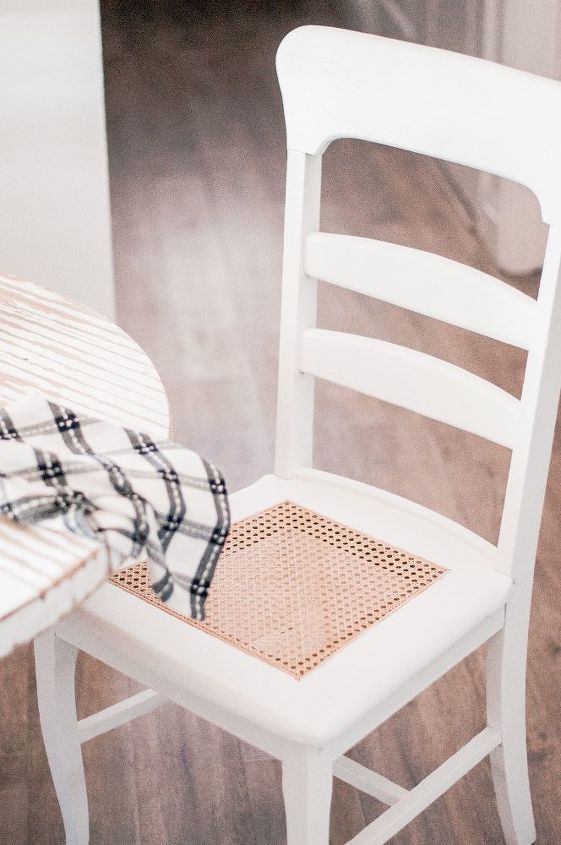
The finished product at our breakfast table. The paint was a near perfect match!
Not a speck of paint landed on the cane portion of the chairs and we were so happy. All that careful prep work with the painter's tape and the tarp really helped!
We love sitting in our new chairs drinking coffee every morning, and we're so happy that we could breathe stylish new life into these amazing antique chairs!
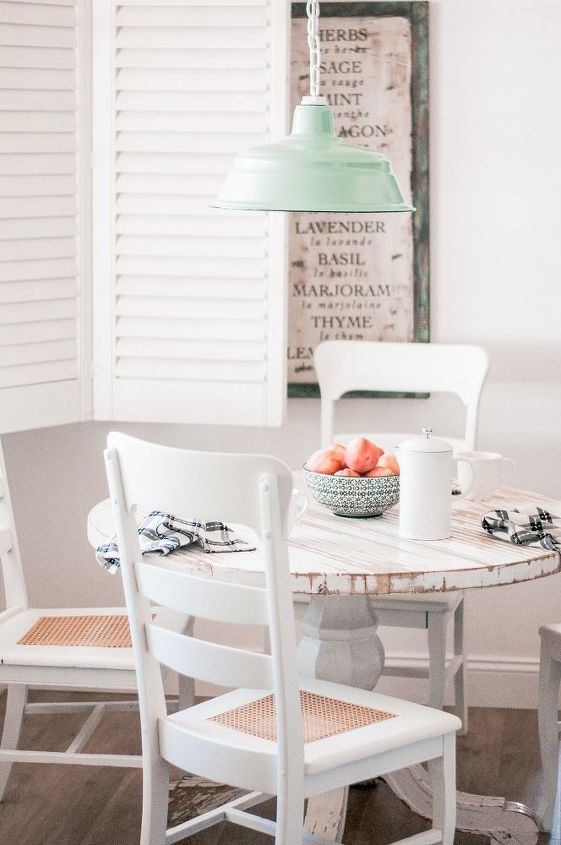
A cozy breakfast table corner!
Want more details about this and other DIY projects? Check out my blog post!


Frequently asked questions
Have a question about this project?