


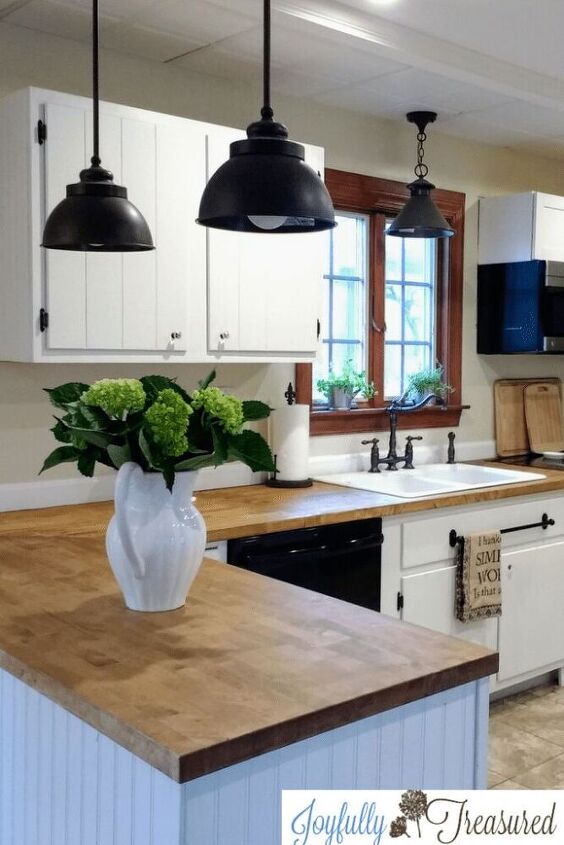
Finishing Butcher Block With Wood Bowl Finish
When we remodeled our kitchen several years ago, I researched obsessively about the best method for finishing butcher block counters.
We did not want a finish that was a lot of work to maintain, or allow the wood to get stained or scratched easily. I also wanted to somehow stain the butcher block we purchased into a darker warmer shade. Most importantly, we wanted to use a finish that was completely food safe.
In the end, there were two non-toxic finishes that I was considering, tung oil and wood bowl finish.
If you’ve read about our kitchen already, you know we adore our dark tung oil butcher block countertops. I saw a photo of what they looked like on birch butcher block with the nice matt finish, and I was sold! You can read more about the dark tung oil countertops in this post.
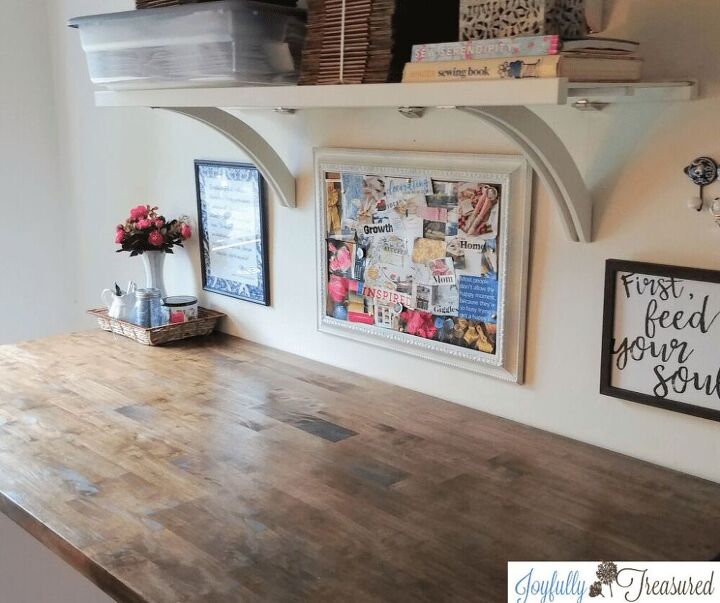
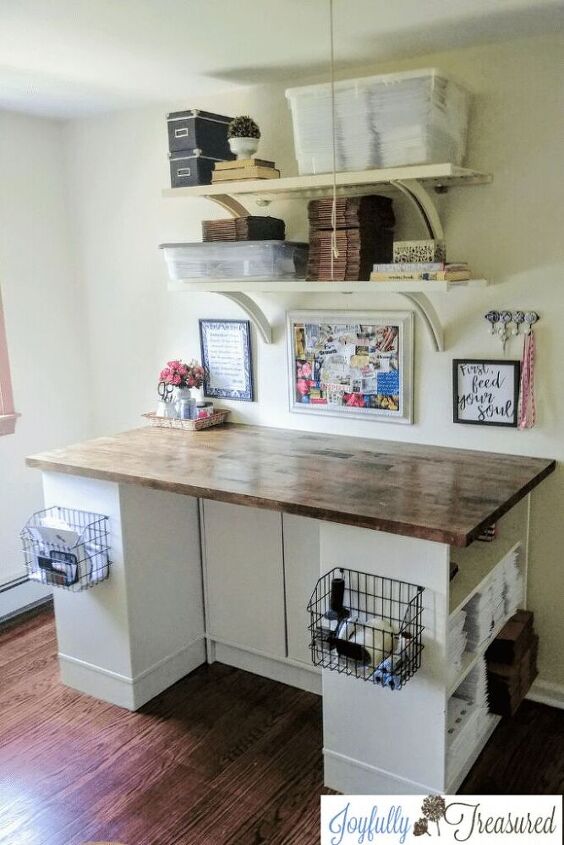
For the butcher block on my craft table, I wanted a finish that would cure or dry very quickly and need zero maintenance. No tacky oils near my ribbons and supplies, thank you!
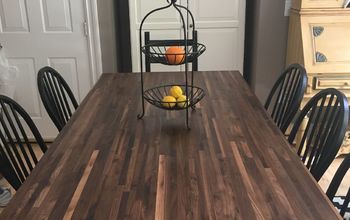
Our butcher block worktop is an inexpensive island slab from Lumber Liquidators. Since the wood tone is very pale, I wanted to use a nice dark walnut stain.
I first learned about General Finishes products through their amazing gel stain. When I read about their Wood Bowl finish when exploring options for finishing butcher block, I was really excited to try it out!
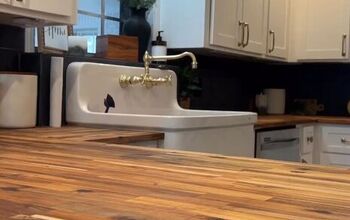
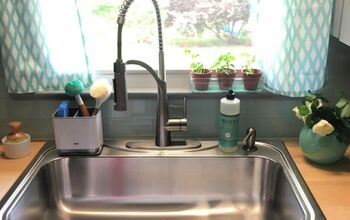
I loved it so much, that I used it again for the butcher block we installed around the sink in our powder room.
Wood bowl finish is a glossy and durable water proof finish. If you happen to have a wooden salad bowl or tongs…you already have an idea of how bowl finish looks!
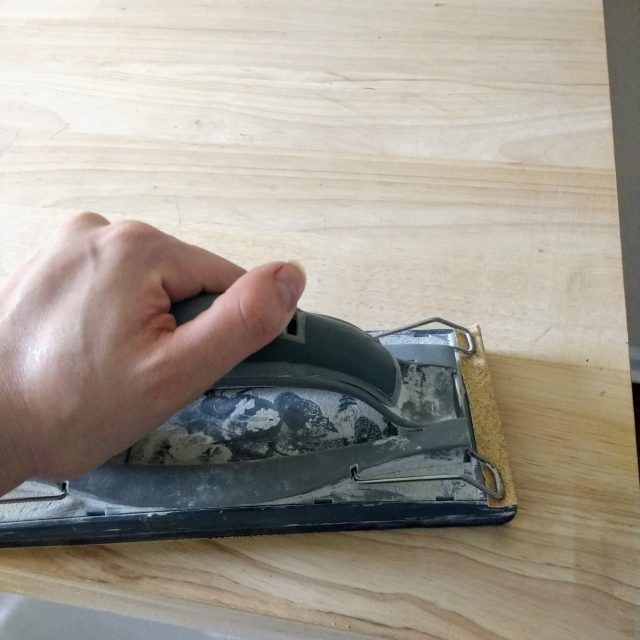
First, I sanded the surface lightly with a hand sander.
I did this mainly because I was using the butcher block several months without sealing it, and there were some marks here and there in the surface. There were also a few planks in the island that had a rough texture.
Once it was nice and smooth, I wiped the surface clean and let dry. Try to sand evenly over the whole surface, as the more you sand, the darker the stain will be.
I can tell the stubborn marks where I over sanded because the stain came out darker! If this was not in my craft room, I would have just used the orbital sander to make it easy to sand uniformly.
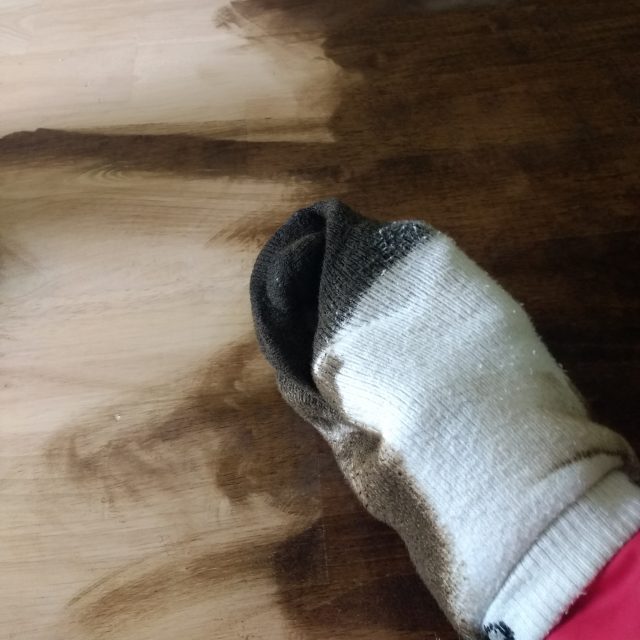
Next, I applied a dark walnut stain with a sock.
I applied it lightly with one sock rag, and wiped gently with a fresh one as I moved across the worktop. It only took one light coat to get a nice dark finish!
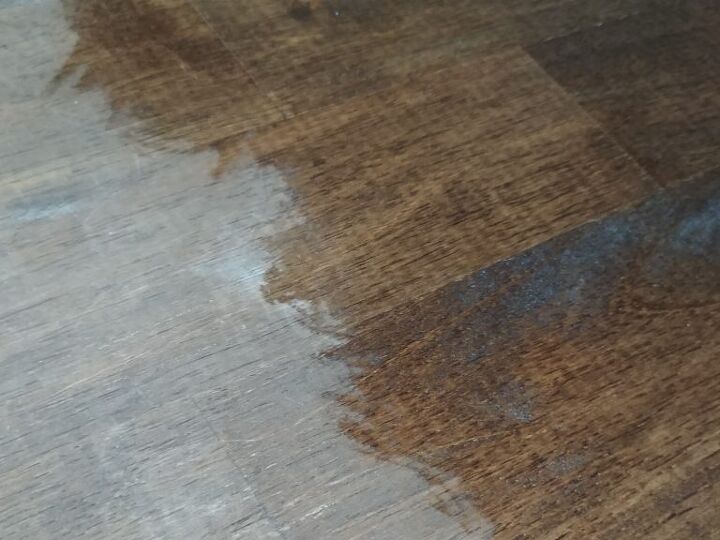
After the stain cured, I applied the wood bowl finish with a rag.
It is very quick and easy to apply. I simple wiped on a thin coat with a rag, being careful to wipe up any excess. Here is the first coat being applied.
General finishes recommends 24 hours between coats. So I sealed the butcher block with three coats 24-36 hours apart.
They also recommended sanding with a very fine grit (220-320) sanding foam between coats.
The finish felt completely dry when I checked it after 24 hours. General Finishes states the product takes 3o days to fully cure, and to avoid placing any heavy objects on the finish during that time.
The table was used every day during the curing period. I was just careful to treat it gently for the first couple weeks.
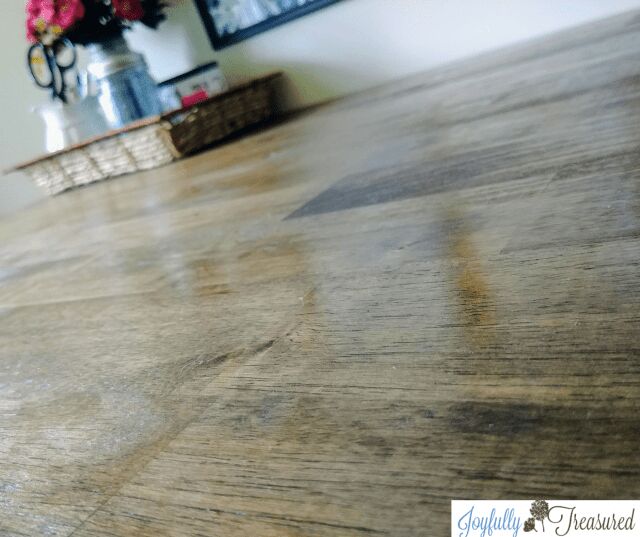
I really love how this finish turned out. It was a breeze to apply and requires virtually zero maintenance. I wouldn’t hesitate to use bowl finish again for finishing butcher block.
In fact, I already used it on the butcher block in the powder room! Since it seals so water proof, it doesn’t need to be babied as far as rigorous cleaning.
Next, I am going to use it for the wet bar butcher block in the basement.
For a more in depth summary of pros and cons of different butcher block finishes, check out my original blog post with the link below!
Happy DIYing!


Comments
Join the conversation
-
What is the cabinet set up underneath? Does the cabinet by your feet slide open also? Looks great and very functional!


Frequently asked questions
Have a question about this project?
Was the undercoat stain made by the same people as the final shiny coat? OR was it Minwax?
BEAUTIFUL GLAZE!!
I have a butcher block island top, bar top, and bathroom vanity tops I need to seal. If I used only the wood bowl finish, would it change the color at all? My butcher block is birch.