


Giving an Old Favorite a New Life

by
Kaye
4 Materials
$58
2 Weeks
Medium
My mom bought this children's cabinet from a local carpenter when my older sisters were tots. It clearly was well built as it lasted through four more girls and numerous moves. It finally wound up at my younger sisters. Monie stripped most of the old paint off and moved it a few more times. In the process of building a lovely new home, it found a semi-permanent spot in her garage.
I talked her into letting me rehab it and the project became a labor of love. During the "discovery" phase of rehabbing, I found it needed some serious TLC. Luckily my hubby took interest (or maybe placated me) and provided his wonderful assistance.
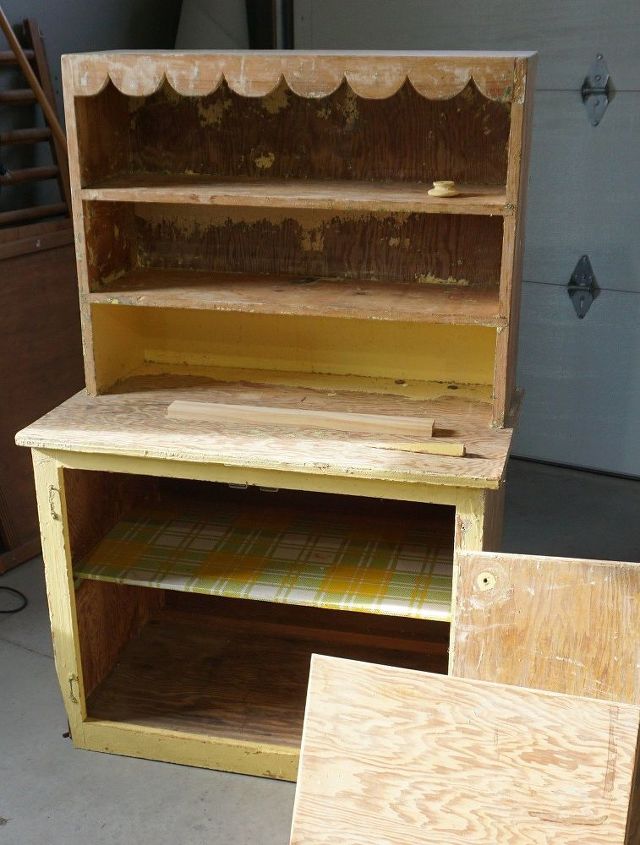
The first thing we did was to finish taking the piece apart. Off came the panel in the back and out came the shelf. The shelf was covered in old contact paper. I had no idea how that was going to come off but knew scraping would be involved.
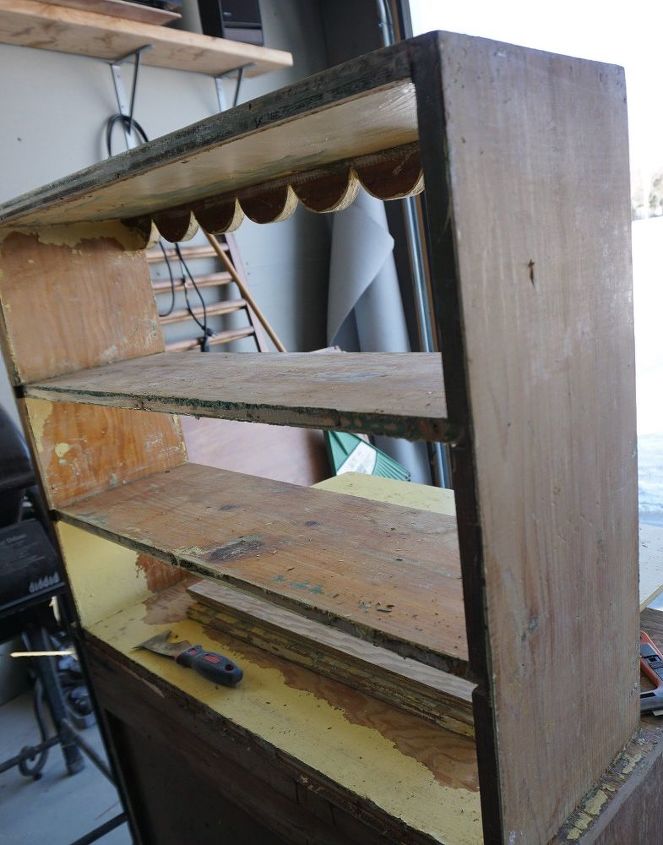
We used a sharp putty knife to remove as much of the remaining paint as possible. The hardest part was getting underneath the shelves; so we laid it on its' back. Note: scraping paint near the floor is great for the leg muscles.
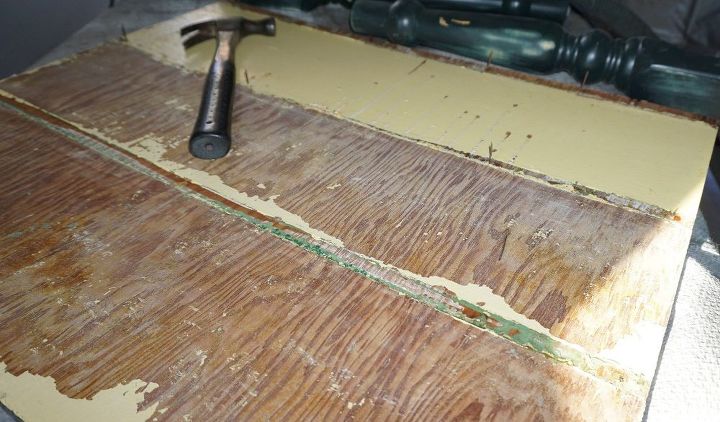
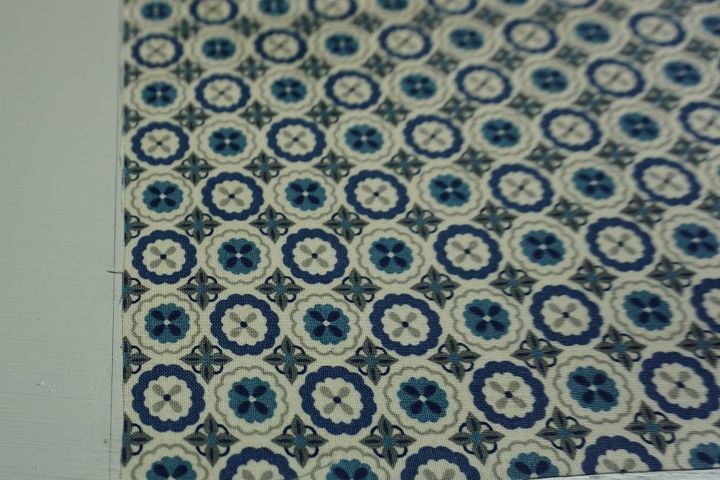
I wanted to line the back of the shelves with wallpaper but could not find a scrap piece to work. A friend of mine suggested using fabric. I wasn't sure about this idea but thought I could take it back off if I didn't like it.
Luckily, the fabric idea worked so I didn't have to find out. I cut a piece of light weight fabric approximately the same size as the board with 2 inches extra all the way around.
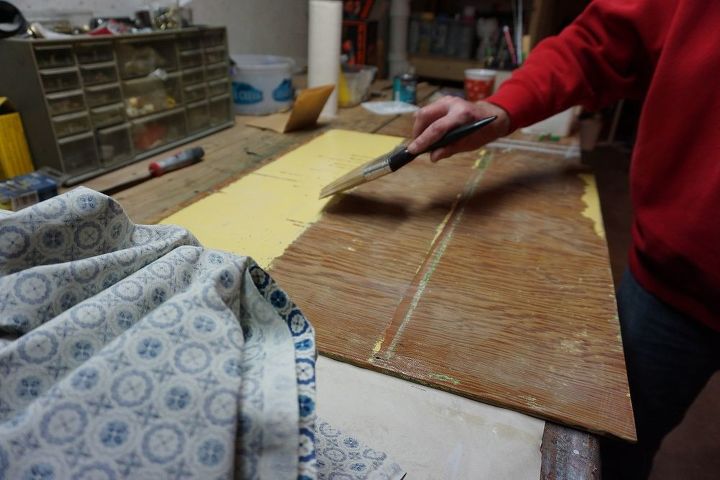
I used a 4" paint brush to spread a even layer of leftover wall paper paste on the board. Then Joe and I carefully laid down the fabric on top of the board and used a short-bristle wallpaper brush to smooth it out. (In my next life, I will not buy a fabric with visual lines on it as the glue makes re-positioning fabric very hard. )
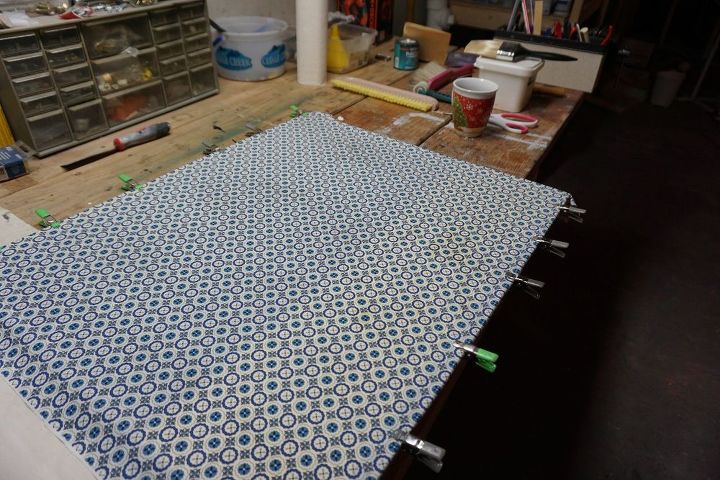
I used these small electrical clamps to hold the fabric in place.
These clips are awesome. You can find them at any big box store in the tools area. They are great for any hobby and cheap. I flipped it over and pasted down the edges of the fabric on the backside.

I found some wood flowers on-line to glue on the scalloped edges on the top. As the scallop widths were not exactly equal, I had to measured down from the top and eyeballed center on each one. I used a blue that was close to the blue in the fabric and lightly dry brushed white over the blue.
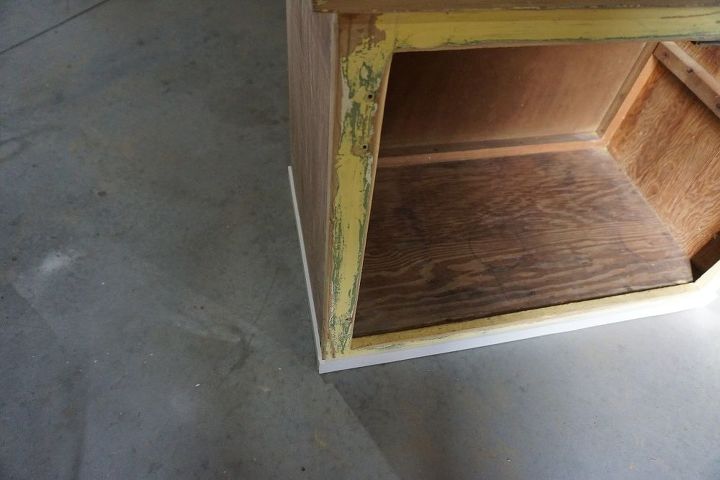
Before priming the entire piece we used wood putty to fill in missing chunks. I left a few of them (accidentally on purpose) as I think it shows character. We discovered the bottom edge was in sad shape so we nailed 2" plastic edging around the bottom. The plastic composite trim is more sturdy then wood trim and when painted looks the same.
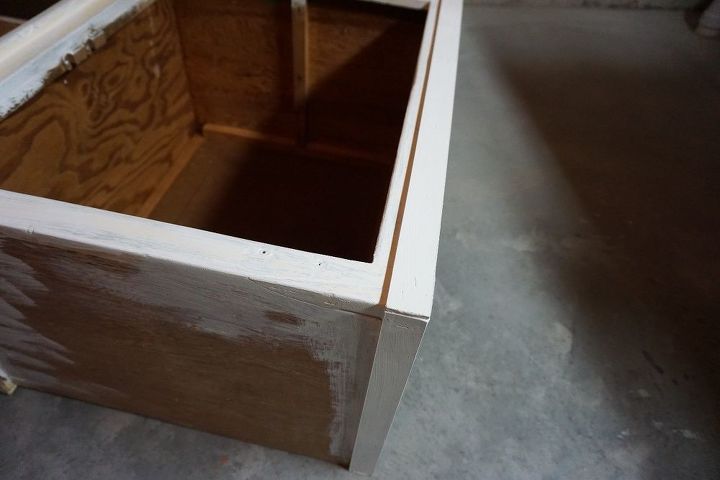
I found a great use for all my drips and dabs of white or gray paint - primer. The inside of the cabinet had never been painted and 60 year old wood really uses up old paint.
To add some interest to the doors, we decided to try adding insets to the doors. After Joe carefully measured and drew a rectangle in the center of each door, I glued more fabric on each rectangle. For borders we cut frames from screen molding. Screen molding is much less expensive than regular molding, takes paint very well and lays nice and flat.
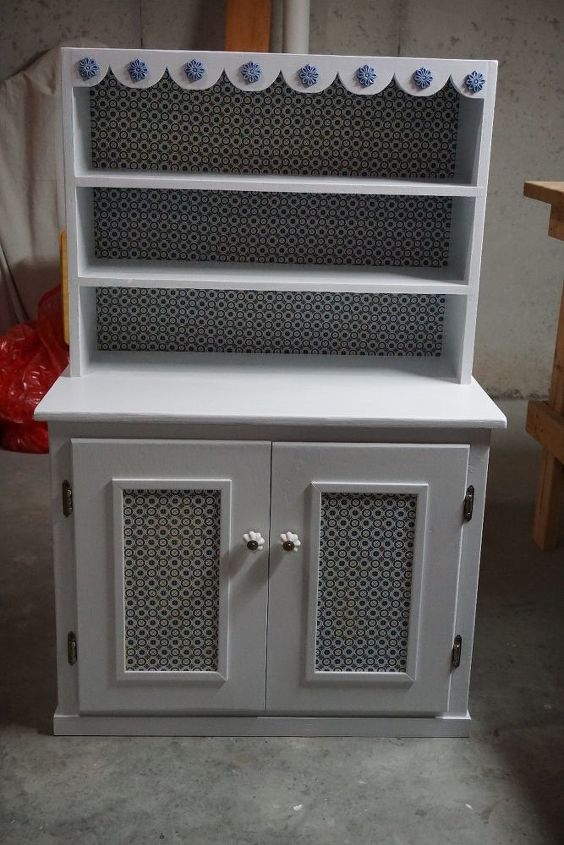
We finished it off with new knobs placed lower than the original and replacement hinges that matched the metal in the knobs. The piece is going back to my sisters, this time to store her doll collection.
Comments
Join the conversation
4 comments
-
Love what you did to our childhood cabinet. Beautiful additions! Sorry about the layers of paint and sticky contact paper. Your nieces used it for years but it never looked so lovely. Congrats Kaye for a job well done!
-
I love all of the little details, you can see that you really put your heart into this one!


Frequently asked questions
Have a question about this project?