


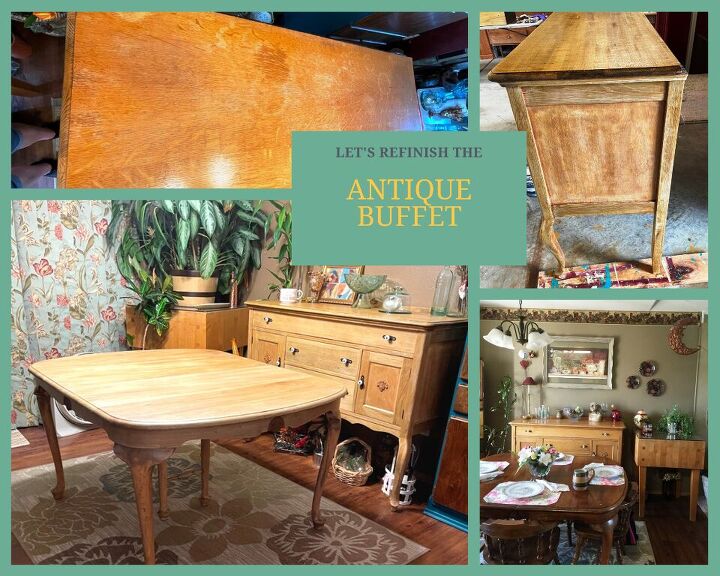
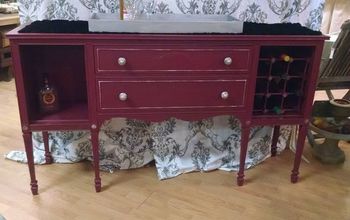
How I Refinished Our Dining Room Buffet

In case you missed the dining table bleaching & refinishing post, you can find it here. The set was given to me by my folks.
Mom & dad used the set for about 25 years. When they got the table & buffet, they had been dyed black with what I was told was India Ink. I was also told that since different woods were used to make furniture 'back in the day', the pieces were dyed so they could be sold as a matching set. When I was a teen, mom decided to paint the set with the new 'antiquing' technique. The base paint color was a light red that was then covered with an antiquing medium.
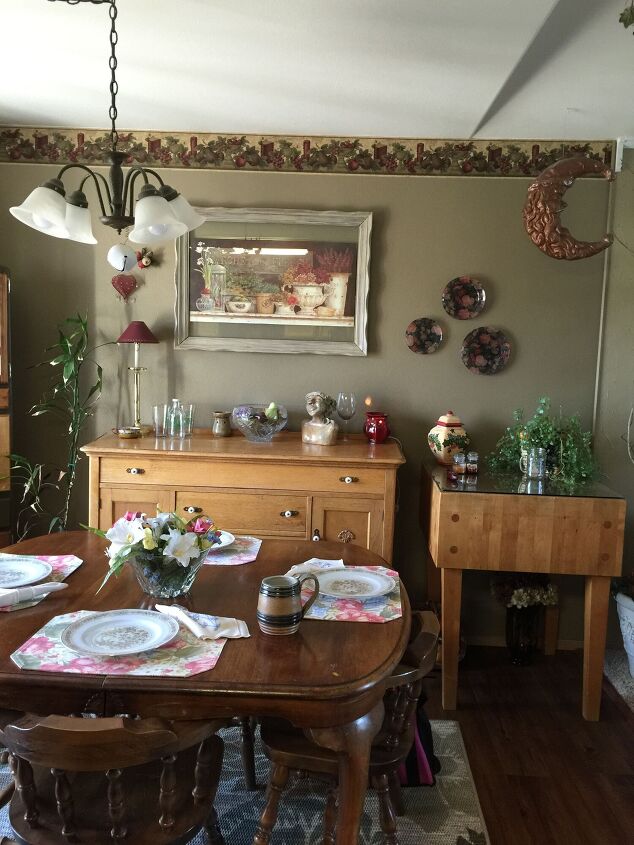
Not long after we got the set, we decided to refinish it. When the paint and stain had been removed, we could see the different types & colors of the wood. The tabletop was red oak; I'm not sure what the legs and skirting were made of, and the buffet was white oak with red oak on the side panels. We chose to use an oak stain on the buffet and a dark walnut stain on the table. This meant that the two were no longer matching but at the time, that didn't bother me.
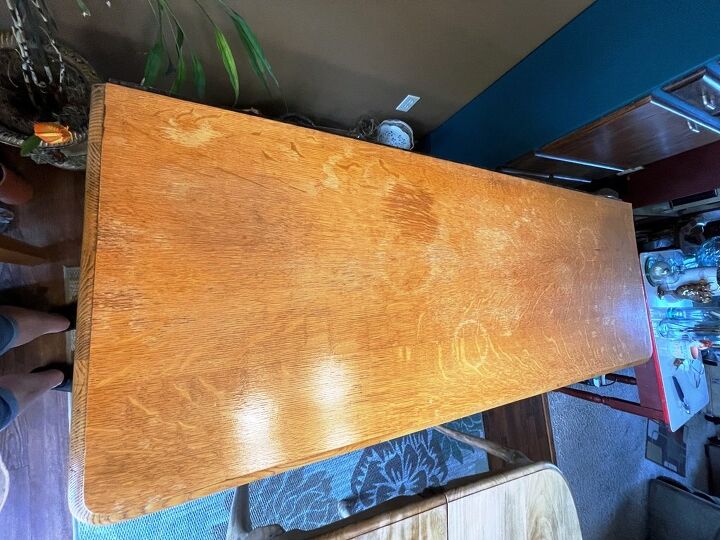
A couple of years ago, I noticed that the top of the buffet was really damaged! I don't even know how this happened. I didn't have any potted plants sitting on it but somehow it ended up with water stains. I also noticed that there was some cracking of the wood. I always thought this top was solid wood but turns out, it is veneer.
After the dining table was done, it was time to refinish the buffet. When I was working on the dining table and bleaching the top of it, I thought the new color would match the buffet. I was surprised when I brought the table back into the house to see just how different the color was when it was next to the buffet.
I thought that maybe we had stained the buffet when we refinished it ages ago so I hoped that when I sanded it, the wood would be closer to the new color of the tabletop. Since I was anxious to find out, I removed one drawer, took it to the garage, and gave it a good sanding. I was thrilled that the bare wood looked so close to the color of the tabletop! Until that is when I wet the wood that is. The golden oak color was still there - drat!
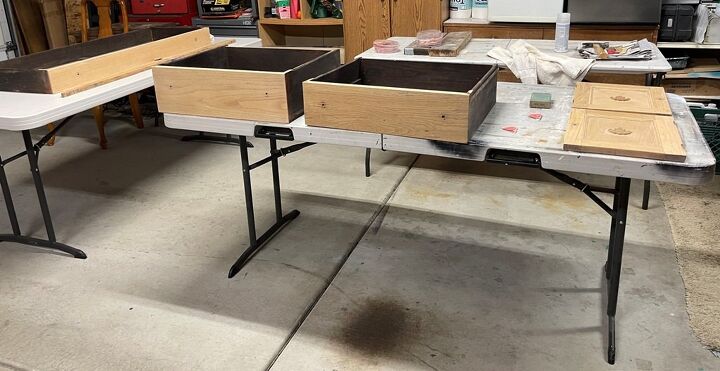
I decided that if I wanted them to look more alike, I would need to bleach the buffet also. After unloading the buffet, I removed the hardware and the doors then carried the drawers and doors to the garage. Hubby and I then carried the buffet to the garage. The first step for the buffet was to repair a couple of drawers, shore up the board for the bottom drawer, and patch a few areas of the veneer on the top of the buffet.
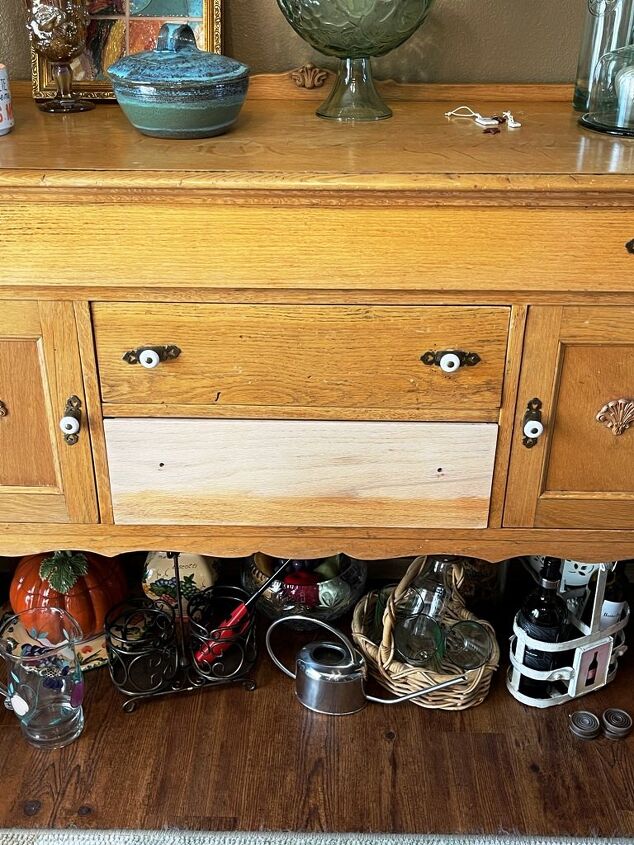
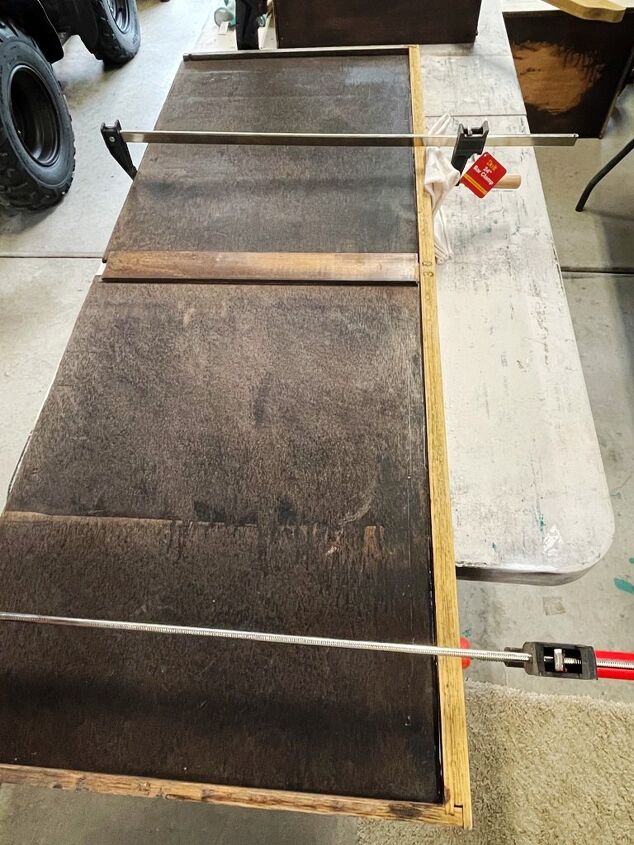
The facia board on the top drawer has been loose for AGES! It was good to finally be getting around to repairing it. Using wood glue, I pulled the front of the drawer away from the bottom board, applied some wood glue then clamped the two pieces together until the glue dried. Before the glue was dry, I cleaned off the excess glue. The middle drawer front also needed gluing - I didn't capture of picture of this drawer but used the same process that I took with the top drawer.
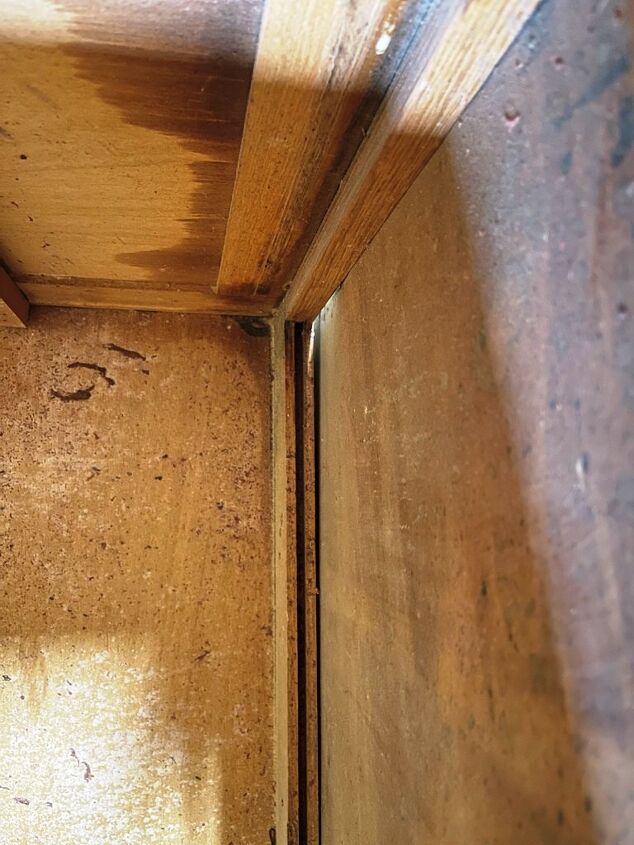
While the glue was drying on both drawers, I turned my attention to the buffet. The piece of wood the sits under the bottom drawer was really cracked but still functioned well. In the pictures below, you can see where light was shining through the board.
I considered replacing the wood but decided against it because I want to preserve as much of the original wood as possible.

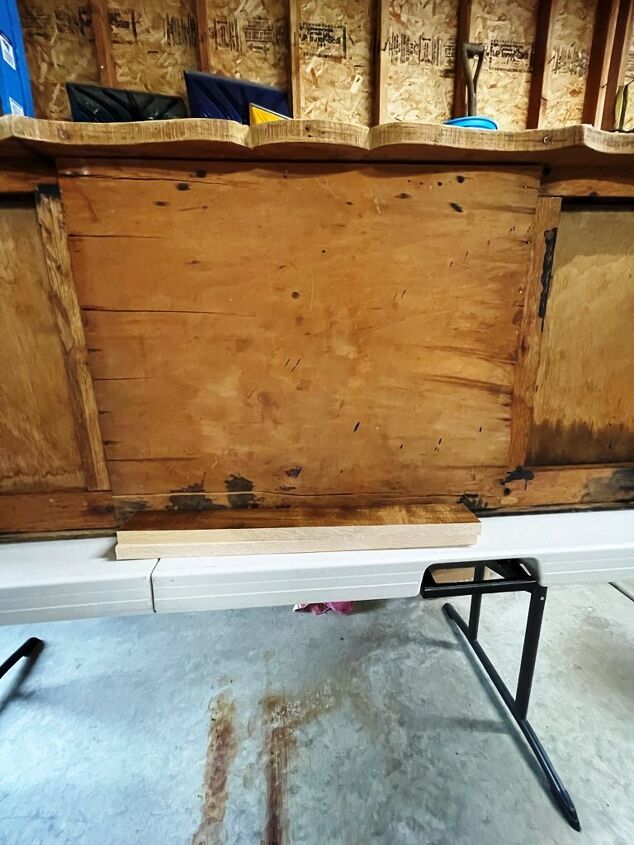
Using two pieces of 1" board that I had from another project and a few screws, I attached them to each side of the cracked board to provide stability. This was a quick fix and will provide a lot of strength to the cracked board.
The last area that needed repairing was the veneer on the top of the buffet (*I did this after sanding off the finish & bleaching the wood). The veneer on the right back corner had lifted. Grabbing my wood glue again, I squeezed some between the veneer & the wood beneath it. I covered the veneer with a piece of Glad Press & Seal, clamped a board on top of it then added some weight with a battery.
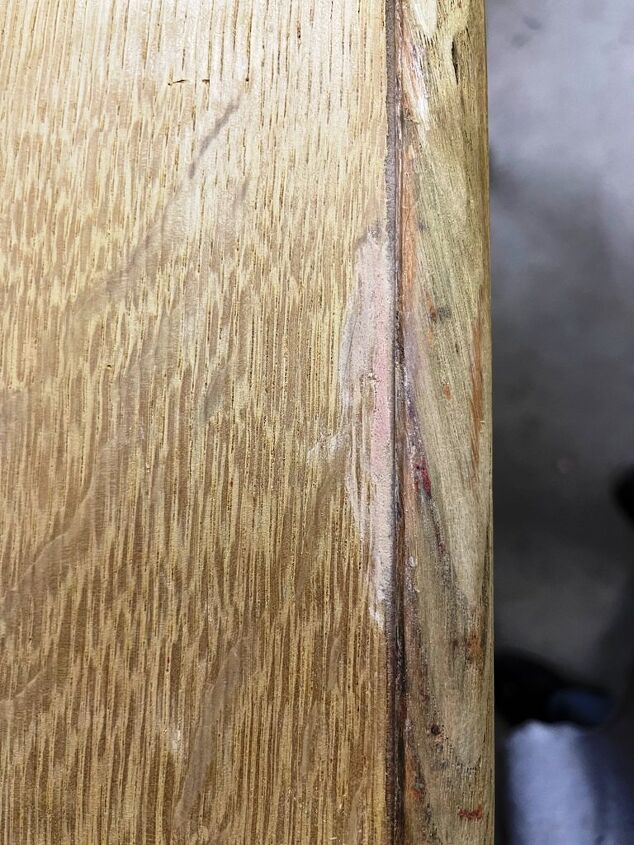
While that area was drying, I used Elmer's Wood Filler in Natural to patch several areas where the veneer was missing. I applied the filler with a putty knife, filling the holes, and smoothed it out. After the filler dried, I gently sanded the area. I used the Natural color because I didn't know what color the buffet would be once I applied the sealer.
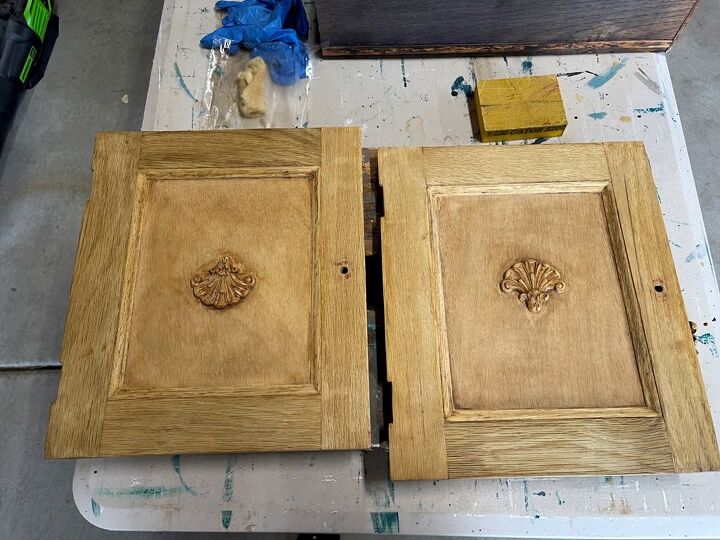
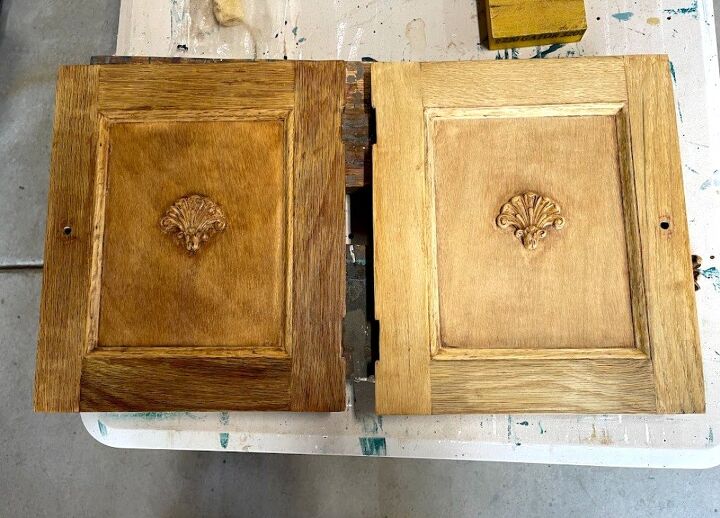
For the decorative pieces on the doors at the trim on the top of the buffet, I used Citristrip. After letting the stripper sit for about an hour, I used steel wool dipped in mineral spirits to remove it from the decorative pieces.
Using my orbital sander & 120 grit sandpaper, I removed the finish from the drawers, the border of the doors, and the buffet. For the interior of the doors and the corners on the side panels of the buffet, I used a sanding block.
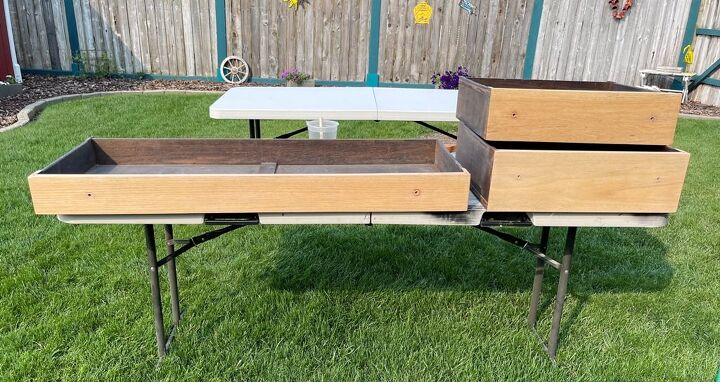
After the sanding was done, I took all the pieces of the buffet outside to do the bleaching process in the sun and fresh air. You can buy wood bleach but I was not able to find any at the local hardware stores.
The process of using the DIY bleaching technique is to prepare the ingredients, apply the solution, rinse wood. Below are the directions from the website I used along with notes on what I did differently. The link to the original directions is here.
- Important: When handling or working with lye, you should always wear gloves and eye protection. Also, never pour water into the lye and don’t pour a bunch of lye into the water at one time.
- Fill a plastic container with 1 qt of water. It’s important that you use plastic and not metal. And if you are doing a lot of wood, you might want to make a gallon
- I made smaller batches, using 2 cups water & 1/2 the amount of lye
- Slowly add 3 tablespoons of lye to the water, stirring the water slowly between each tablespoon
- Once the lye solution is made and ready to go, set it aside and pour the hydrogen peroxide on the red oak
- I used a foam brush to apply the hydrogen peroxide on areas that were not flat
- Spread it with a foam brush to make sure the entire surface is covered
- Using a foam brush, spread on the lye solution thoroughly over the entire surface
- Let dry completely - it's helpful if you can do this process in the sun
- After the wood has completely dried, using water, rinse the surface of the wood and wipe it dry with a towel. If you are outside, the sun will dry it.
- I used a mixture of 1/2 water & 1/2 vinegar
- Then let it completely dry again
- You can repeat steps 2 – 4 until you are happy with the color
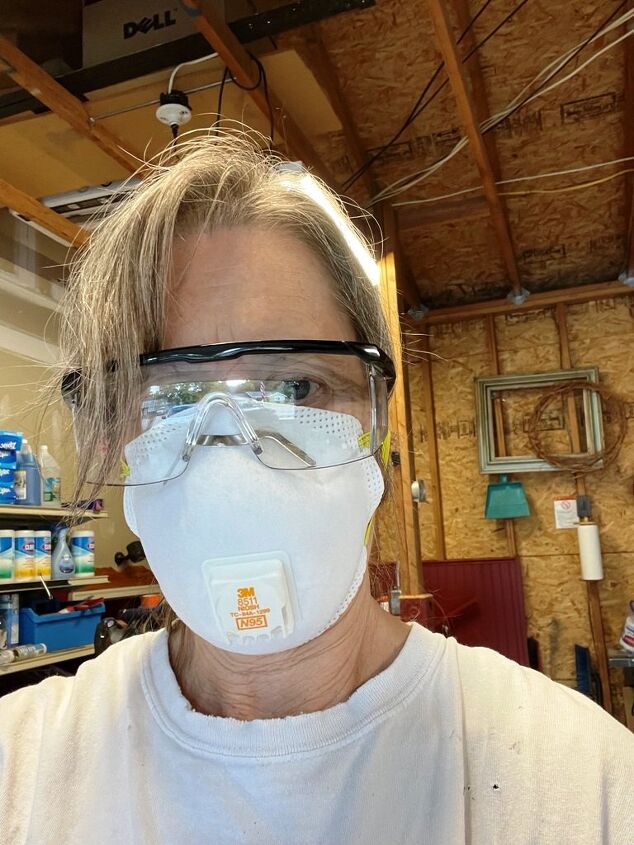
While you can't see them in the picture, I wore heavy cleaning gloves during the bleaching process. Before each application of the chemicals, I would put on my mask, then my goggles, then put on the gloves. After each application of the hydrogen peroxide & lye, I washed the gloves with soap and water, dried them, and then removed them. After they were removed, I removed my goggles then mask.
I noticed after bleaching the buffet that I didn't take any pictures of the bleaching process - drat!
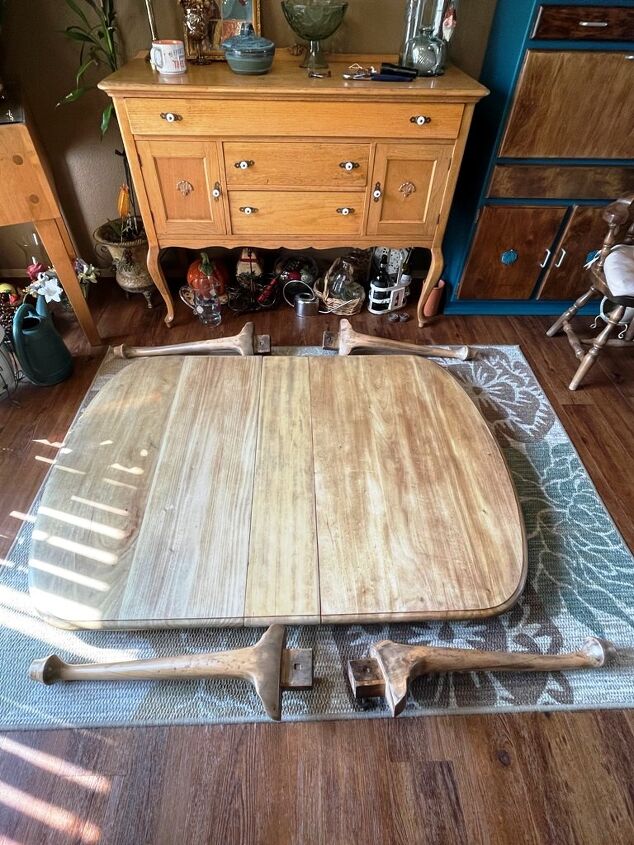
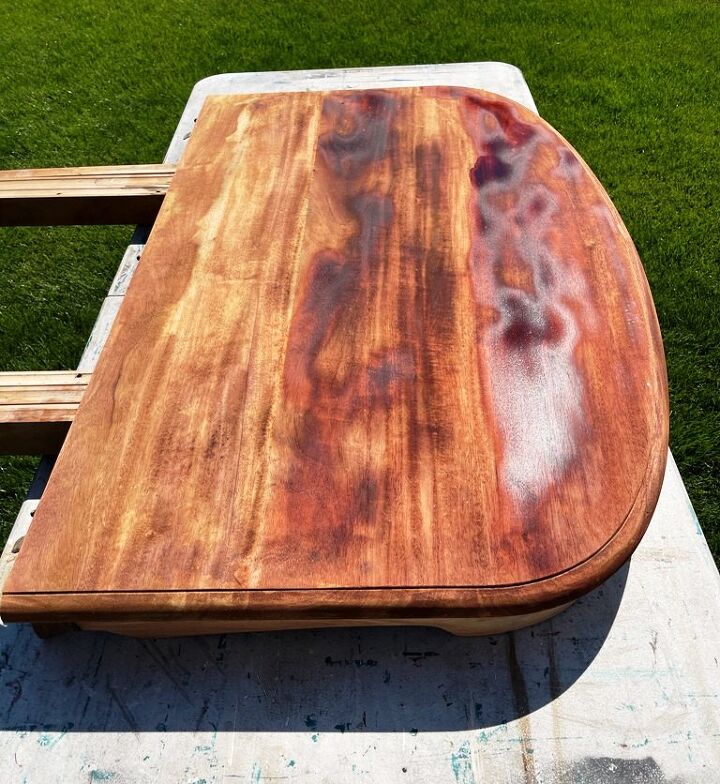
I did, though, take pictures of the bleaching process with the table. Here is what the table top looked like during the first round of bleaching. I ended up applying 4 rounds.
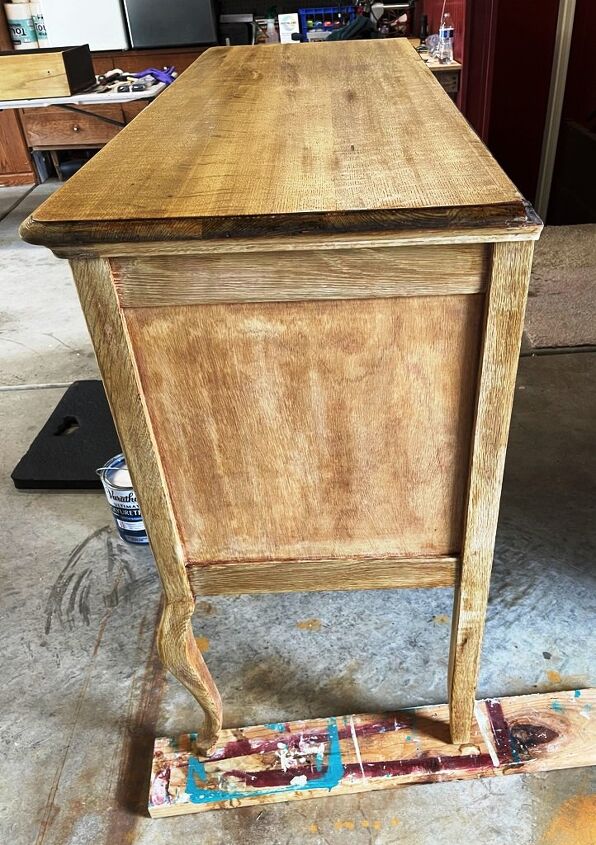
Following the instructions above, I applied 3 rounds of hydrogen peroxide then lye to the buffet. I allowed a couple of hours for the wood to dry between applications. I was working in the sun so drying times will vary depending on if you have lots of sun or not.
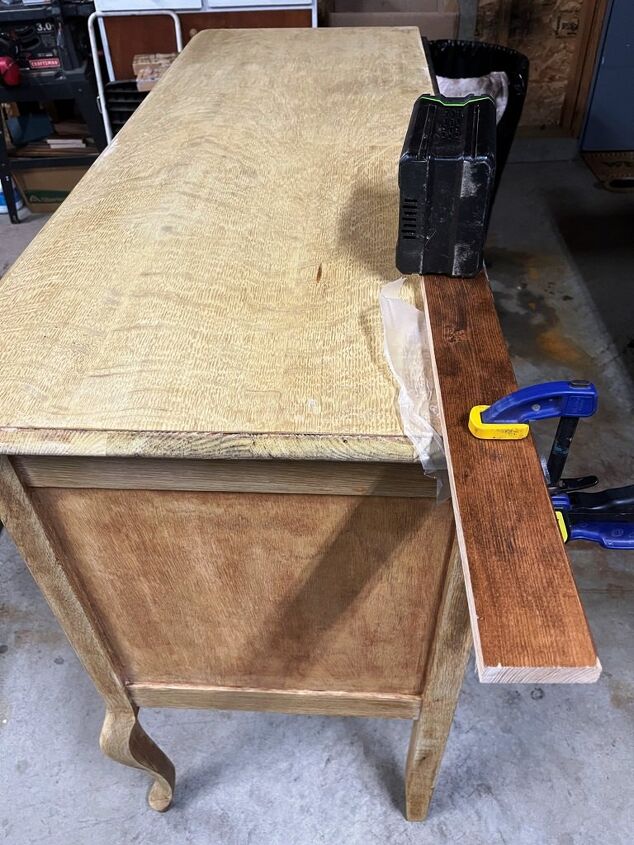
You can see in this picture that a different type of wood was used for the side panel than for the crossbars and legs. The side panel is a bit redder and that color did not bleach as well as the rest of the wood on the buffet, doors, and drawers.
After the bleaching was done and the wood was dry, using a sanding block with 220 grit, I gently sanded all the wood. Once all the pieces had been sanded, with a soft cloth, I dusted off the sawdust. Then I used a tack cloth to remove any remaining sawdust in preparation for sealing the wood.
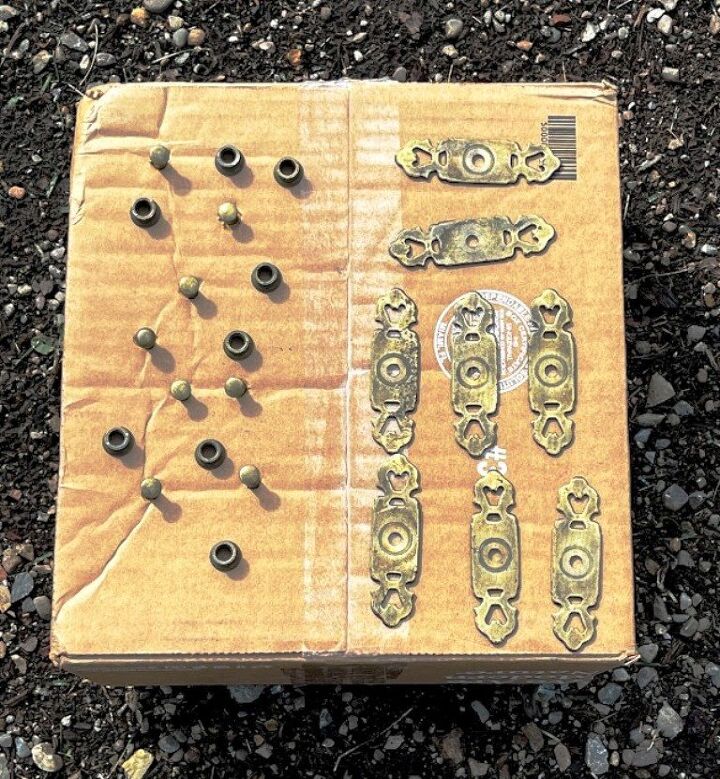
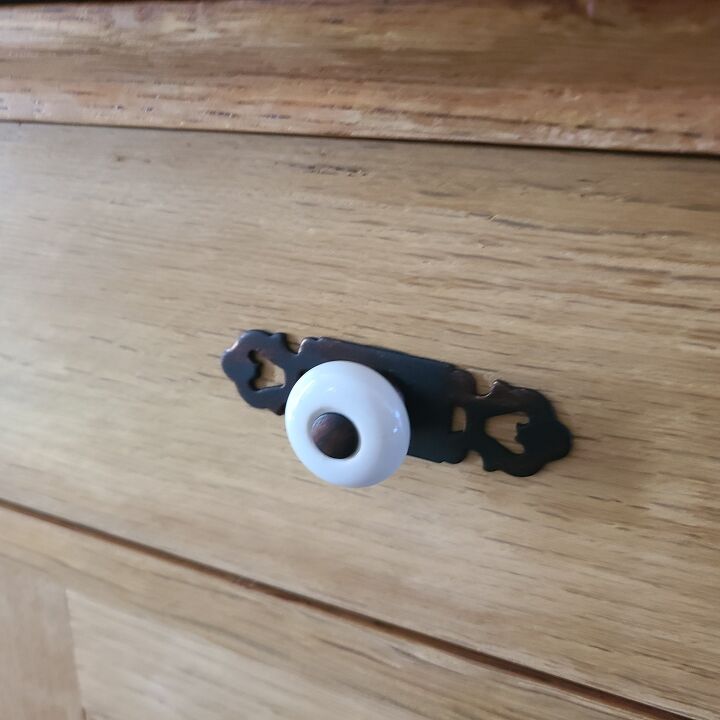
While I considered buying all new hardware, I also wanted to keep the hardware we've used for so many years. Instead of replacing it, I decided to paint the metal parts that were antique brass.
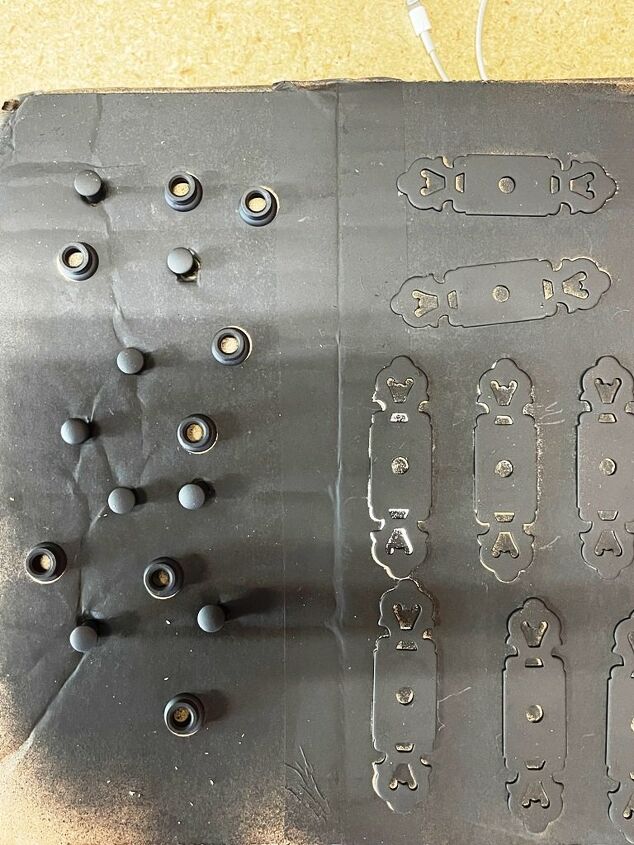
I used a flat black Rustoleum spray paint.
When the black paint had dried, I lightly added some copper craft paint to accent the hardware.
The last step before attaching the doors to the buffet is to seal the wood. To seal the wood, using a 1 1/2" angled paintbrush I applied 3 coats of Minwax water-based polyurethane in satin to the doors, drawers, and base of the buffet. I allowed 4 hours between coats for drying time.

For the buffet top, I used oil-based Minwax Spar Urethane in satin. I applied 3 coats using a 2 1/2" paintbrush. Between coats 1 & 2, I allowed a drying time of 4 hrs. I allowed the 2nd coat to cure overnight before applying the last coat.

Also, between each coat of either the water-based or oil-based sealers, I lightly sanded the surface using a 220 grit sanding block.
Once the last coat had been applied, to help reduce the oil-based sealer fumes, I left the buffet in the garage for 2 days.
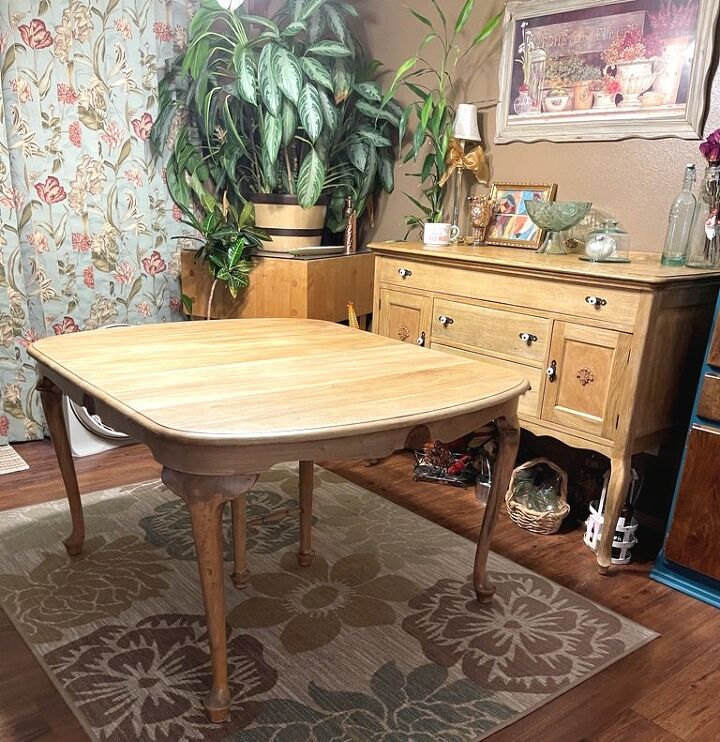
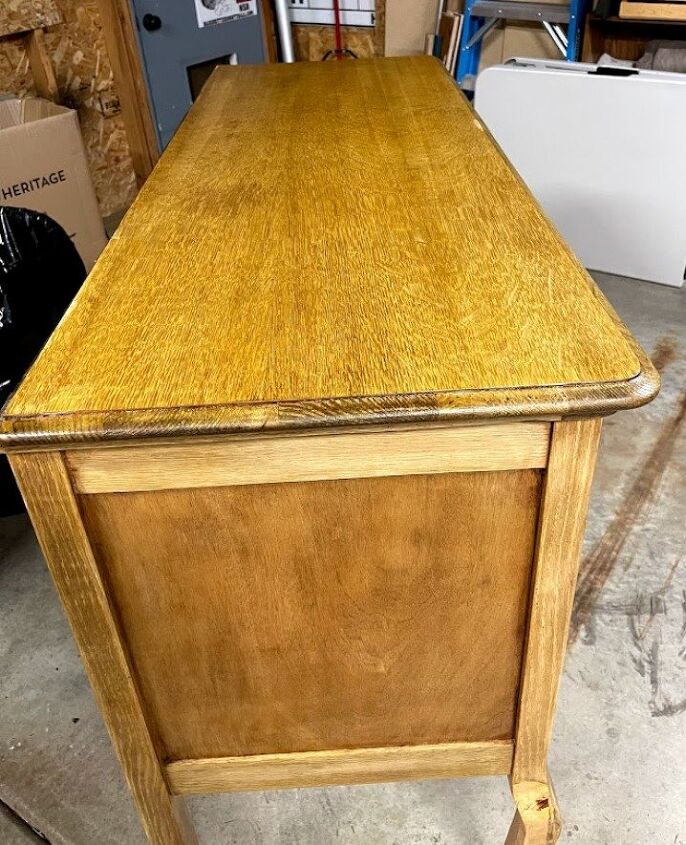
When I started refinishing the buffet, I didn't know what color the wood would become once the project was done. While the buffet was still in the garage, it still looked very golden but even though the wood didn't lighten like I thought it would, it does blend better with the table than before it was refinished.
Hubby and I are enjoying this new, lighter color! I'm so happy that the water damage is gone from the buffet, the deep scratches & bits of craft paint are gone from the table but the character from years of use remains on both pieces.
Instructions
- Remove finish
- With sander & 120/150 grit sandpaper
- and/or
- CitriStrip
- Remove CitriStrip with steel wool dipped in mineral spirits
- Once wood is dry, sand with 220 grit
- Remove sawdust with soft cloth then tack cloth
- Bleach wood by applying
- Hydrogen Peroxide using a foam brush
- then
- Lye mixture
- Allow to dry in the sun
- Reapply bleaching solution until desired color is acheived
- Rinse wood with water or water/vinegar mix
- Allow to dry in the sun
- Once wood is thoroughly dry, sand with 220 grit
- Remove sawdust with soft cloth then tack cloth
- Apply two to three coats of spar urethane to tabletop
- Apply two to three coats of water-based polyurethane to skirting & legs
- Attach doors & decorative piece on top
Since I had all the supplies & tools, it didn't cost me anything to refinish the buffet but I put in an amount of $25
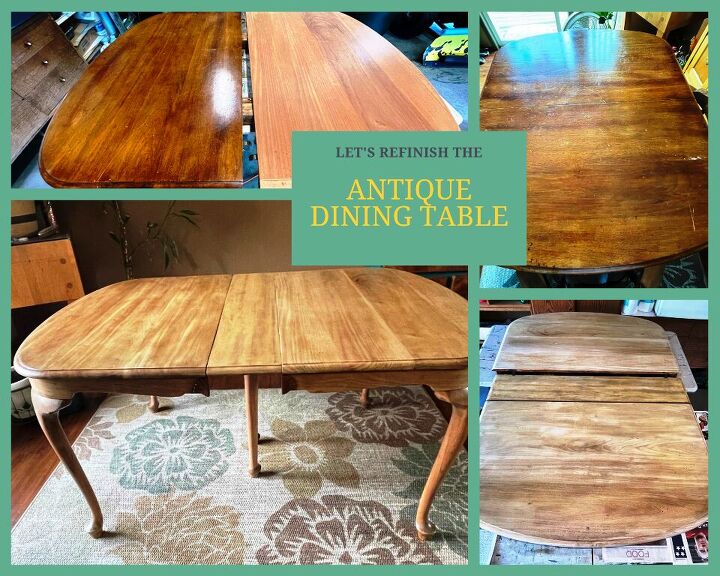
You can find the dining table refinish/bleaching project here
Comments
Join the conversation
-
Jeanne, your buffet, looks so gorgeous. You, have skills my friend! Your dining room, looks very nice with all the hard work, you have accomplished.


Frequently asked questions
Have a question about this project?