


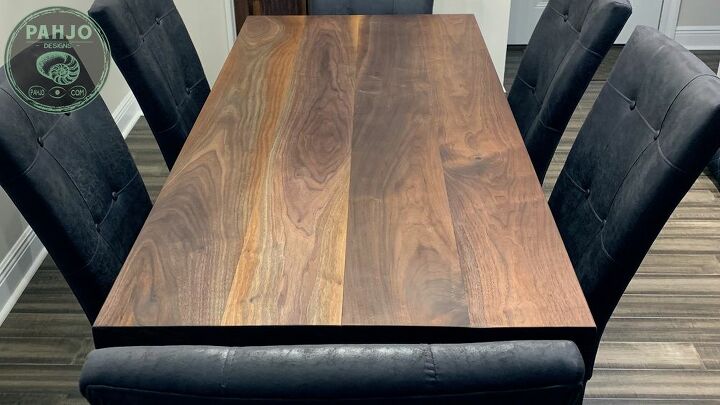
How to Refinish a Wood Table Like a Pro
In this HT post, I show you my favorite method for applying finish to a new wood table or an existing table.
I see many questions regarding this topic on HomeTalk and I hope the information within this post provides you with some value.
Quick Note about Tools Needed
Whether you are working on an existing table or a new wood table, the tools needed for this project are an orbital sander, sandpaper, plastic spreader, lint free rags, and Rubio Monocoat Pure Oil. A dust mask, rubber gloves, and eye protection are highly recommended as well.
You don't need the tools I used in this video to achieve the desired results. I have these tools because I do this quite often and these tools help me be more efficient. Plus, I have an unhealthy tool addiction. :)
You can purchase a decent orbital sander for 30.00. The sandpaper and buffing pad is also relatively inexpensive online or at your local home center. The Rubio Monocoat Finish is approximately 50.00. This is a bit expensive; however, you get what you pay for with regards to wood finish. This product is used by many professionals who do this for a living - rest assured it is fantastic and very forgiving if you are a novice.
Also, the finish application process starts at the 3:45 mark in this video.
Sanding
Be sure to checkout my previous Hometalk post regarding sanding for additional detail. I'll briefly review the process if you don't want to visit my other HT post.
Sanding is VITALLY important in order to achieve a great finish. Essentially, the wood finish can be your best friend or worst enemy. Why? Because it will expose whether or not you did a good job sanding. For example, the deep scratches will be visible if you don't use a proper grit sequence. Additionally, scratches will be visible if you skip the lower grits - 220 grit sandpaper won't remove scuff marks caused by 80 grit sandpaper. Make sense? Good.
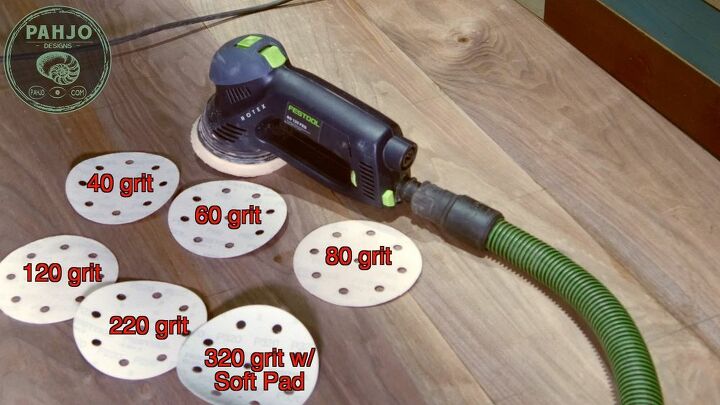
My sander is a dual mode sander, which means it has 2 modes: Random Orbit and Rotary. Rotary mode is great at removing an old finish if you are refinishing a wood surface. However, random orbit mode works just as well; however, it may take a little longer.
The process is the same for existing or new wood tables. You may need to repeat the 40 grit sandpaper a few times on existing tables until the old finish is removed. I haven't seen an existing wood finish (excluding epoxy) that 40 grit, along with a little elbow grease, couldn't remove.
The sandpaper sequence I use is 40 grit, 60 grit, 80 grit, 120 grit, 220 grit, and 320 grit. To be extra safe, you can use 150 grit and 180 grit between 120 and 220; however, I find this adds no value to my process.
Always sand in a tic-tac-toe pattern in 2 foot by 2 foot sections with each grit as you can see in the video.
Rubio Monocoat Finish
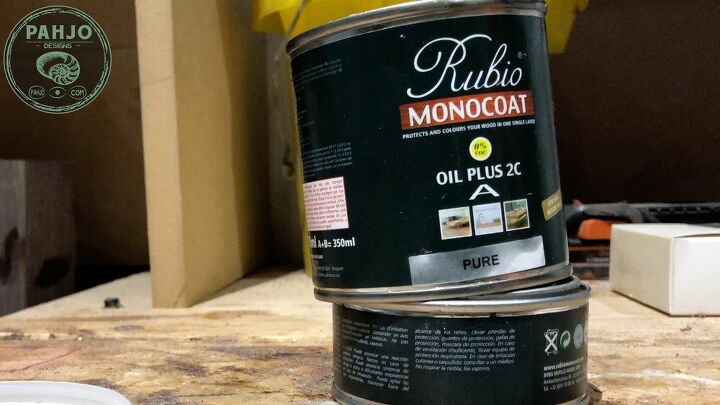
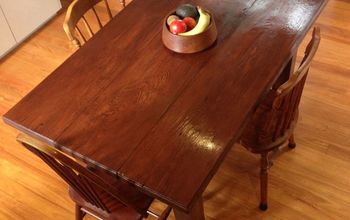
This product is simply superb. I started using it on this project and it performed well. In fact, it exceeded my expectations.
Additionally, I love the idea of only applying 1 coat of finish.
Rubio Monocoat Application
Be sure to follow the instructions precisely and refer to my video for a visual example. This stuff isn't cheap so you want to make sure you don't waste any.
First, I mixed the 2 parts according to the instructions: 2 parts A to 1 part B.
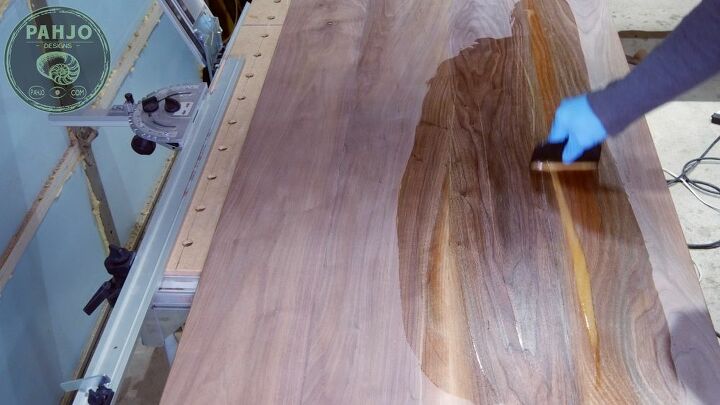
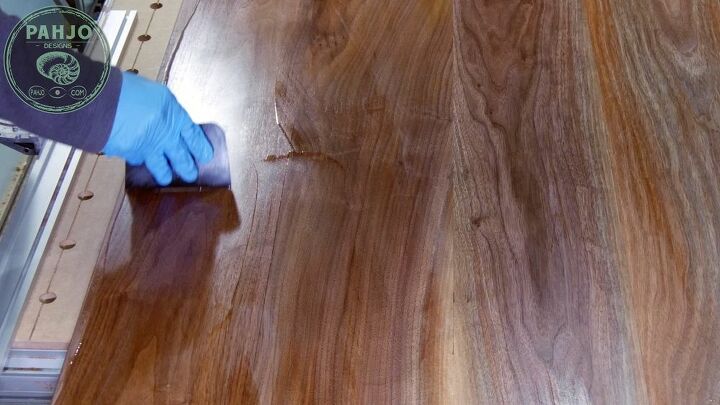
Next, I poured the finish and spread it across the table with a plastic spreader. I didn’t pour too much in order to avoid waste.
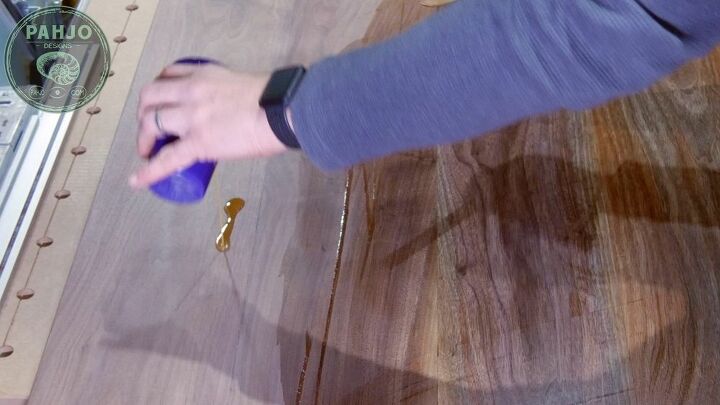
Less is More
Once I was unable to easily spread the material, I poured a little more on the opposite end of the table and repeated the process.
Vertical Edges
To cover the edges, I let a bead slightly drip over the edge and spread it before it dripped on the floor. You can spread the drip with a towel or plastic spreader. I kept a towel in my back pocket during this process specifically to address the vertical sides.
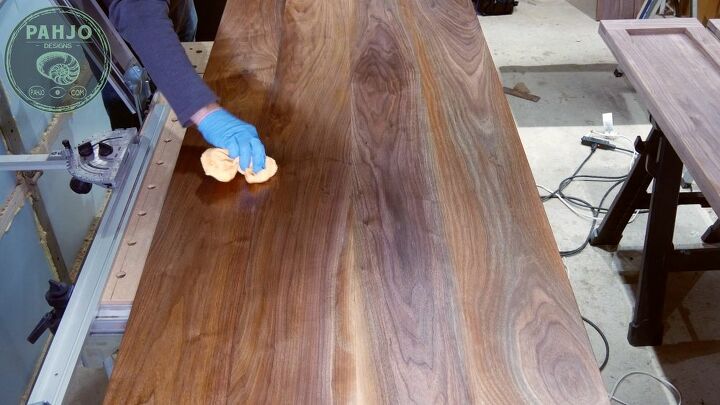
Lint Free Rag
It is vital to not leave any material on the table, so I used a lint free rag to wipe off the visible excess.
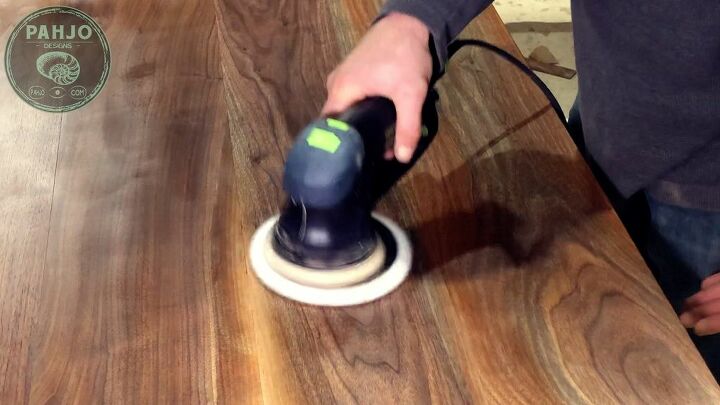
Buffing
Once I removed all access with the lint free rag, I buffed the table with a buffing pad. Any quality buffing pad will work well and they have buffing pads for orbital sanders as well. Ideally, you would use a circular motion with a buffer or a sander like mine, but I've buffed surfaces with an Random Orbital sander successfully many many times.
You can also do this by hand, but it may take you a long time. I buffed this table for 10 minutes. You will know when you are done buffing because the material will be completely absorbed in the wood and spread evenly.
Conclusion
In conclusion, I hope you enjoyed reading this post and it brought you some form of value. Visit my blog for free tutorials and downloads - link within this post.
Leave a comment below and let me know what you think about this project.
Consider subscribing to my YouTube channel to be notified of future videos and visiting my website for other DIY projects.


Frequently asked questions
Have a question about this project?