


How to Create a Vertical Patio Herb Garden

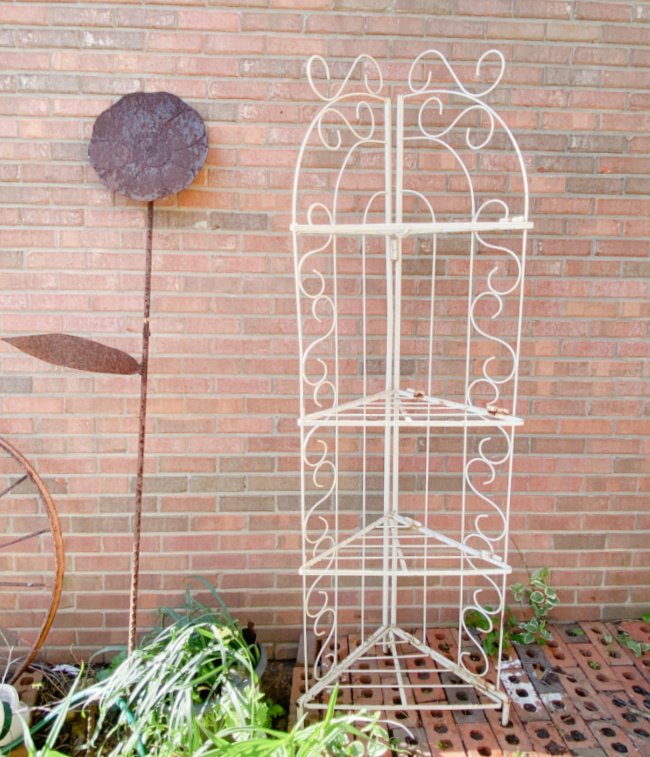
I’ve spent the last week prepping our new deck for stain. In the process, my mind was spinning with ideas for furniture placement, decor, and yes…plants! This corner shelf has been sitting under the deck. I have nowhere to use it inside of the house. It is sturdy and functional. So, let’s spruce her up and transform her into a vertical patio herb garden! With the deck located right off of the kitchen, this provides easy access to fresh herbs for cooking!
It is Thrift Store Decor Team Wednesday! Each month, the team shares thrifty upcycle projects for you! At the end of this post, you will find the posts from the entire team. I know you will love all of the projects we are sharing this month. Now on to the vertical herb garden!

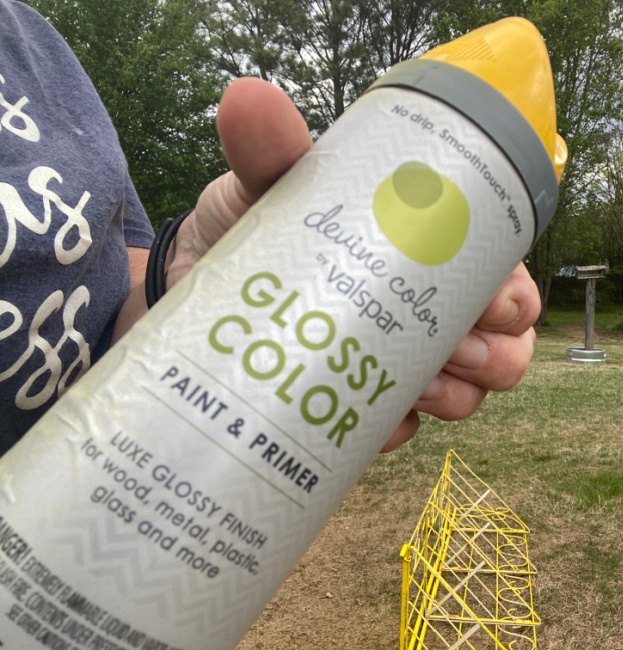
While I do love the chipping paint and rusty patina on this shelf, we are going for a more contemporary look on our new deck. Don’t worry, there will be plenty of vintage and rustic items scattered around in the new deck decor. Mr. Blu wanted a bright color so I selected the yellow which will make the herb garden stand out against the backdrop of the yard and they sky. I had some Valspar spray paint with primer in the perfect color!
Since this unit will be outdoors in the extreme Alabama heat and weather, some prep work is necessary to ensure protection, longevity, and minimal rusting of this vintage shelf.
I sanded the shelf using my electric sander for ease. Then I used my Dremel with the sanding wheel for any tight spaces that were inaccessible with the larger sander. The Dremel works magnificently on tight spaces. See how I used it for this bench that had curves areas in my post Vintage Garden Bench Upcycle.
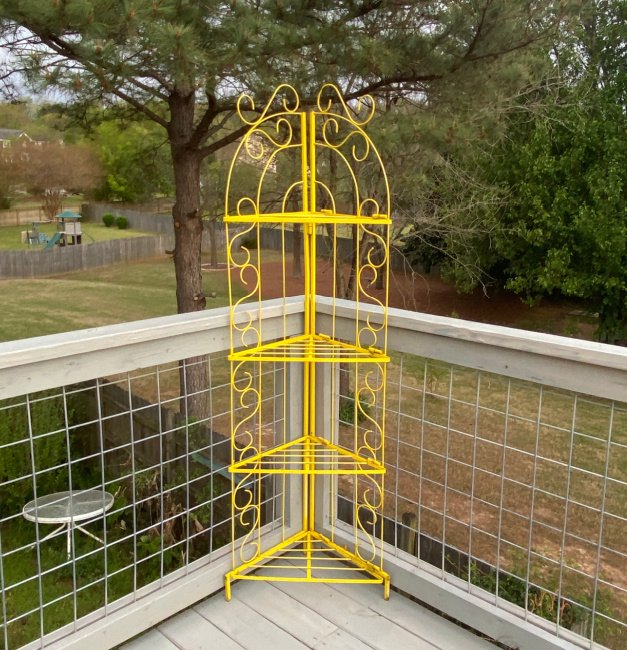
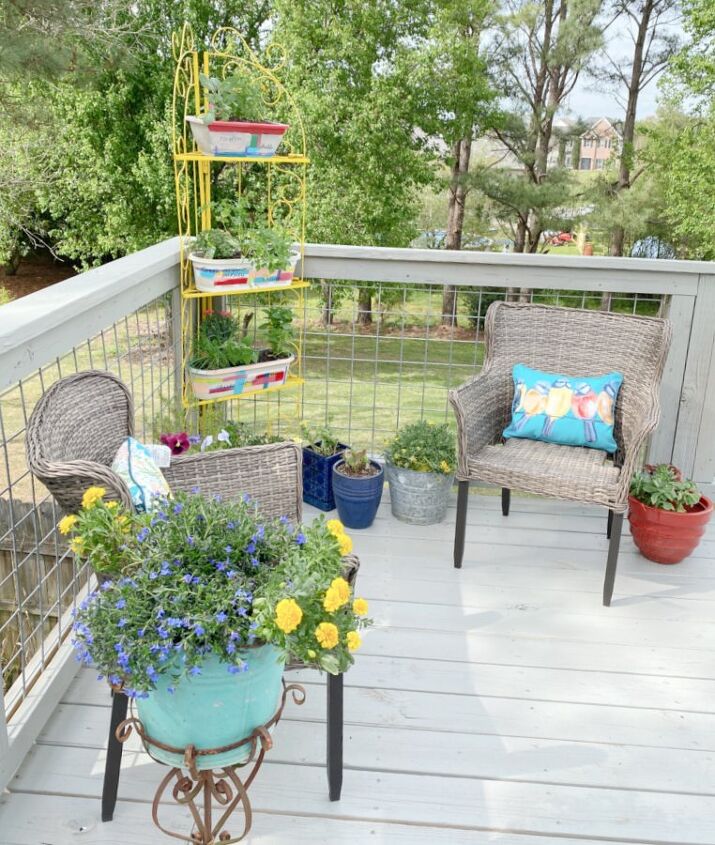
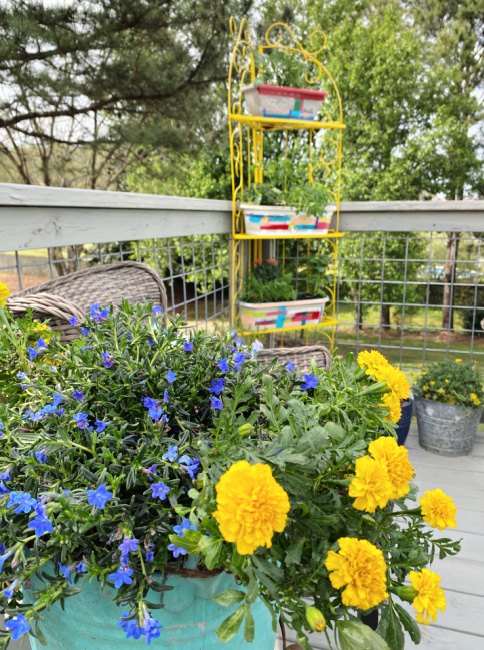
Once the shelf was sanded, I washed it with warm soapy water and allowed it to dry completely. I applied one light coat of spray paint. I had a can of Valspar in the garage so that is what I used. It had paint and primer combined. Once completely dry, I applied a second light coat. An additional light coat to areas needing better coverage can be applied. I allowed the paint to dry overnight and moved the shelf to the newly stained deck. Vibrant yellow!
- Sand the shelf lightly to prep the piece for paint.
- If there is rust on the shelf, these areas should be sanded more thoroughly to remove the rust.
- Wipe the shelf down with warm soapy water to remove any sanding dust or lingering debris. The surface should be completely clean in order to get the best application for your paint.
- Allow the shelf to dry completely.
- Apply two light coats of spray paint allowing each coat to dry completely. Use a spray primer(two light coats) followed by your choice of spray paint(two light coats). Or you can use a paint that contains both paint and primer in the same can(two light coats).
- If you desire, you can apply a sealer coat of spray polyurethane to prolong the paint life.
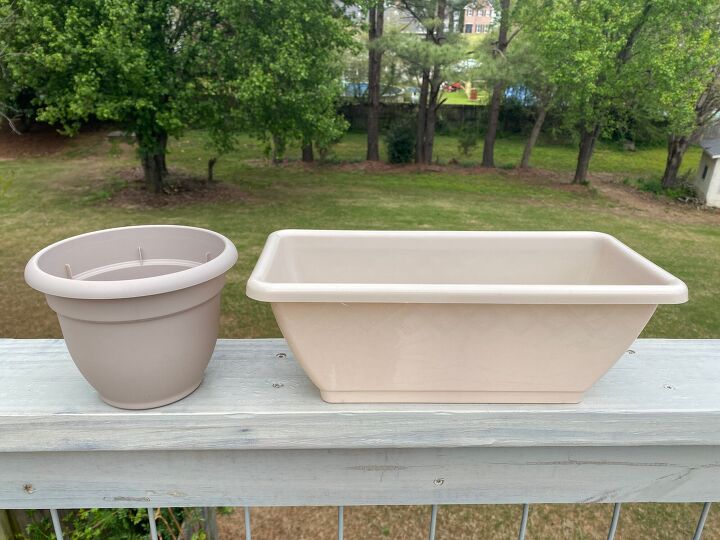
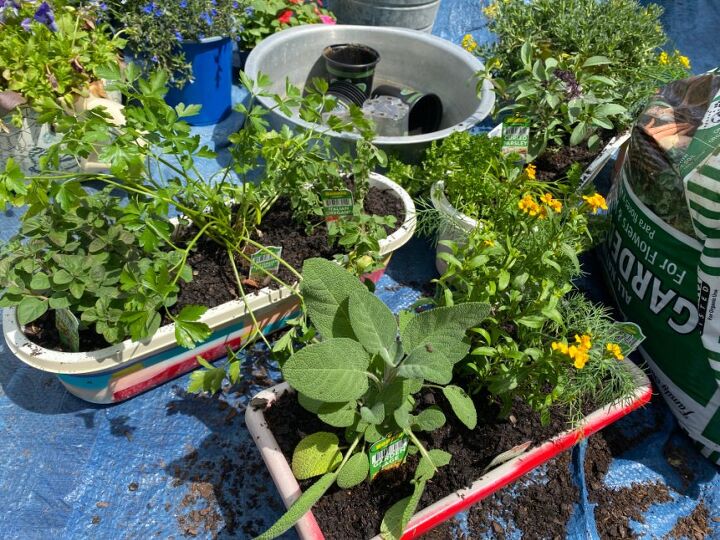
I love to garden and succulents are my weakness which you know if you ever frequented The Blue Building Antiques. My store was know for the greenery, florals and succulents scattered at the entryway. I still have quite a few pots and plants sitting around. I grabbed a few that would fit my vertical herb garden.
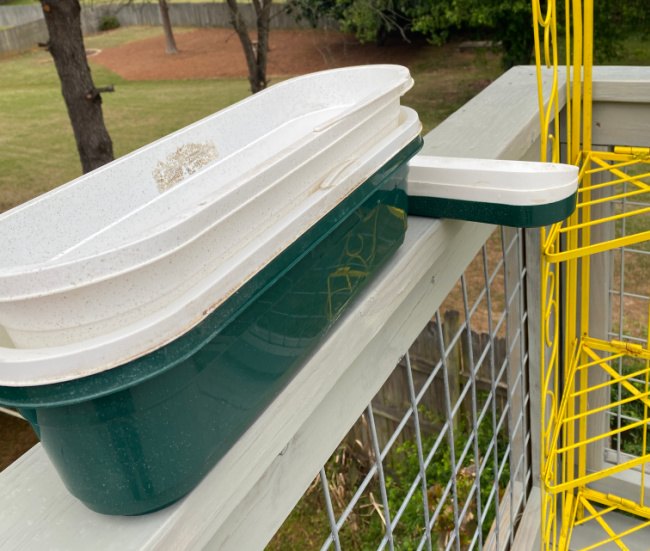
They are not all the same color so I used some white and beige spray paint on the green planter. I was short for one shelf so I grabbed a few at the local Dollar Tree.
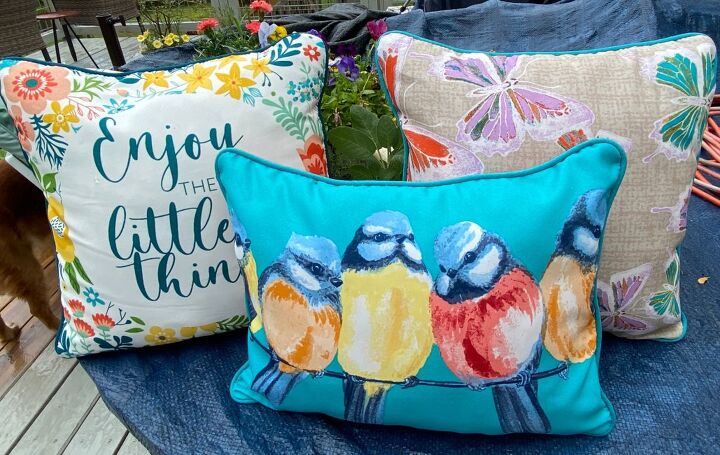
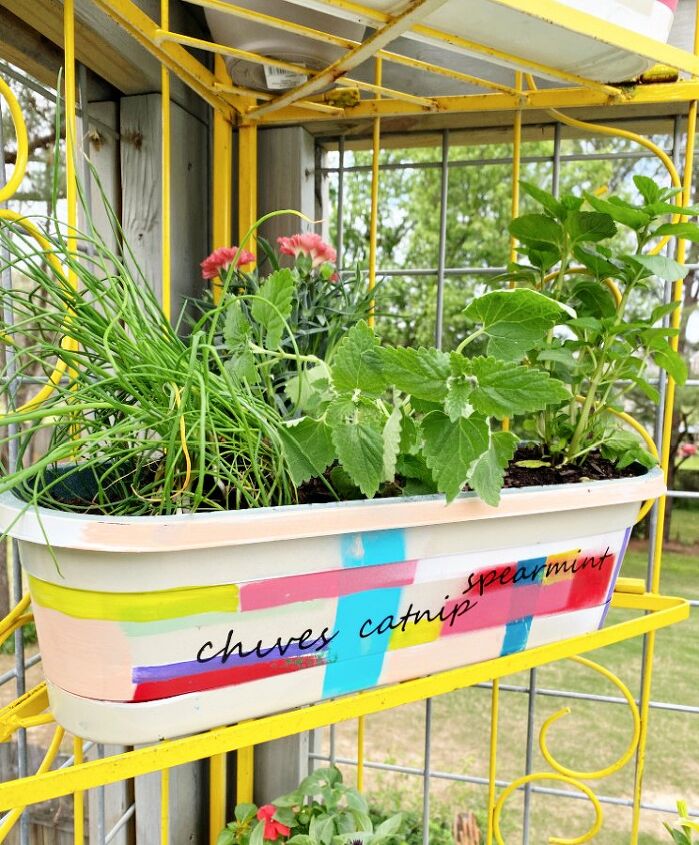
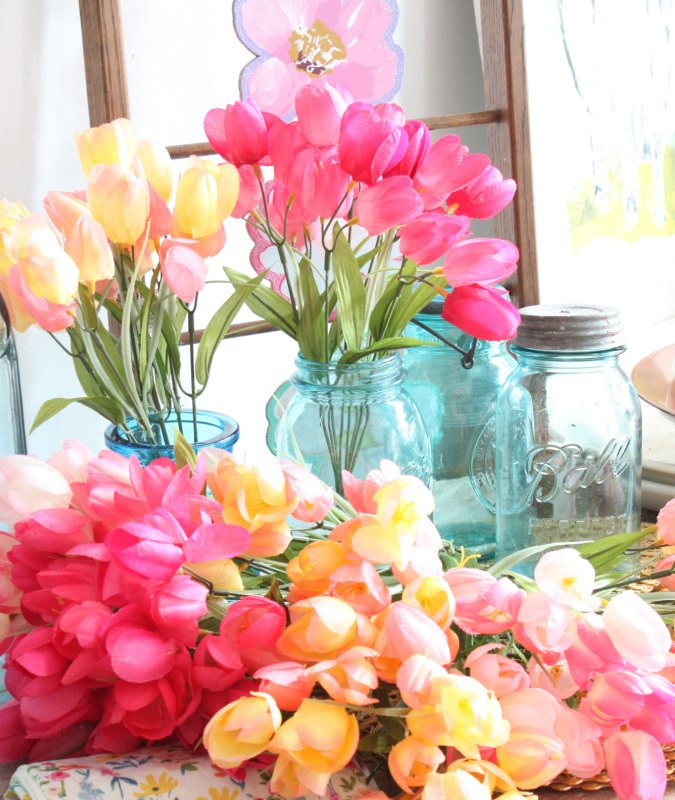
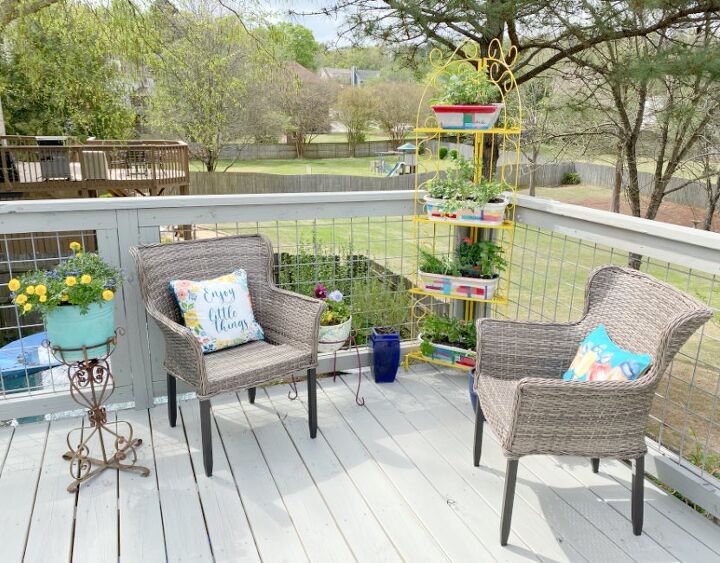
There is something about the onset of spring that really awakens the color in life. So along with my bright yellow corner shelves, I decided to add some color to my planters to help sass up the look. I’m using these pillows I purchased from Walmart for inspiration.
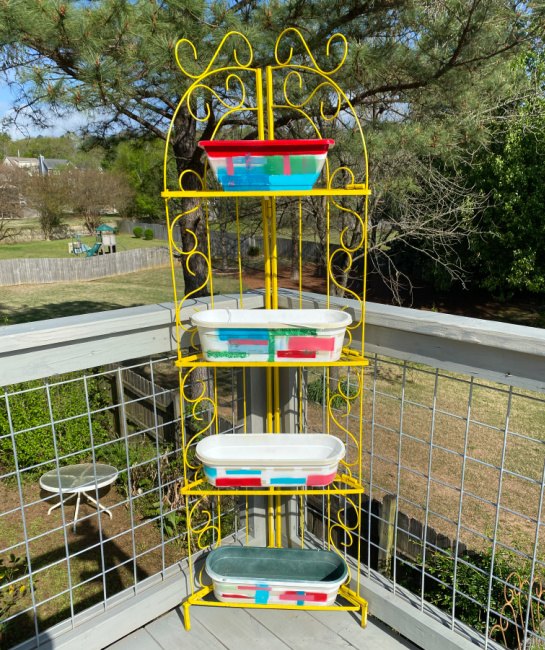
I used craft paints to add blocks of color onto the fronts of my planters. Remember to seal the paint because of the direct sunlight. I used MinWax spray polycrylic.
Here is my first try at the colors.
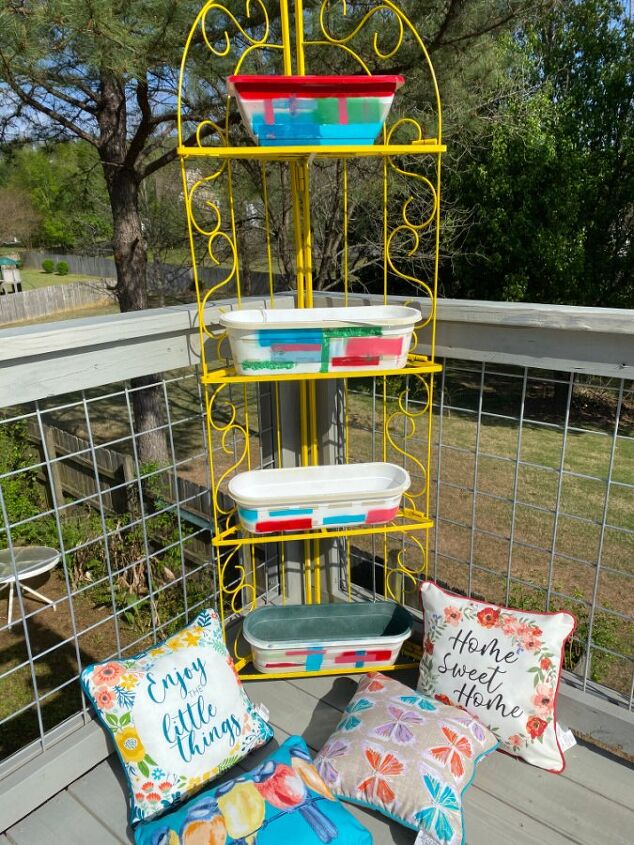
There clearly wasn’t enough variety to I set the pillows out and selected some additional colors.
This is probably the easiest part of this entire project. Arrange your herbs in each planter so that they are visually appealing. Add a base layer of dirt to each planter and remove each herb plant from it’s small pot. Gently loosen the soil around the roots and place each plant into the dirt where you wish it to bloom. Fill the remainder of the planter and firmly pat the soil around each herb base.
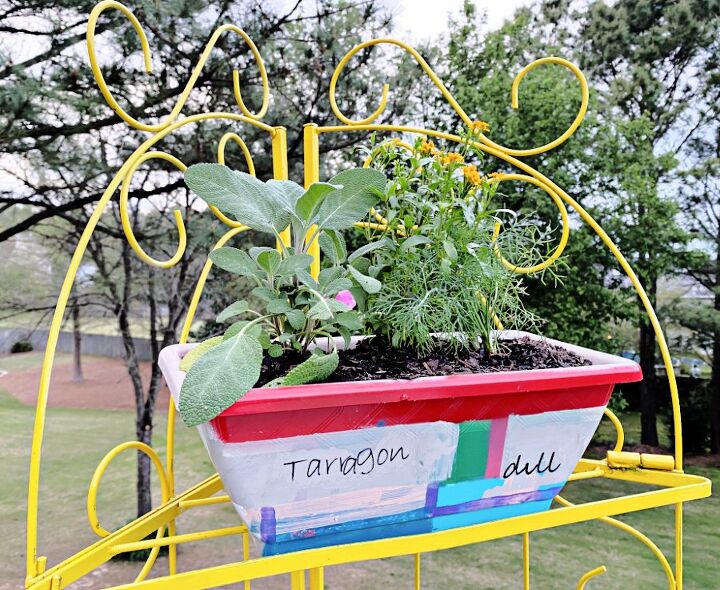
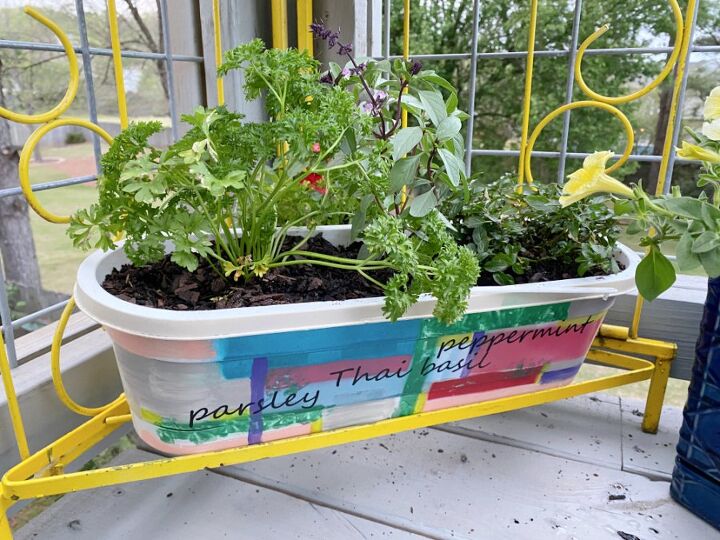
The last step is to label the herbs. Many of the herbs look similar and they can grow quite quickly changing their appearance. So it’s a great idea to label them. I simply printed the names on my Silhouette. I did have to take precaution when applying them to the pots as the pots were painted. So, there was no removing or repositioning the labels. Once they were applied, they were permanent.

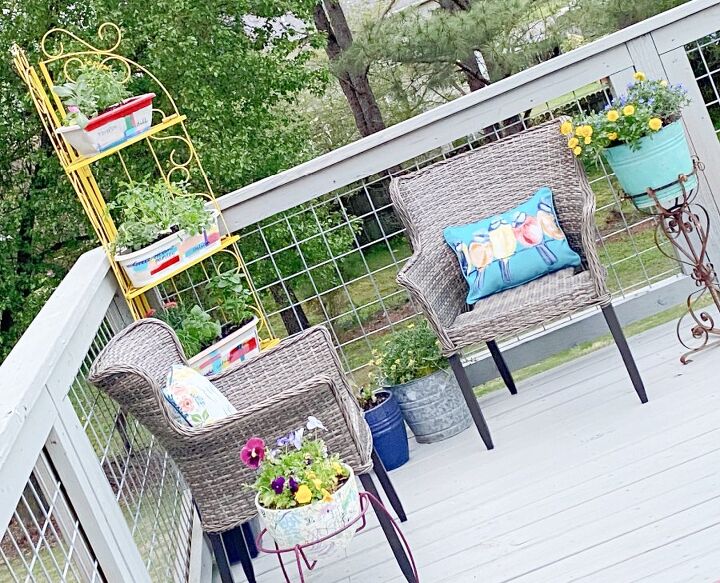
I made each planter just a little bit different.
There was room behind each planter for another small pot. So I added some annuals in complimentary colors.
RECENT POSTS:


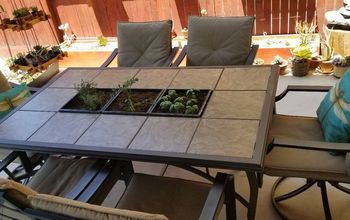
Here is another post from a while back about a hanging herb garden.
And here are the posts from the Thrift Store Decor Team! Enjoy browsing. We’d love you to leave a comment and tell us what you enjoyed.

Wooden Bench Seat Makeover – My Repurposed Life
Summer Purse Upcycled Wreath – House of Hawthornes
DIY Faux Concrete Bunny Rabbit – Our Southern Home
Repurposed Cabinet Door Flower Display – Petticoat Junction
Weaving in a Circle on a Pizza Pan – Sadie Seasongoods
Mid Century Modern Table Night Stand Makeover – Organized Clutter
Vertical Herb Garden -That’s me! You’re Here!
DIY Oval Mirror Frame -Domestically Speaking


Frequently asked questions
Have a question about this project?