


How to Line the Sides of Dresser Drawers
Give your dresser a quick makeover with this quick project. Line the sides of your drawers to you get a fun pop of color when you open them. An easy way to update a bedroom.
If you want more simple inspiring projects hit that follow button above to keep up with my posts
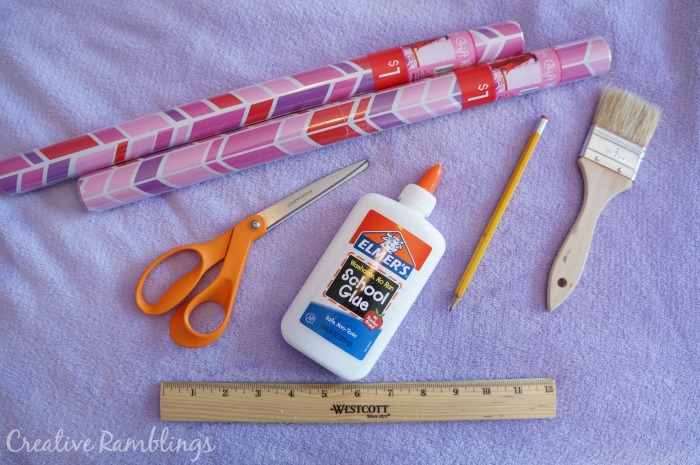
For this project you will need:
-Wrapping paper
-Glue
-Paint brush
-Scissors
-Pencil
-Ruler
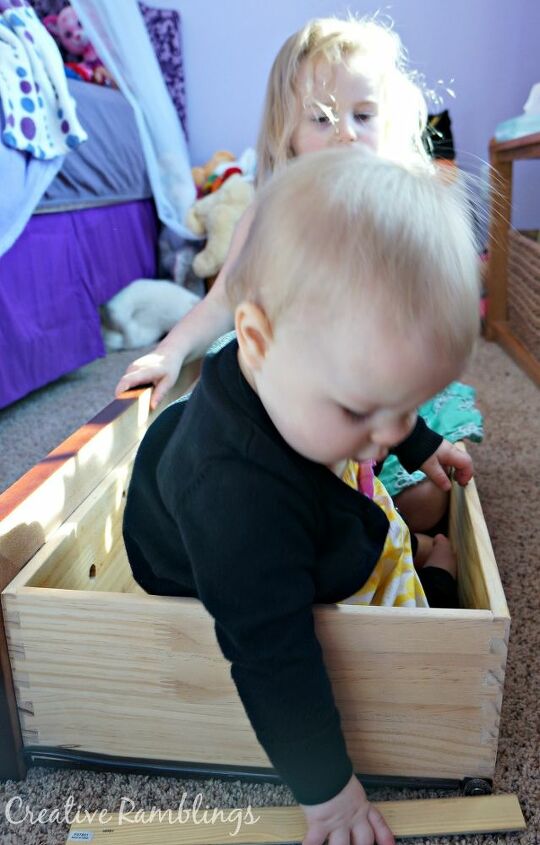
Remove the drawers from the dresser (add kids - optional!) and measure the sides of the drawer.
Cut wrapping paper to fit the side of each drawer.
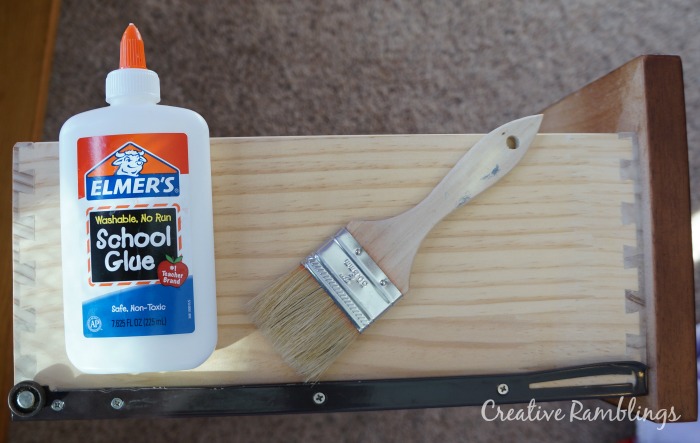
Brush a thin coat of glue onto the side of the drawer then press the wrapping paper over the glue.

A little wrapping paper goes a long way in spiffing up this dresser.
This paper holds up really well as it doesn't get that much use. The sides of the drawers don't get touched very often.
I originally shared this project on my blog 4 years ago and my daughter still uses this dresser. The paper is in great shape!
Adding wrapping paper gives the room a coordinated look, it goes so well with her purple walls. And the project was done in under an hour!
Resources for this project:
See all materials


Comments
Join the conversation
-
This is such a great idea! And those adorable helpers, oh my goodness!


Frequently asked questions
Have a question about this project?
I loooove love bbn looove thos. How can I follow u? I knew how when hometalk was a we site but idk how with this app.