


How to Makeover a Pottery Barn Table and Chairs.
This tutorial will take you through the steps how to makeover a Pottery Barn table and chairs with chalk paint.
I’ve had this table and chairs for years. They’ve seen a lot of wear and tear. So, it was time for a makeover.
The Pottery Barn table was found on Craigslist for $100. What a find!
Later, after some searching, I found these matching Pottery Barn chairs from Craigslist, too, for $20 for both.
These Pottery Barn pieces of furniture are sturdy and well made.
I didn’t want to buy new when I had the perfect set already, it just needed a little paint.
My tutorial I’m sharing today is from my own experience how to paint a table and chair with paint.
I’ll be sharing in my next post, what not to do! I think we all can say we’ve learned lessons in life. I certainly have. Especially when painting these Pottery Barn table and chairs.
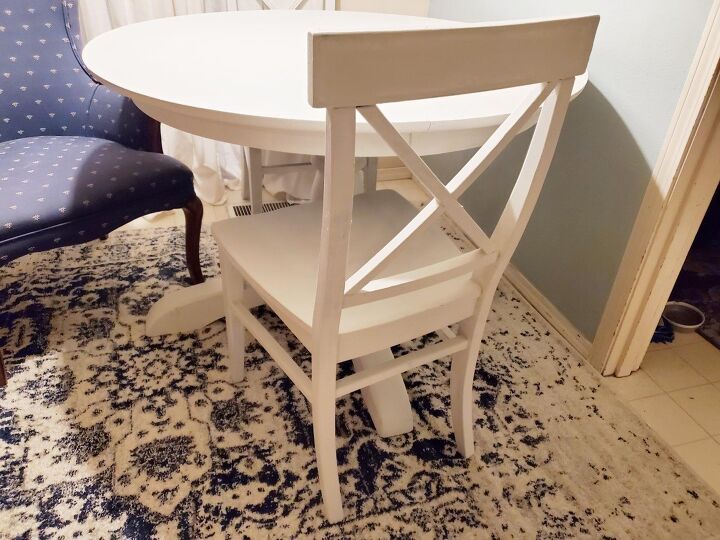
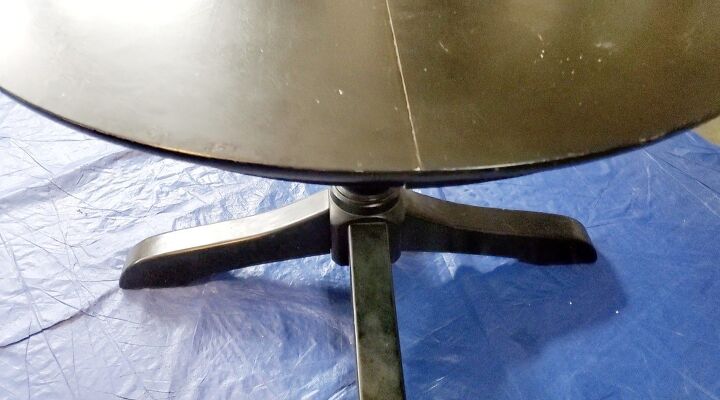
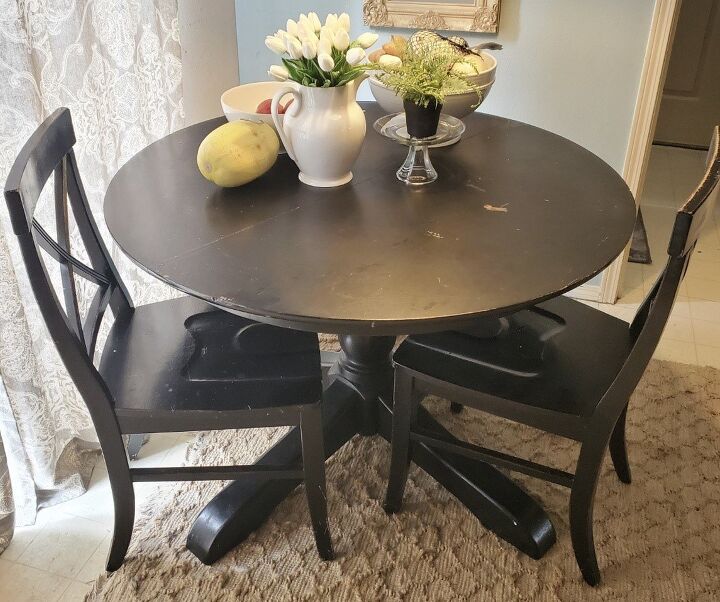
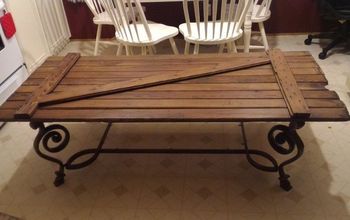
Here is the Pottery Barn table before getting a makeover.
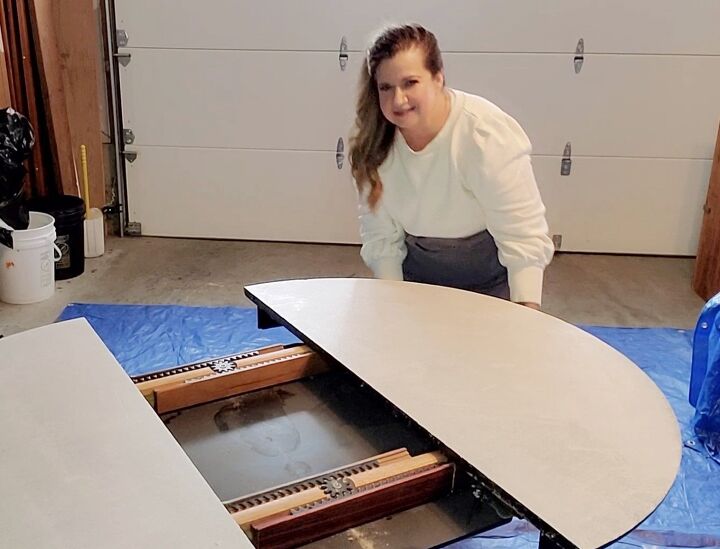
Here is the Pottery Barn table after the makeover.
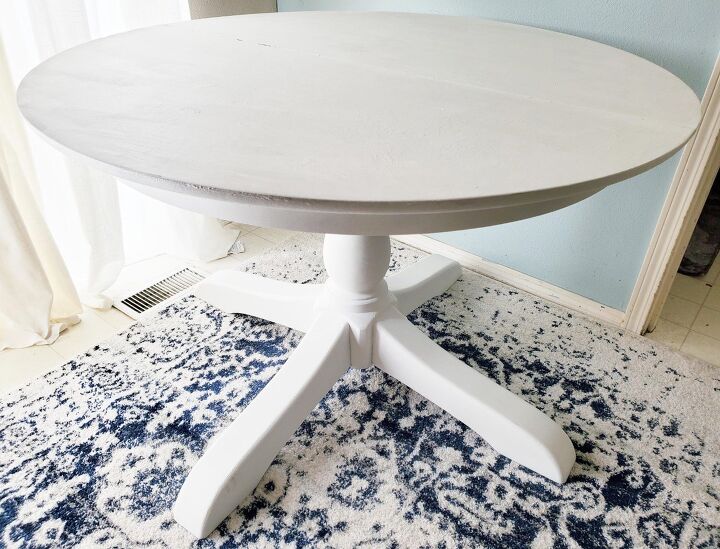
What a difference!
It brightens up my breakfast nook beautifully!
What you will need for this project:
- Annie Sloan chalk paint in Old White.
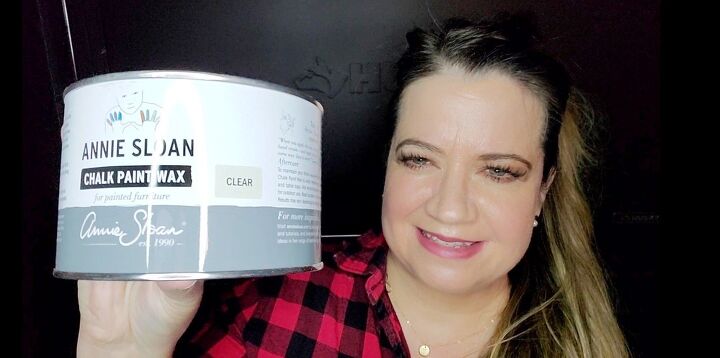
- Annie Sloan clear wax.
- Medium chalk paint brush. Preferably Annie Sloan. (Will work for applying paint and wax.)
- Annie Sloan small chalk paint brush. (Optional for the legs)
- Annie Sloan wax brush.
Steps to painting a table with Annie Sloan chalk paint.
STEP ONE:
Wipe down the table and chairs with a cleaner first to make sure it free from any dust. It is not necessary to sand down anything when using Annie Sloan chalk paint. I love that part.
STEP TWO:
Open the Annie Sloan chalk paint and stir thoroughly, making sure to go all the way down to the bottom to pull up all the paint to get it mixed up really well.
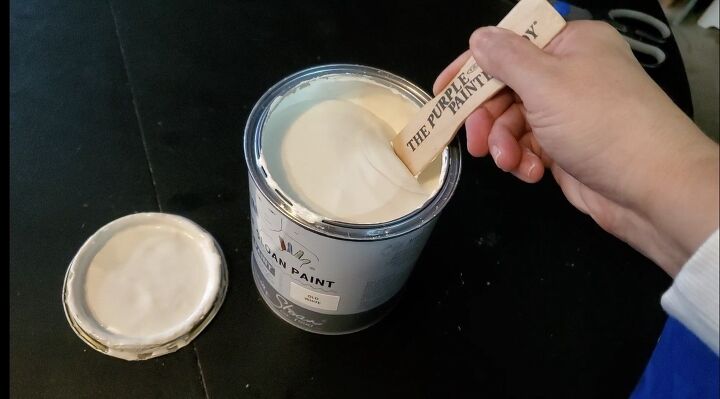
STEP THREE:
Dip your brush in the paint. No need for a paint bucket or tray.
STEP FOUR:
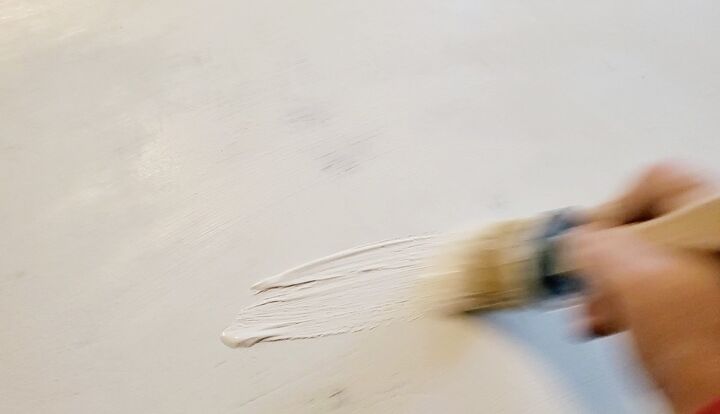
Apply a small amount at a time. Doing quick side to side and up and down motion to get it on quickly.
STEP FIVE:
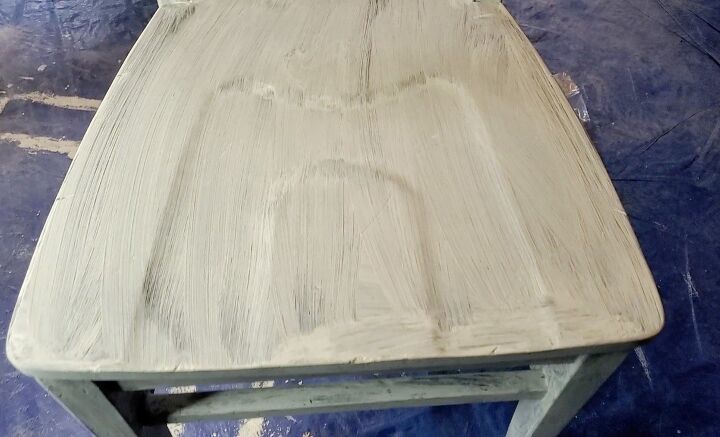
Repeat this for the entire top of your table.
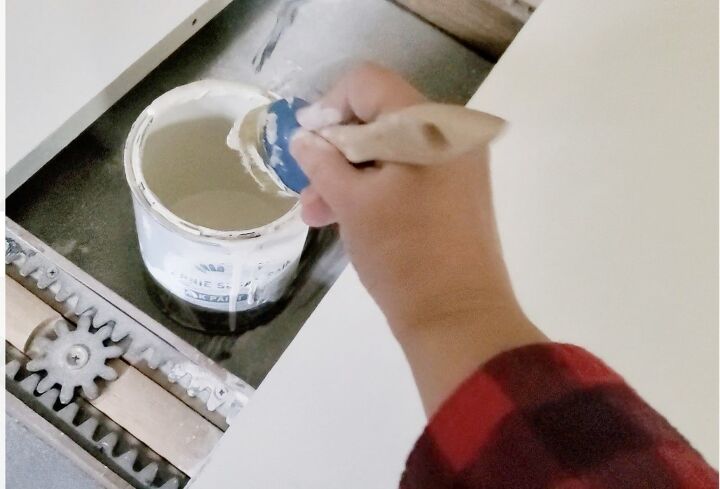
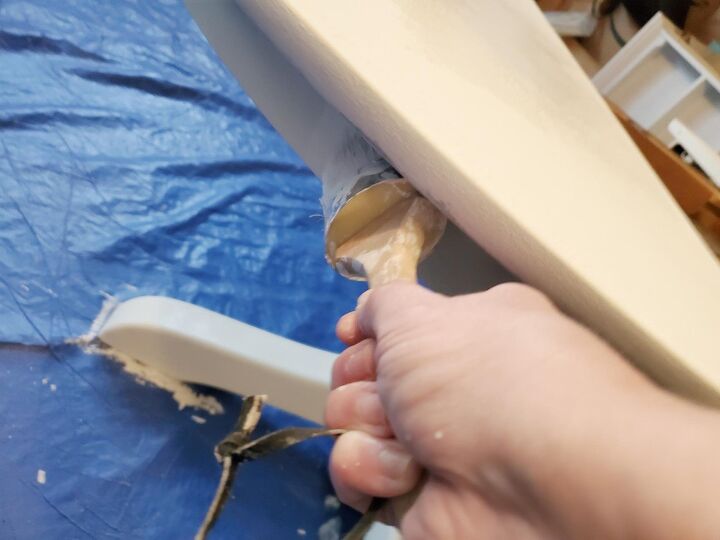
I had to pull my table apart since paint was building up in the center. You can do this, too, if needed.
From my experience do not apply a lot of paint to the middle as it will be hard to close when you are finished and table is fully dried. Ask me how I know.
STEP SIX:
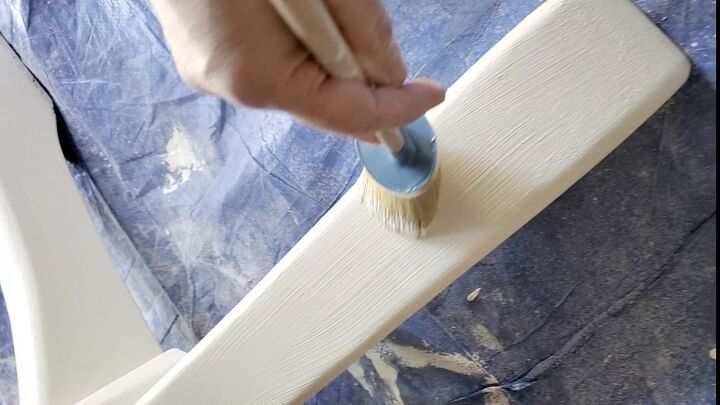
Apply paint to the sides of the table top.
Go side to side, getting more paint as you need it.
Go all the way around.
Now, let that first layer dry. It doesn’t take long.
You can see it getting a matte chalky look within 20 minutes or so.
But wait for it to be dry.
I didn’t wait and caused a big debacle that I will tell you about in the next post.
STEP SEVEN:
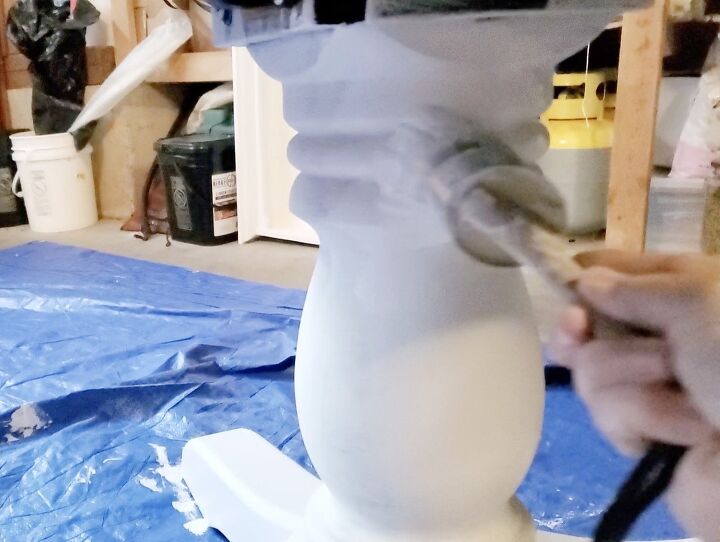
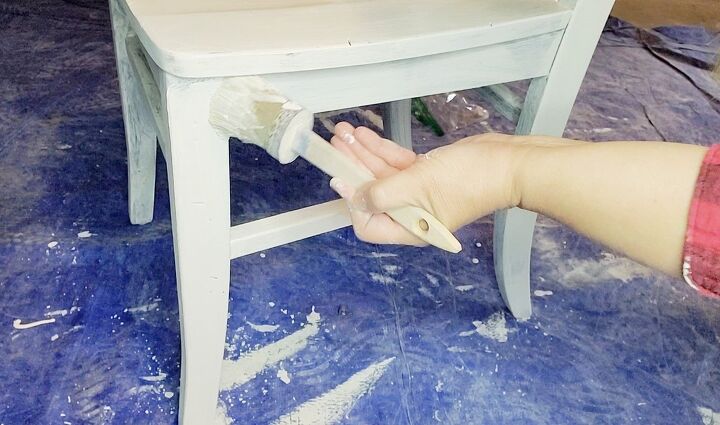
Now, to paint the base you will need to start with the legs.
Put a small amount of paint onto your brush.
Do an up and down motion, not worrying about brush strokes.
It doesn’t take away from the finished look. The brush strokes are not as noticeable when dry.
You can use a stool if it’s easier on your knees. I certainly appreciated a stool. It made the project so much easier.
STEP EIGHT:
Now, to apply paint onto the middle area.
Do a side to side motion. This requires a little patience since you need to get all the areas that will be seen.
Don’t worry about wasting your paint on the underside. I started to do it then I realized no one looks under there!
STEP NINE:
Let this layer dry until you see the matte chalk look on the base.
STEP TEN:
By this time you should be able to see if you need a second coat. If so, repeat steps 3-9. I had to apply it four times.
STEP ELEVEN:
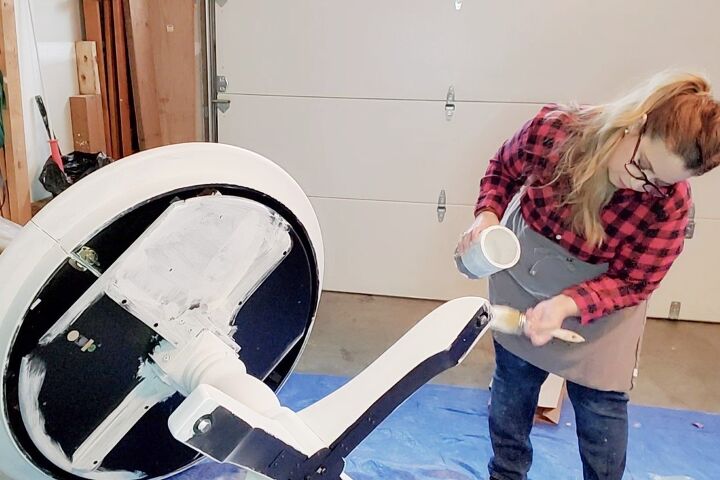
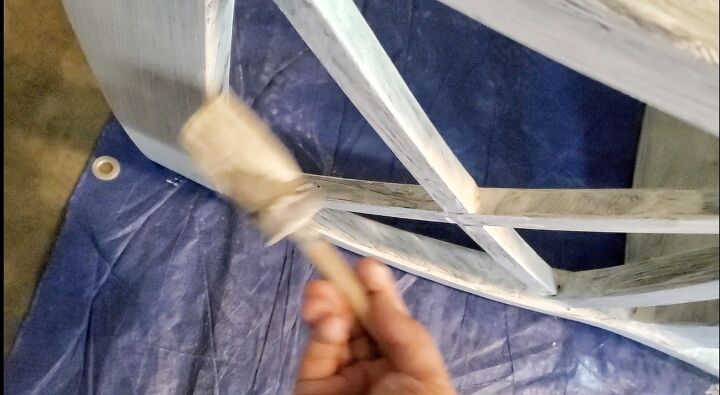
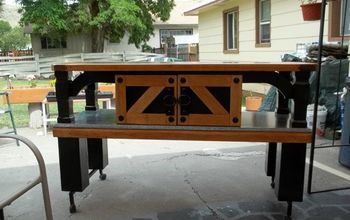
Turn you table sideways to get the underside areas that are hard to reach. Also, get the edges on the feet that were missed when painting upright. You can see in this photo how I started to paint the underside realizing it was unnecessary.
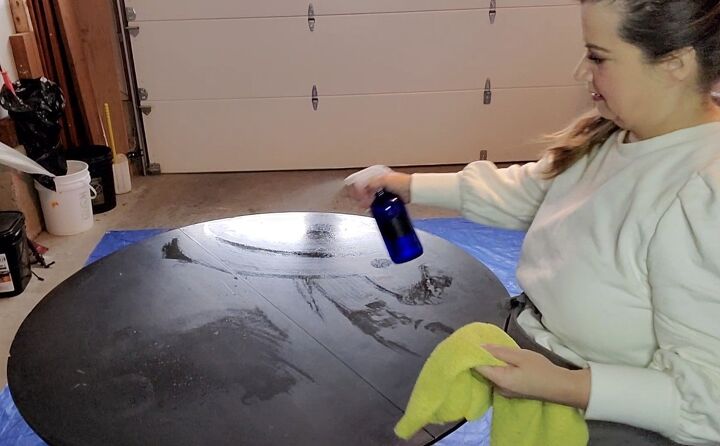
Steps to waxing your table with Annie Sloan clear wax.
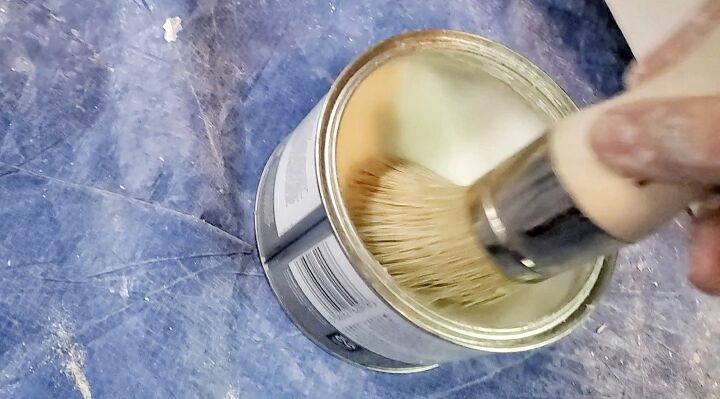
STEP ONE:
Get your wax and wax brush. Open up the can of wax.
STEP TWO:
Put your wax brush into the can and swirl around getting a good amount of wax onto your brush.
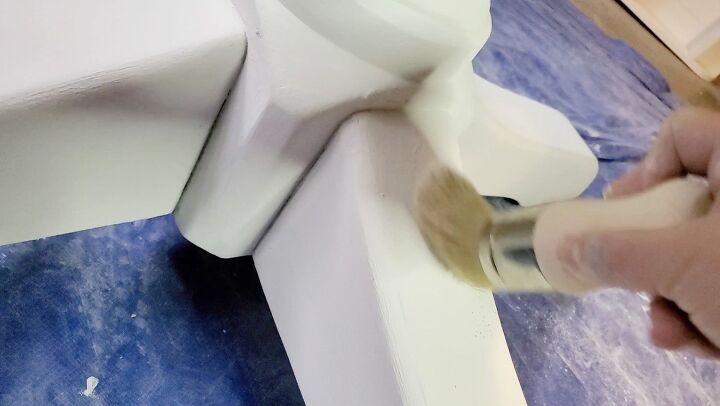
STEP THREE:
Like the paint, do a side to side and up and down motion when applying. Keep dipping your brush into the wax swirling around to get a good amount.

STEP FOUR:
Start with the table top, then the sides. For the sides do a side to side motion. Looking to keep globs of wax from building up. If this happens, take your brush, doing a side to side motion over top of the glob. It will simply flatten out as you brush over it.
STEP FIVE:
For the base, do an up and down motion on the legs first. Keep dipping your brush into the wax as you need it.
STEP SIX;
Do a side by side motion for the middle area of your base under your table.
STEP SEVEN:
Let the wax dry.
How to paint chairs with Annie Sloan chalk paint.
Here are the Pottery Barn chairs before the makeover.
Here is one of the Pottery Barn chairs after the makeover.

I will reveal my entire breakfast nook soon. So stay tuned for that!
I’m letting you see a quick peek as to what’s coming up. Look at that rug! It’s so dreamy. Here’s a link if you’re wanting this gorgeous beauty!
Here are the steps.
STEP ONE:
Wipe down the chairs with a cleaner and dry with a cloth.
STEP TWO:
As with the table, apply a small amount of paint onto your brush. You can use the small brush on the legs, if you have one.
STEP THREE:
Do a side to side motion for the foot rests, seat and all horizontal areas. Do an up and down motion for the legs and all vertical areas.
STEP FOUR:
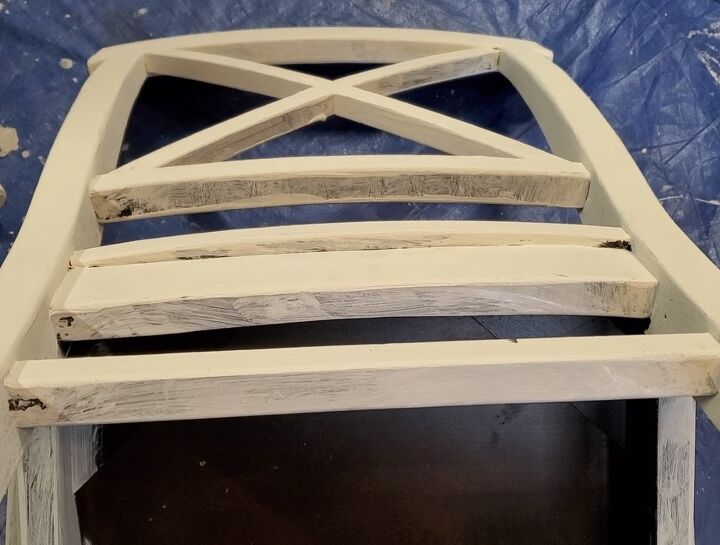
Lay the chair on it’s side and rotate it around to reveal the areas not seen. Turn it upside down like the photo below. This is an example of the importance to look at all the angles of a chair. Very tedious but worth it in the end.
STEP FIVE:
Let the paint dry. Then apply another coat using step 1-3.
The photo below is one coat. It needed 3 coats to get a full coverage for these chairs.
STEP FIVE:
Apply the wax in the same way as the paint. Let dry.
Dry Time for Wax.
You will need to wait a good 24 to 48 hours before your table and chairs are ready to use. It took 2 full days for the wax to dry for my table and chairs.
I like to give it a good wipe down before using it. Sometimes there can be globs of wax built up in areas.
I hope this tutorial was helpful. Please stay tuned as I show you my table and chairs in my breakfast nook makeover.
For other DIY projects you can follow this link.
Thanks for coming by Victorian Lane Farms.
This YouTube video is Part 2 of how I fixed my debacle when painting my table and chairs. My "How to makeover a Pottery Barn table and chairs" blog post is from my own experience of what not to do. But was it worth it? Oh, yes. Stay tuned as I reveal my biggest paint project yet.


Frequently asked questions
Have a question about this project?