


How to Paint a Faux Runner On a Table

I was sitting on my screened-in-porch pretending it was warm with a glass of sweet tea and hand warmers.
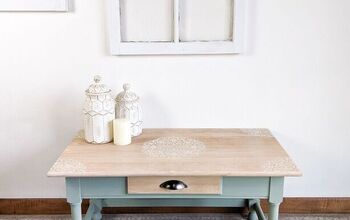
I kept looking at this table and it kept looking back at me.
And I knew that I knew….that I knew…..it needed something.
It's fine exactly how it is.
But why?
Why have fine when with a little paint and little painter's tape?
You could have something extraordinary.

Make sure to clean your table with a damp rag to remove any debris and dust and dirt.
Let dry.
Lightly sand the center of the table with 220 grit sandpaper.
Wipe off with a tack rag.
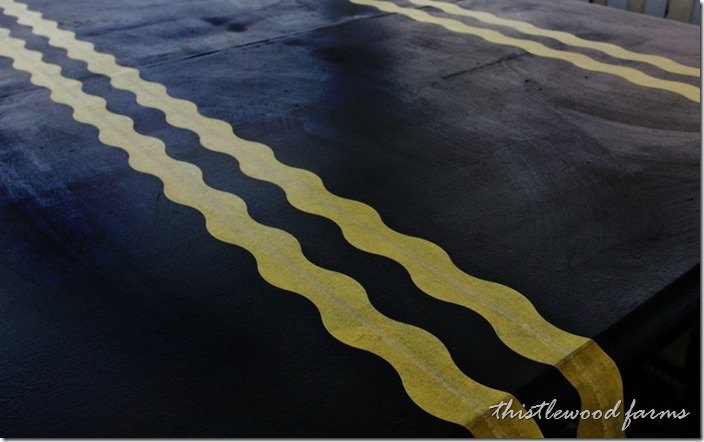
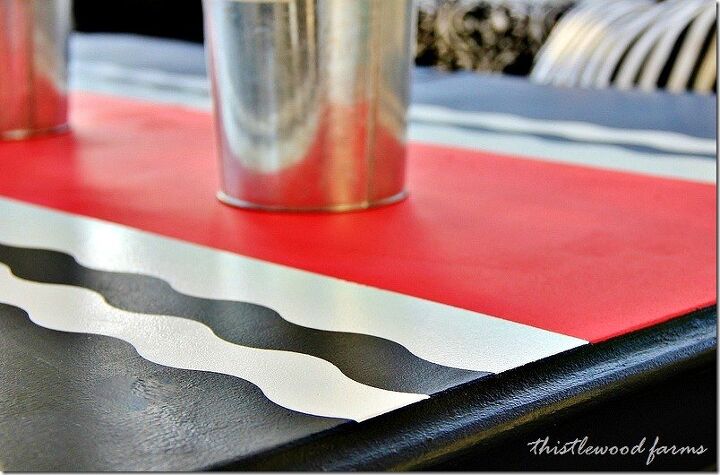
This is painter's tape for painted surfaces.
It comes in so many different patterns.
(tape painting tip 1: you want to make sure you score the tape to make sure it adheres to the table)
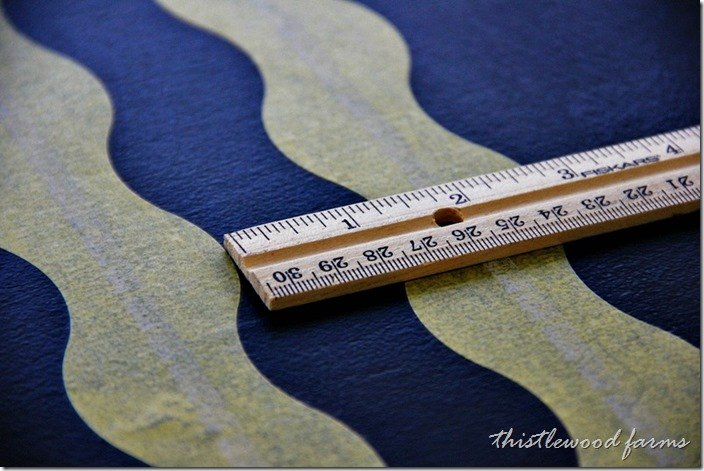
To keep the tape even when you apply it. Add one piece of tape to the table top, then measure every 6 inches or so and mark 1 1/4" from the edge.
This will give you a guide to apply your second piece of tape.
Add the second piece of tape and score in place.
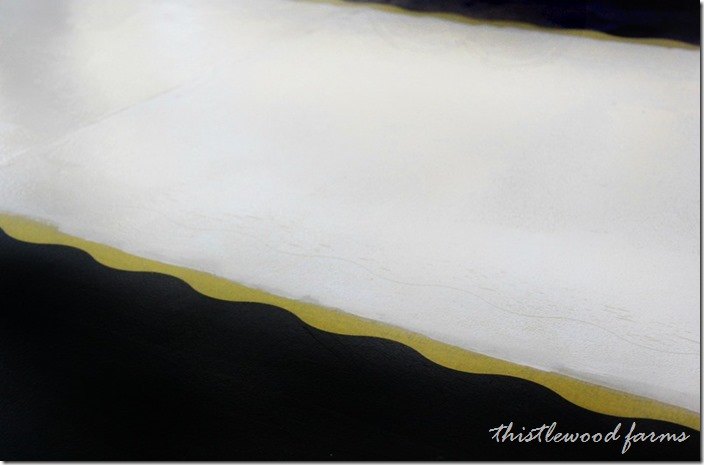
Paint two coats of Extra White SW 7006 paint over the wavy painter's tape.
You want to paint from one edge of the painter's tape to the far edge of the other painter's tape.
Let dry.
Check and see if you need a third coat.
Is that not a thing of wonder?
Look at that wavy line.
Seriously.
Absolutely perfect.
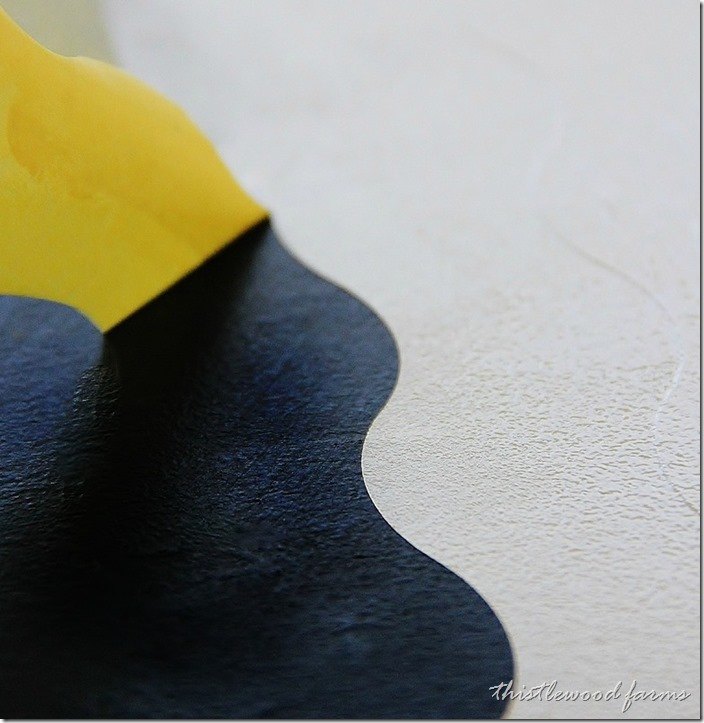
(tape painting tip 2: pull off tape when still wet)
(tape painting tip 3: pull tape away from you for best results)
I used regular FrogTape for this part of the project.
After the white paint dried I taped off a center rectangle and painted a coral color in the center of the table.
This will need two coats of paint as well.
Peel off the tape after the second coat.
Pull off tape when still wet.
Pull tape away from you for best results.
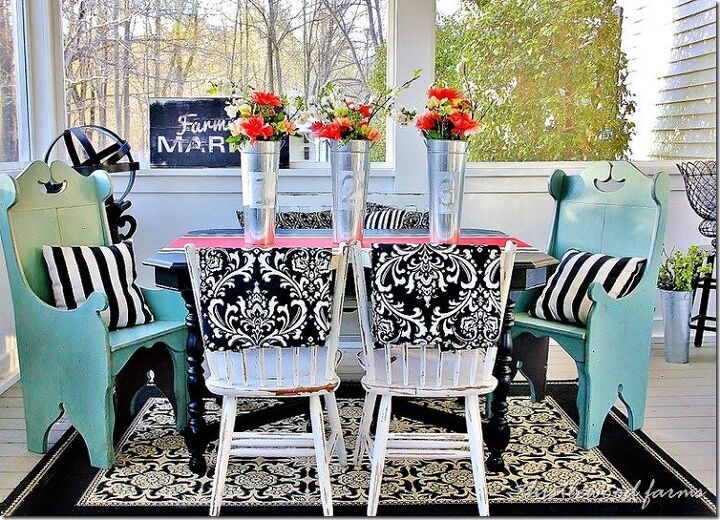
Here's the finished table.
Doesn't it look amazing?
It’s ready for summer.
And the sweet tea drinking view….
….just got a whole lot sweeter.If you like this painted furniture project?
Here are a few of my favorites:
Before and After Farmhouse Table
Comments
Join the conversation
-
Paint Pulling tip #4
Use a piece of cardboard to wrap the tape onto while pulling it off. Makes a neat bundle and not a sticky web.
-
That is the best tip ever!!!!


Frequently asked questions
Have a question about this project?