


How to Paint and Stencil Furniture With Chalk Paint
How to paint and stencil furniture step-by-step. Clean, prep, paint, stencil and wax your furniture with this easy to following tutorial. This is an abbreviated post I'm afraid. I'm know for my detailed tutorials but they are usually far too long for me duplicate here. If you are interested in this project and would like to read the full tutorial, I'm just one click away at Chalking Up Success!
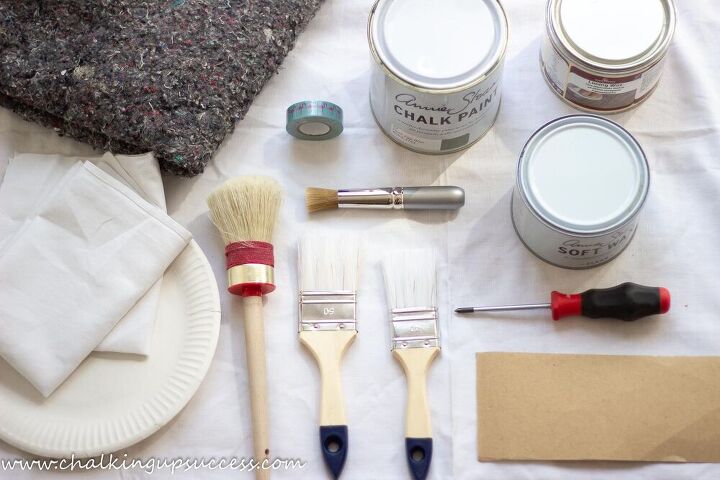
You will need paintbrushes, a wax brush or cloth, Chalk paint, furniture wax and a stencil brush. Please see the full list of materials in the blog post.
Wash
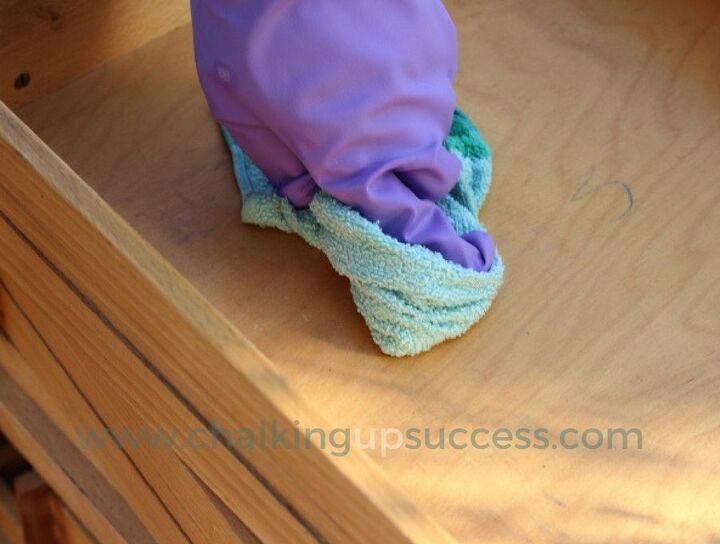
The first thing to do as always is to clean out your furniture and give it a good wash down. Go over it with a vacuum cleaner first to get rid of any dust that has accumulated in the drawers and cupboards.
Then use some soapy water to clean it, making sure to wring the rag out well so that the wood doesn’t get too wet.
Sometimes this type of wood will warp if it gets too much moisture so you obviously want to avoid that happening.
Remove the hardware
After your furniture has had a little time to dry, the first job will be to remove the hardware ready for painting.
Test for Bleed-through
Always test out the paint on the wood first, because even though Annie Sloan Chalk Paint covers really well, sometimes you get bleed-through of the old paint stain. I find this mostly happens with the darker stains. See my blog post for more details on this.
Using primer
The original stain on my secretary was a light wood colour and there was no bleed through so I didn’t need to use a primer this time.
If you find you need to use a primer, take a look at my blog post Easy Bookcase Makeover – Part Two where I go over how to apply it.
The first thing you need to decide is which colours to use.
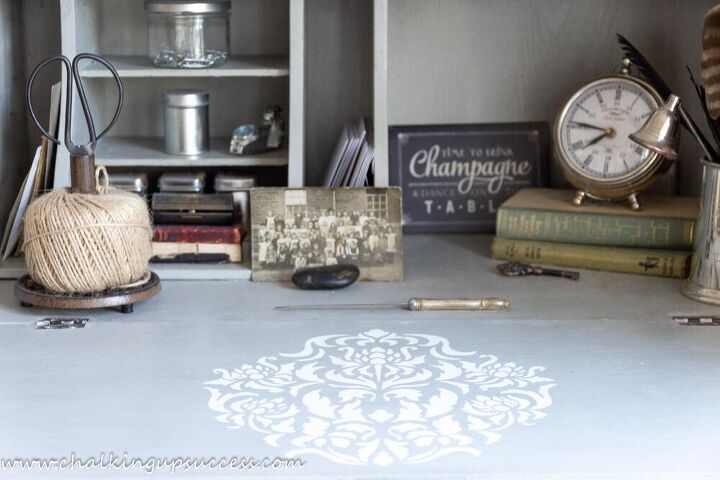
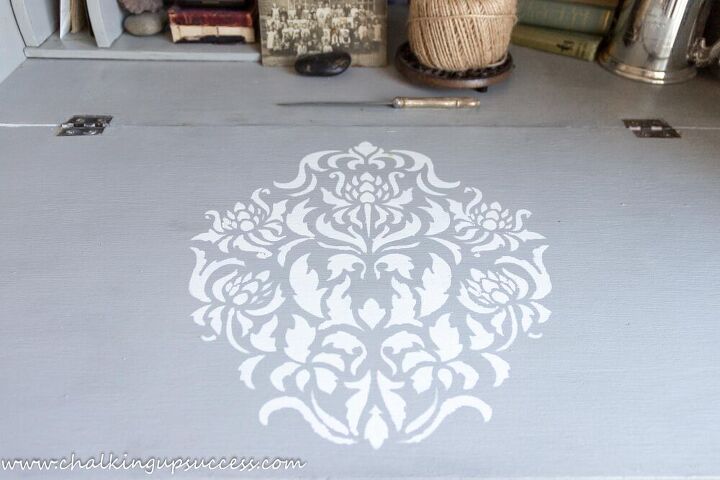
When you stencil furniture with chalk paint, you really want the stencilled part to stand out.
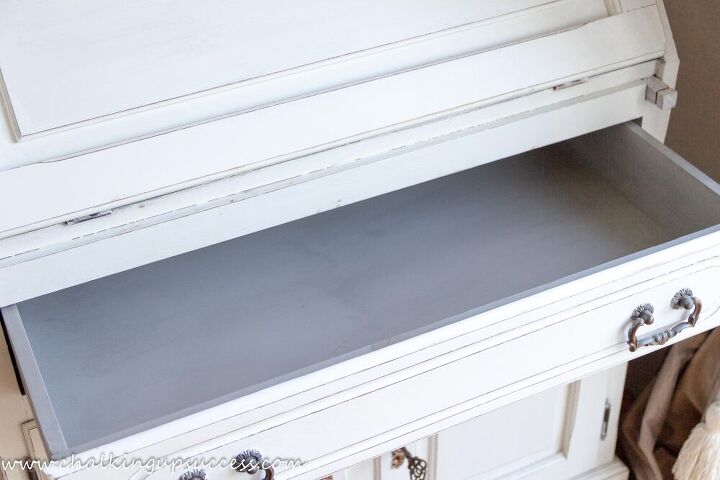
Most of the furniture I’ve painted for my own home has been painted in Annie Sloan ‘Old White’ or ‘Paris Grey’ Chalk Paint.
This time I decided to combine the two and make my stencil stand out by using Paris Grey on the inside of the secretary desk and using Old White for the stencil.
So you’ve painted your furniture in your colour of choice and have picked out a contrasting colour to use with your stencil.
Once you’ve decided where you want your stencil to be, use some masking tape to tape it in place. This will make sure that the stencil stays put while you’re painting and won’t smudge your paint.
I’ve only ever used a stencil brush to stencil furniture with chalk paint so I can’t tell you if it will work as well with any old paintbrush.
Stencil brushes are quite thick and the bristles are cut flat which makes them great for stippling the paint onto the stencil.
See my blog post for my stencil brush recommendations. You can also see my stencilling method in this YouTube video:
https://youtu.be/h-zMpvK6DFQ (Copy and past it into your browser).
For smaller stencils like the one I used for this secretary desk, you only need to use a small brush.
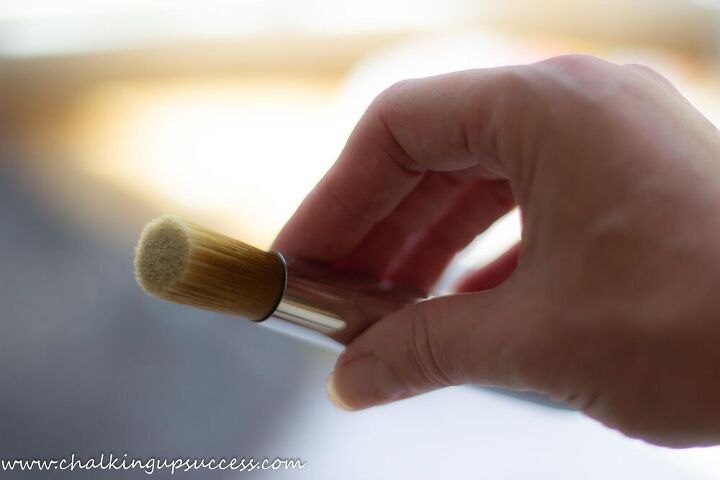
How to load a stencil brush
Take a large spoonful of paint out of the tin and place it into a container (I use an old cup for this).
Gently dip the tip of your stencilling brush into the paint. You don’t want too much on there and you can wipe some off on a paper plate if you think it’s too much.
If you load your brush too full and use it straight on your stencil, it will bleed through and wreck the whole design.
It’s always better to add more than to overload your brush with paint.
Stippling
Now take the brush and using a stippling technique (dabbing not brushing) gently dab the paint onto the stencil.
The great thing about stencilling with Chalk Paint is that it dries really quickly so if you need to, you can paint a second coat almost immediately.
Once you’ve finished, remove the masking tape and gently peel back the stencil and admire your handy work – yay!
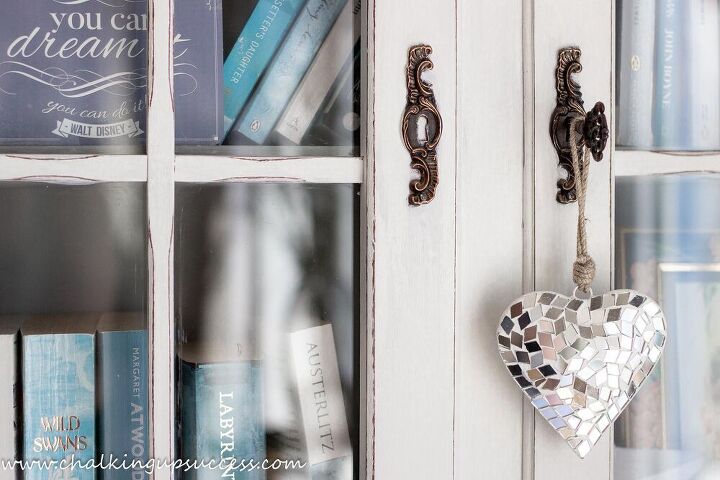
Normally, I finish my furniture with a couple of layers of clear wax and that's what I did with the body of this secretary desk but because this desk surface gets tonnes of use, I gave it two coats of water-based poly to seal it.
Poly is easy to apply with a brush or a roller and will protect your surface from spills.
One thing to look out for is that it states on the tin that the poly is non-yellowing because some will turn a yellow colour after a while or if the furniture is in a place which receives a lot of sun like next to a window.
So there you have it! I hope this post has inspired you to have a go at stencilling with chalk paint and I’d just love to see what you create.
WAIT!
Before you go, if you’re not part of our amazing creative community yet but would love to join us, I would love to have you stop by my blog Chalking Up Success for the full tutorial or to sign up for my latest posts, DIY, inspiring home decor, natural home recipes and more.
FREE RESOURCES
By signing up, you’ll also receive a copy of the free ‘Furniture Flip Checklist’ and gain access to all the other printables, e-books and labels in the VIP Resource Library.
FOLLOW CHALKING UP SUCCESS
CHALKING UP SUCCESS ON YOUTUBE
Subscribe to my YouTube channel to see more DIY, home decor and crafts - https://www.youtube.com/channel/UC4uyVGrJxoo8-7qlAg5_x-g?sub_confirmation=1 I can't wait to see you there!
Facebook:
https://www.facebook.com/chalkingupsuccess/
Instagram:
https://www.instagram.com/chalking_up_success/
Pinterest:
https://www.pinterest.de/chalkingupsuccess/


Frequently asked questions
Have a question about this project?