


How to Paint Kitchen Cabinets
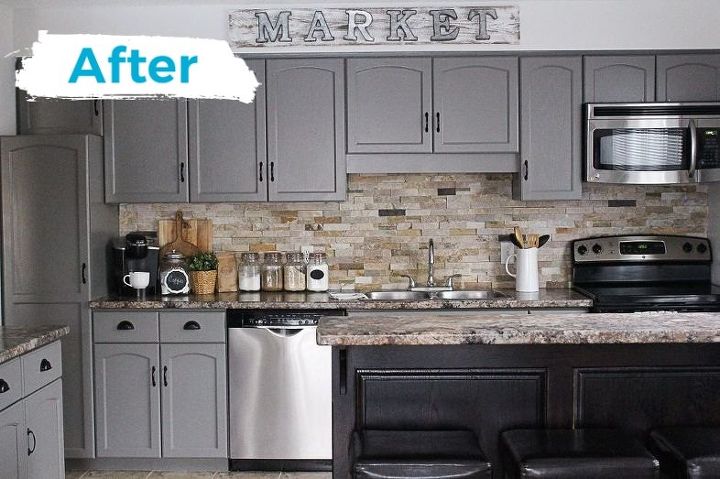
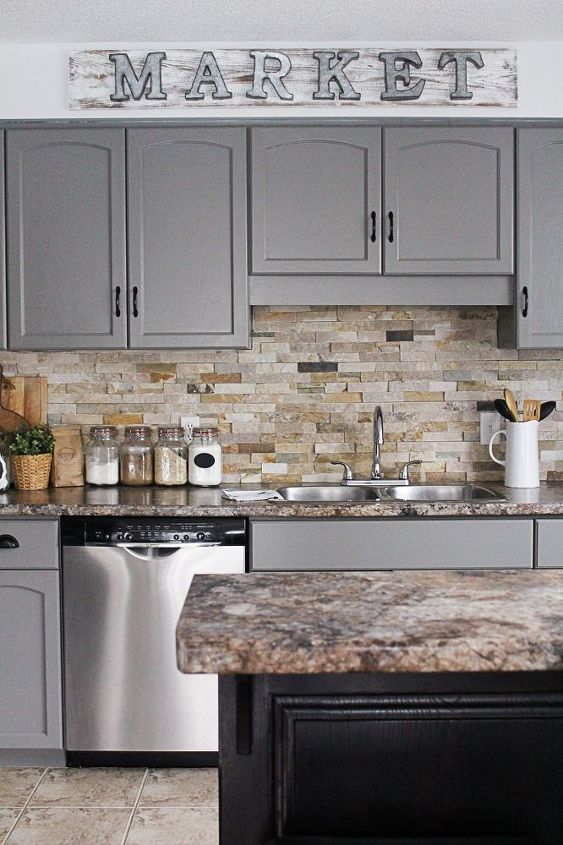
I'm so thrilled with the results of our painted kitchen cabinets. It's so worth the labor if you are familiar with painting and a BONUS: it's a huge money saver! For under $200 you can simply transform your outdated kitchen into something you have envisioned!! By following these steps for how to paint kitchen cabinets, you can give your kitchen some updated and character-worthy appeal you've been dreaming of!!
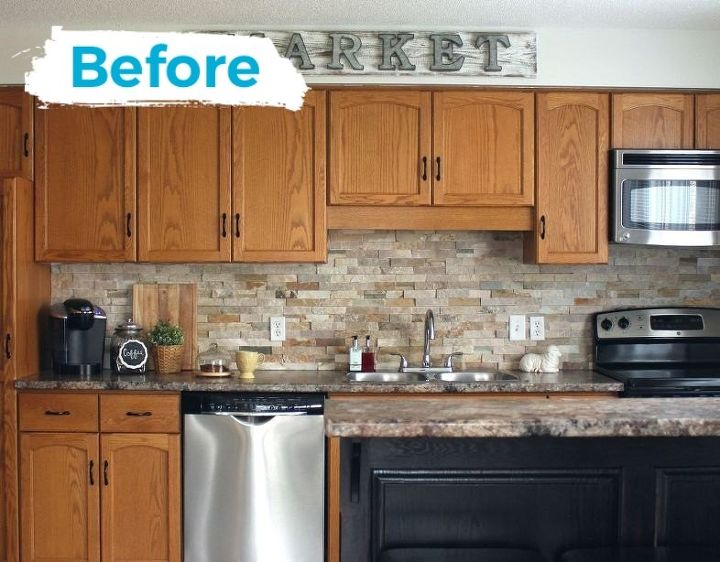
There's nothing wrong with honey oak cabinets, but I was in need of a change and I felt consumed by all the wood in our house. I wanted to give these kitchen cabinets a modernized makeover, but still keep our home feeling "farmhouse" and welcoming!
SUPPLIES
- 1 Can Zinsser Bulls Eye 123 Water-Based Primer
- 1 Can Benjamin Moore Advance Paint in Pearl Finish Cabinet Cleaner (make sure it's compatible with Zinsser Primer or make up your own remedy)
- 1 Paint Brush
- 3x Foam Roller
- 3x Paint Tray
- Tack Cloth
- Scrubbing Sponges
- 120 Grit Sand Paper
- Frog Tape
- Drop Cloth/ Newspaper
- Wooden Blocks or Painter's Pyramid
- Felt Bumpers
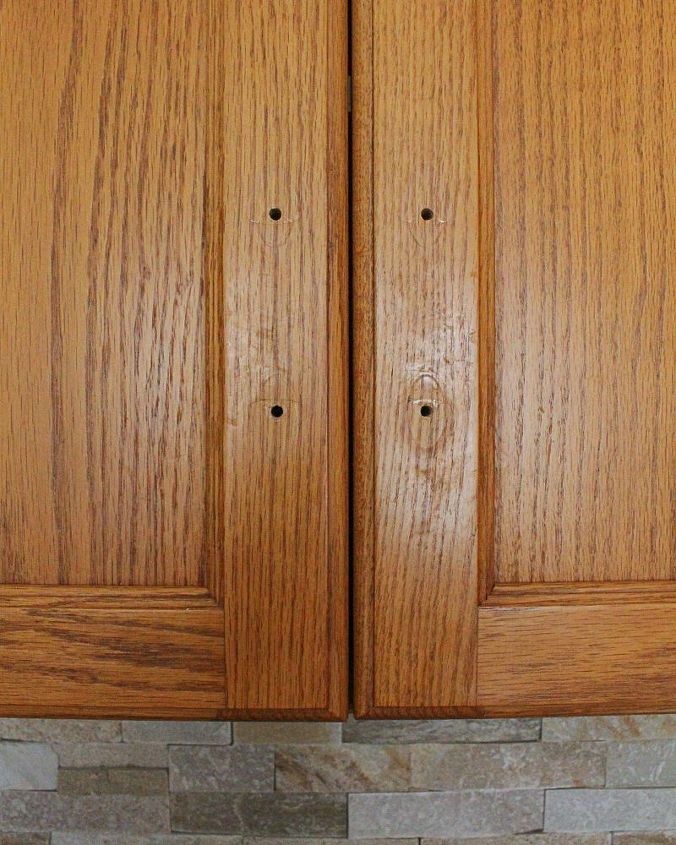
Remove all handles/knobs and store in a zip lock bag. PS. Look at all that gunk stuck on the cabinets, gross!
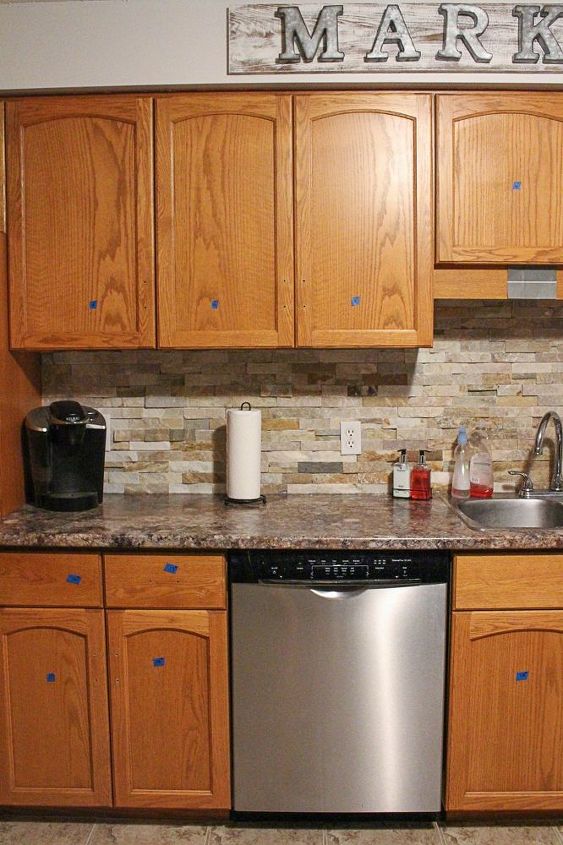
Using tape, label each door and drawer. I drew out our kitchen cabinet layout on paper and numbered each cabinet/drawer to match my existing kitchen cabinetry. Remove cabinet doors and hinges, store hinges in another ziplock bag if you plan to reuse them. Move the rest of the drawer boxes (where all your utensils, junk and etc. hang out) in a safe place, out of the way.
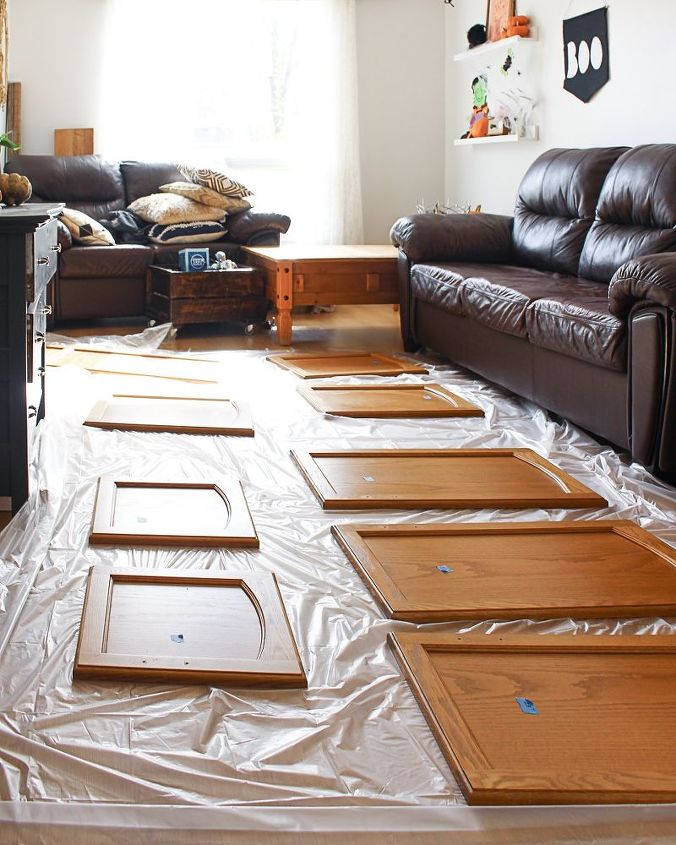
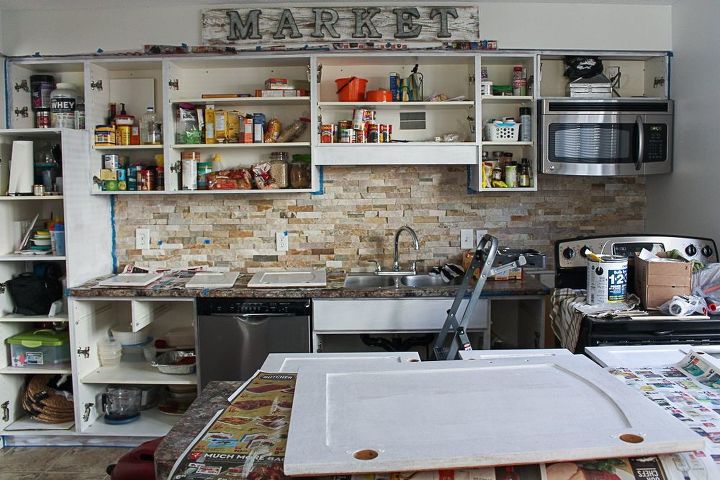
Layout all cabinets/ drawers in a place where you plan to paint them. Make sure to cover the surface underneath cabinets/drawers with newspaper or a drop cloth. Use small wooden blocks to raise cabinets/drawers from surface (another option is Painter's Pyramid). Since it was October when I painted mine, I had no choice but to paint them indoors. I would recommend painting them during the mild spring months in the garage or in a place where you have plenty of room and lots of ventilation. Remove everything from your countertops and store somewhere away from your painting zone.
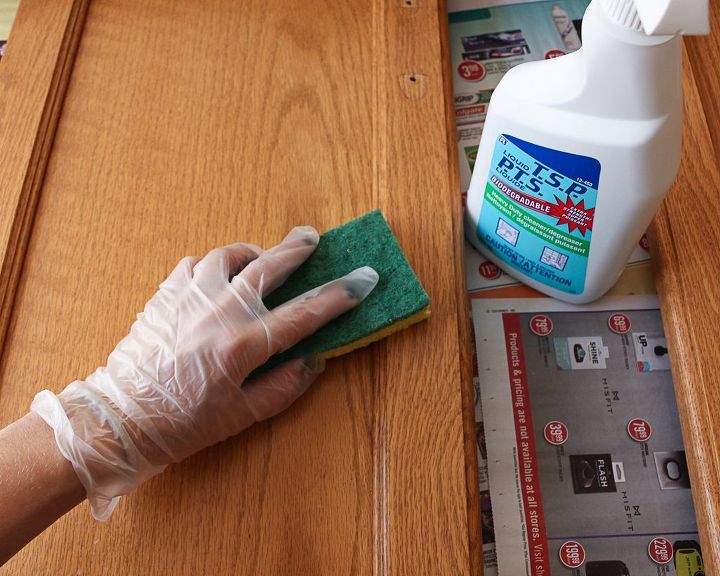
Clean both front and back of cabinets and the drawers, also remove old felt bumpers from the backside. This is VERY IMPORTANT!!! If you want a super durable and smooth finish, DO NOT skip this step. I used a TSP all purpose cleaner to clean my cabinets, but if I were to do it over again I would make up my own homemade remedy consisting of dish soap, vinegar, Borax and water. If you read the label on the Zinsser Primer, it recommends not to use TSP cleaner prior to priming with Zinsser. The reason is that there is something within the combining substance that withholds the primer from properly adhering to the surface you're painting. After research and thankfully I did an additional, rinse, sand, and wipe, I have yet to notice any problems- PHEW! Because I used the TSP cleaner, I did an additional step and washed the cabinet boxes/doors/drawers with soap and water after I used the TSP cleaner.
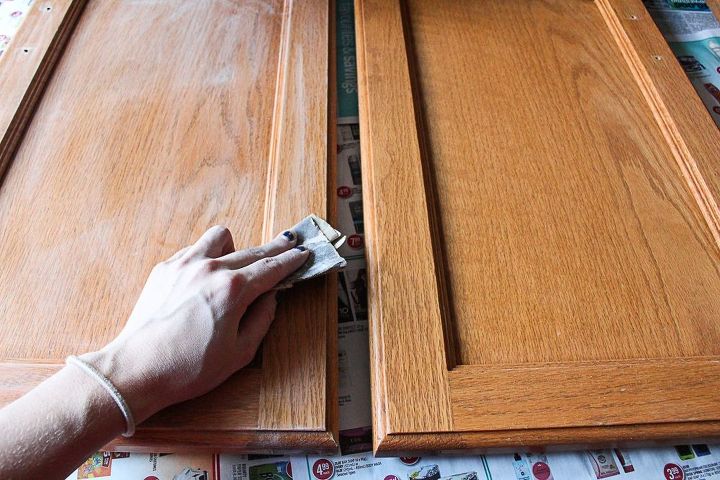
Sanding time! Use a 120 grit of sandpaper. Begin by sanding the cabinet boxes first. Make sure to sand every corner and lip that will be painted. The trick is to sand the surface enough to remove the shiny finish on the wood. Also, try to extra sand areas that will be touched the most aka where the hardware is located. Move along to the cabinets and drawers. Caution: if you're painting the cabinets inside the house, I would highly recommend carrying each cabinet/drawer outdoors to sand- another reason why spring is the best time to paint OR you can totally do it my way and sand indoors, which will lead to vacuuming like 100 times! Using a shop vacuum and funky attachment (even if you do sand outdoors), vacuum up any remaining dust in the creases of the cabinets.
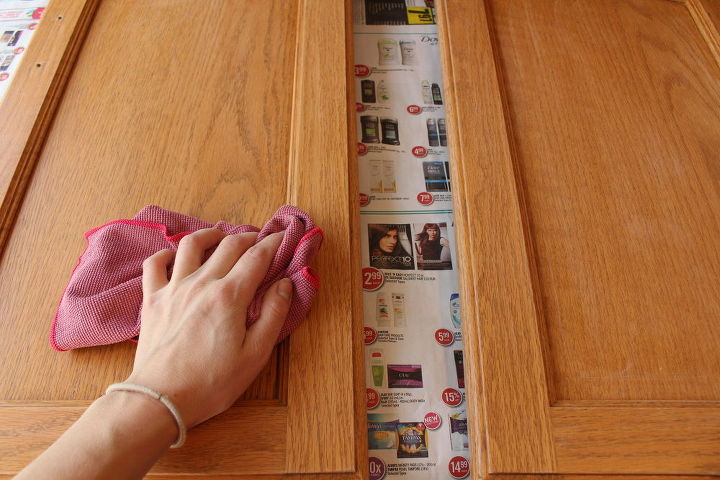
Wipe the cabinets down with water, then dry and use a tack cloth to make sure you get every last dust particle! Tape off floors, walls, appliances, inside of cabinets, hood vent or anywhere else that you do not want any paint to reach.
Starting with the cabinet boxes, begin priming by cutting in with a paint brush then use a foam roller on those exposed easy-to-reach areas (exactly like painting a wall). Don't judge, the insides of my cabinets are a mess! ALSO, can you tell why white wouldn't have exactly worked, even though this is a stark (primer) white, it still would have slightly clashed.
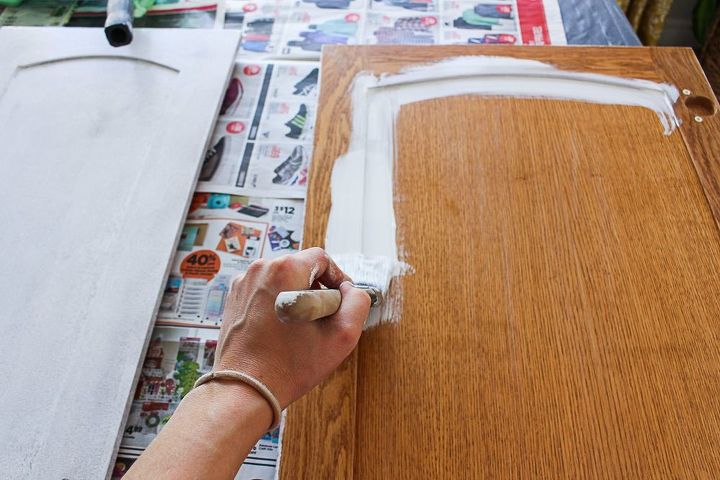
Prime the BACK of cabinet doors and BACK of drawers first. Using a paint brush paint inside the panels and roll the rest. Make sure to lightly paint around the edges with the roller (you want to paint to be applied seamlessly). WAIT AT LEAST 2 HOURS- primer drys fairly fast, phew! Flip and prime the fronts of cabinets/drawers. With the drawers, I recommend painting the SIDES the same time as you paint the FRONTS. Now that the cabinet boxes are dry, lightly sand and wipe any access dust with a tack cloth and after the cabinet doors/drawers are completely dry do the same to them for a ultra smooth finish! Sanding a second time is not necessary, but if you want an ultra smooth finish, go for it!
Paint the cabinet boxes. Begin painting by cutting in with a paint brush then use a foam roller on those exposed easy-to-reach areas (the same method as priming). Paint the BACK and SIDES of the cabinet doors and drawers. With the drawers, I recommend painting the SIDES the same time as you paint the FRONTS. Paint a second coat onto the cabinet boxes after 4+ hours of drying time. By this time the boxes should be dry enough and you will officially be done painting them, WOO! Remove tape while the paint surface is still slightly wet. Paint a second coat on the BACK of cabinet doors and drawers. You will have had at least 5 hours of drying time.
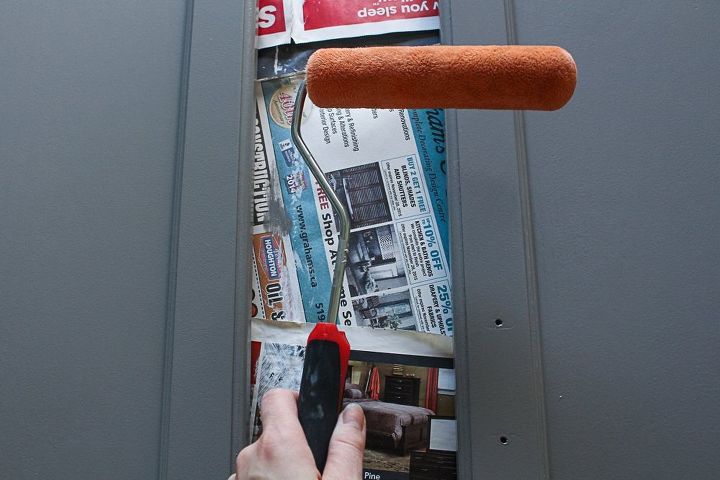
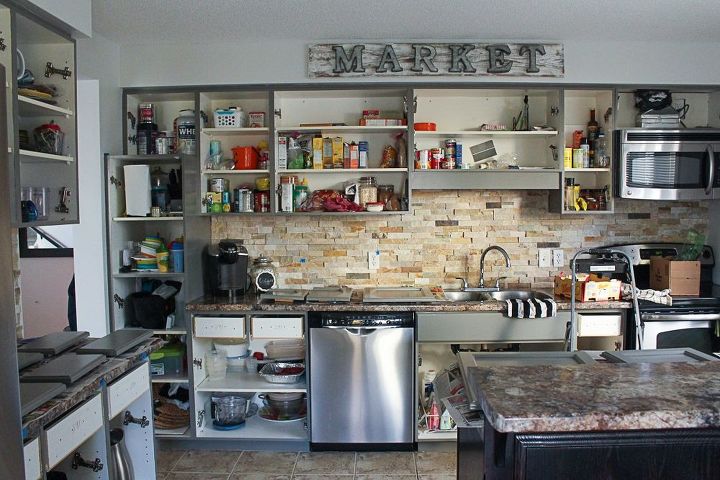
Paint FRONT of cabinet doors, drawers and drawer sides. Let them dry for majority of the day and then give a second coat of paint! Move appliances back into place, and maybe clean out your cabinets/ drawers if you're feeling productive... without the cabinet doors, my kitchen shelves looked like a disaster, yikes!!


Comments
Join the conversation
-
Wow looks great! The paint color really brings out the grays in the backsplash and counter tops.
-
Yes, it does look great but the grey fights the counter top. Maybe a lighter tone of grey would have worked better, or white, which always works.


Frequently asked questions
Have a question about this project?
i have white cabinets from HD with a slight laminate on them, is it still possible to paint them ?
My cabinets are not wood. I don't know how to name it but would call it a vinyl wrap finish - so, can they be painted?
What color and brand of paint did you use for the cabinets? They’re beautiful!