


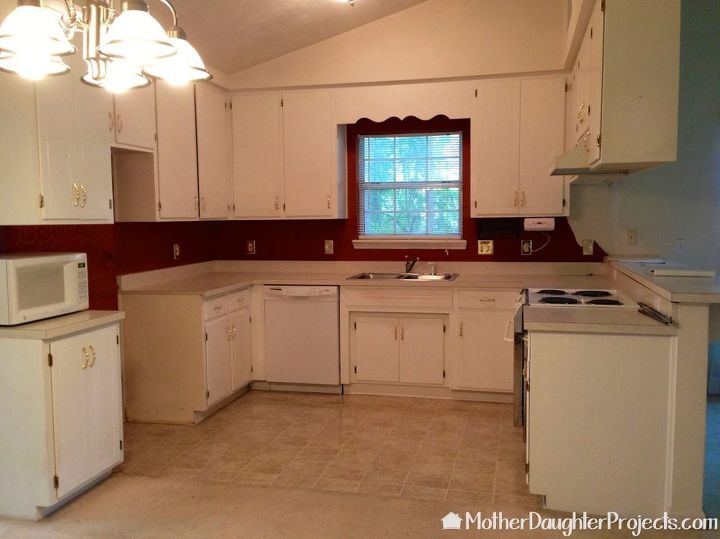
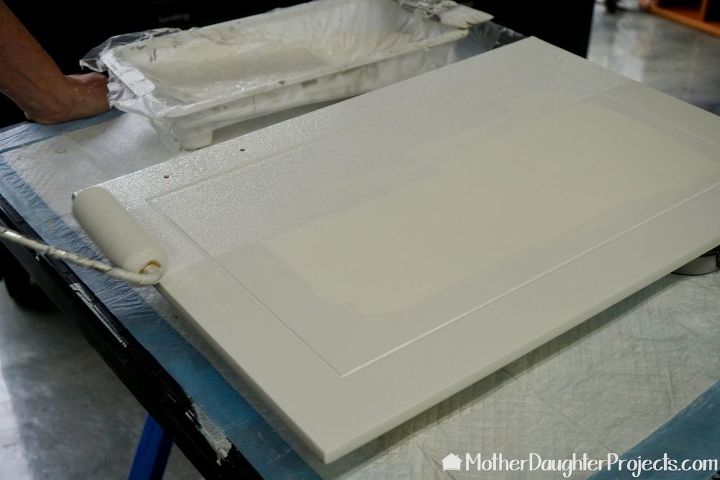
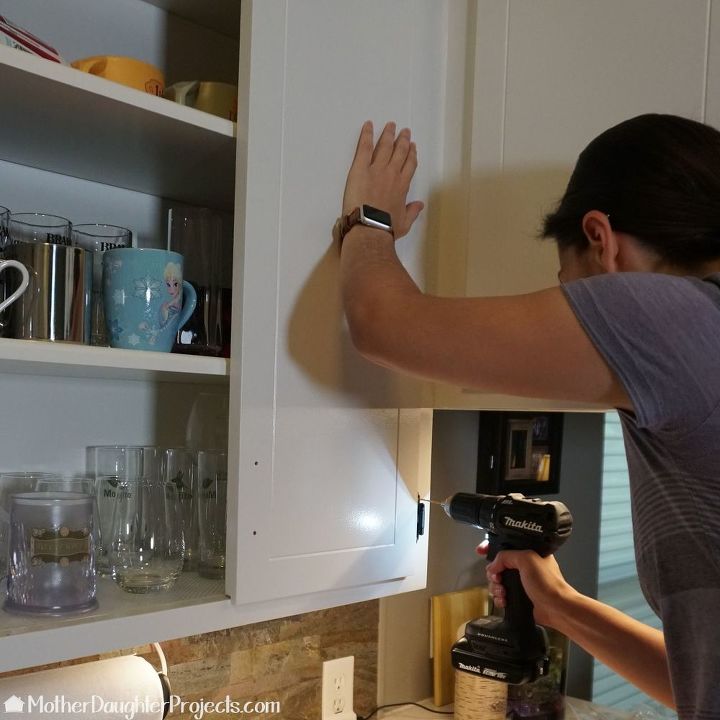
How to Paint Kitchen Cabinets

Resources for this project:
See all materials


Comments
Join the conversation
-
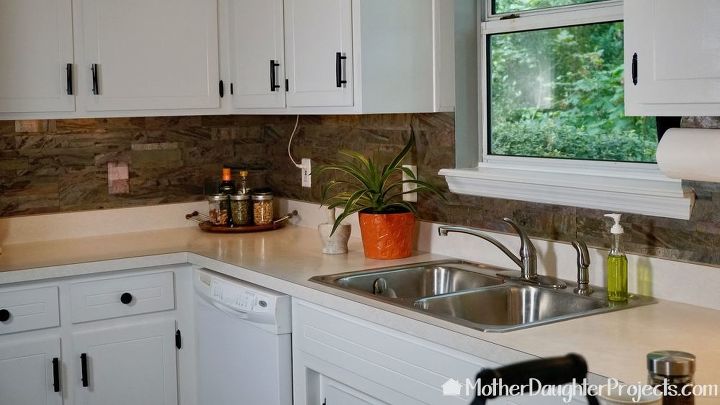
Loved your video! Your kitchen looks beautiful!
-
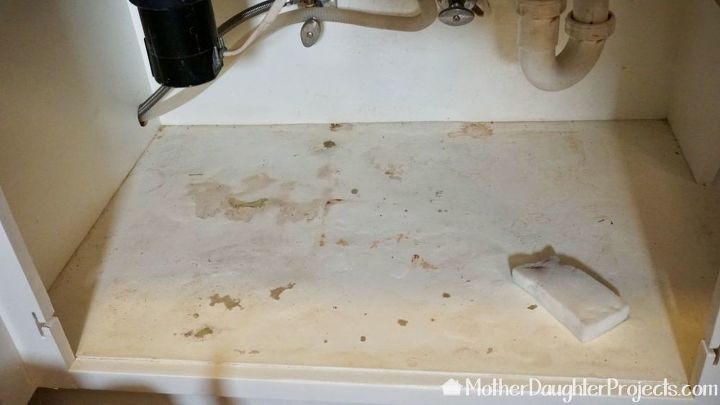
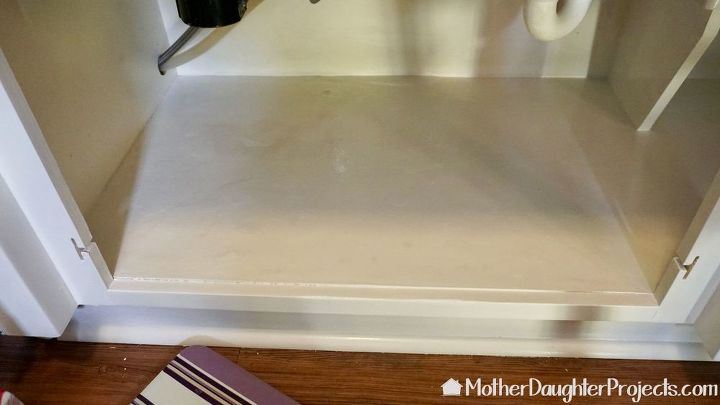
I love your mother daughter ideas. I work alone but I have a suggestion I have done in several situations. Looking at the photo of under the sink where you painted. It looks like old MDF has gotten wet and "bloomed". I have had that happen and have sanded it down and had white formica cut and liquid nailed it down. Then it is so much more wipeable and clean. If not that then I buy heavy clear vinyl at Walmart (super cheap) and cut is like shelf liner but a bit larger so its up the back a bit and up the sides a bit. If you have a leak it runs out to floor which alerts you to the problem. All this from experience of an old leak under a utility sink that ran back rather than forward...Not good.


Frequently asked questions
Have a question about this project?
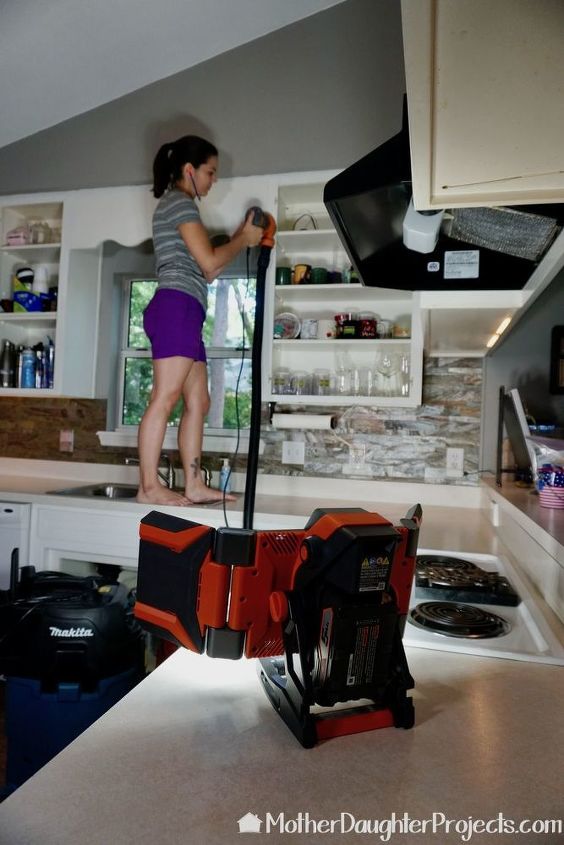
What is the brand of work light that is on the counter?
I love the back splash what did you use , is it a wall paper ?
What was the sander you used and which wet/dry vac did you connect it to ?