


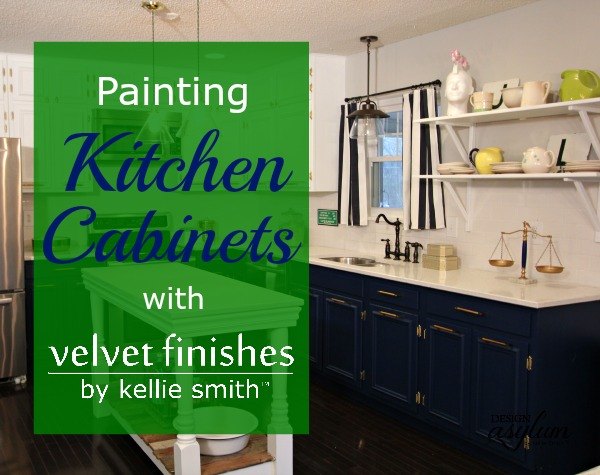
How to Paint Kitchen Cabinets With Velvet Finishes
Are your cabinets looking old and dated? Then let me share with you How to Paint Kitchen Cabinets with Velvet Finishes. It's a game changer.
I'll show you why. I'm sure many of you know Jenna from Rain on a Tin Roof. Jenna is an avid DIYer with a penchant for bold colors. She's a little crazy, ok maybe a lot crazy. And she does fabulous projects with Velvet Finishes! Here's one of my favoritesher liquor cabinet makeover.

This was done with Velvet Finishes Vivid. Gorgeous, right? Jenna and I live about 30 miles apart. Let the trouble begin. So we paint together.
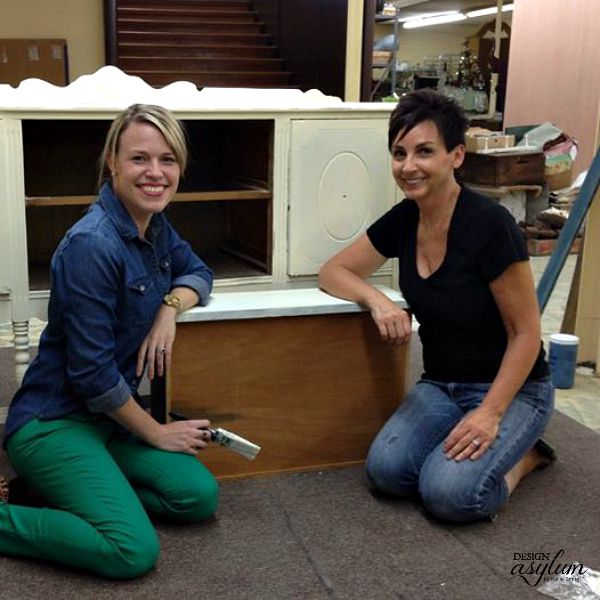
I look a little wacko in this pictureno telling what Jenna had said. We shop together.

She is totally crazy/normal! We drink together. There will be no pictures of that. But earlier this year, we redid her kitchen together. So, here's how you Paint Kitchen Cabinets with Velvet Finishes! Jenna and her husband, a.k.a. Grunt Labor, bought a foreclosure that needed quite a bit of work. They removed the wall that divided the kitchen and the den to open up the space. They painted everything a neutral white to make it livable, knowing there would be style evolutions. This is the kitchen while it was white. Pretty, but not Jenna's true style. It needed color.

Enter Velvet Finishes. Jenna wanted to do two colors, Minimalistic (white) for the upper cabinets and Handsome (navy) for the lower cabinets. A quick note about Minimalistic: First of all it's gorgeous. And it's gorgeous because it is a pure white tint. There are no undertones of blue or yellow or peach or pink. It's true white. Because there are barely any pigments needed to create this, it is thin. Minimalistic usually requires 4 coats. Is it worth it? Yes. If you look at the before picture, you will see a slight blue tint on Jenna's white cabinets. That is not lighting, the blue is the tint of the white. Whites are tricky. And that is why I wanted a pure white. Because in paintwhite is never white. So how'd we do it?
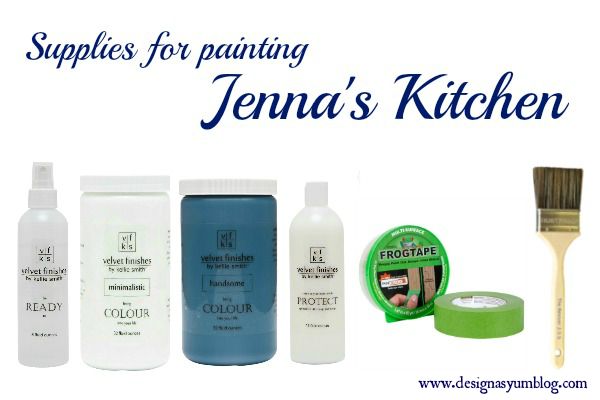
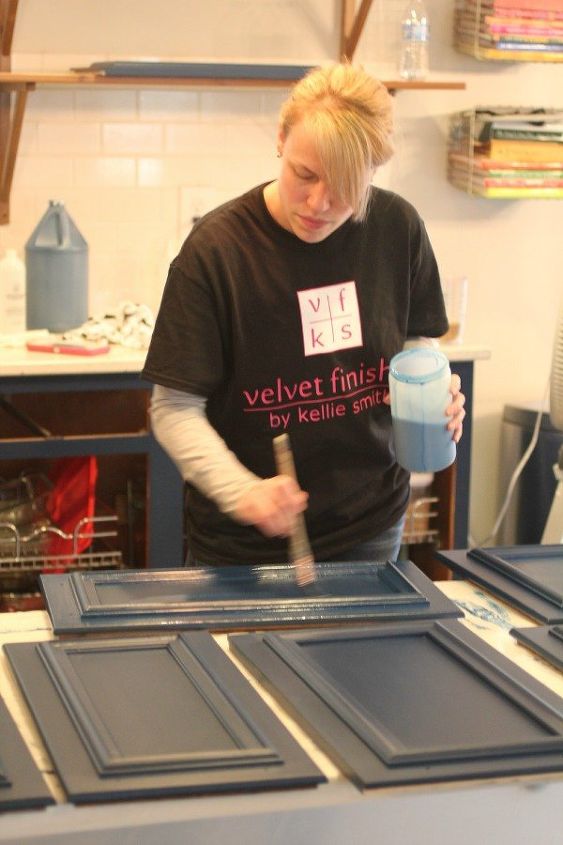
Velvet Finishes is an easy 1-2-3 system.
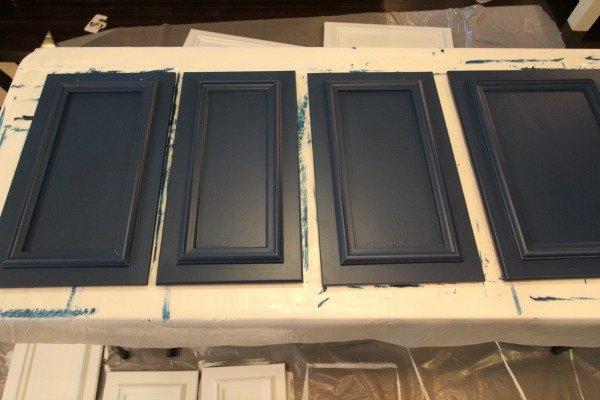
These doors have two coats of Handsome. We then applied Protect. Using poly is never easy. It can streak. The Protect product is a slightly higher sheen than the paint so when I poly the darker colors, I always tint the Protect with a little bit of the paint. It makes it easier and allows me to apply the Protect as quickly as I do the paint.
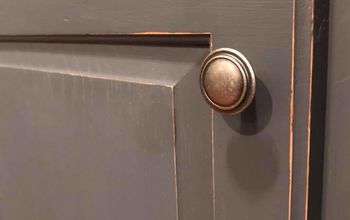
Jenna is applying the tinted Protect. We changed the hardware and Jenna chose gorgeous brass pulls from D. Lawless Hardware.
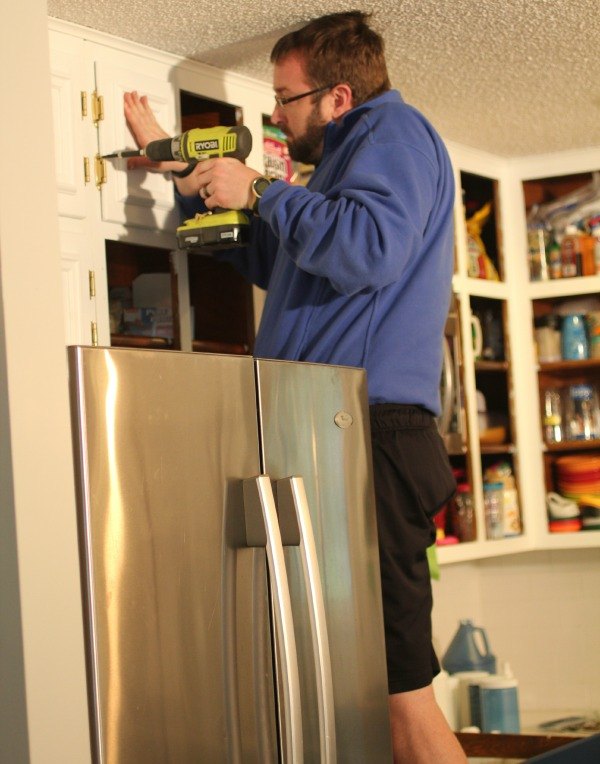
We got Grunt Labor involved. And we laughed a lot.

I'm sure The Handler had said something completely inappropriate. That's Brandon, our video guy, in the background. AND THAT'S IT!!! This video shows the entire process of us painting Jenna's kitchen. Click the photo to watch.
{
"id": "2945498",
"alt": "",
"title": "",
"video_link": "https://www.youtube.com/embed/MCwthsQ0yfM",
"youtube_video_id": "MCwthsQ0yfM"
}
{
"width": 634,
"height": 357,
"showRelated": true
}
Be sure to watch the bloopers!!!!! If you are ready for a change, I hope you are inspired to paint with Velvet Finishes!!

Want more details about this and other DIY projects? Check out my blog post!
Comments
Join the conversation
4 of 29 comments
-
Does this product work on thermofoil? Its is similar to laminate.
-
Hi, Would this product work on pressed wood or fiber board?


Frequently asked questions
Have a question about this project?
Can you paint laminated cabinets